SOLD: old post below
After two years of building out this van, traveling with it, sleeping in it and generally having a blast, it’s time to say goodbye.
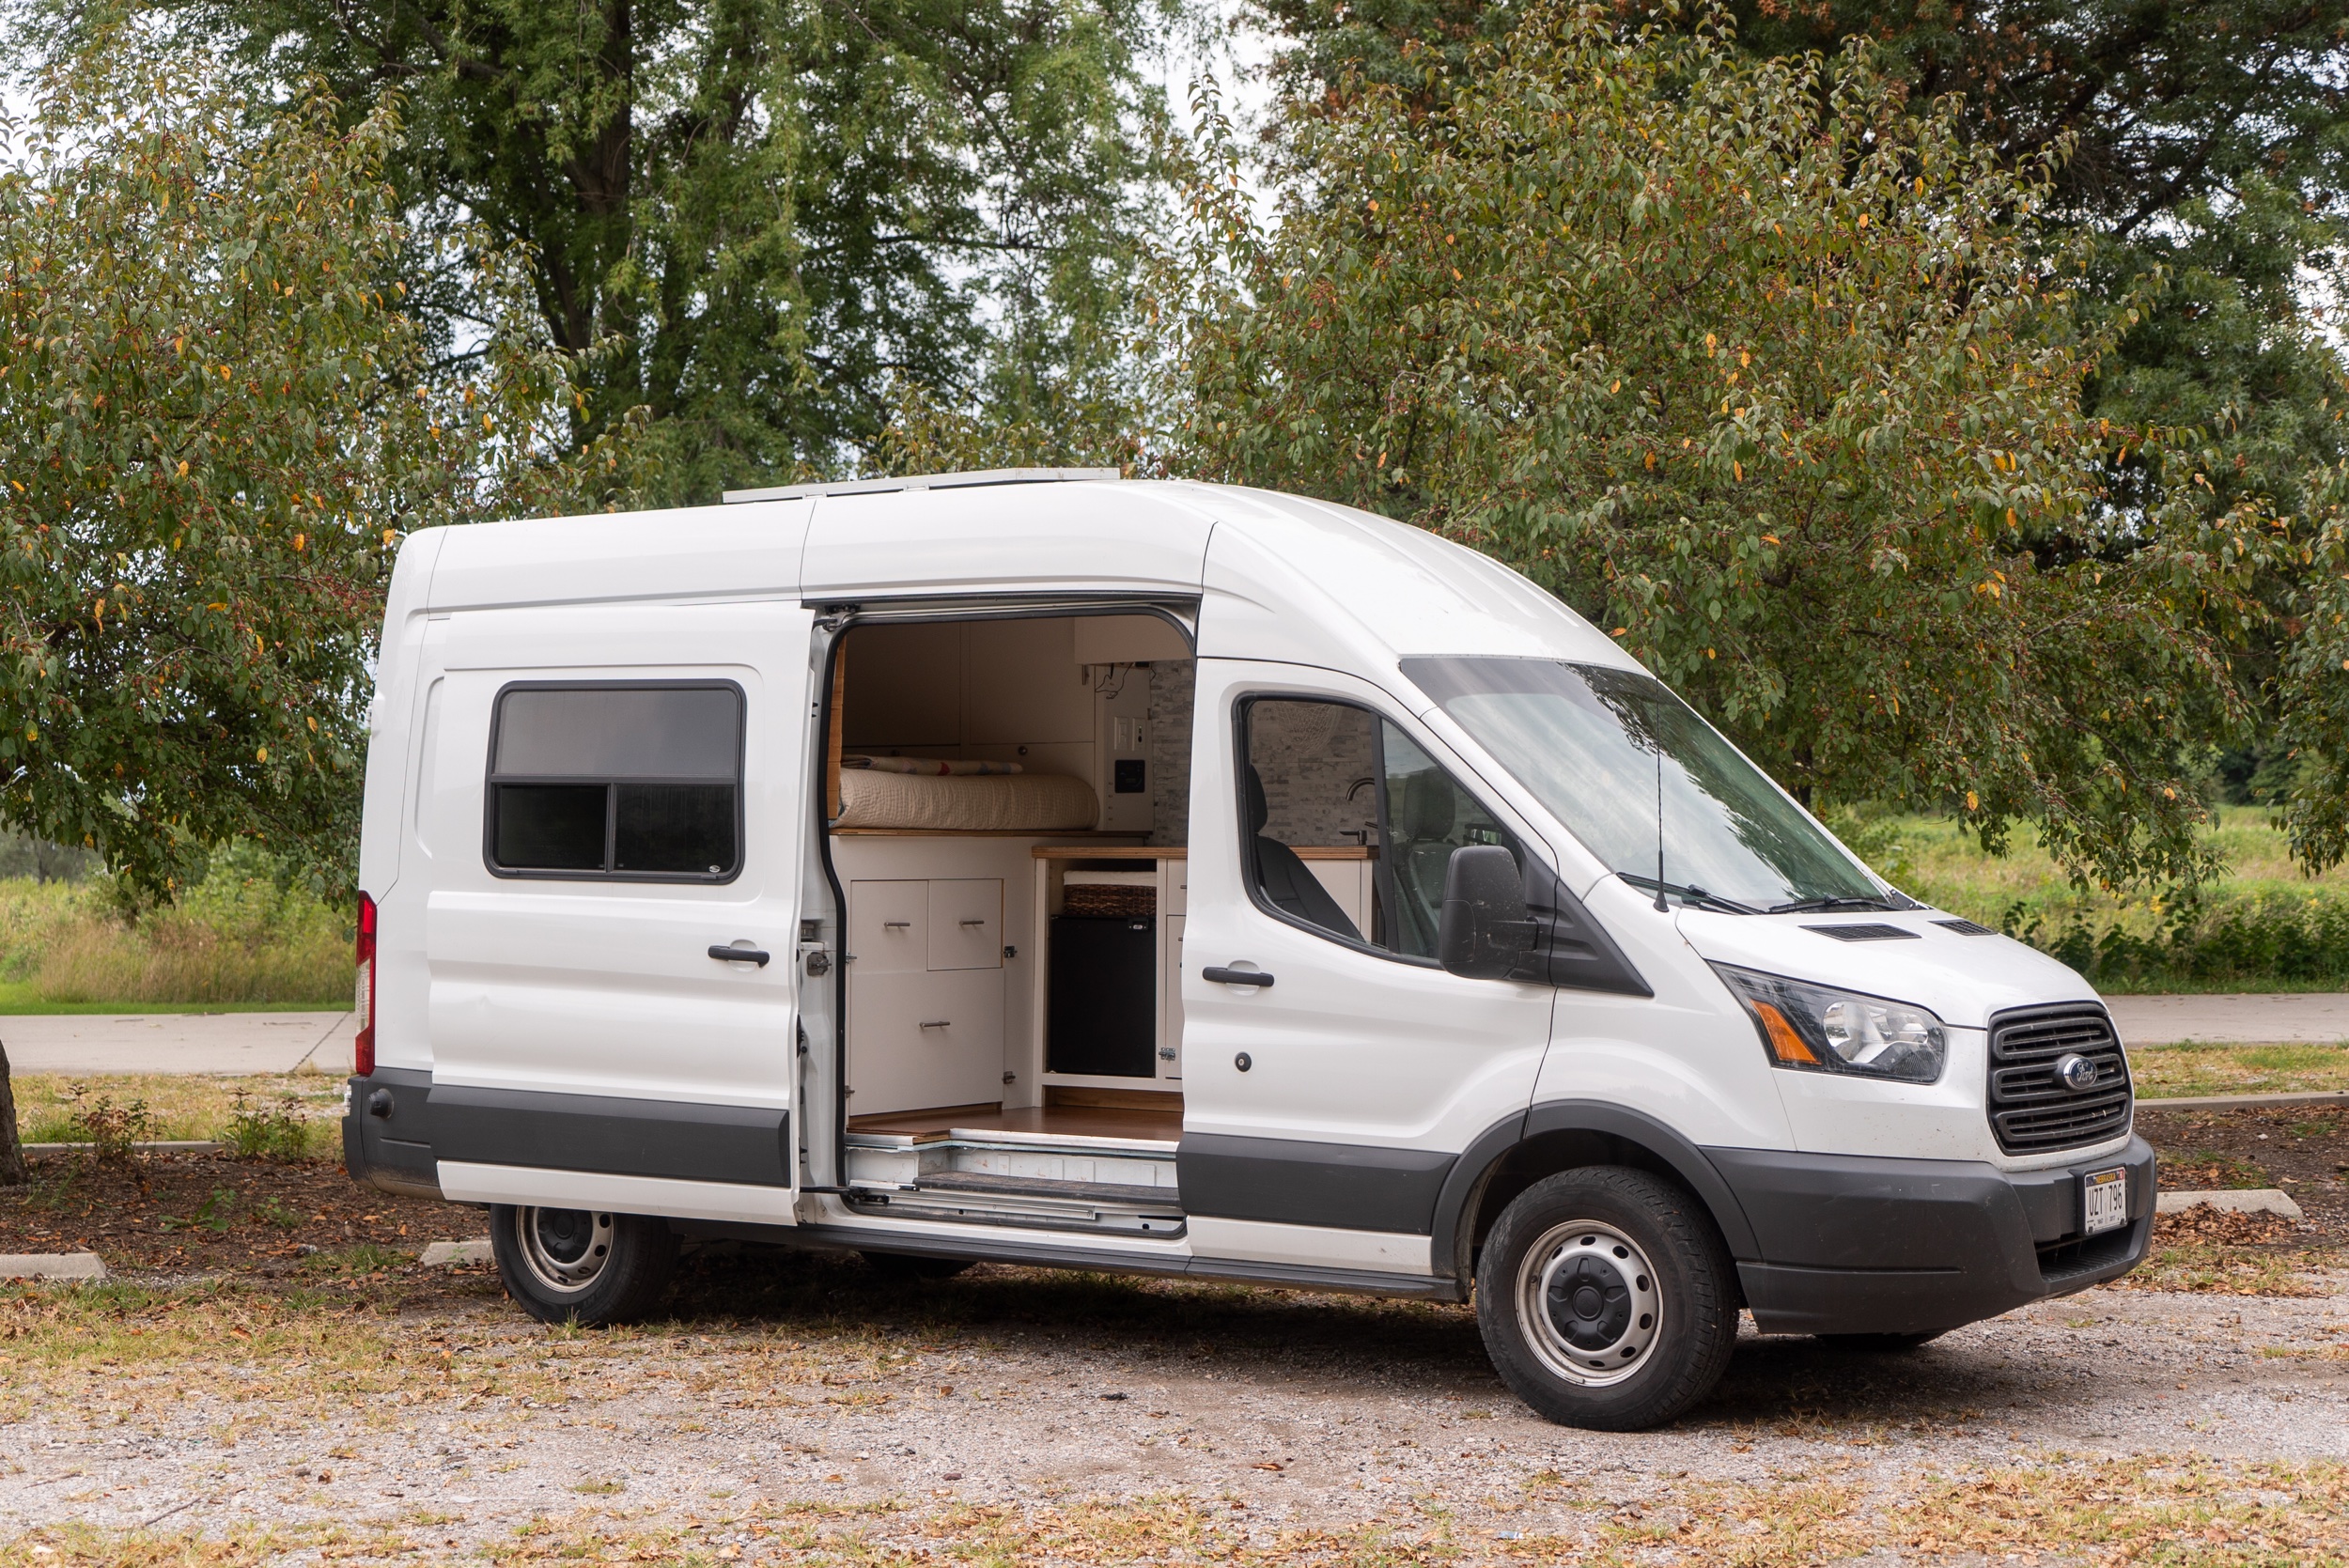
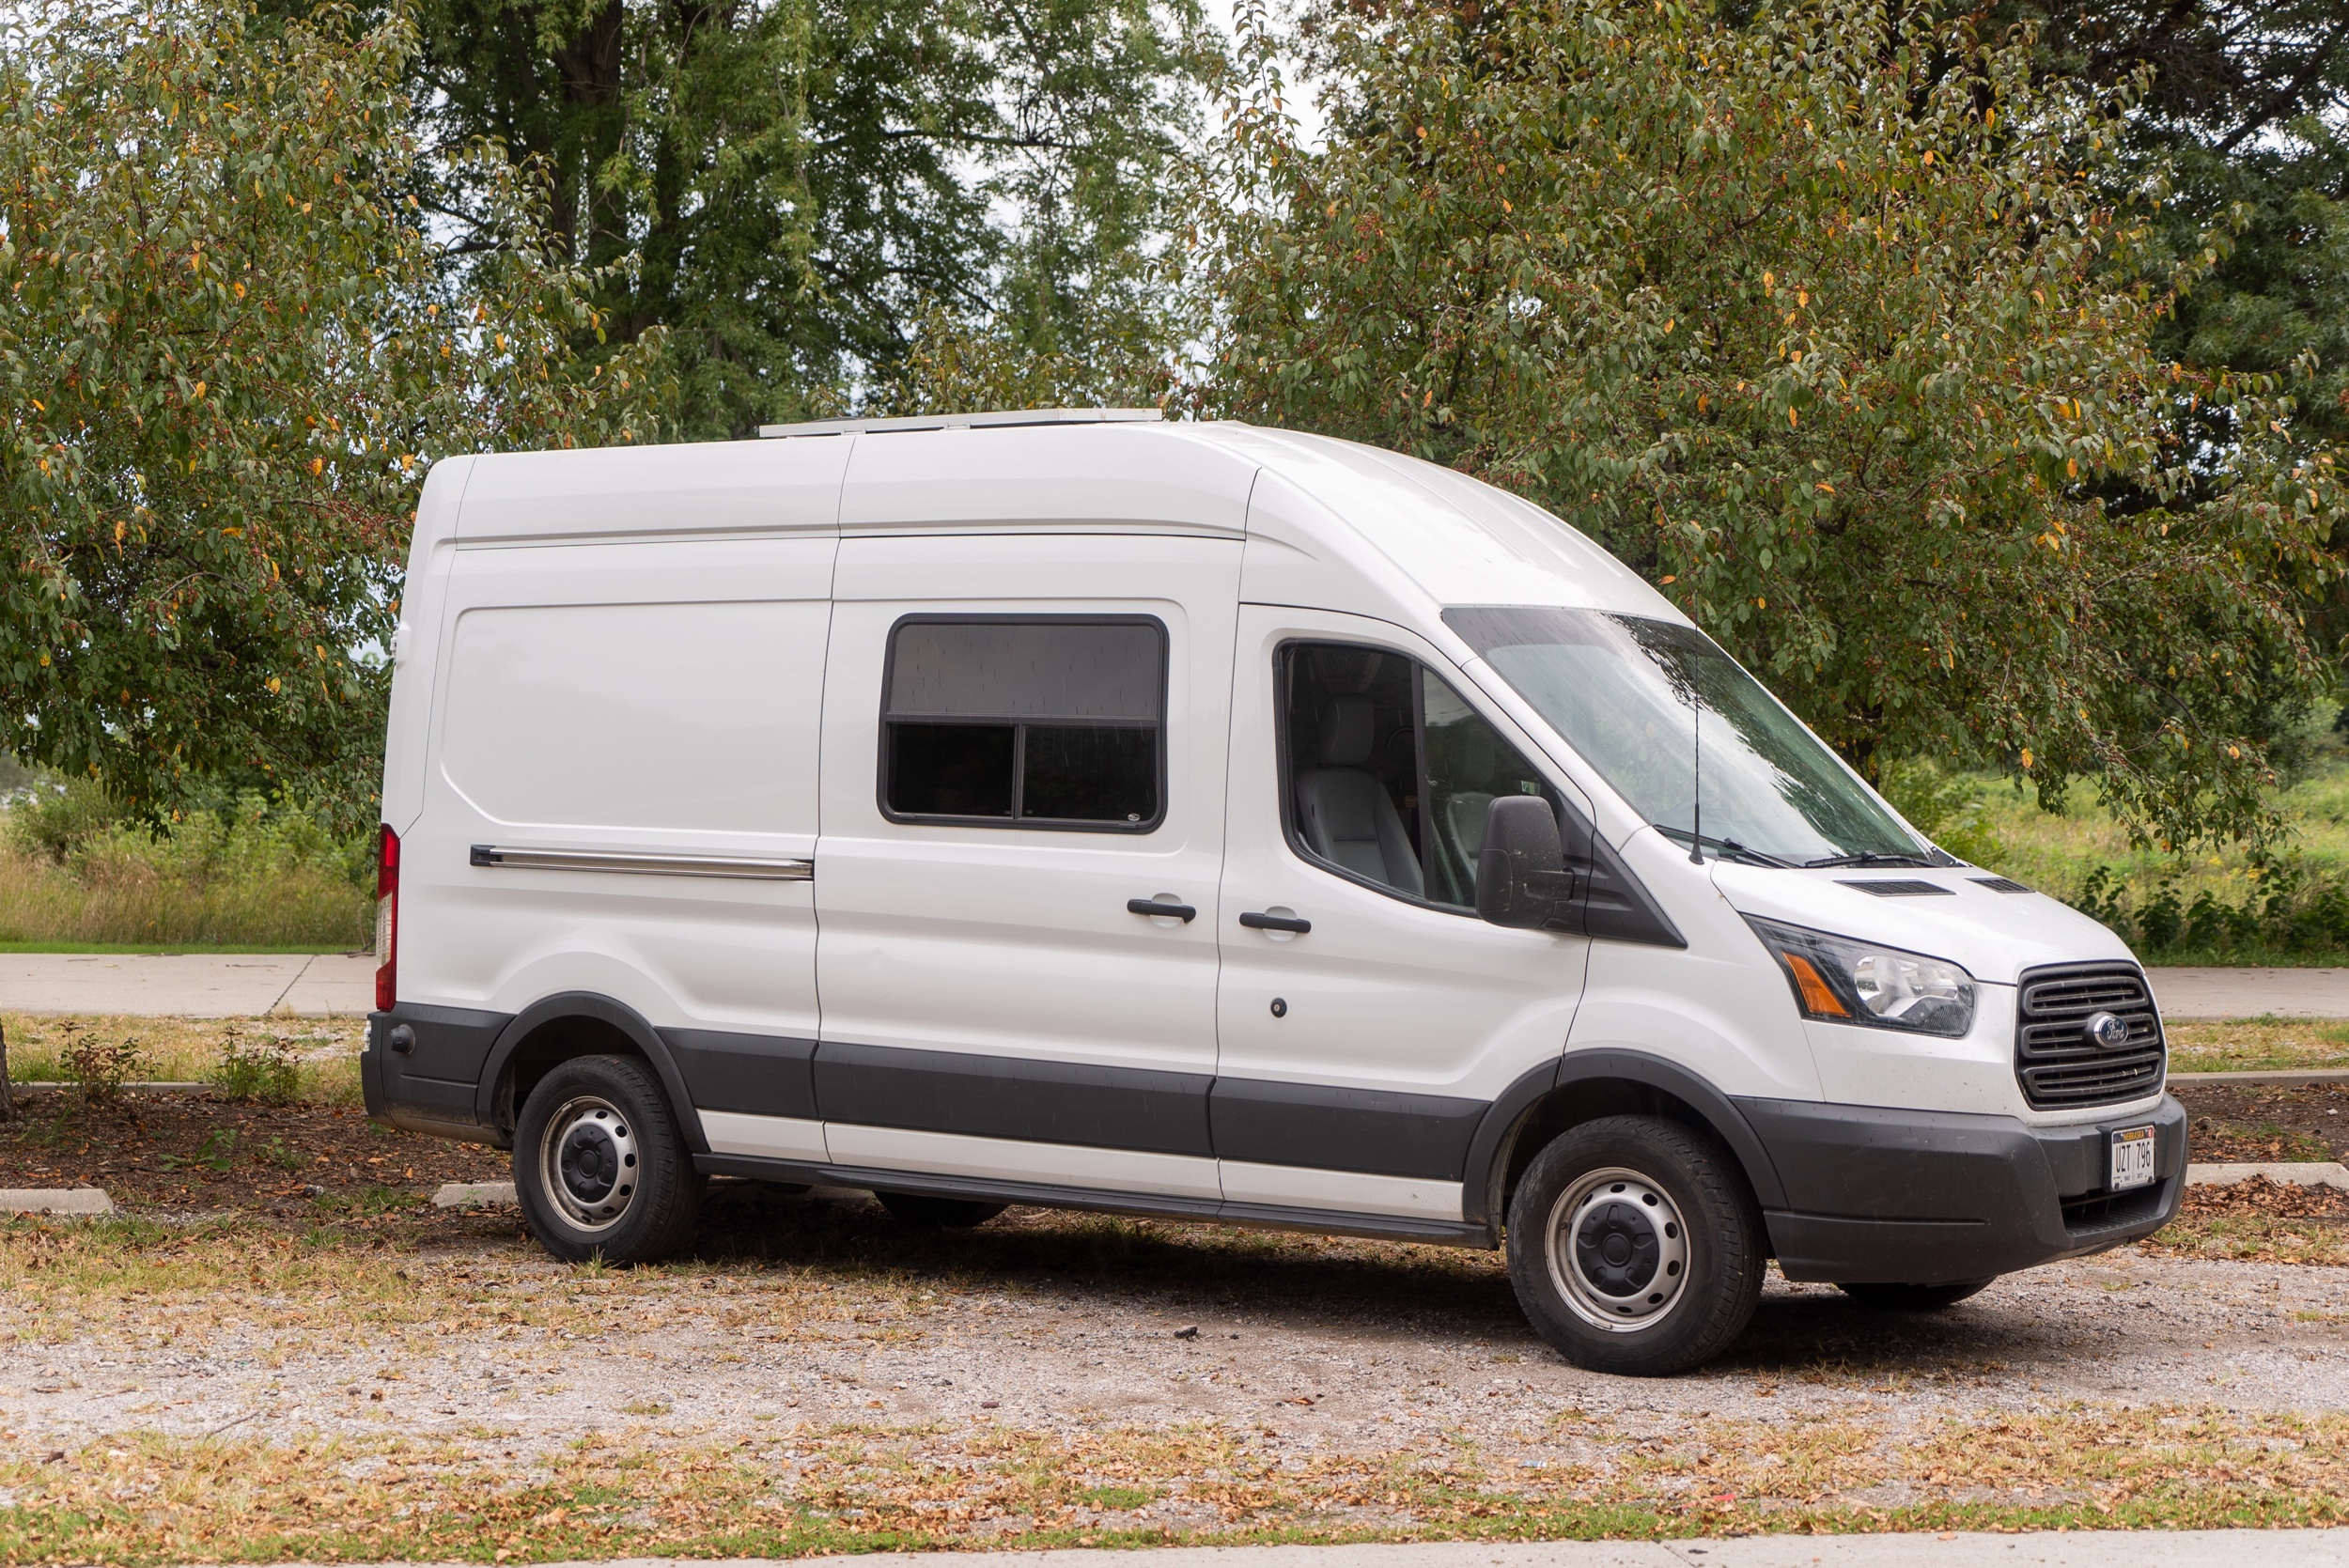
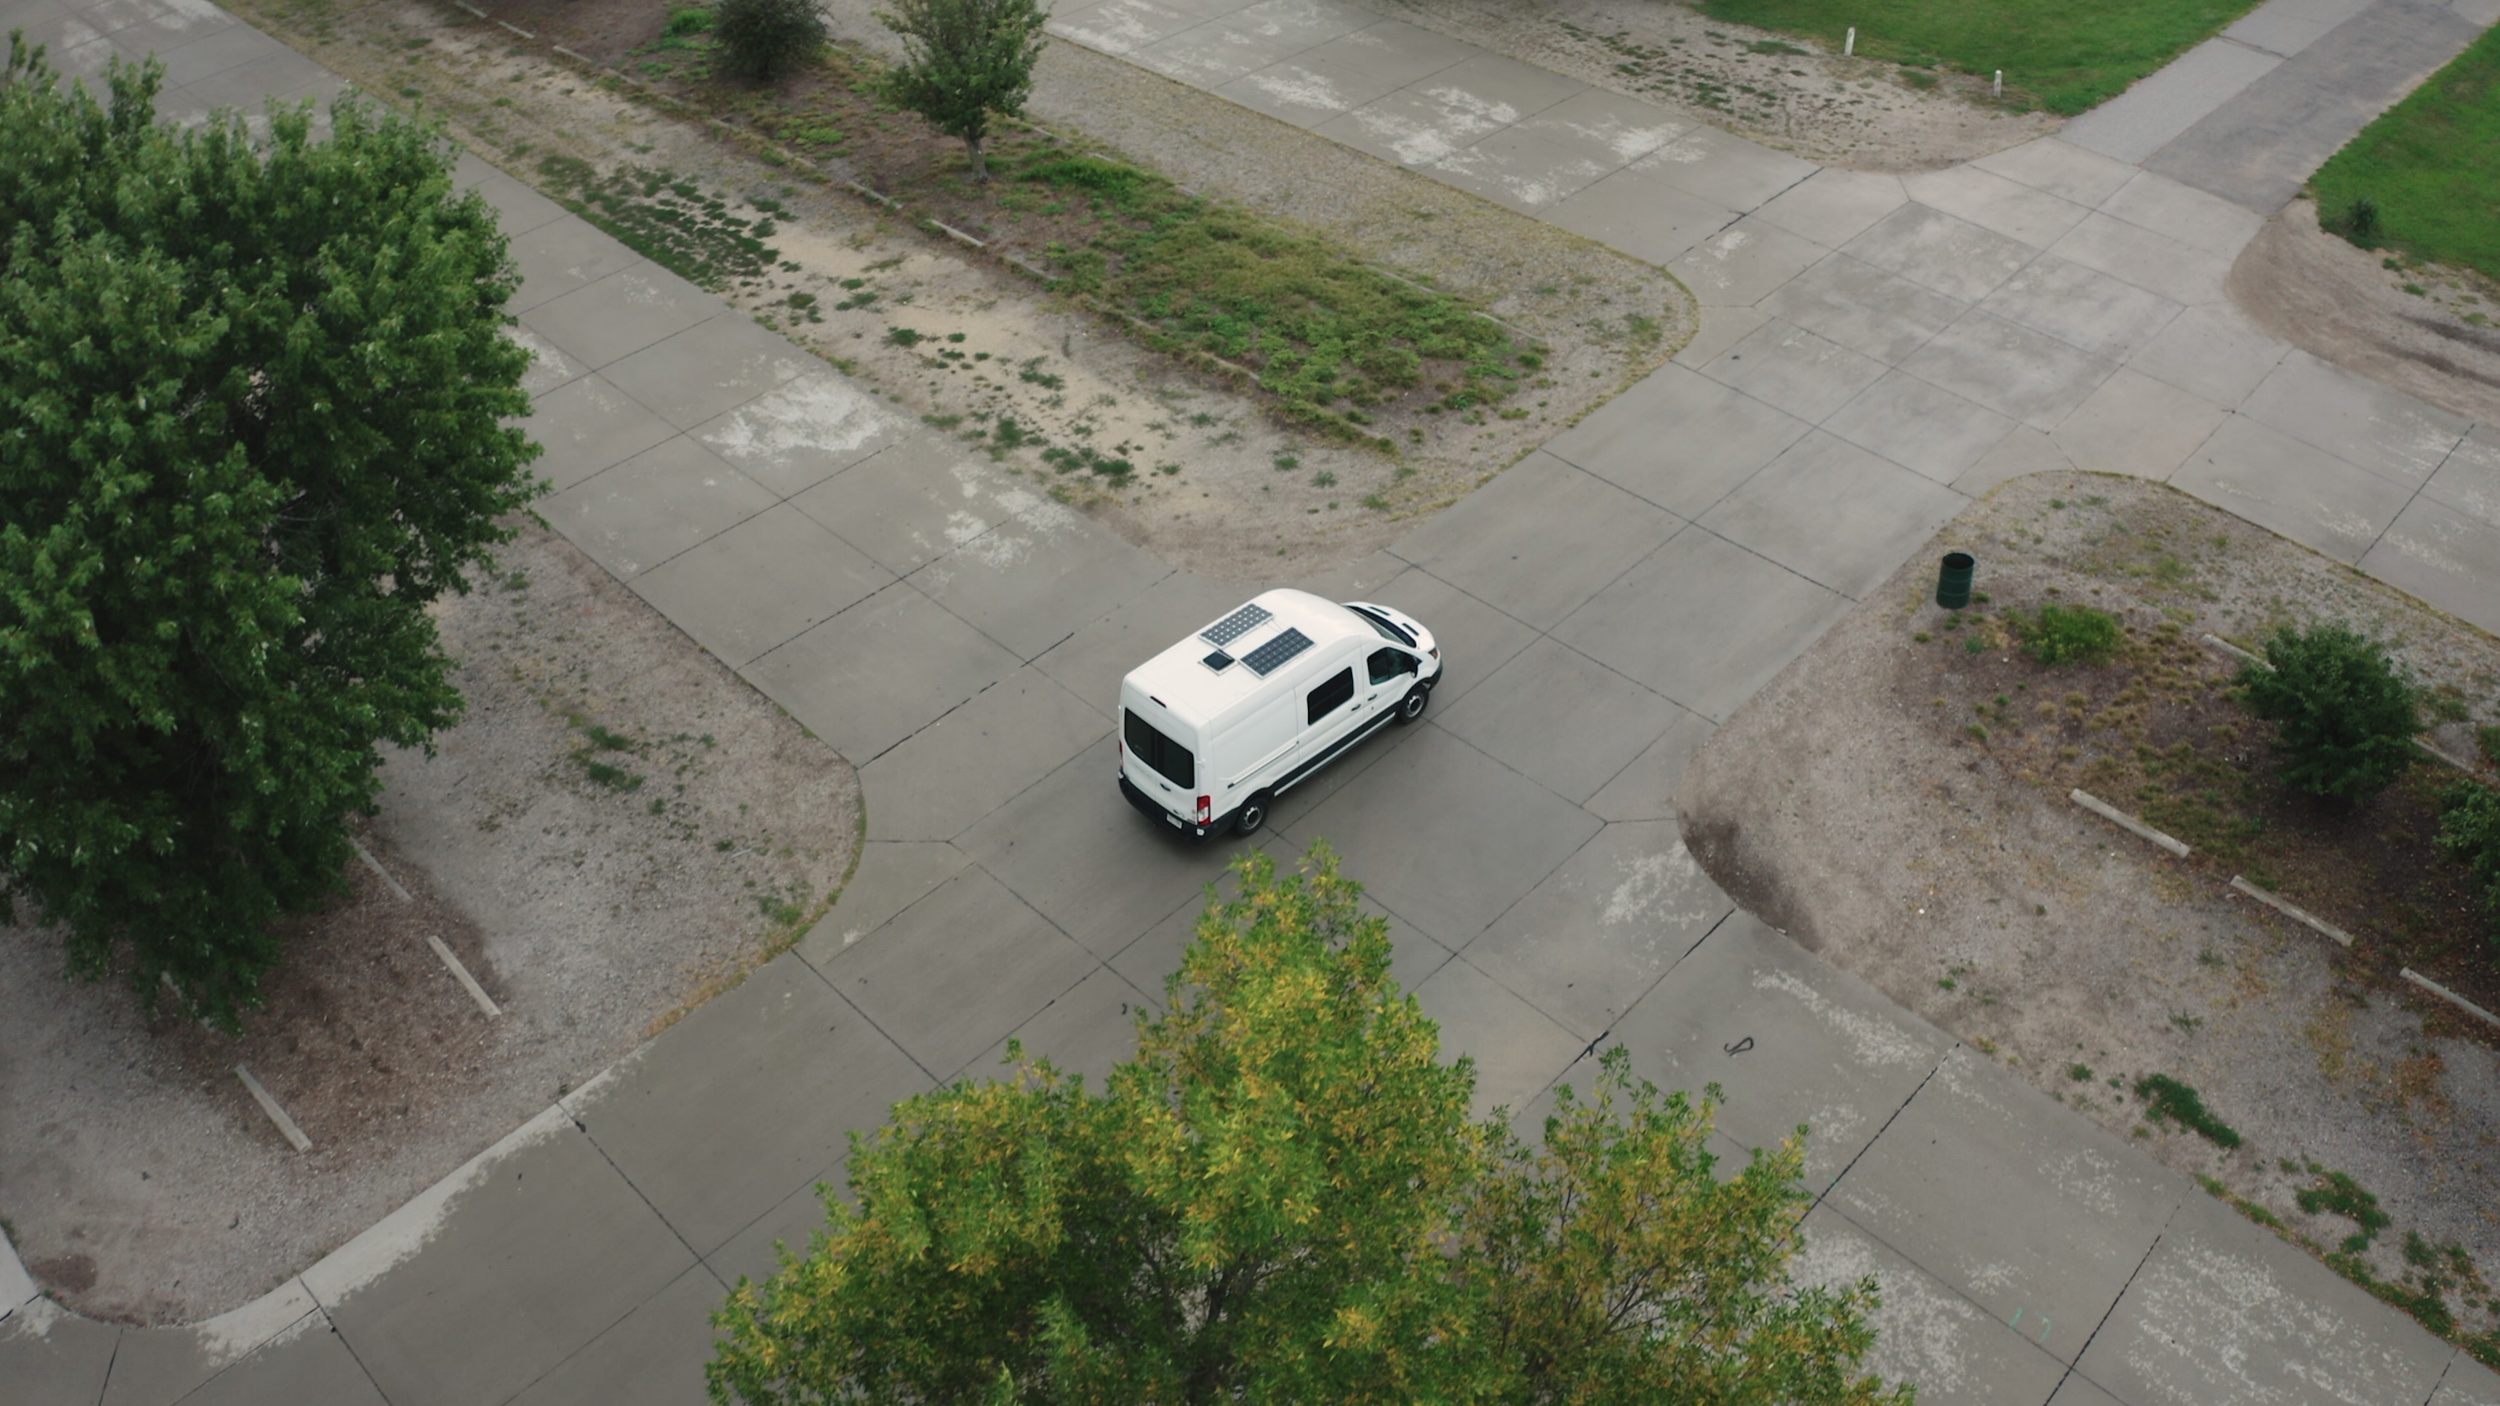
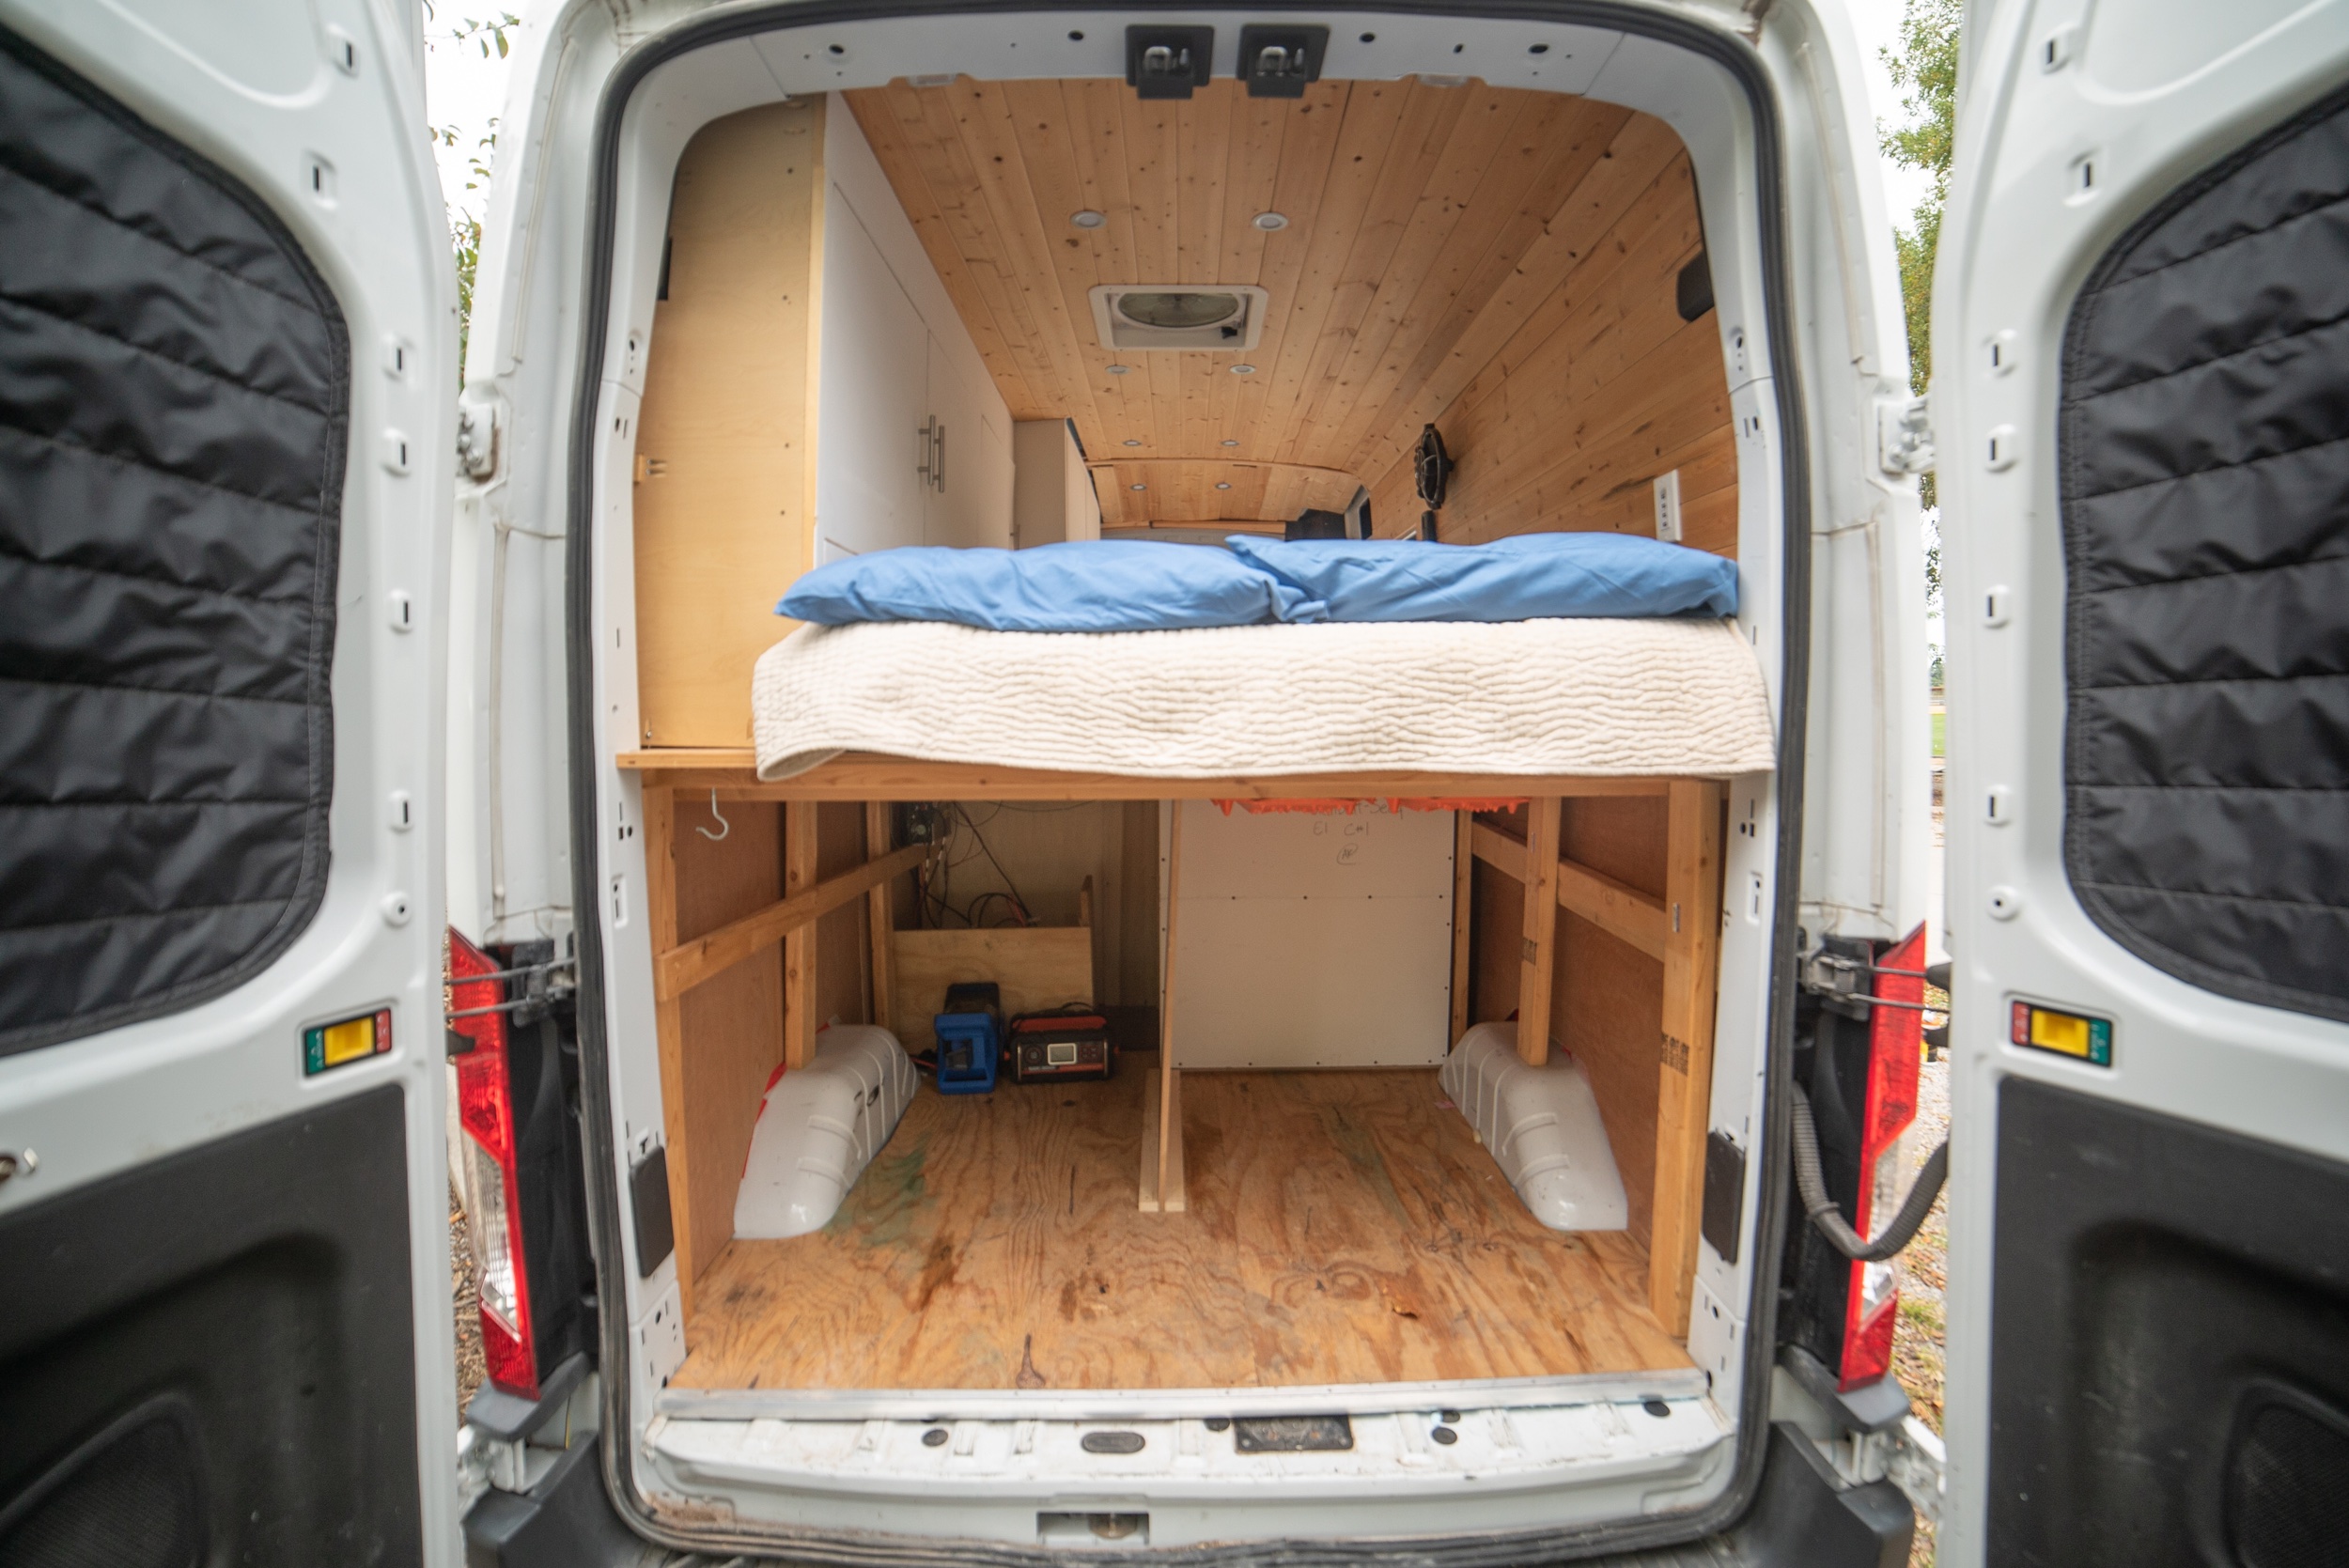
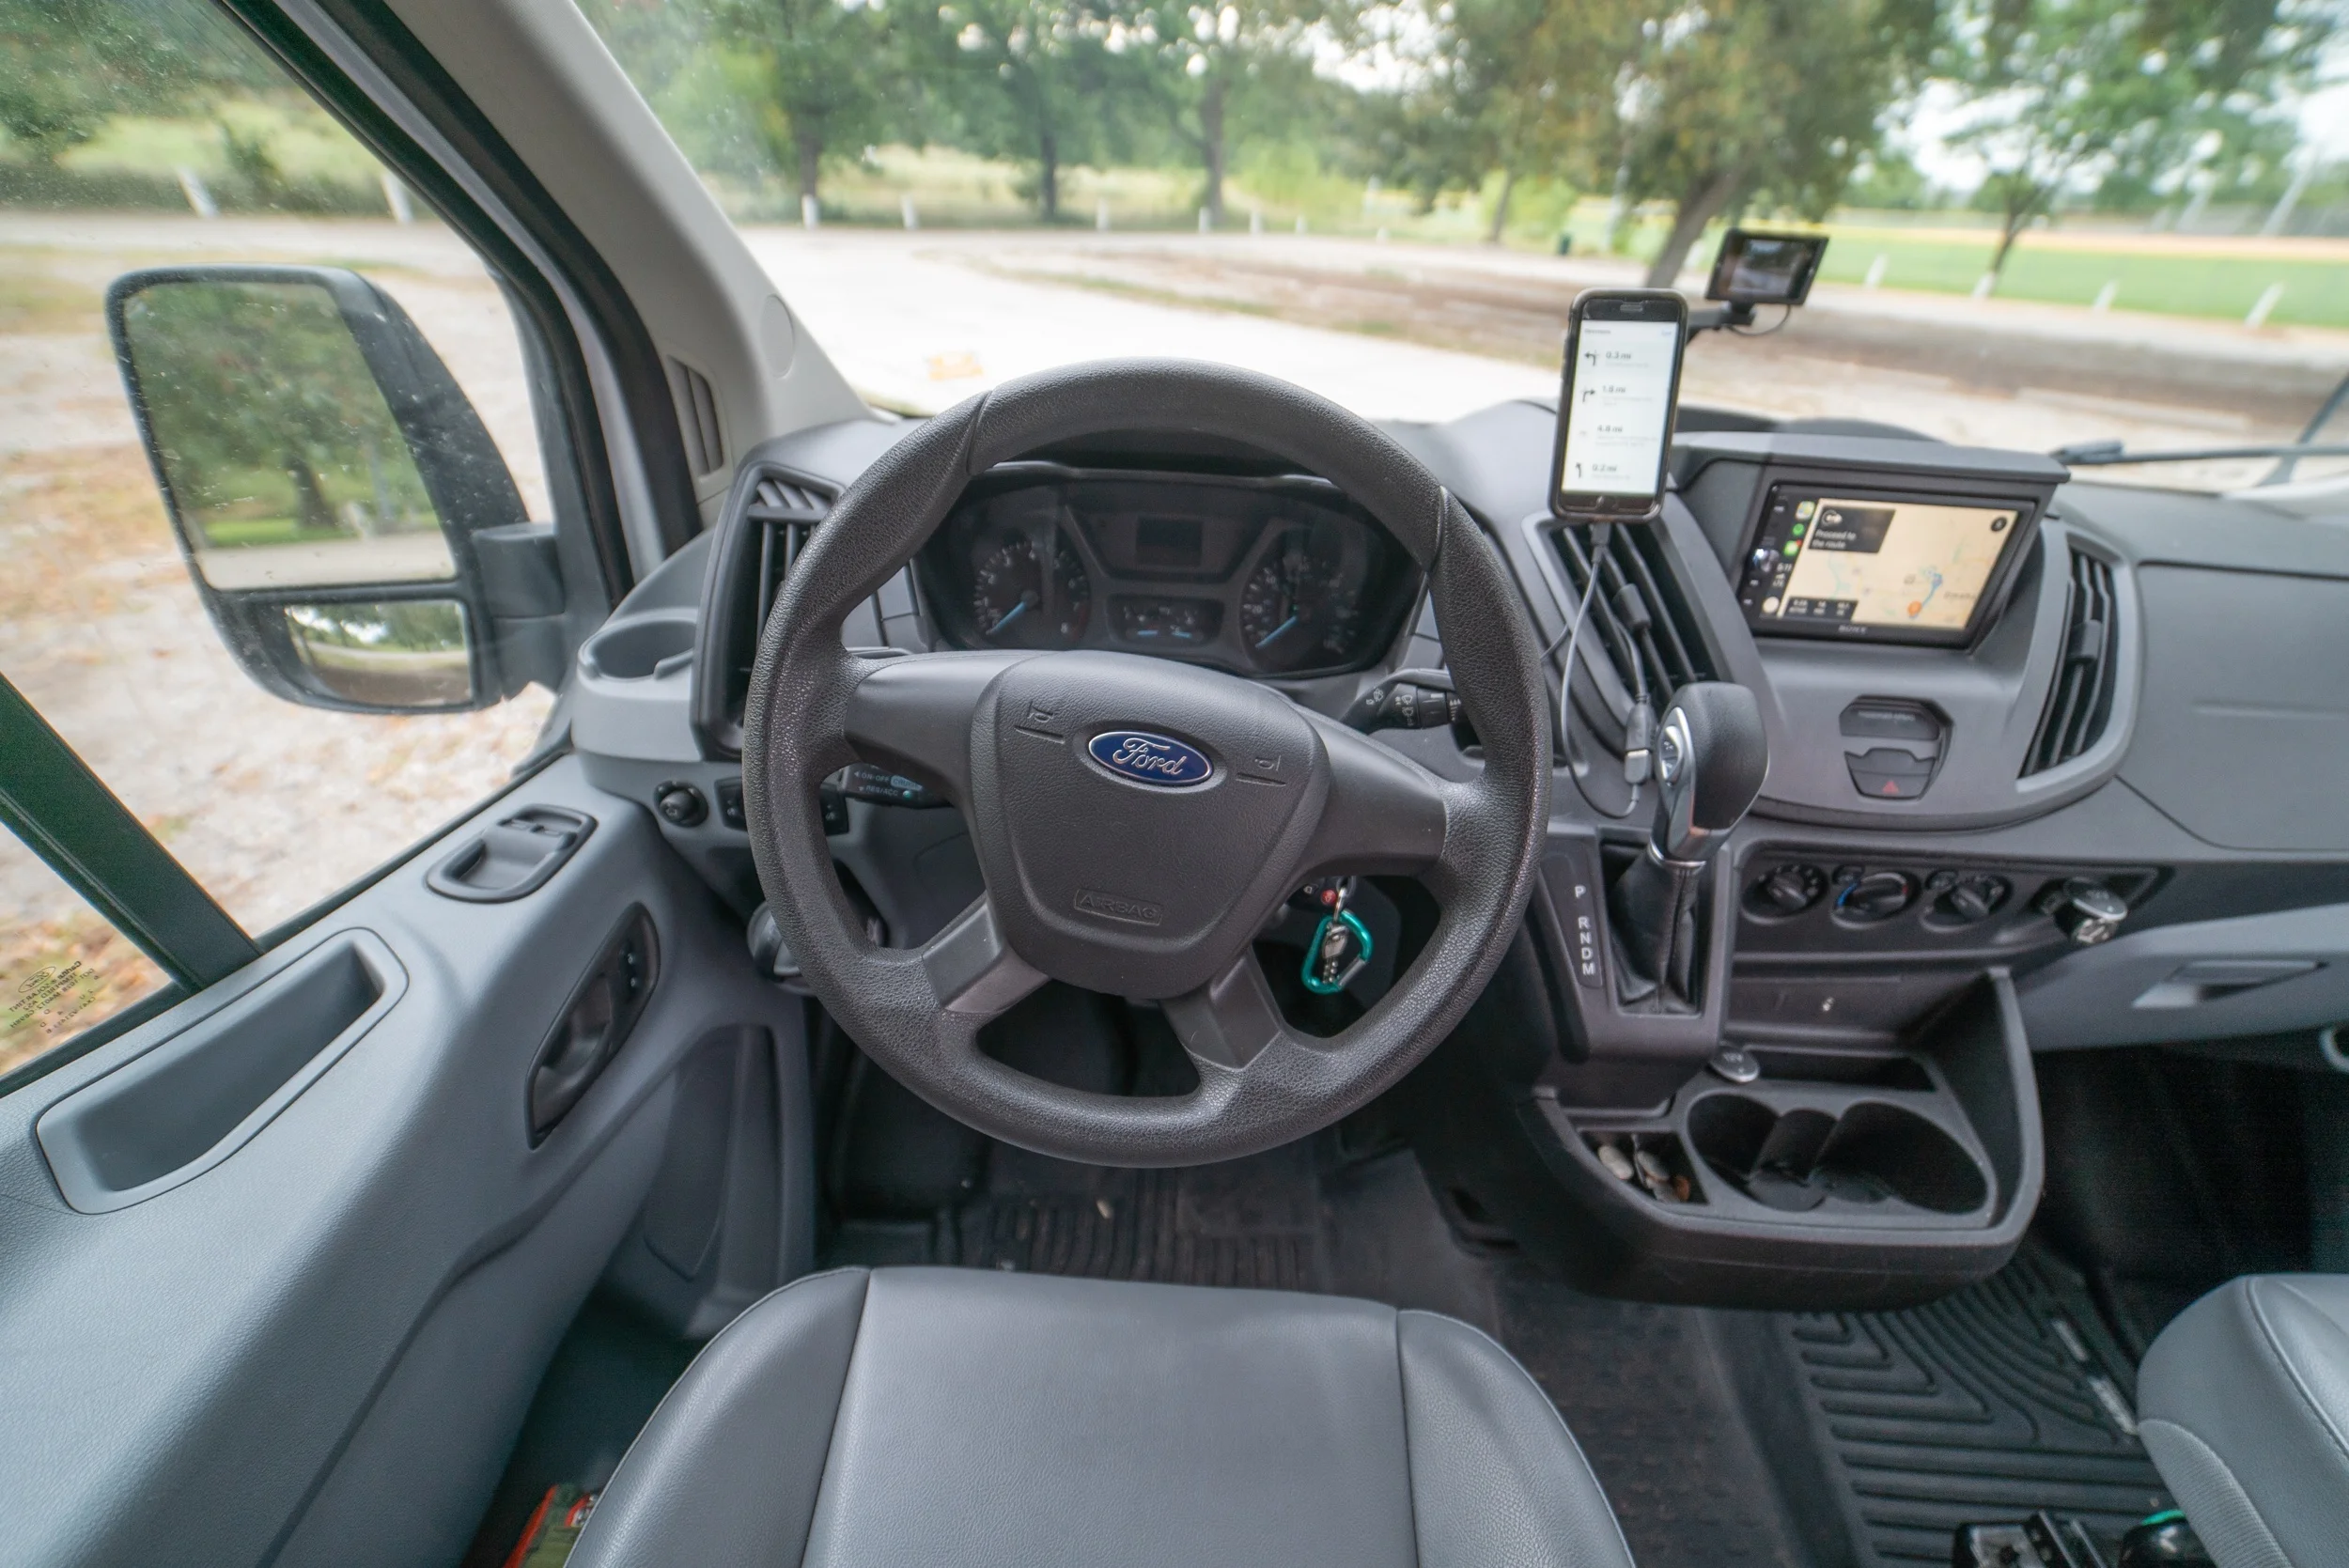
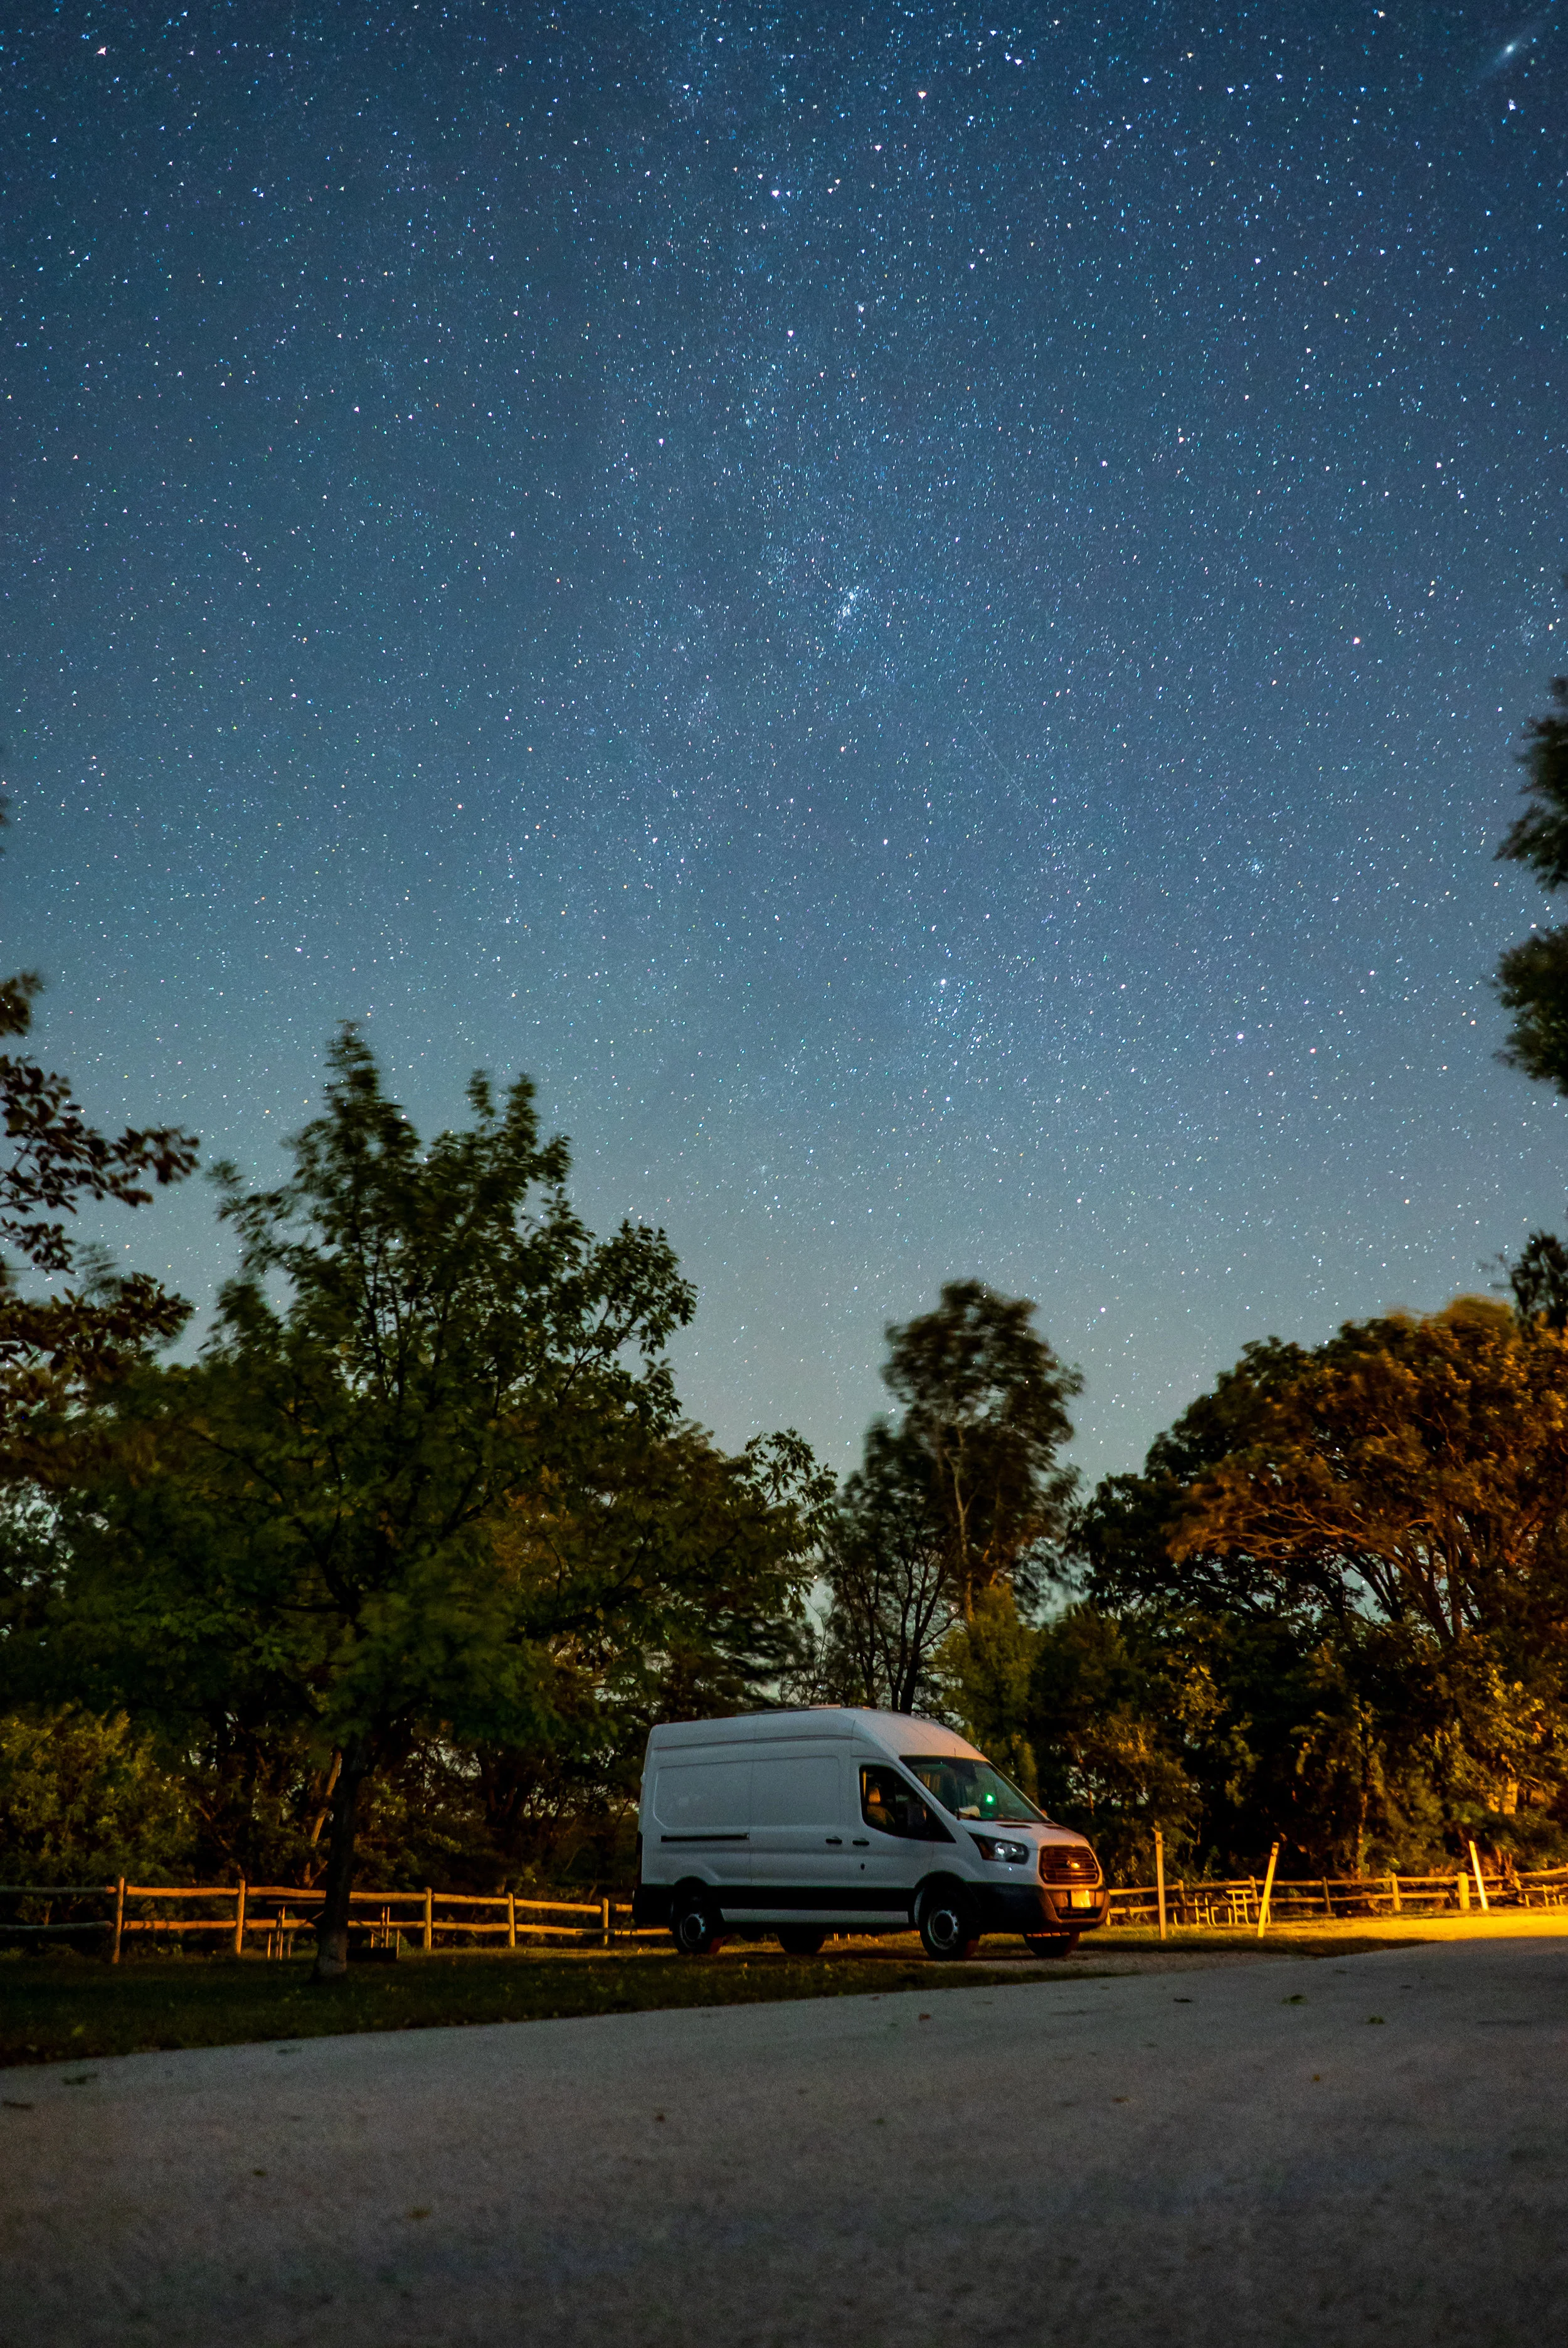
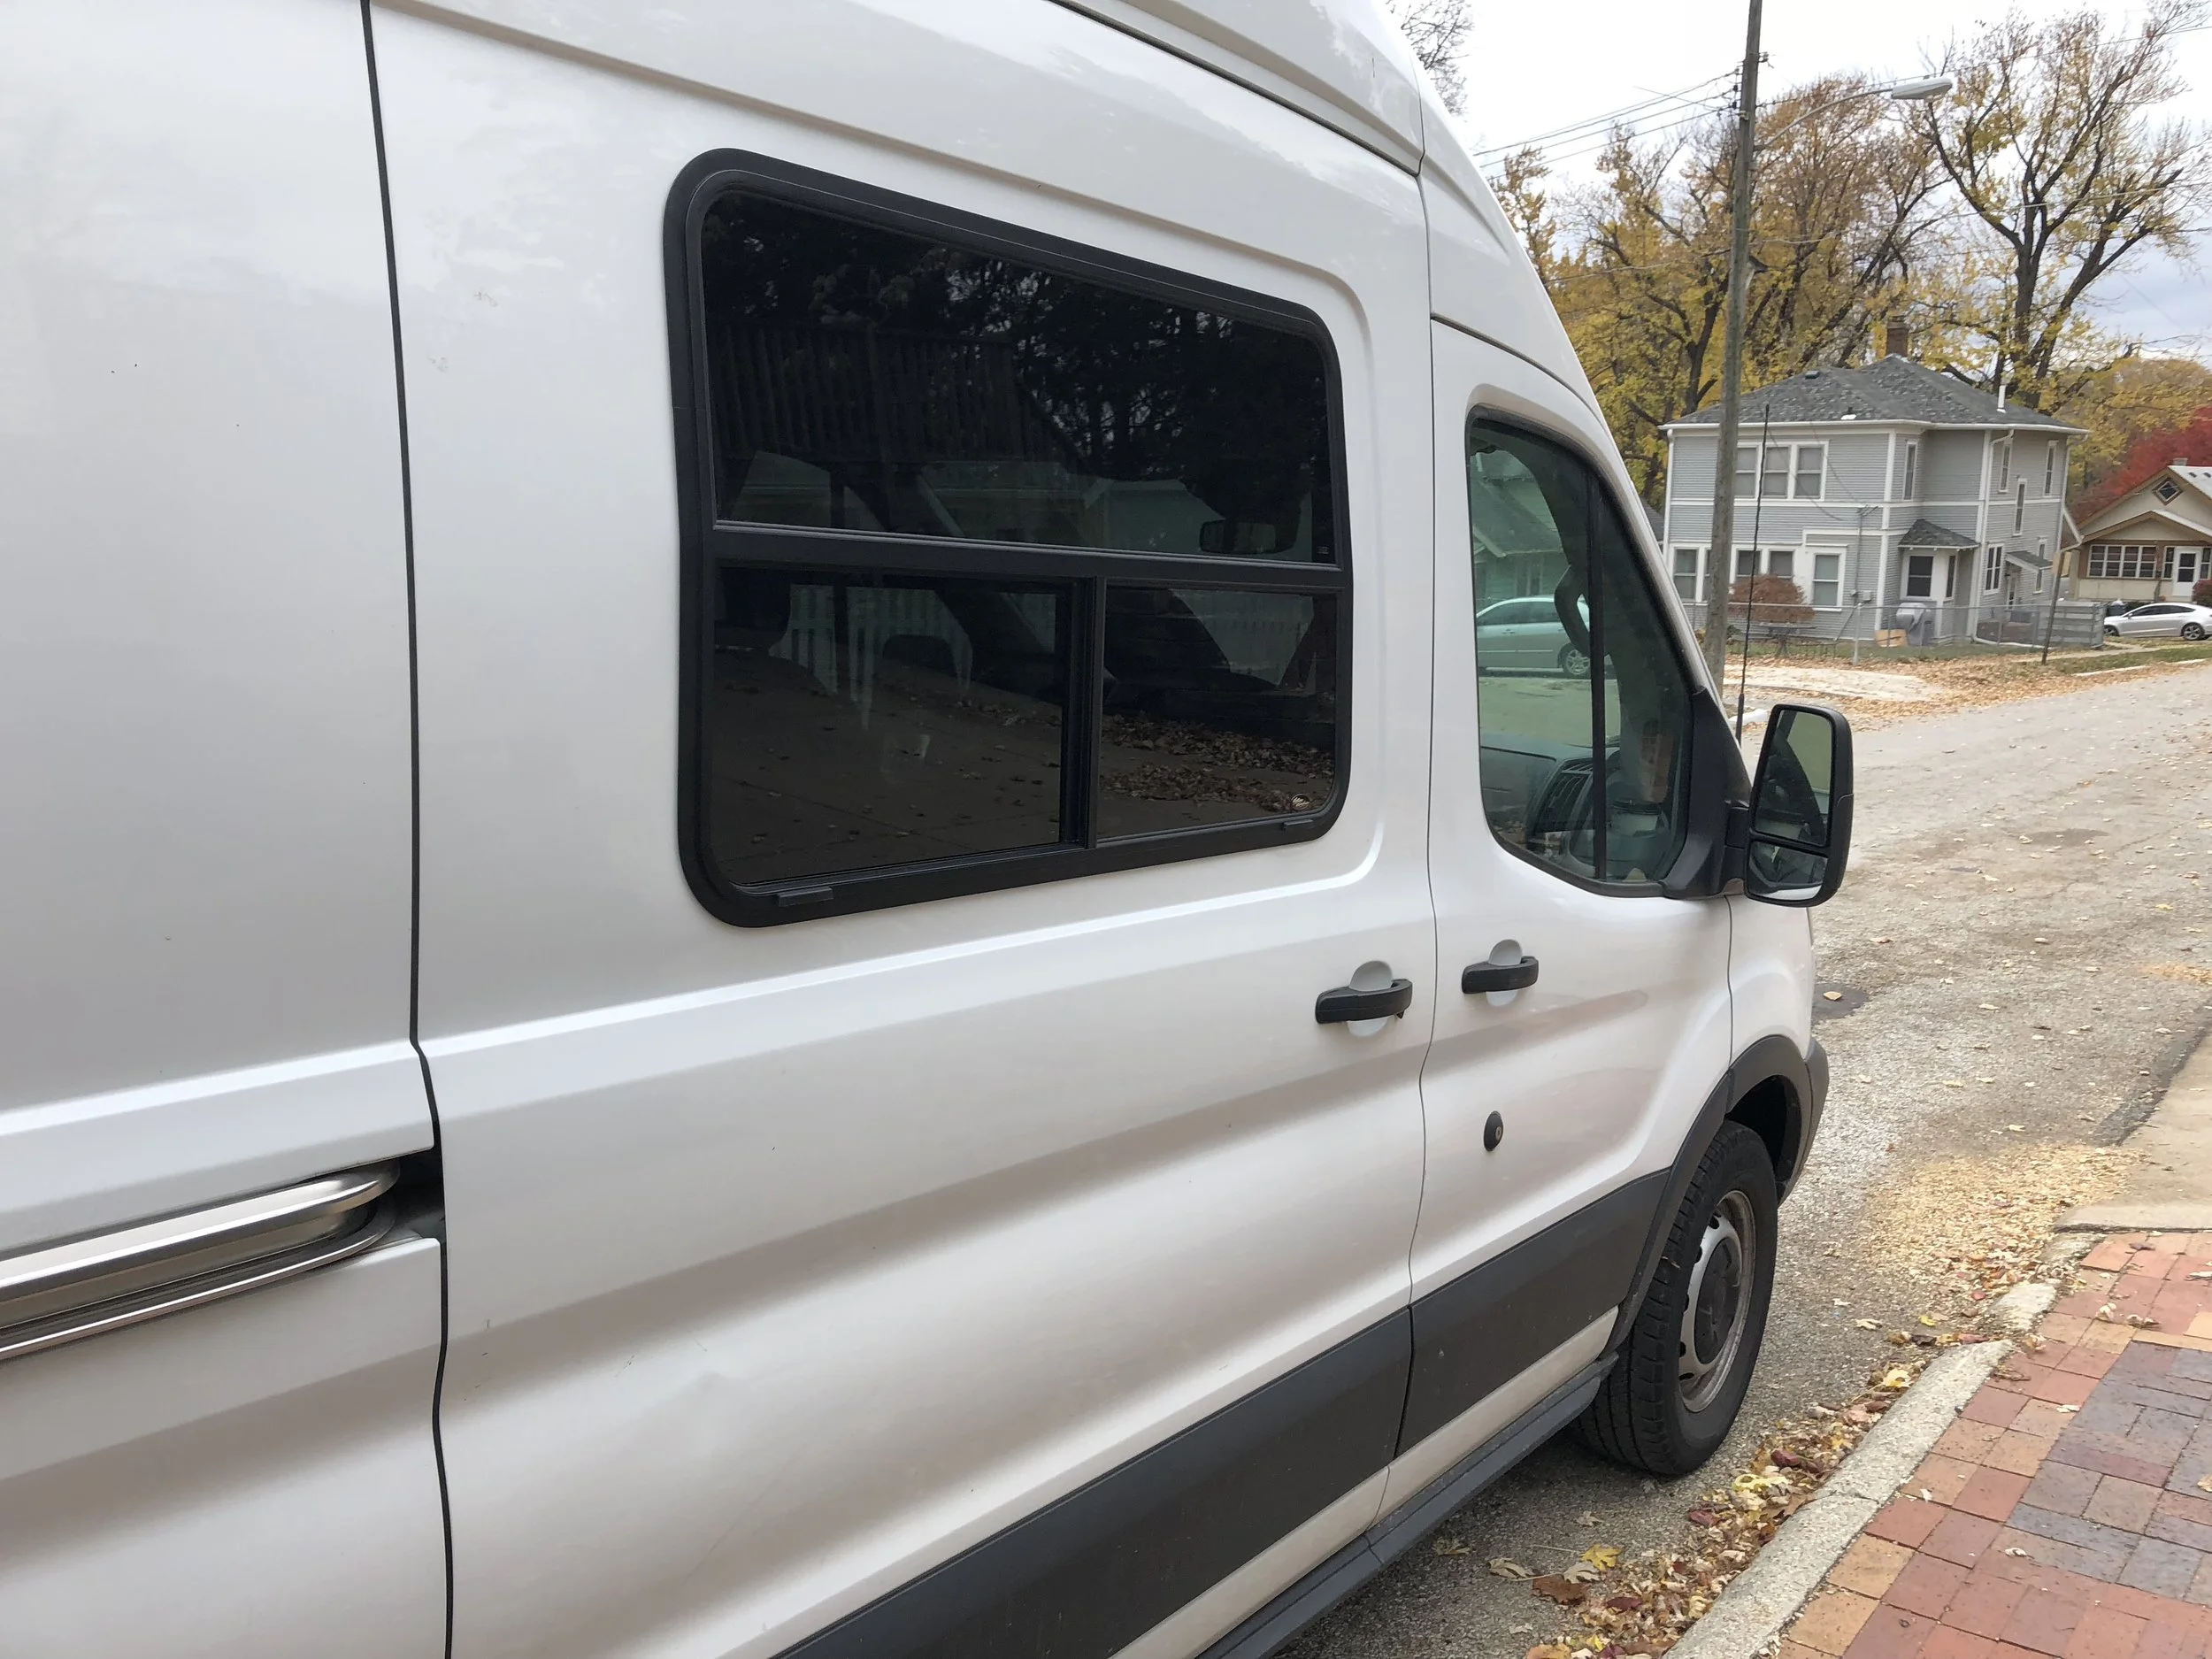
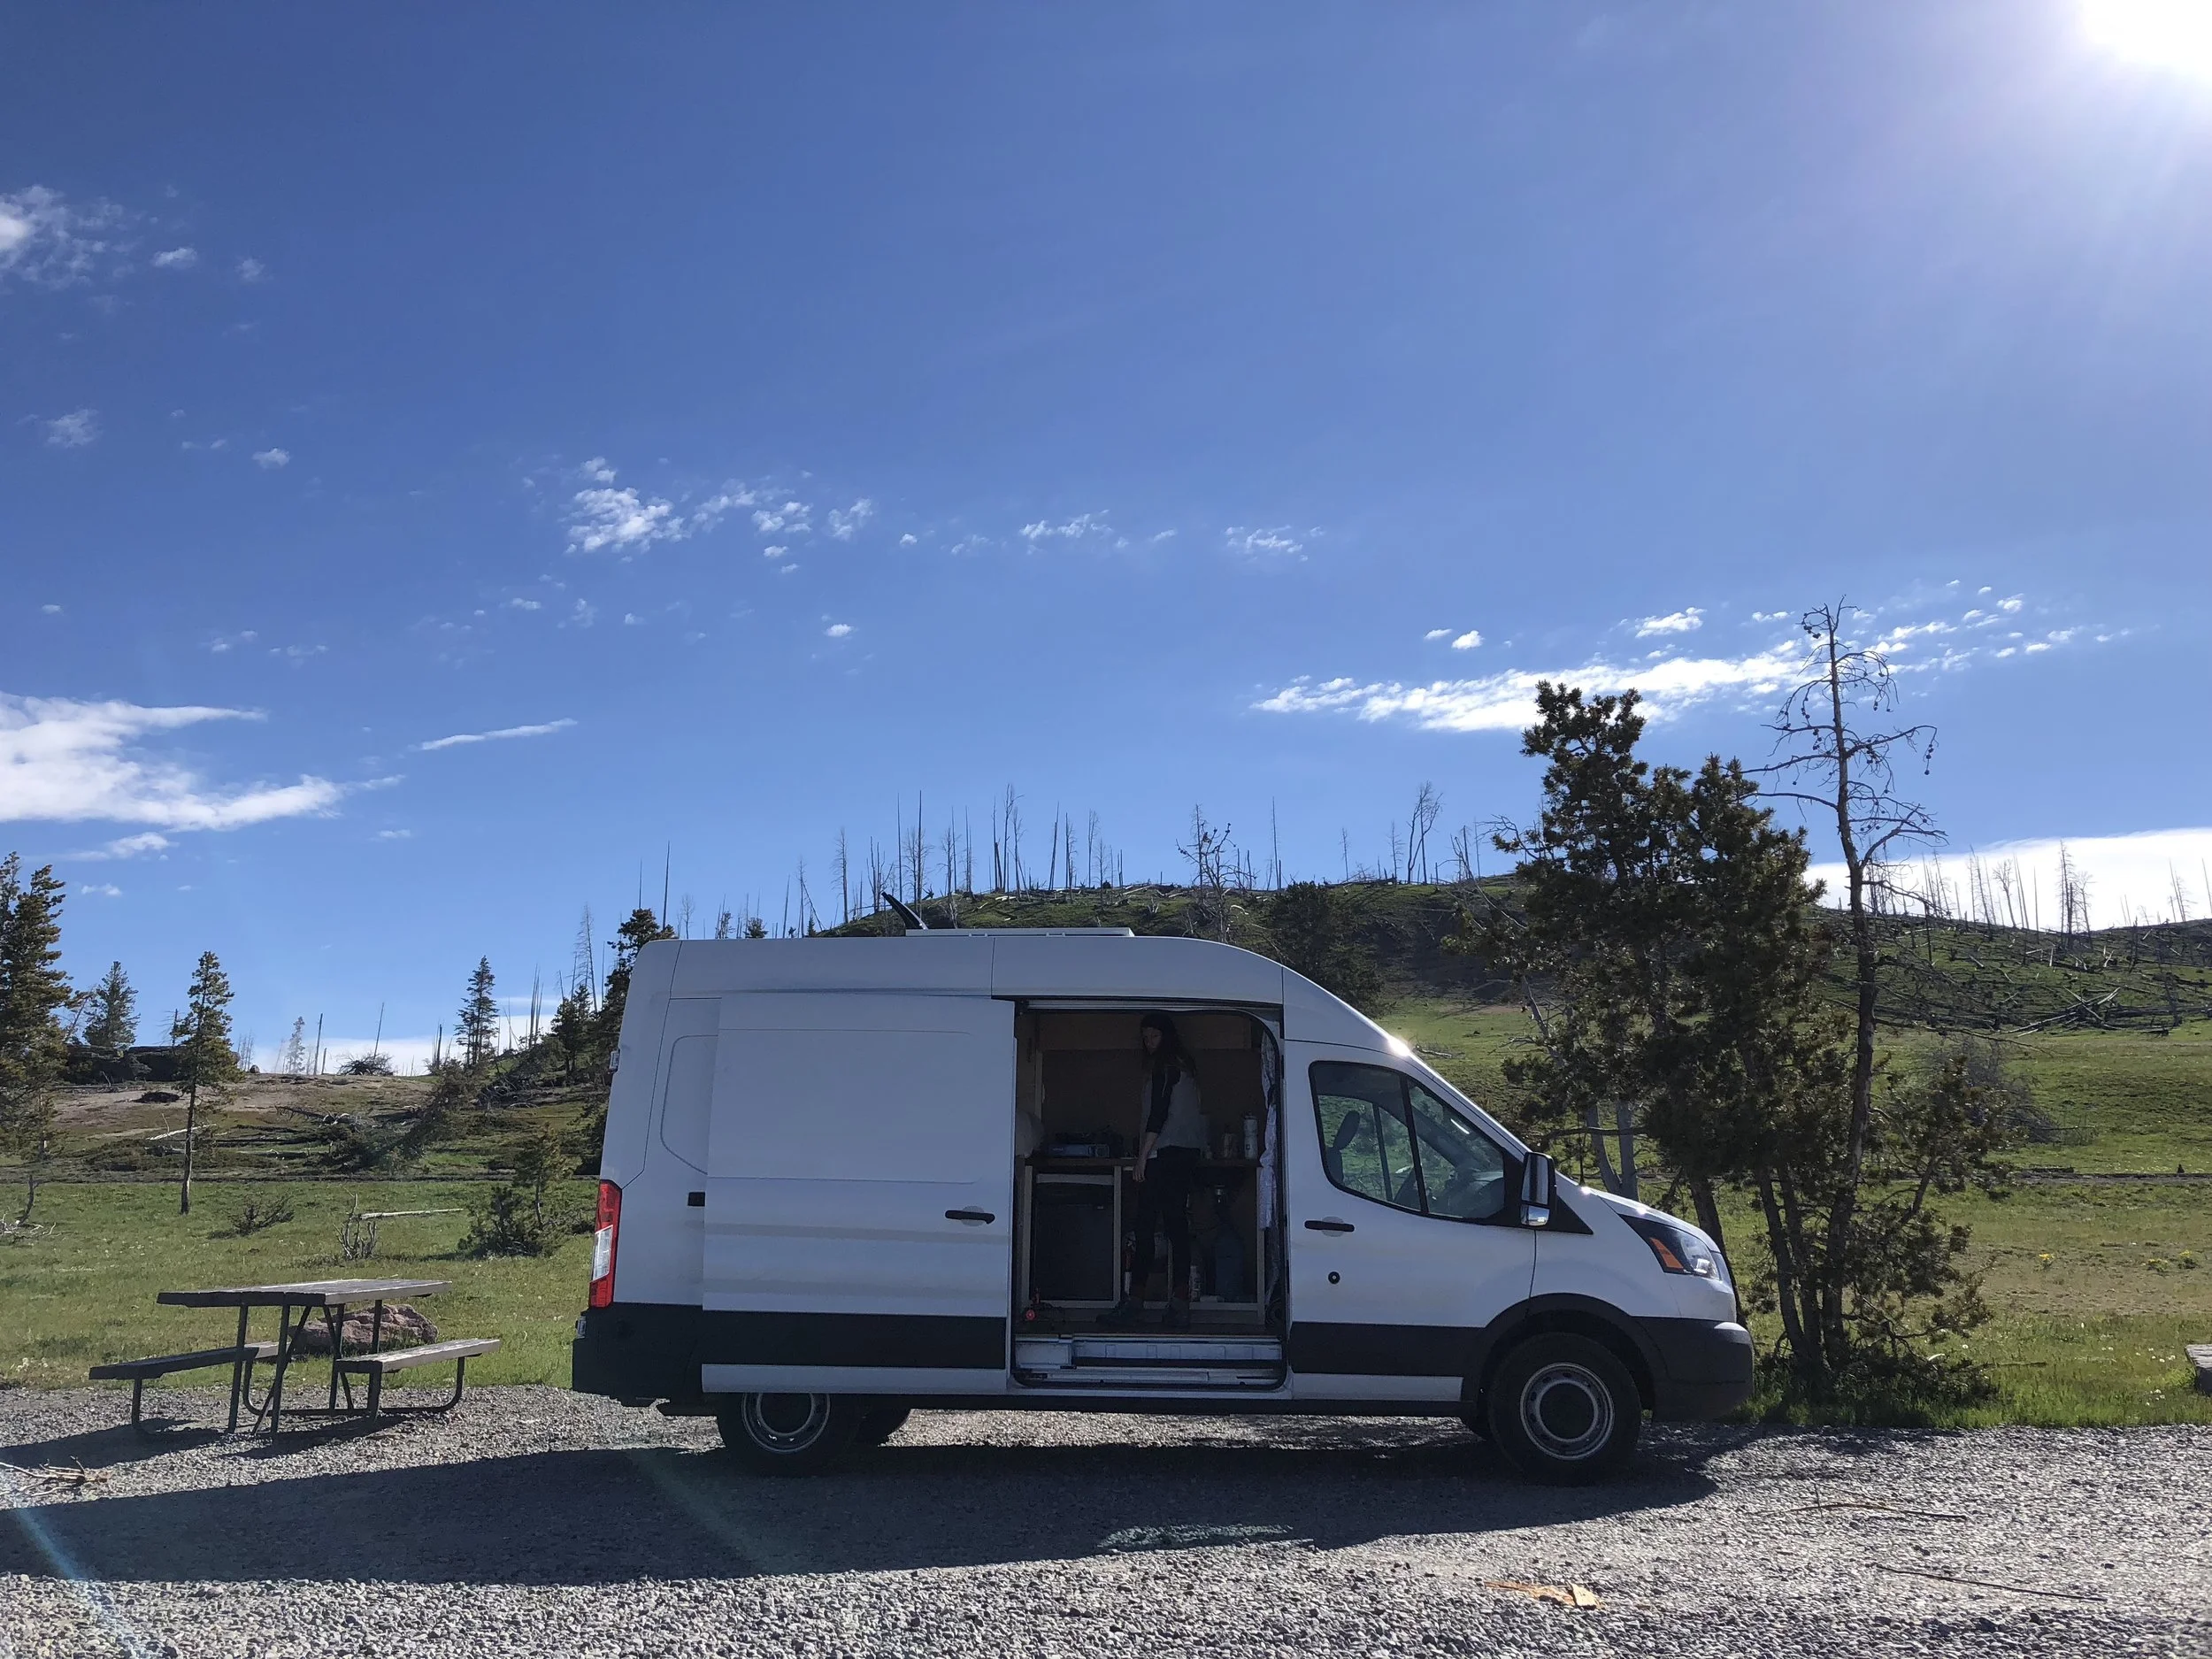
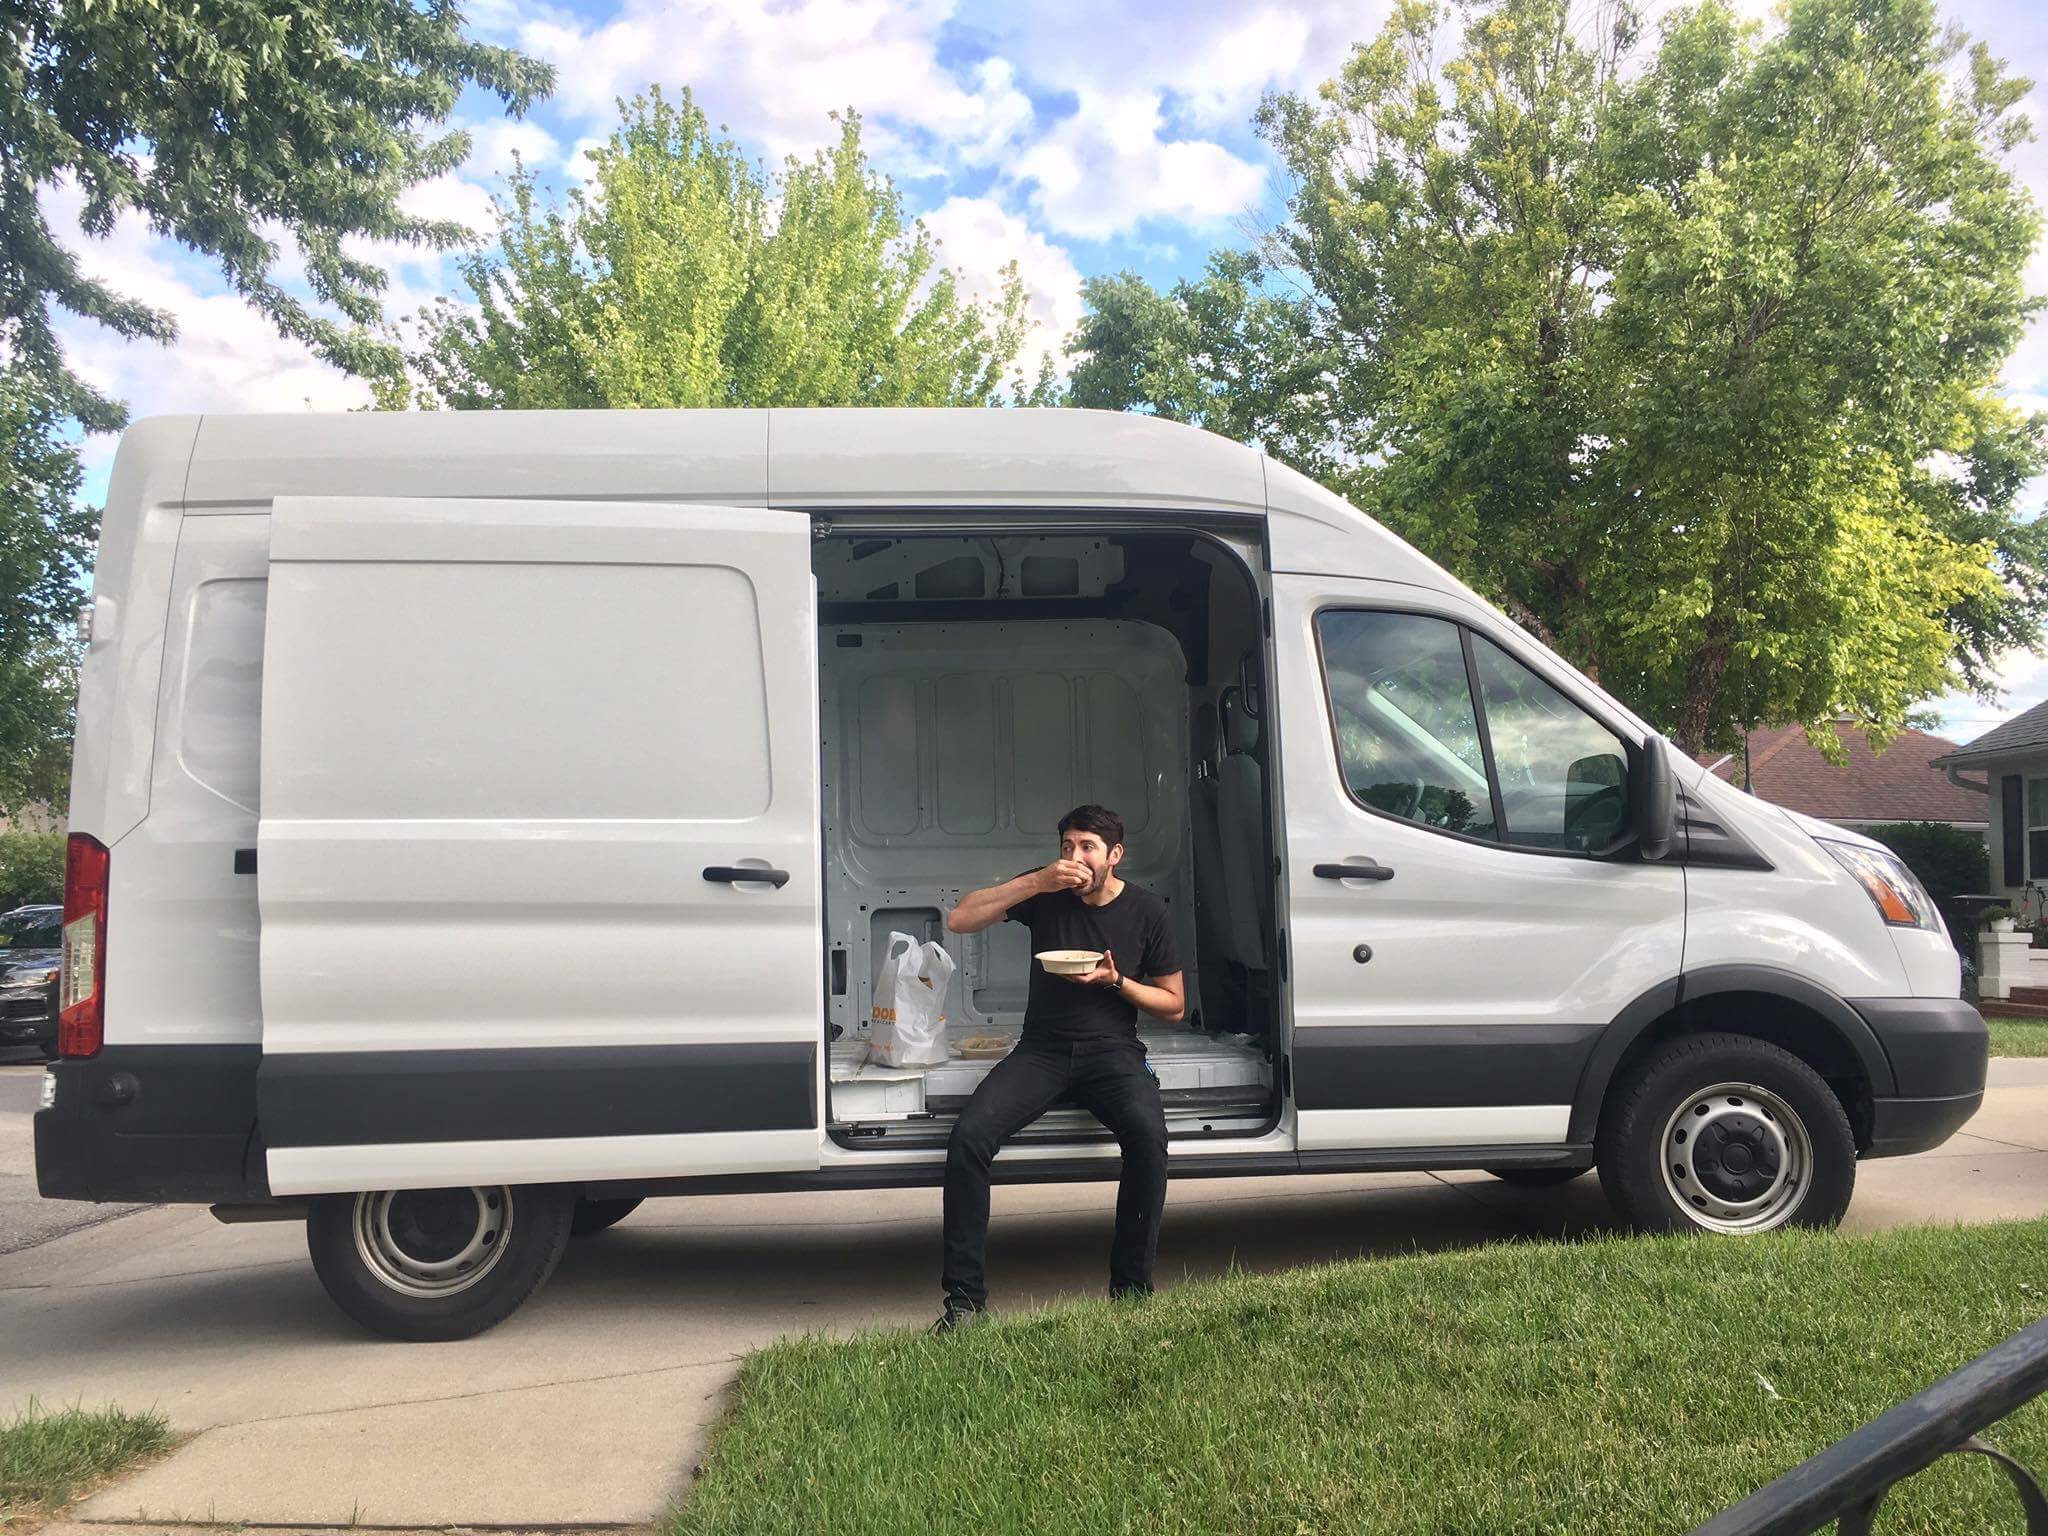
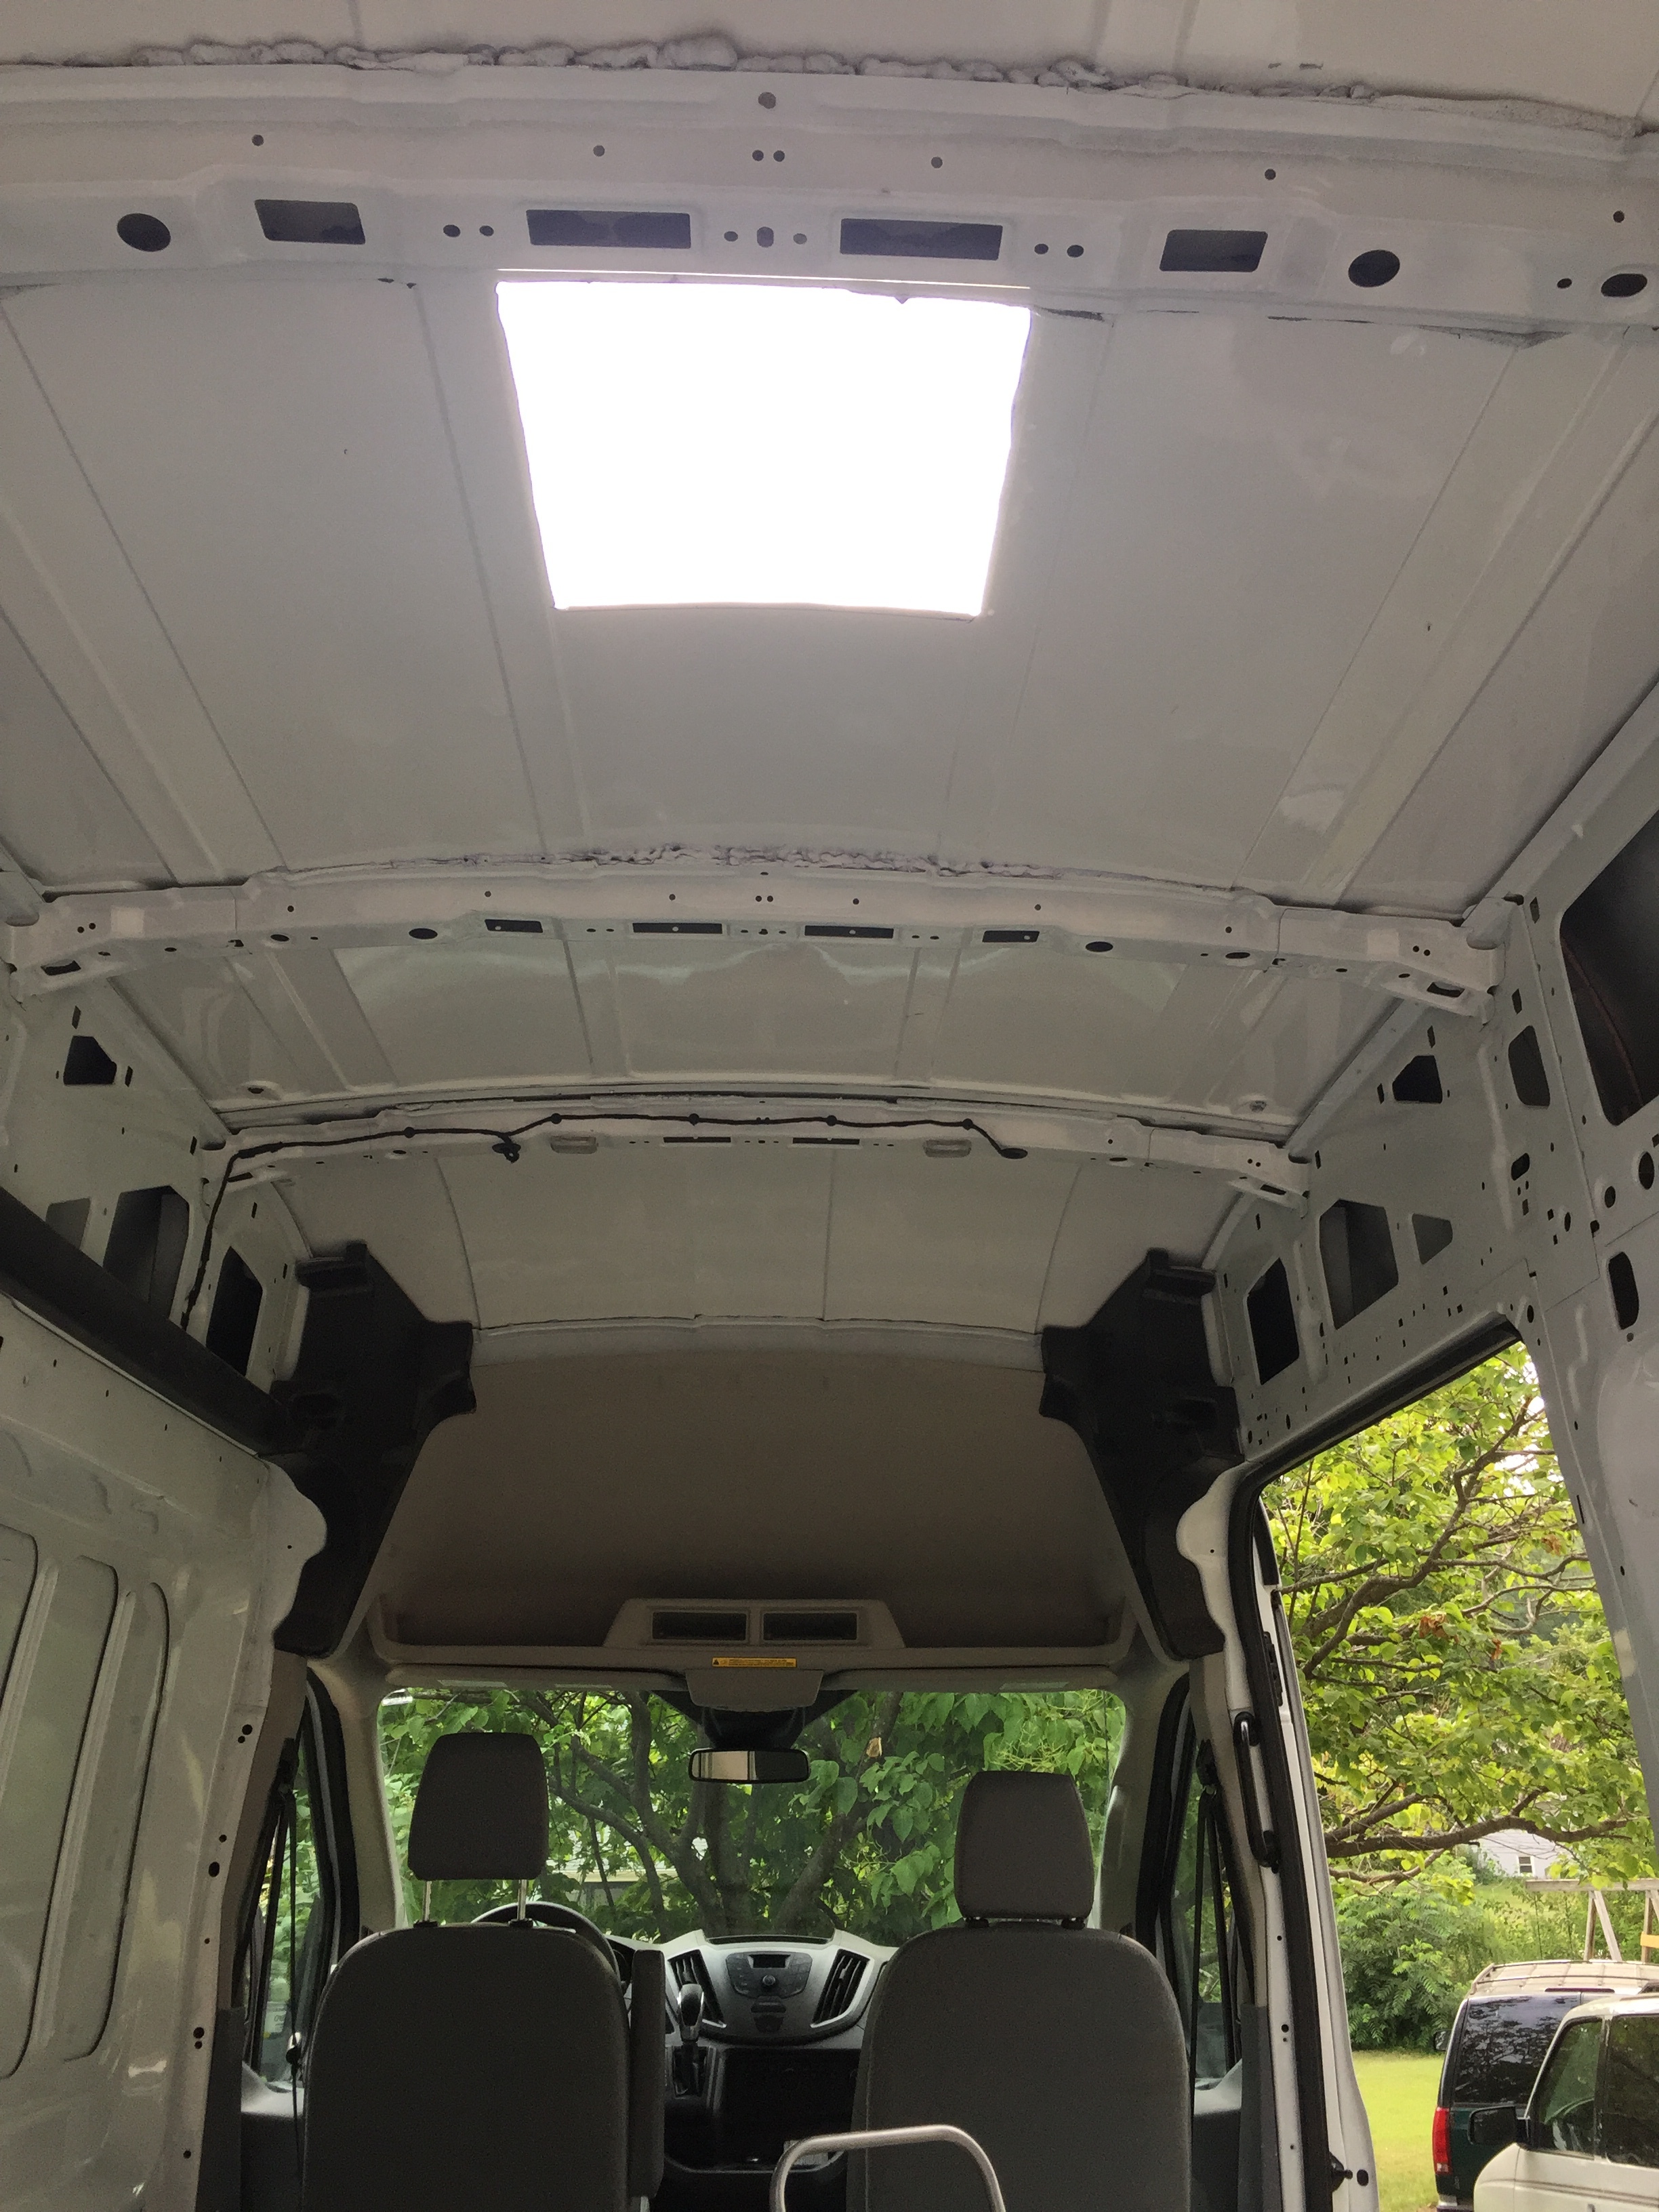
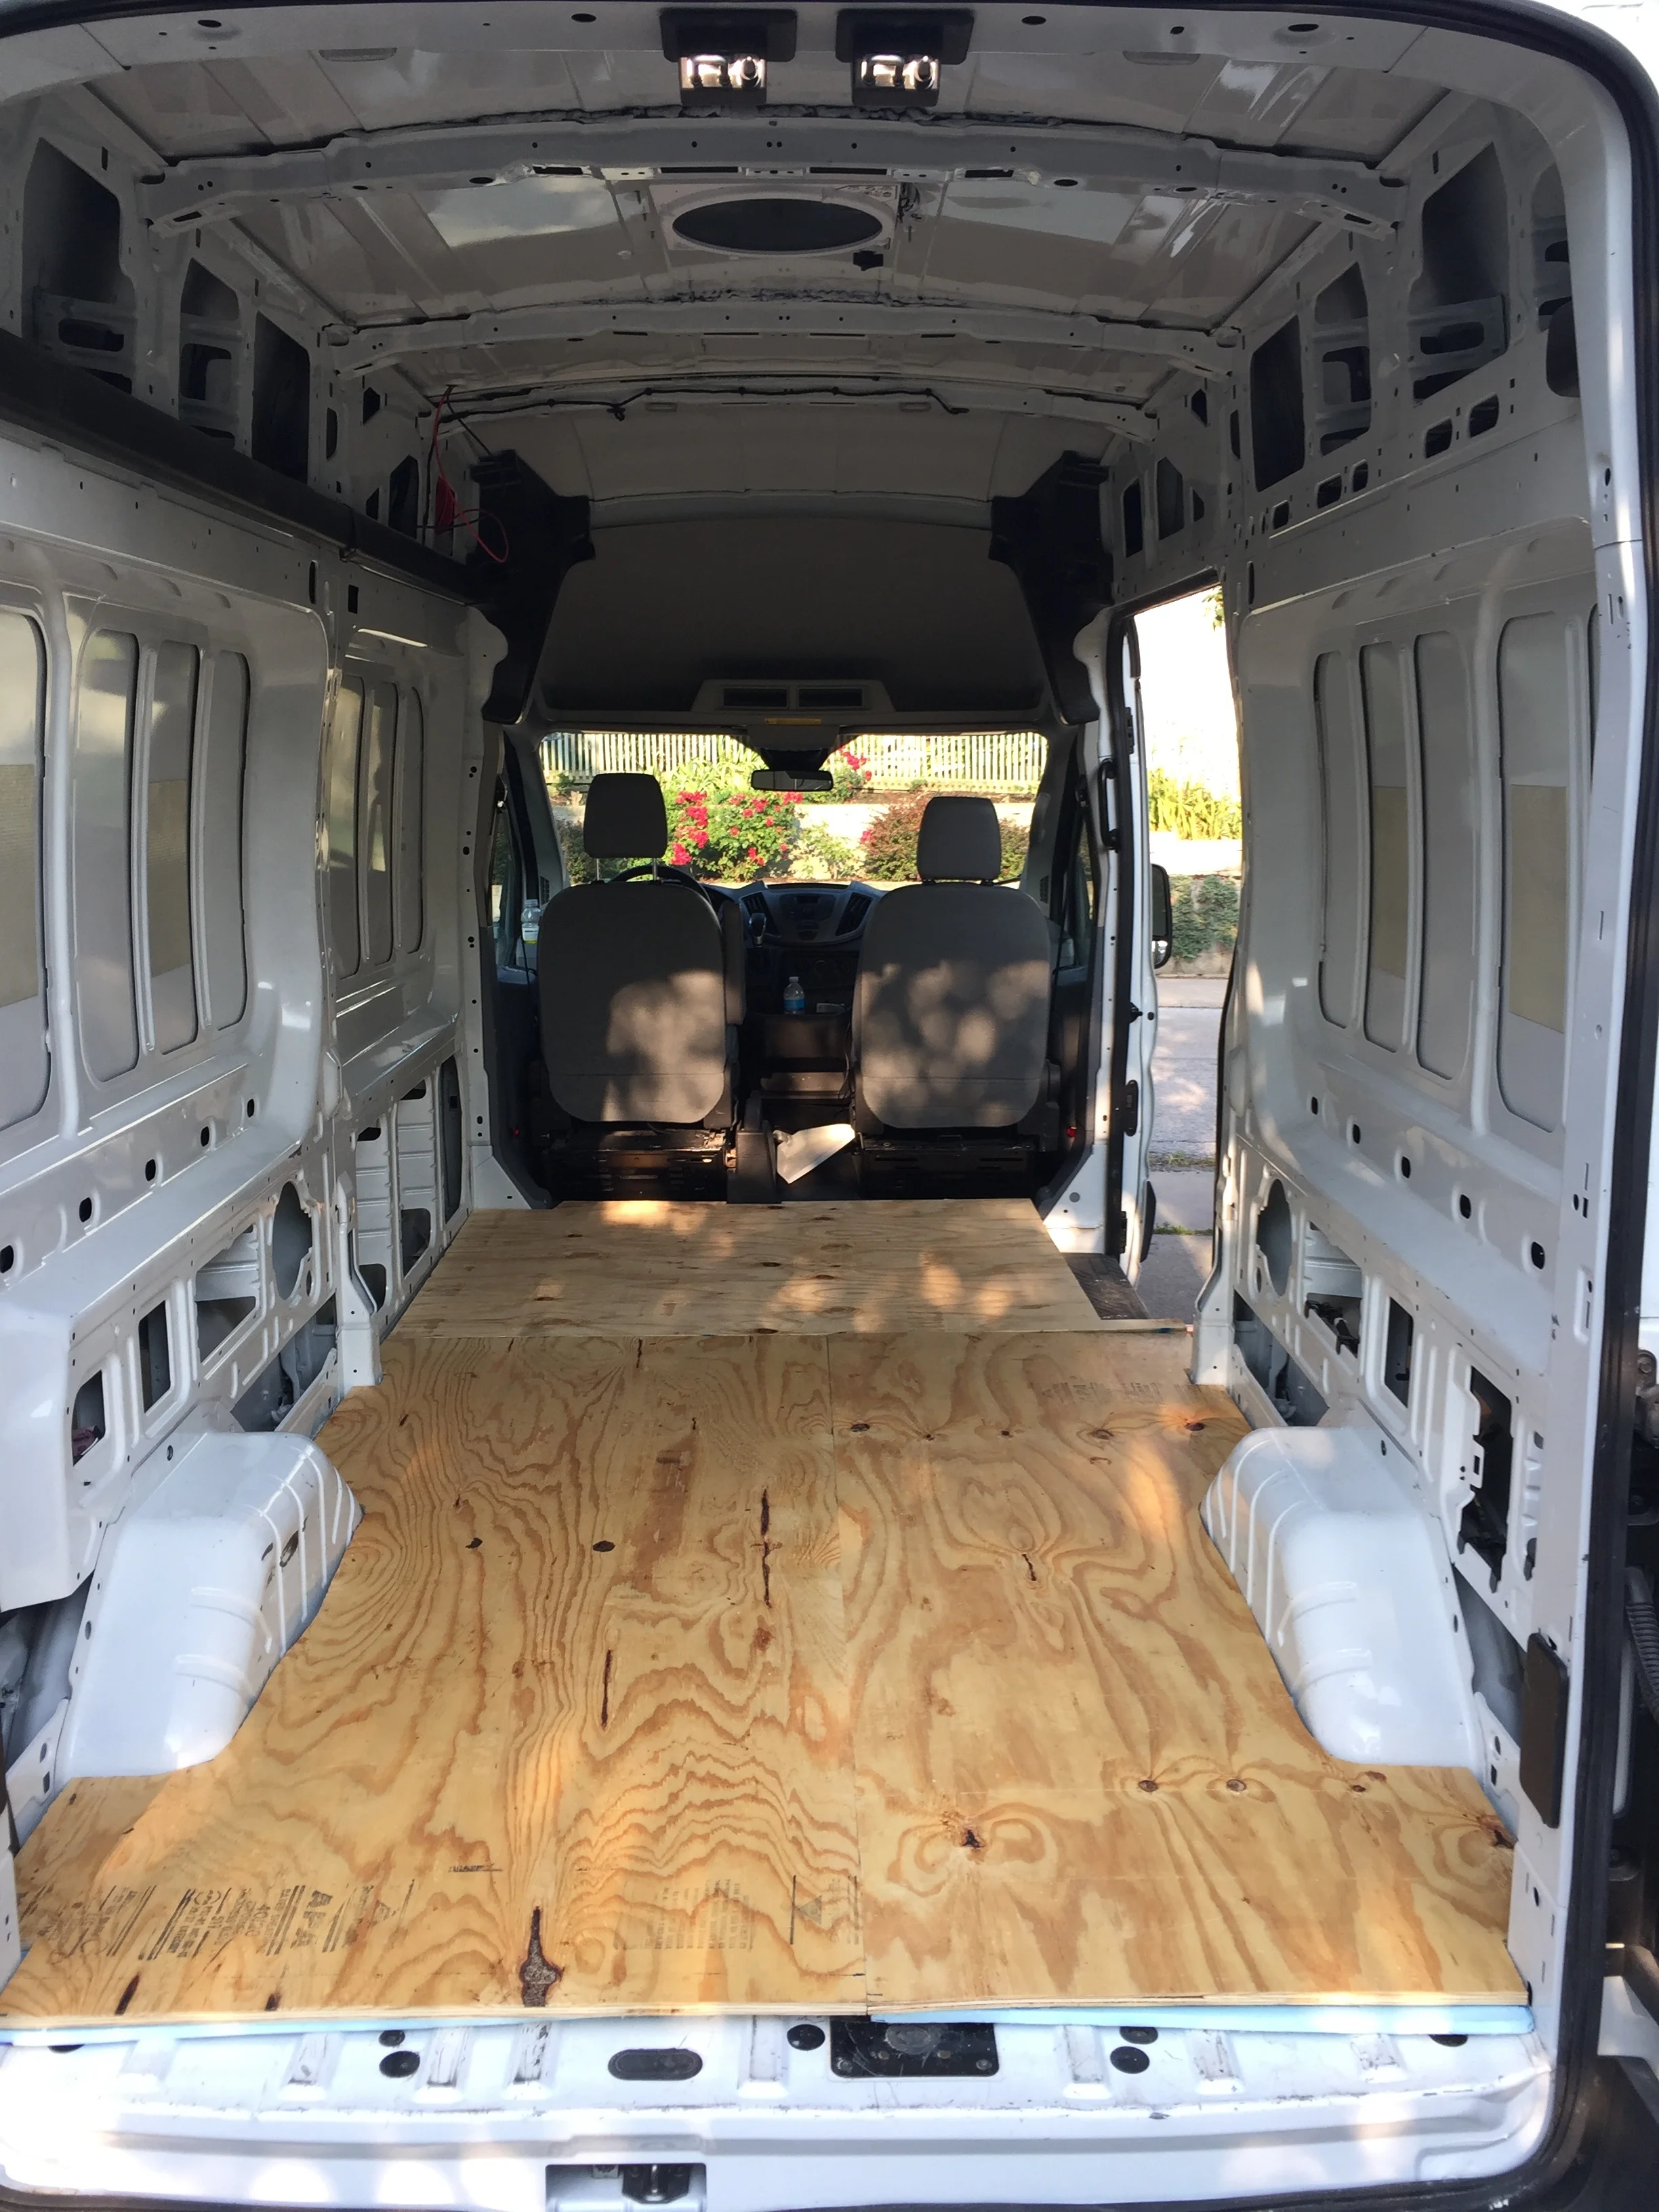
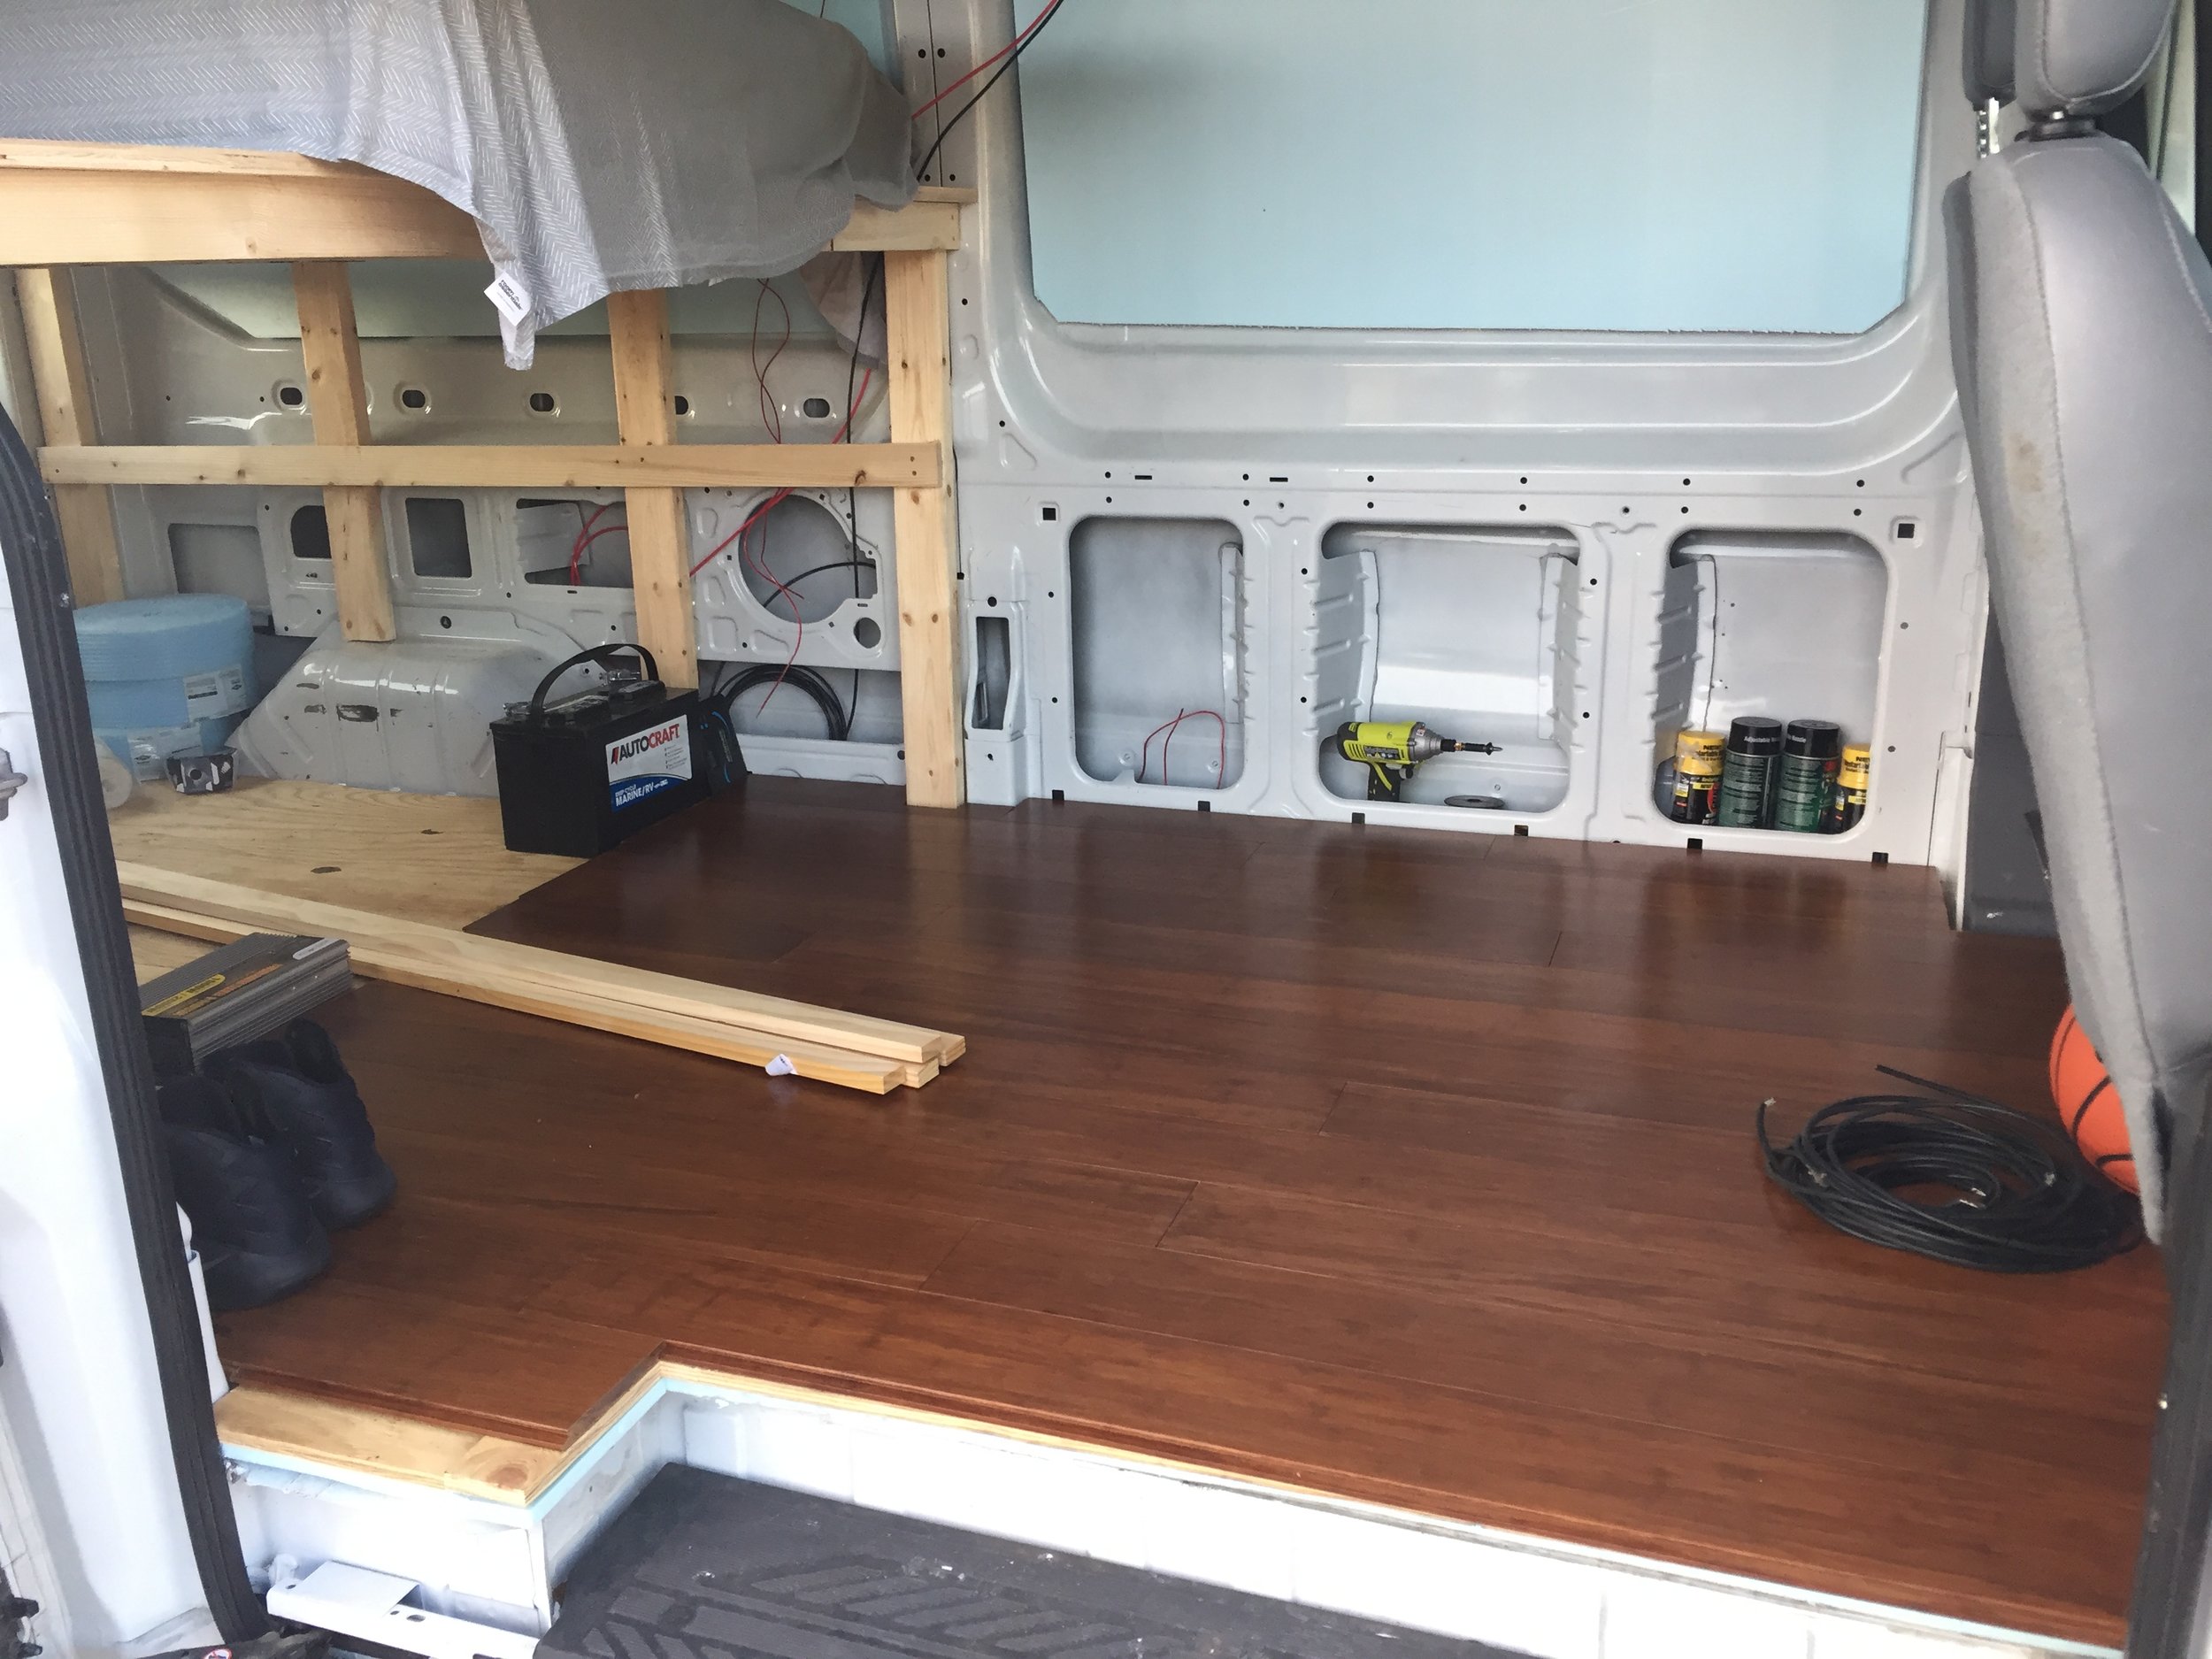
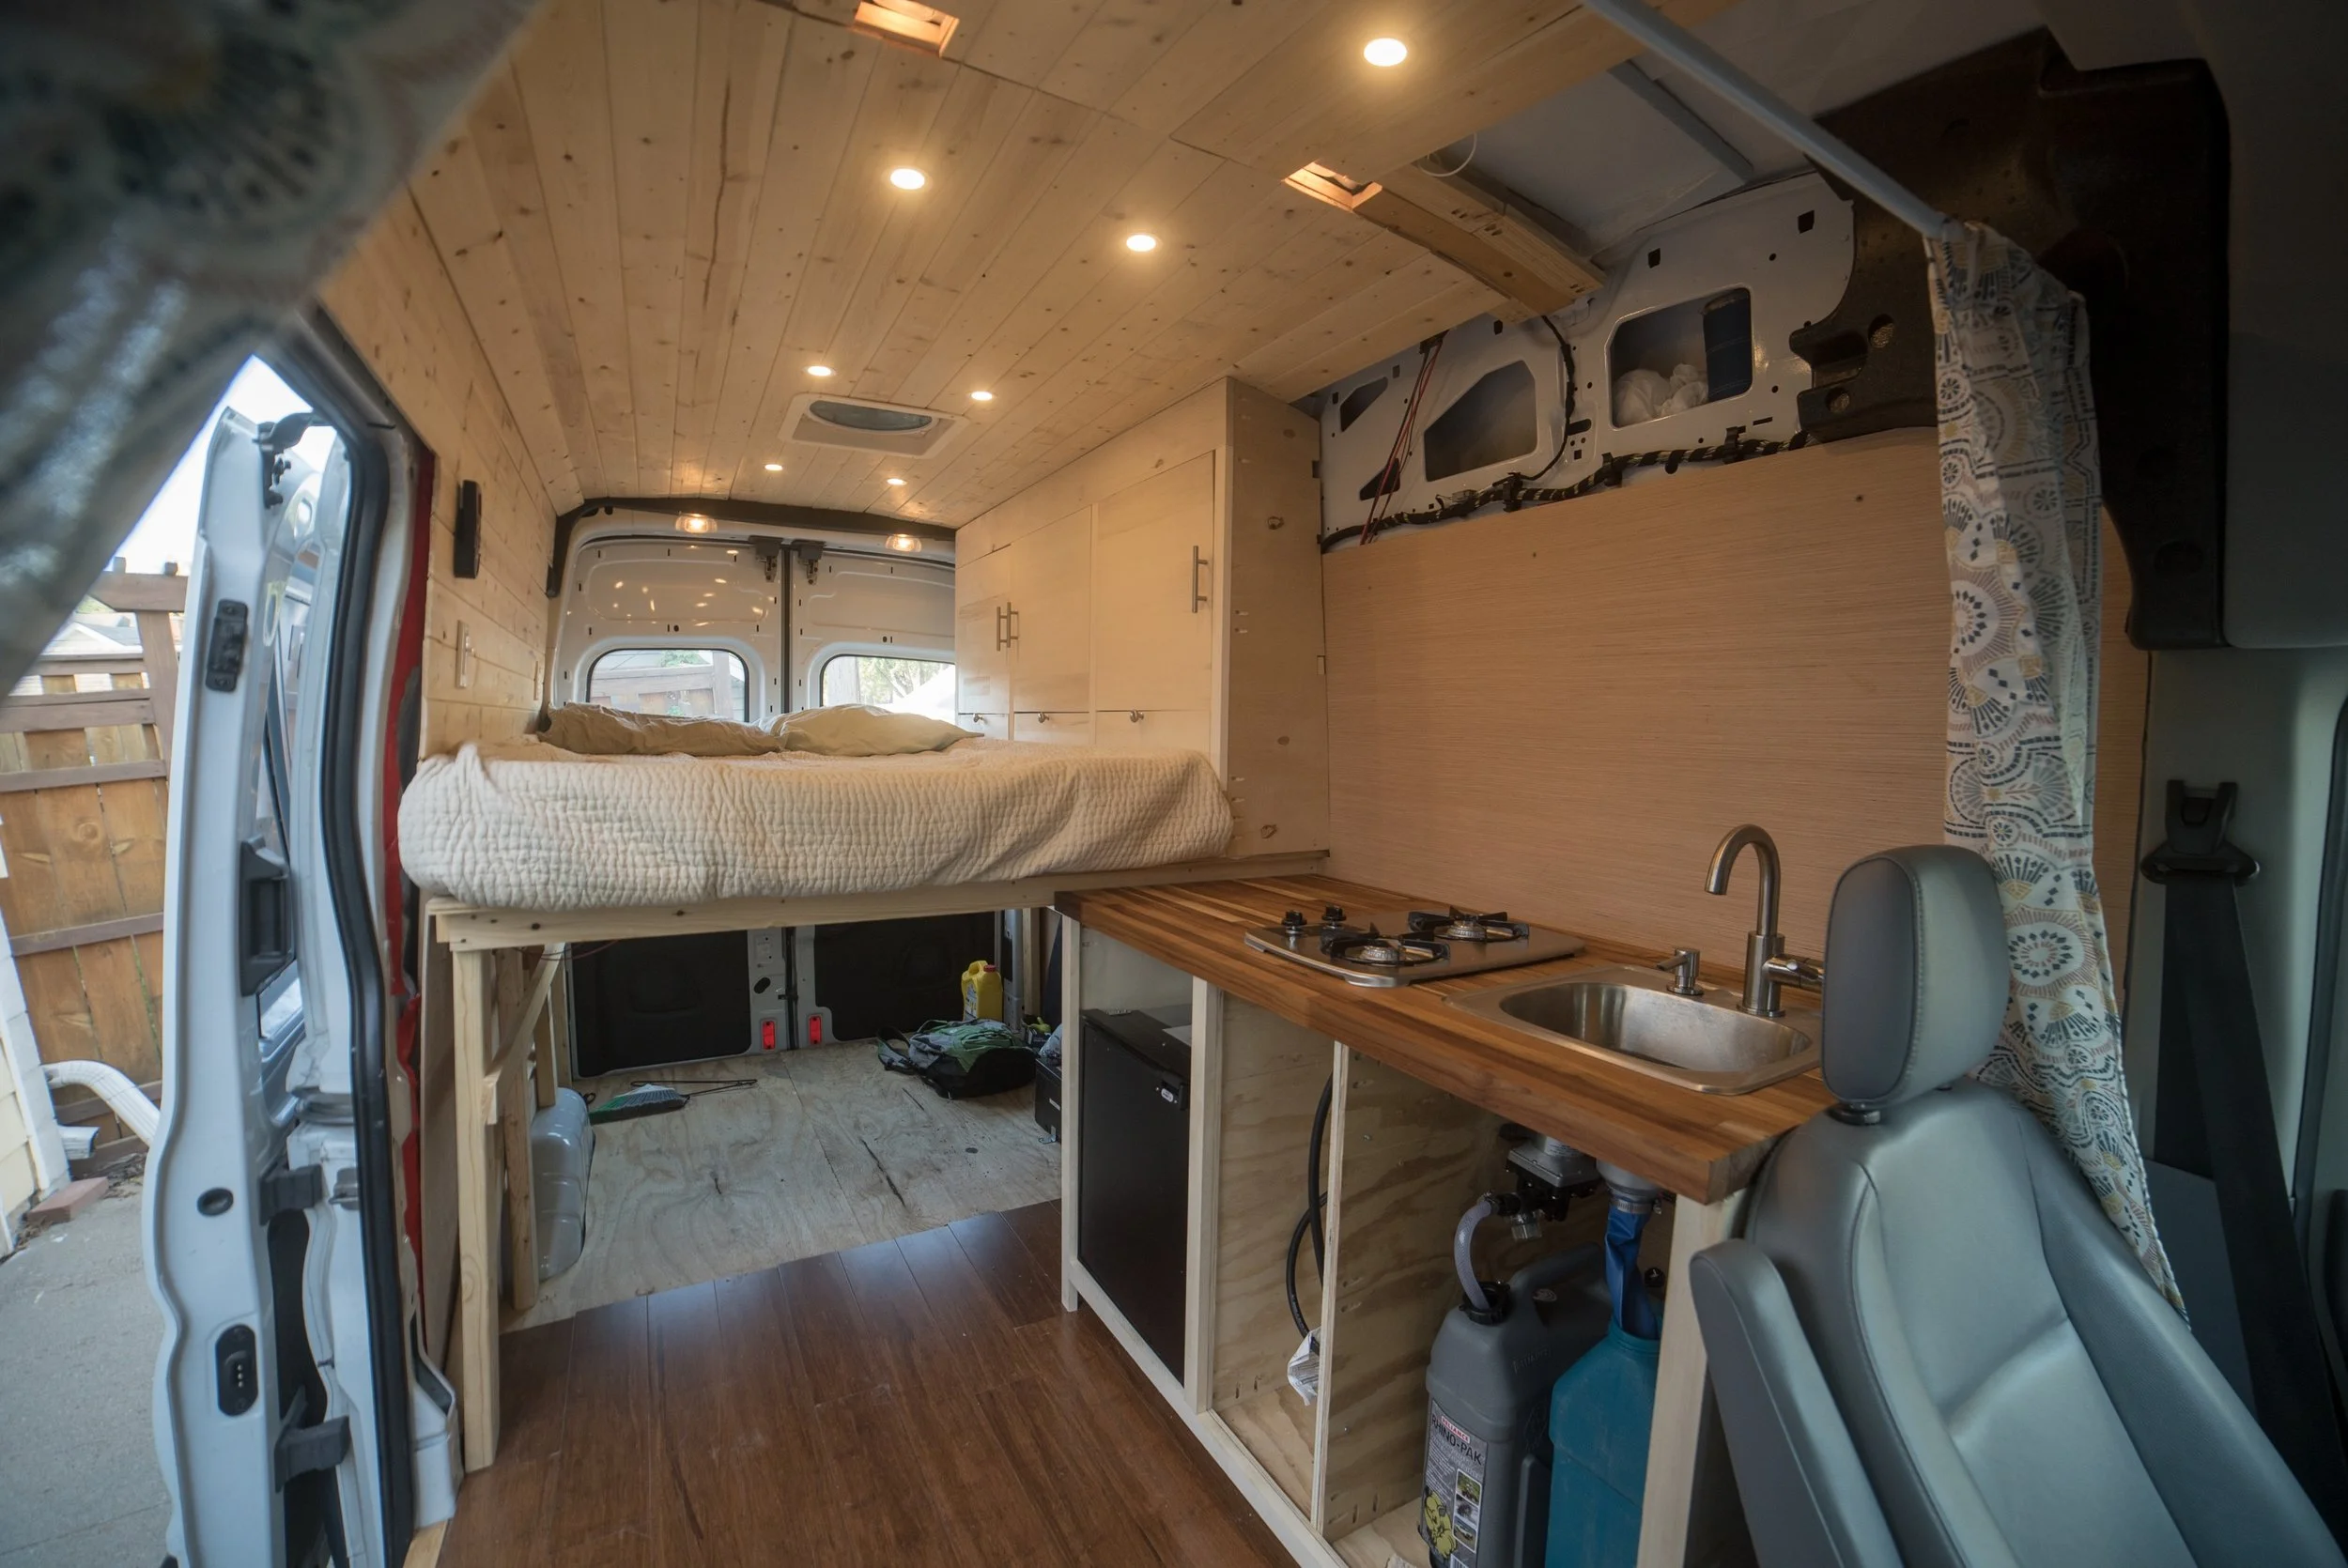
Here’s a 2016 Ford Transit 250 high roof camper van with 35,400 miles. This van is in excellent shape, has lots of storage and is a blast to travel in!
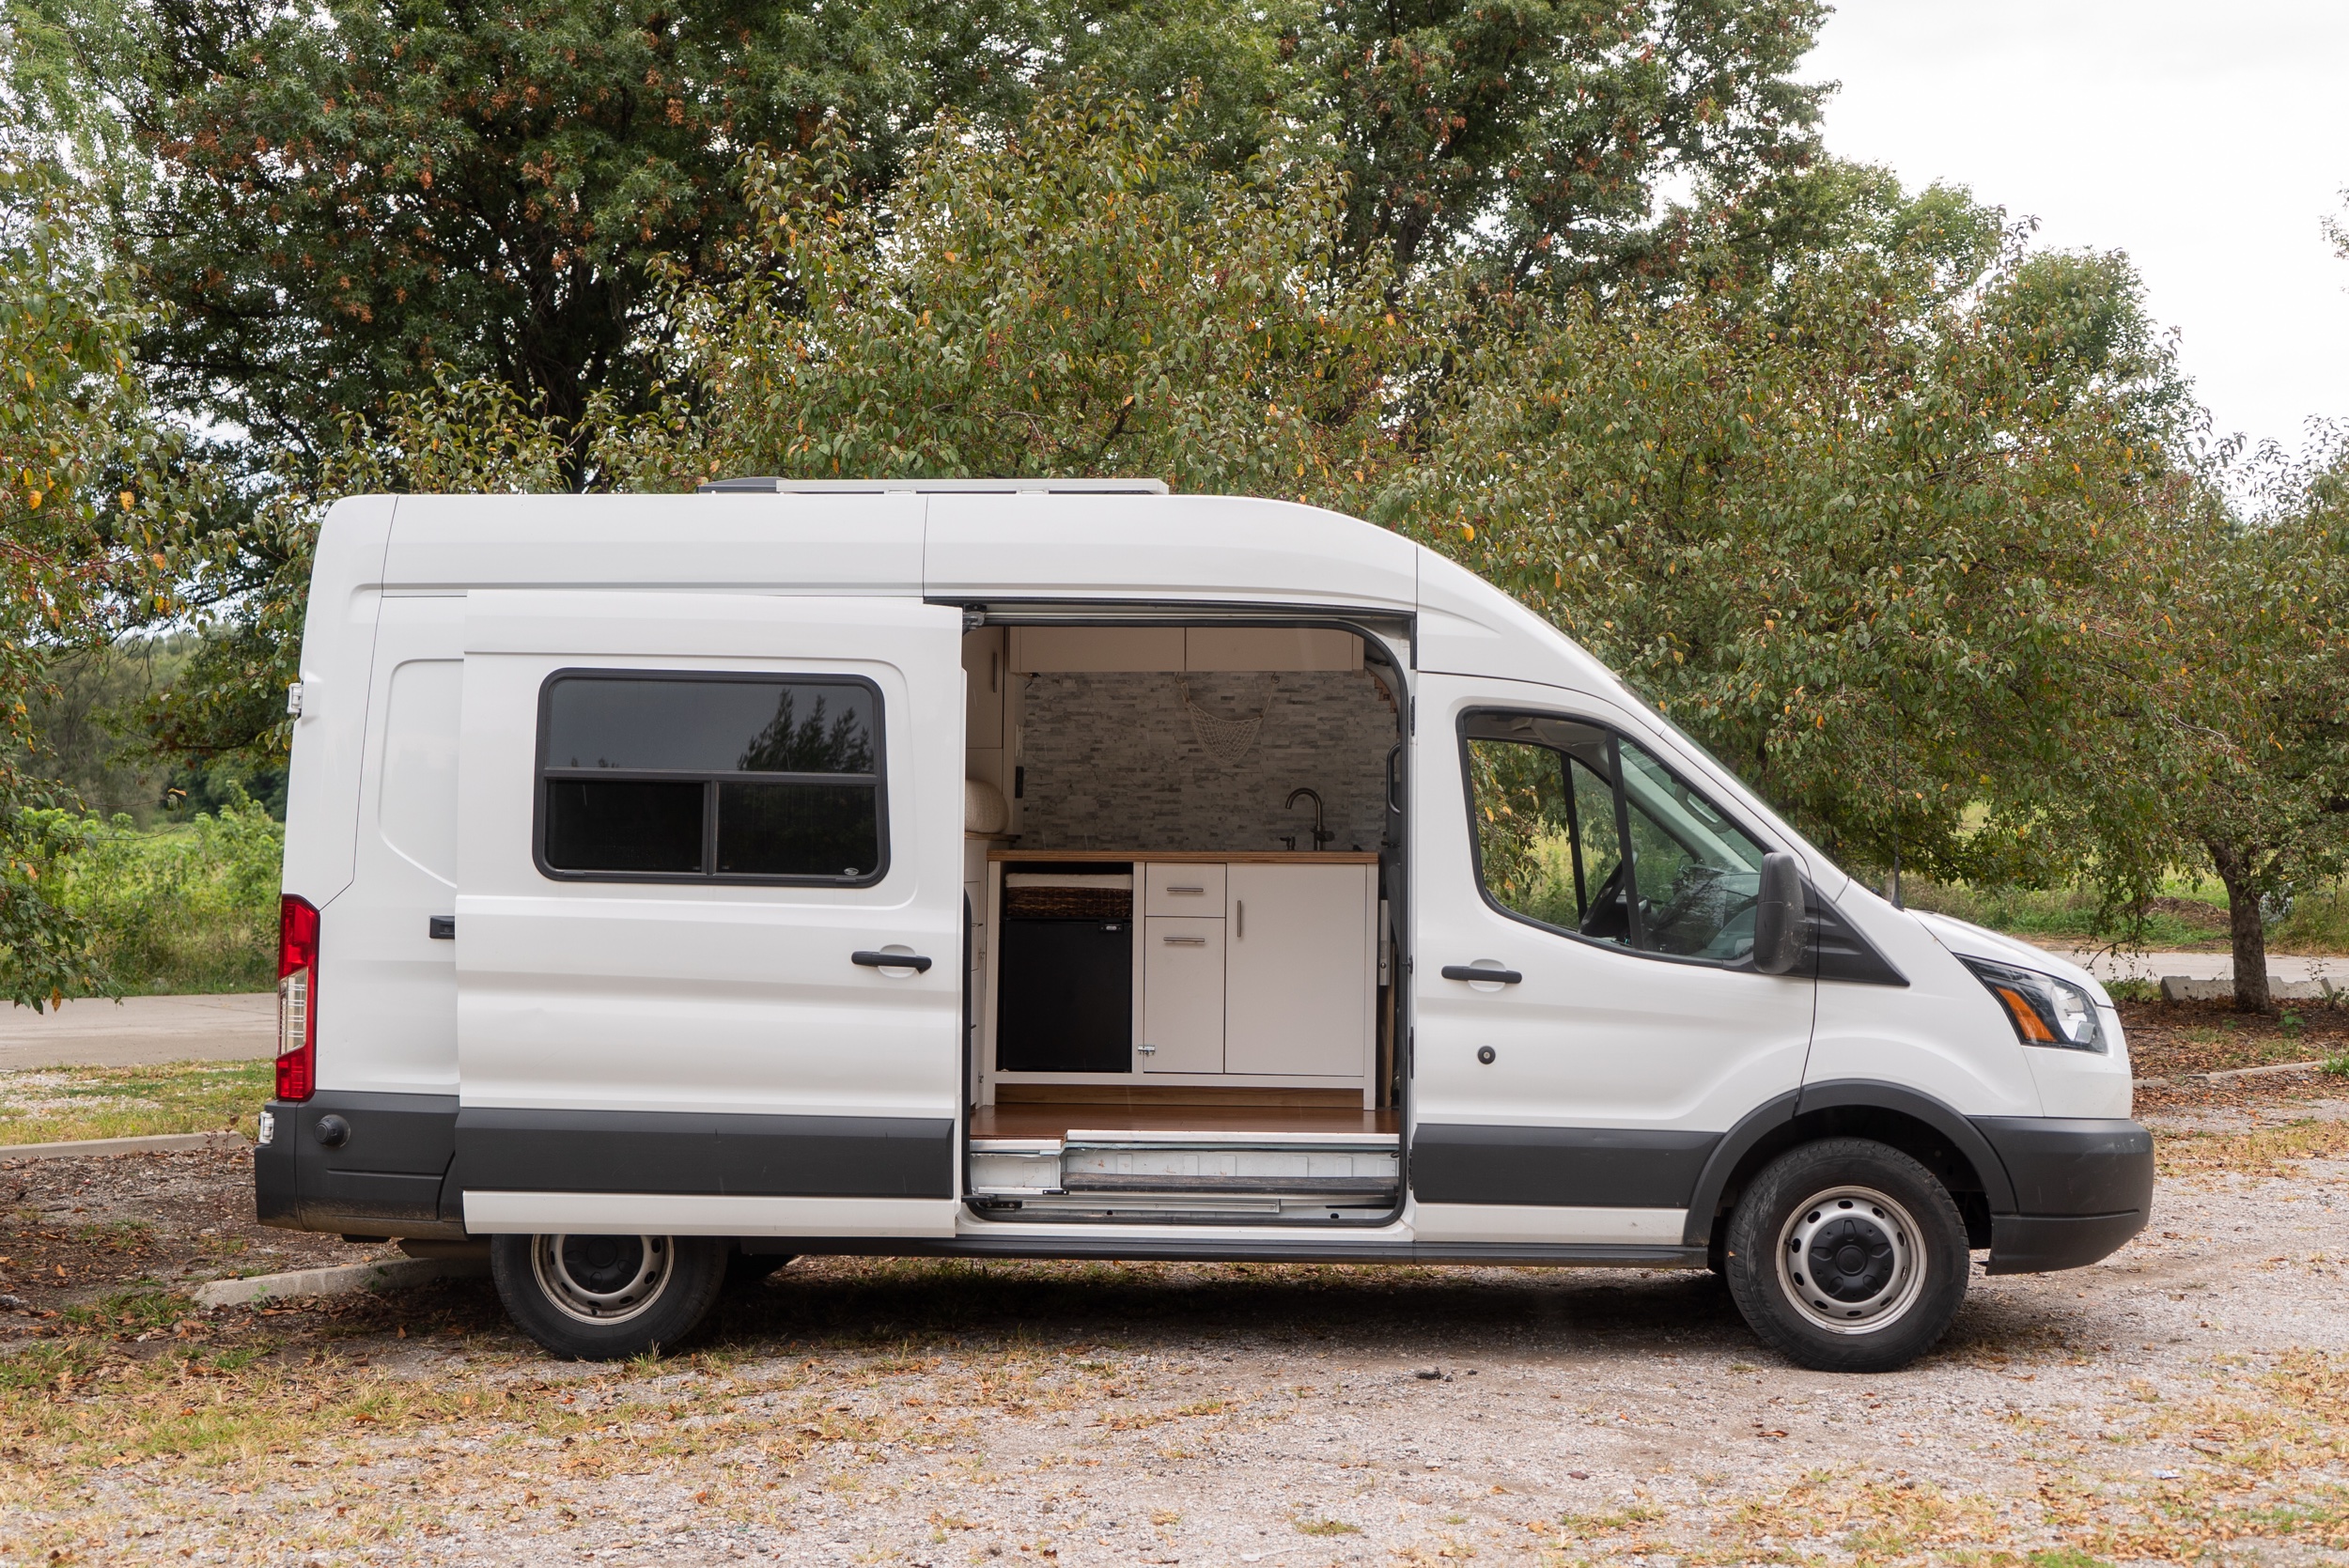
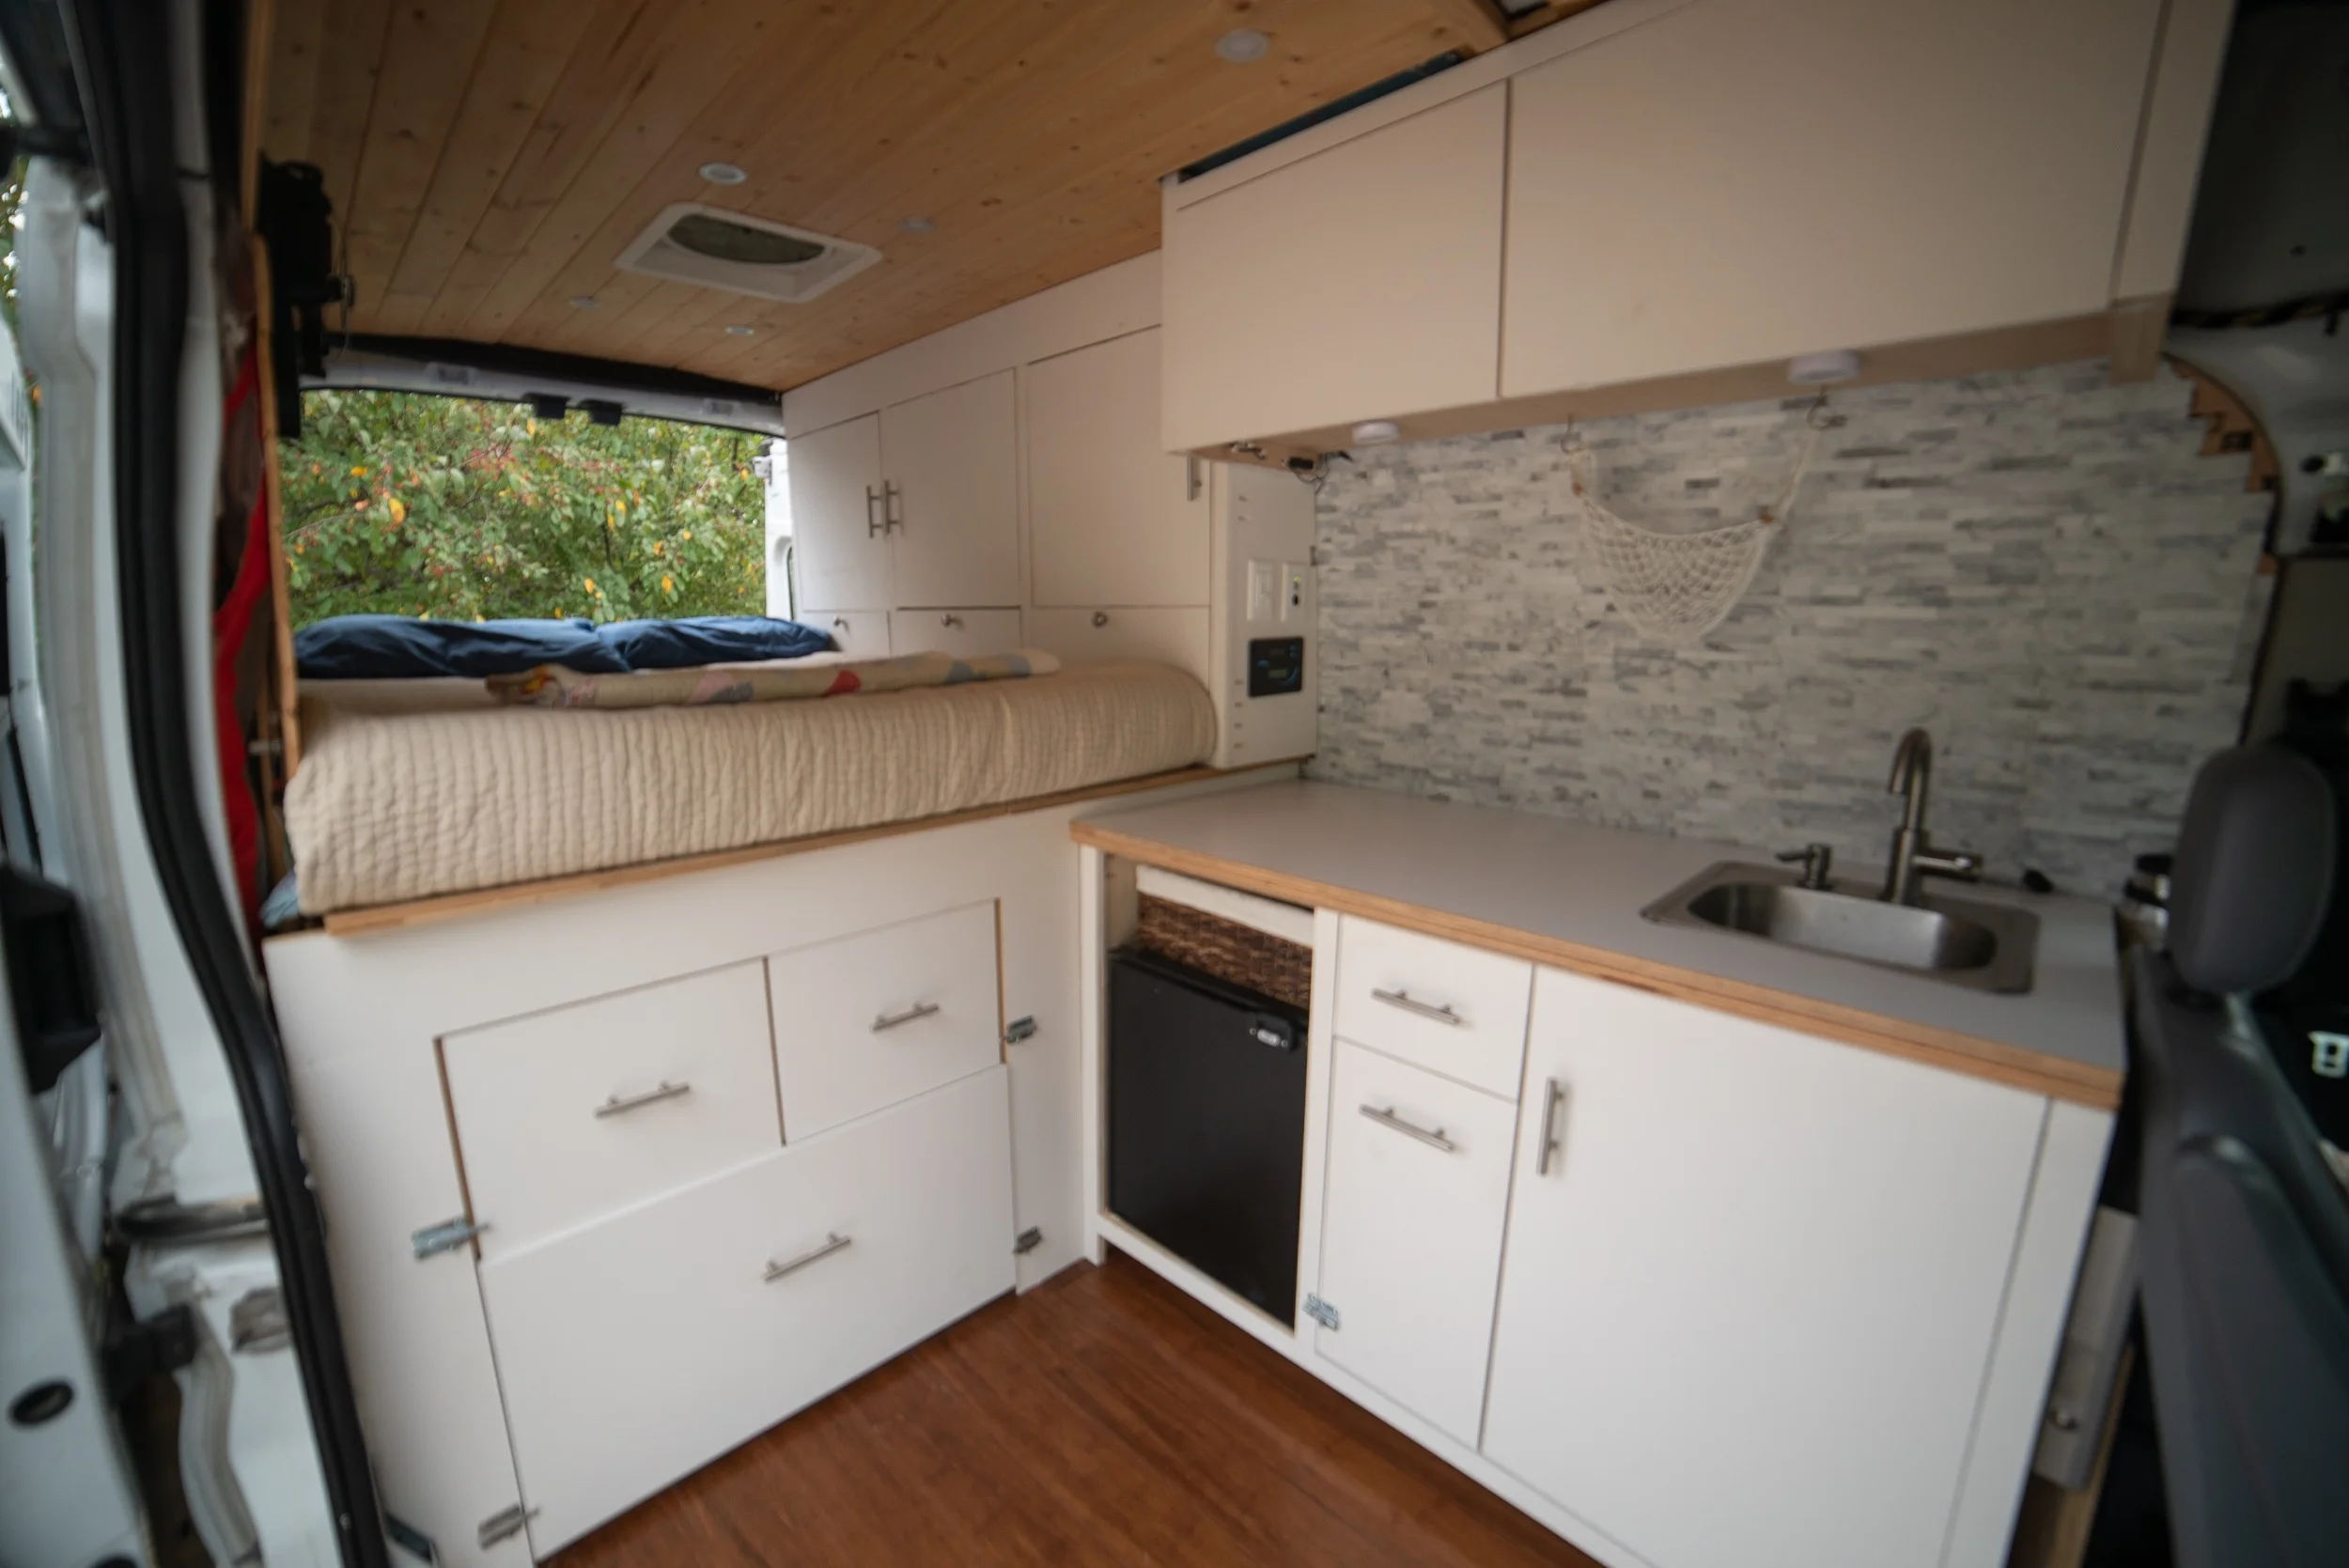
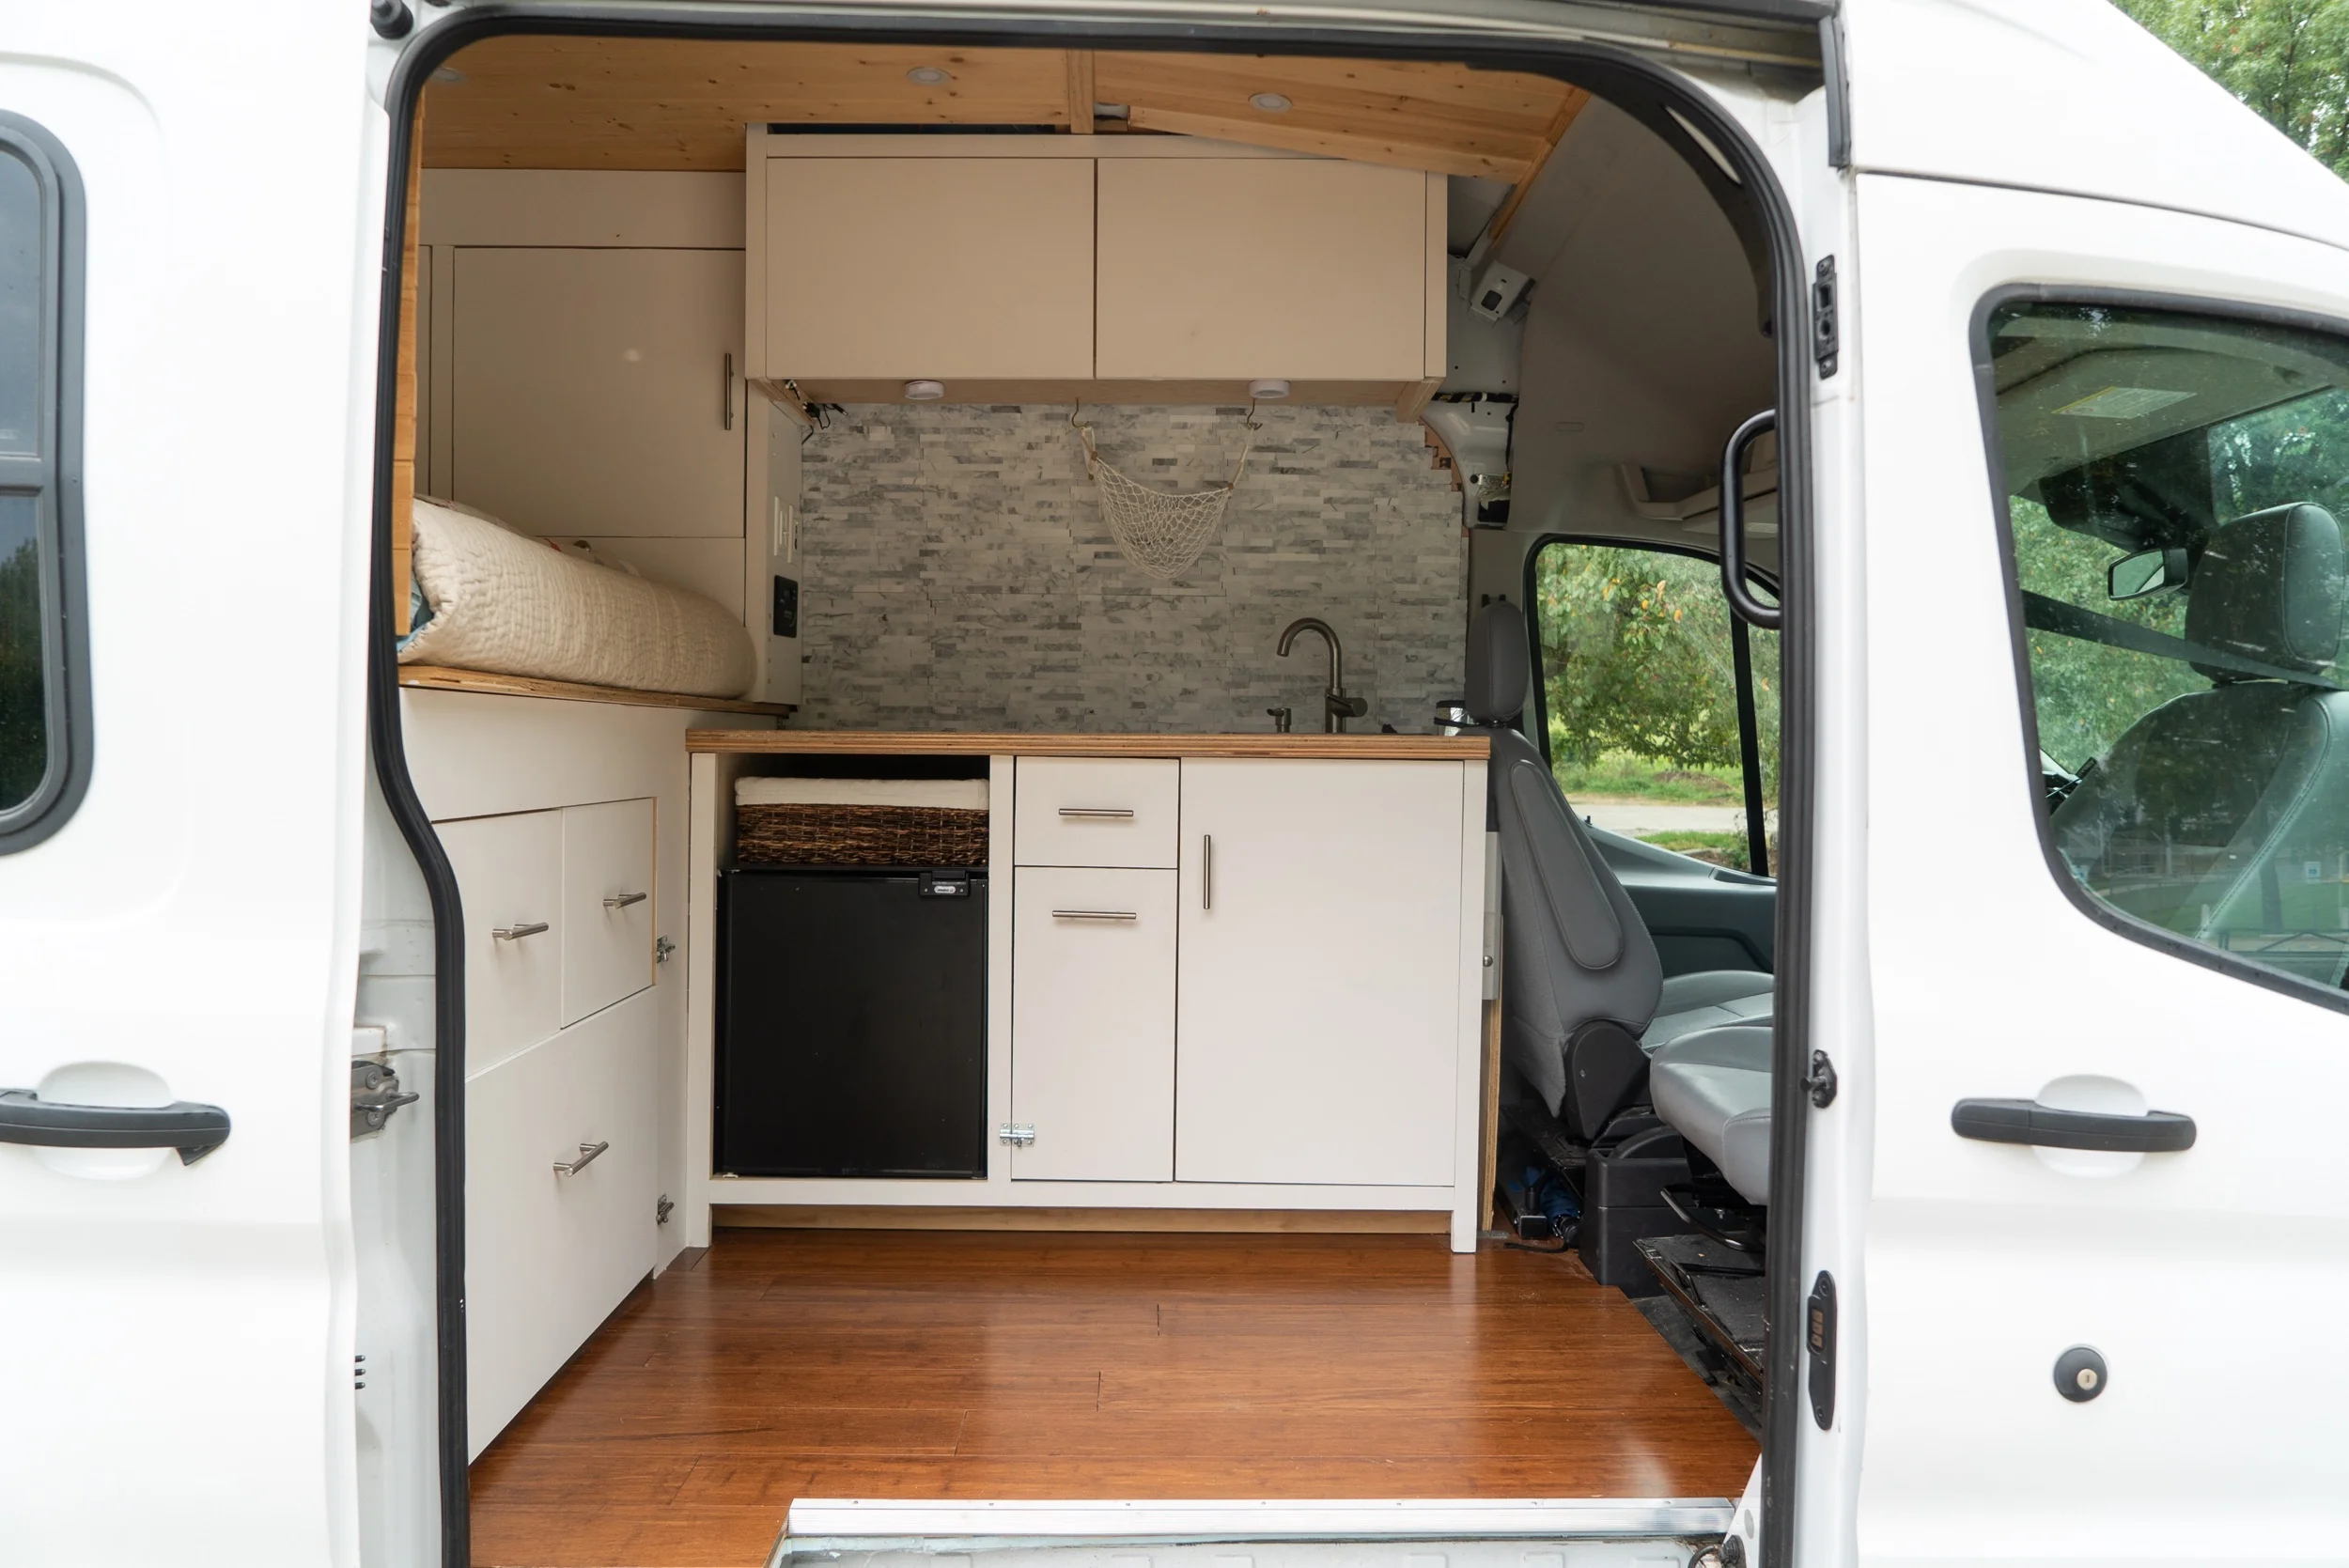
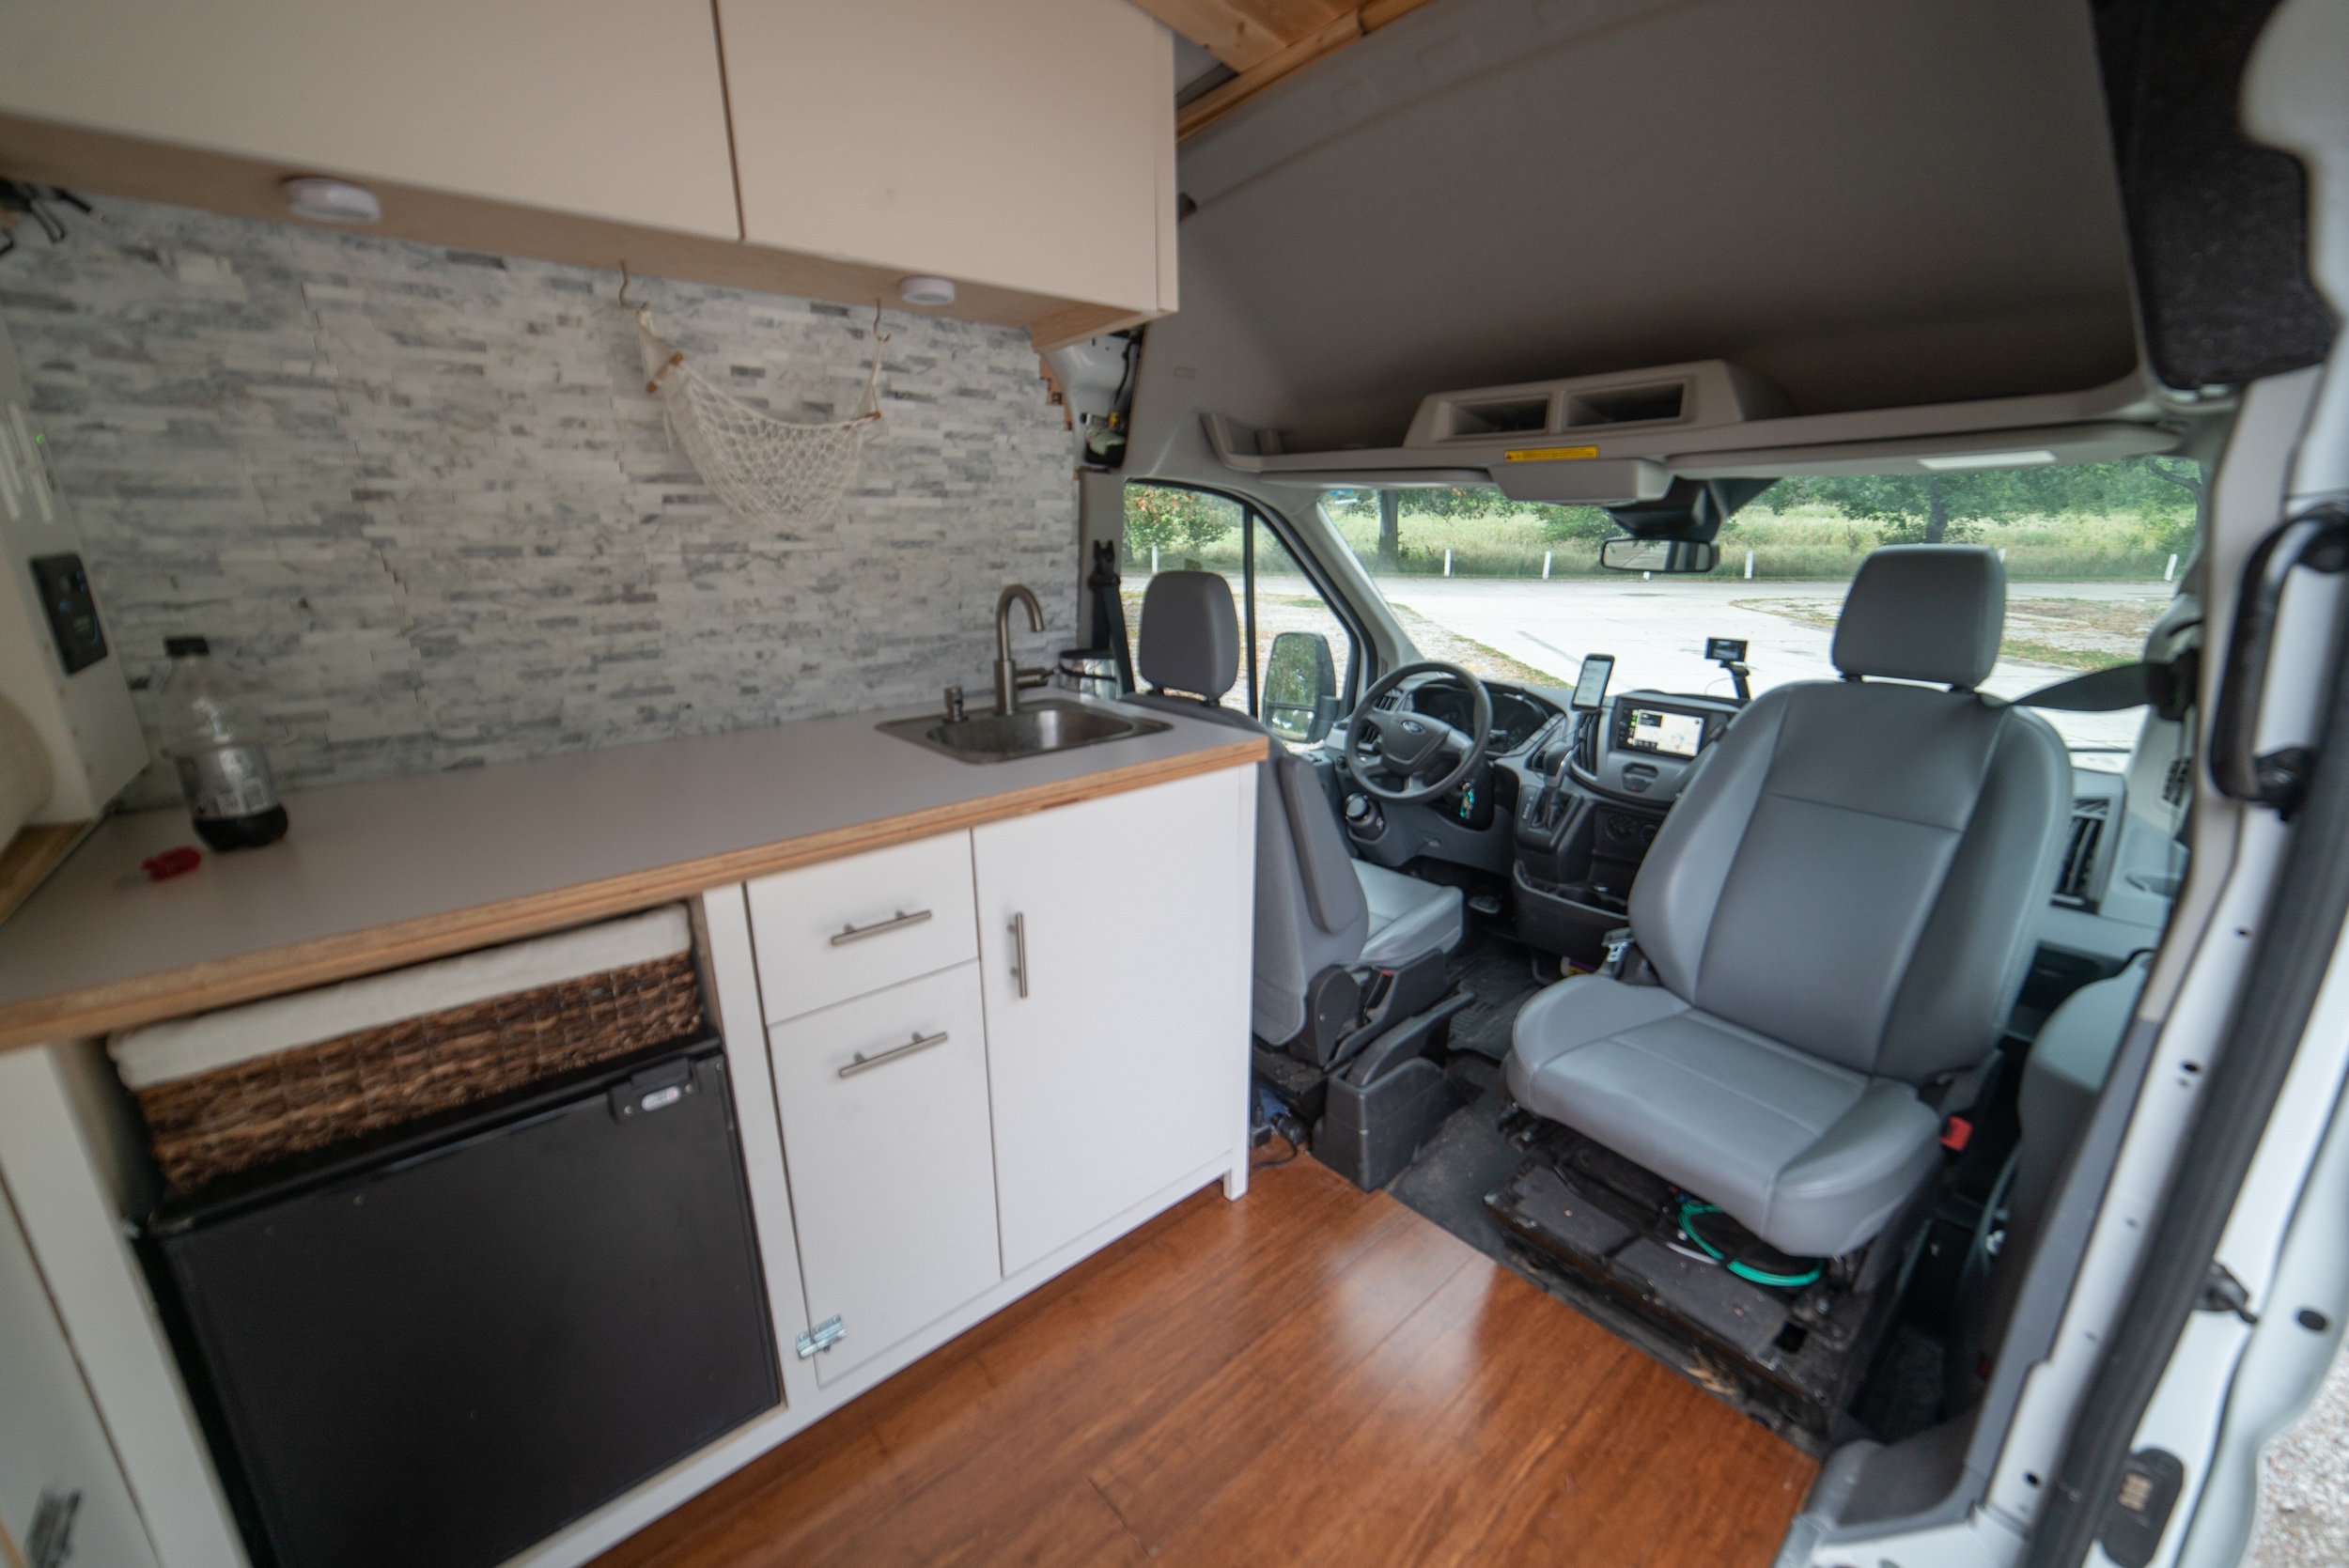
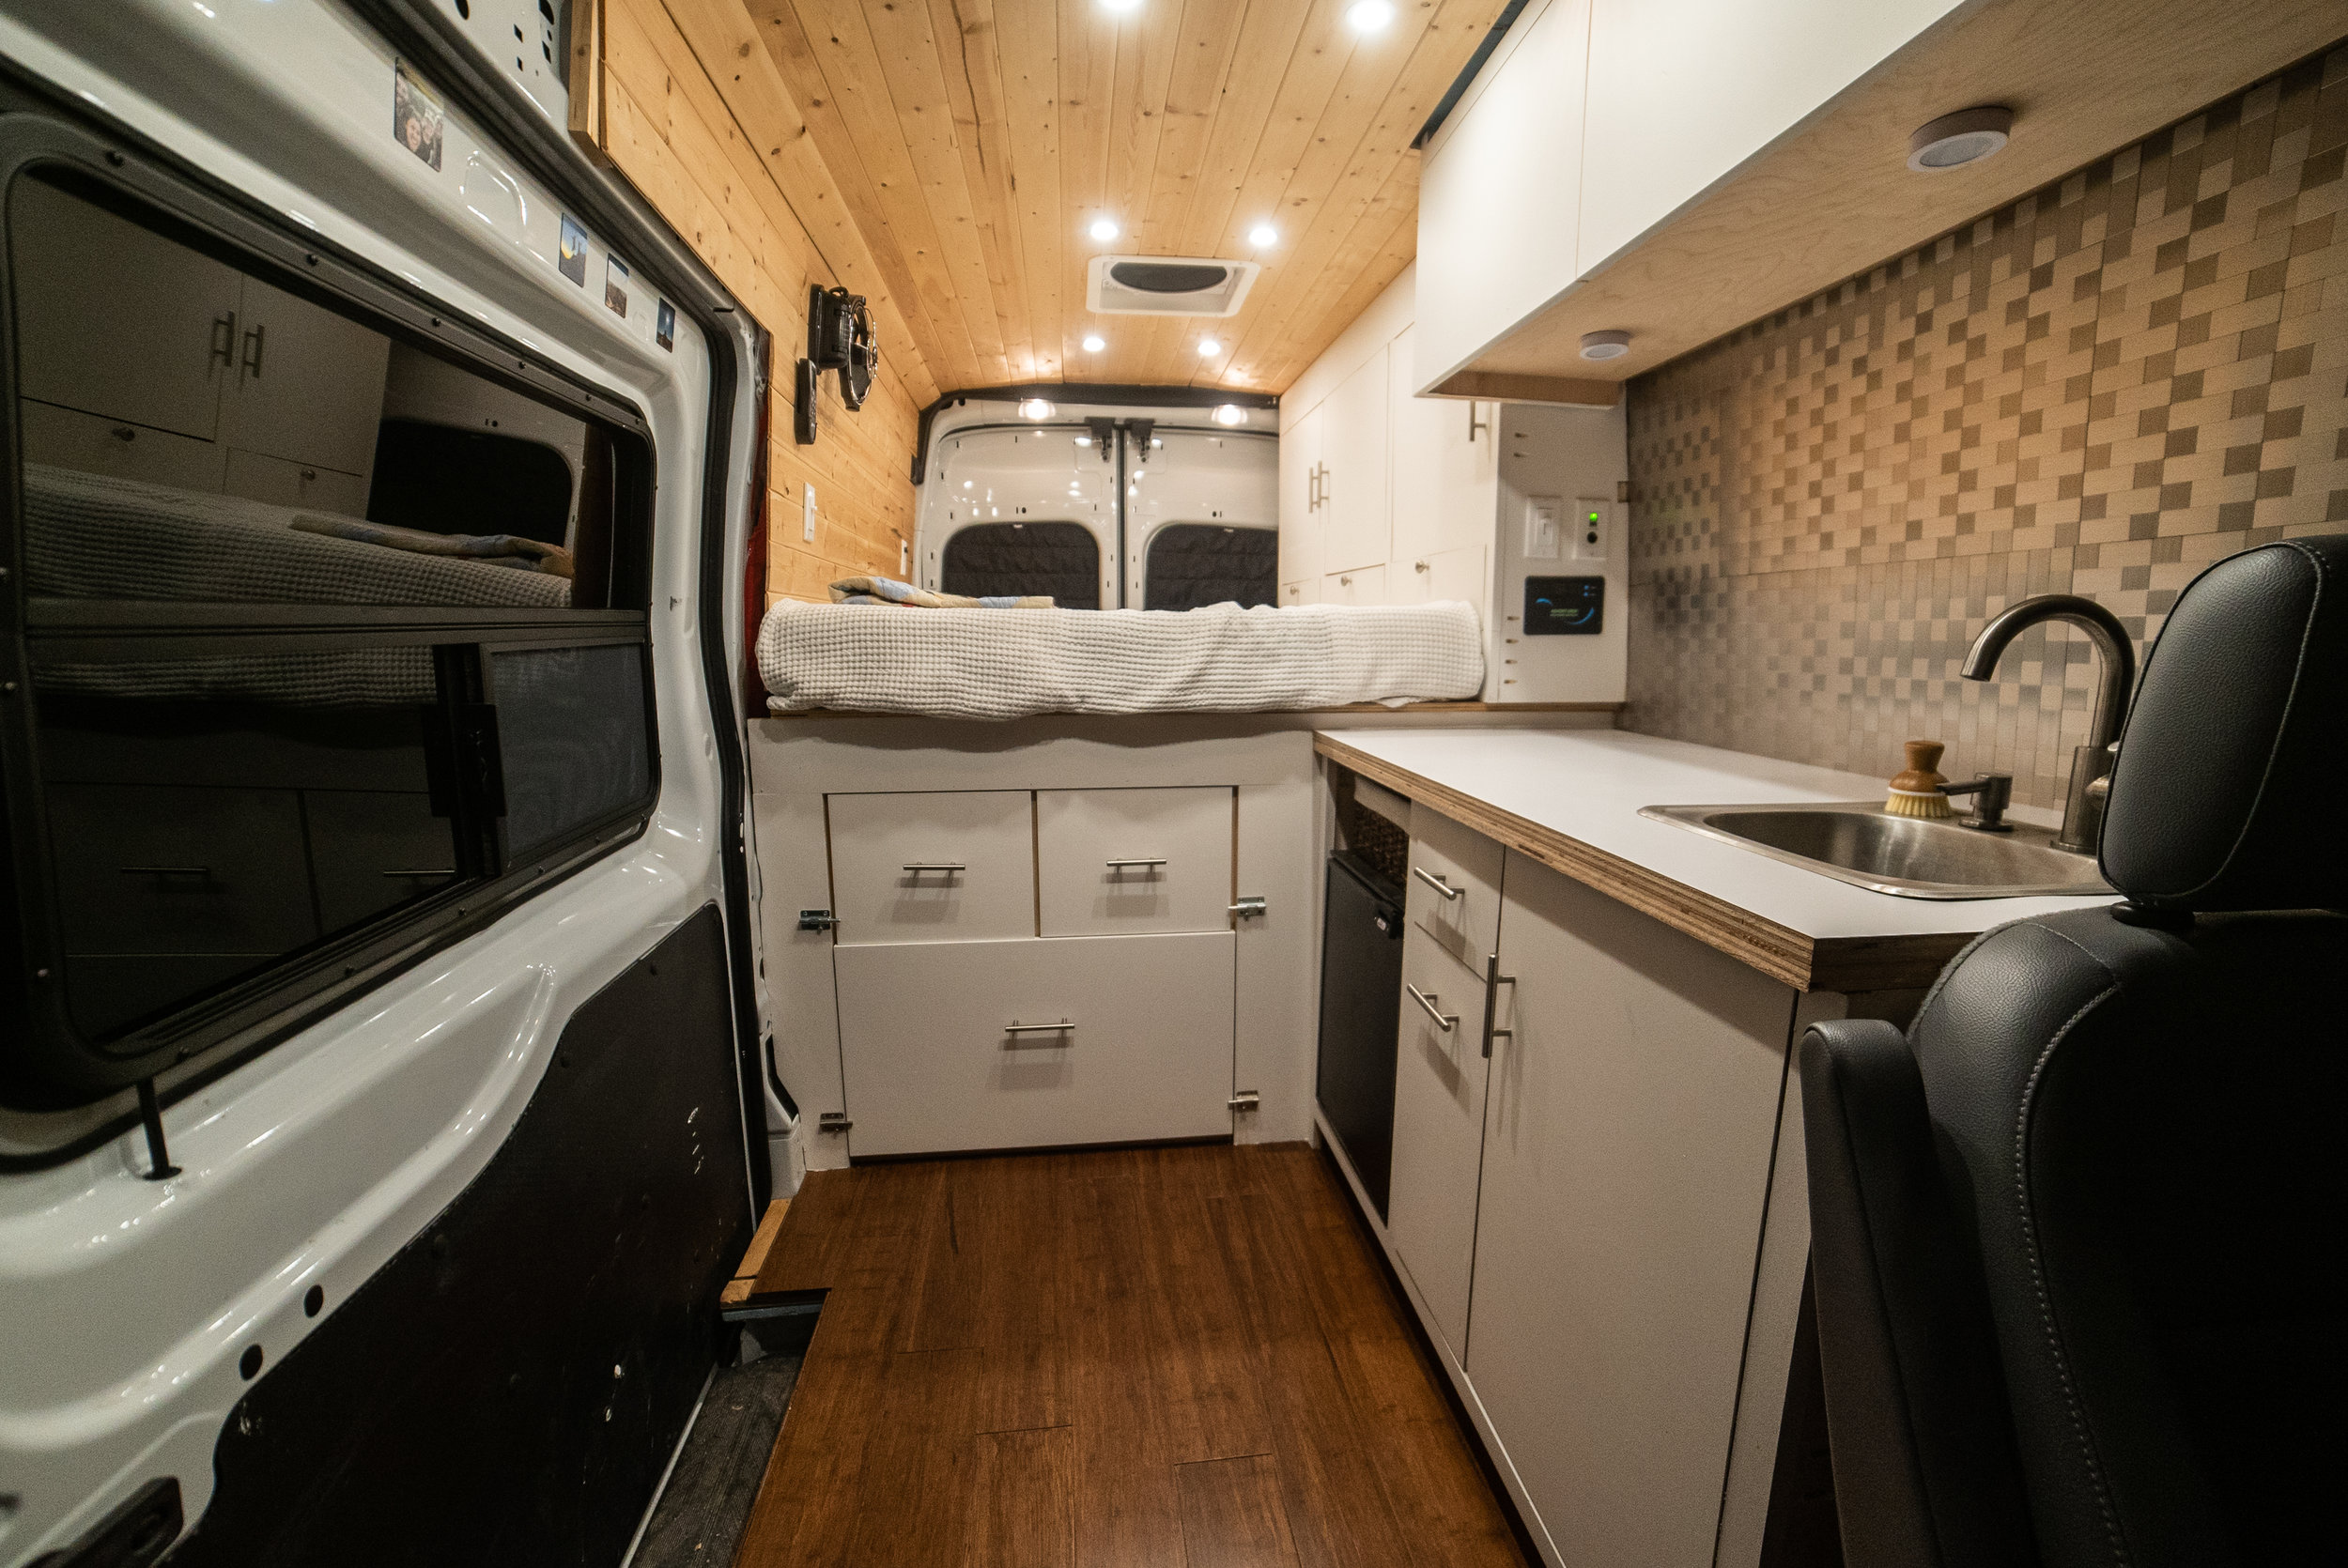
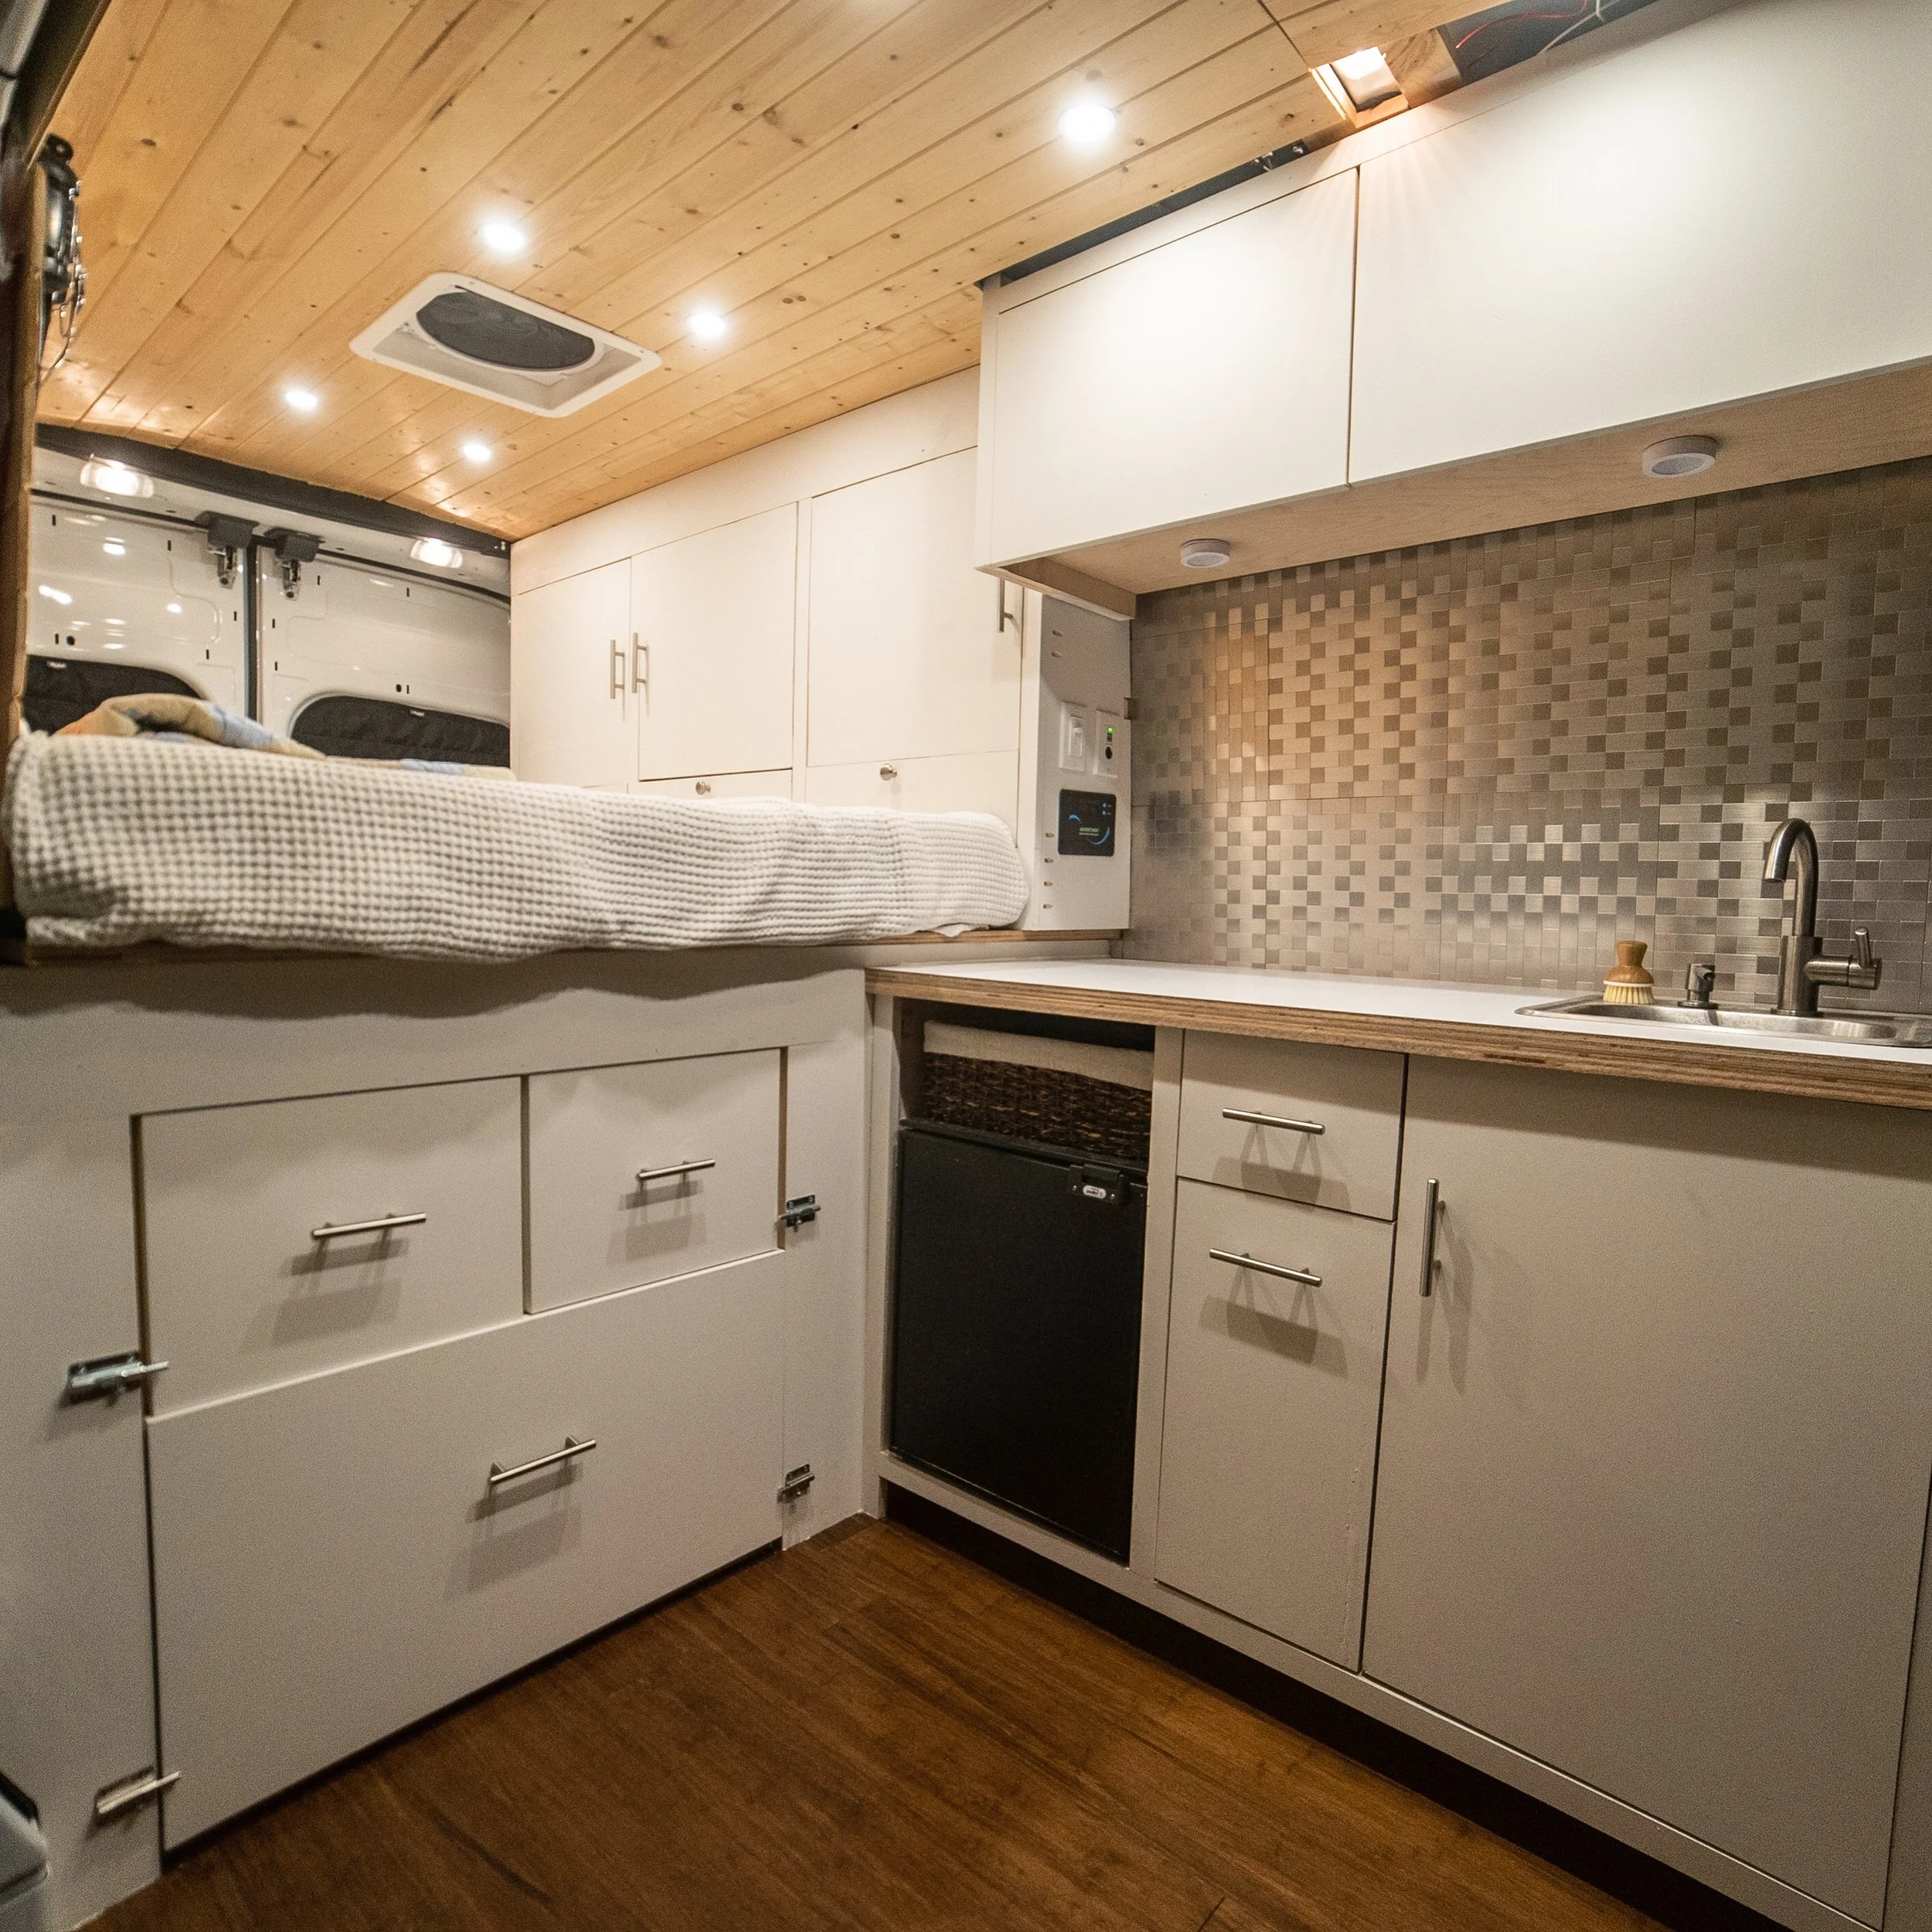
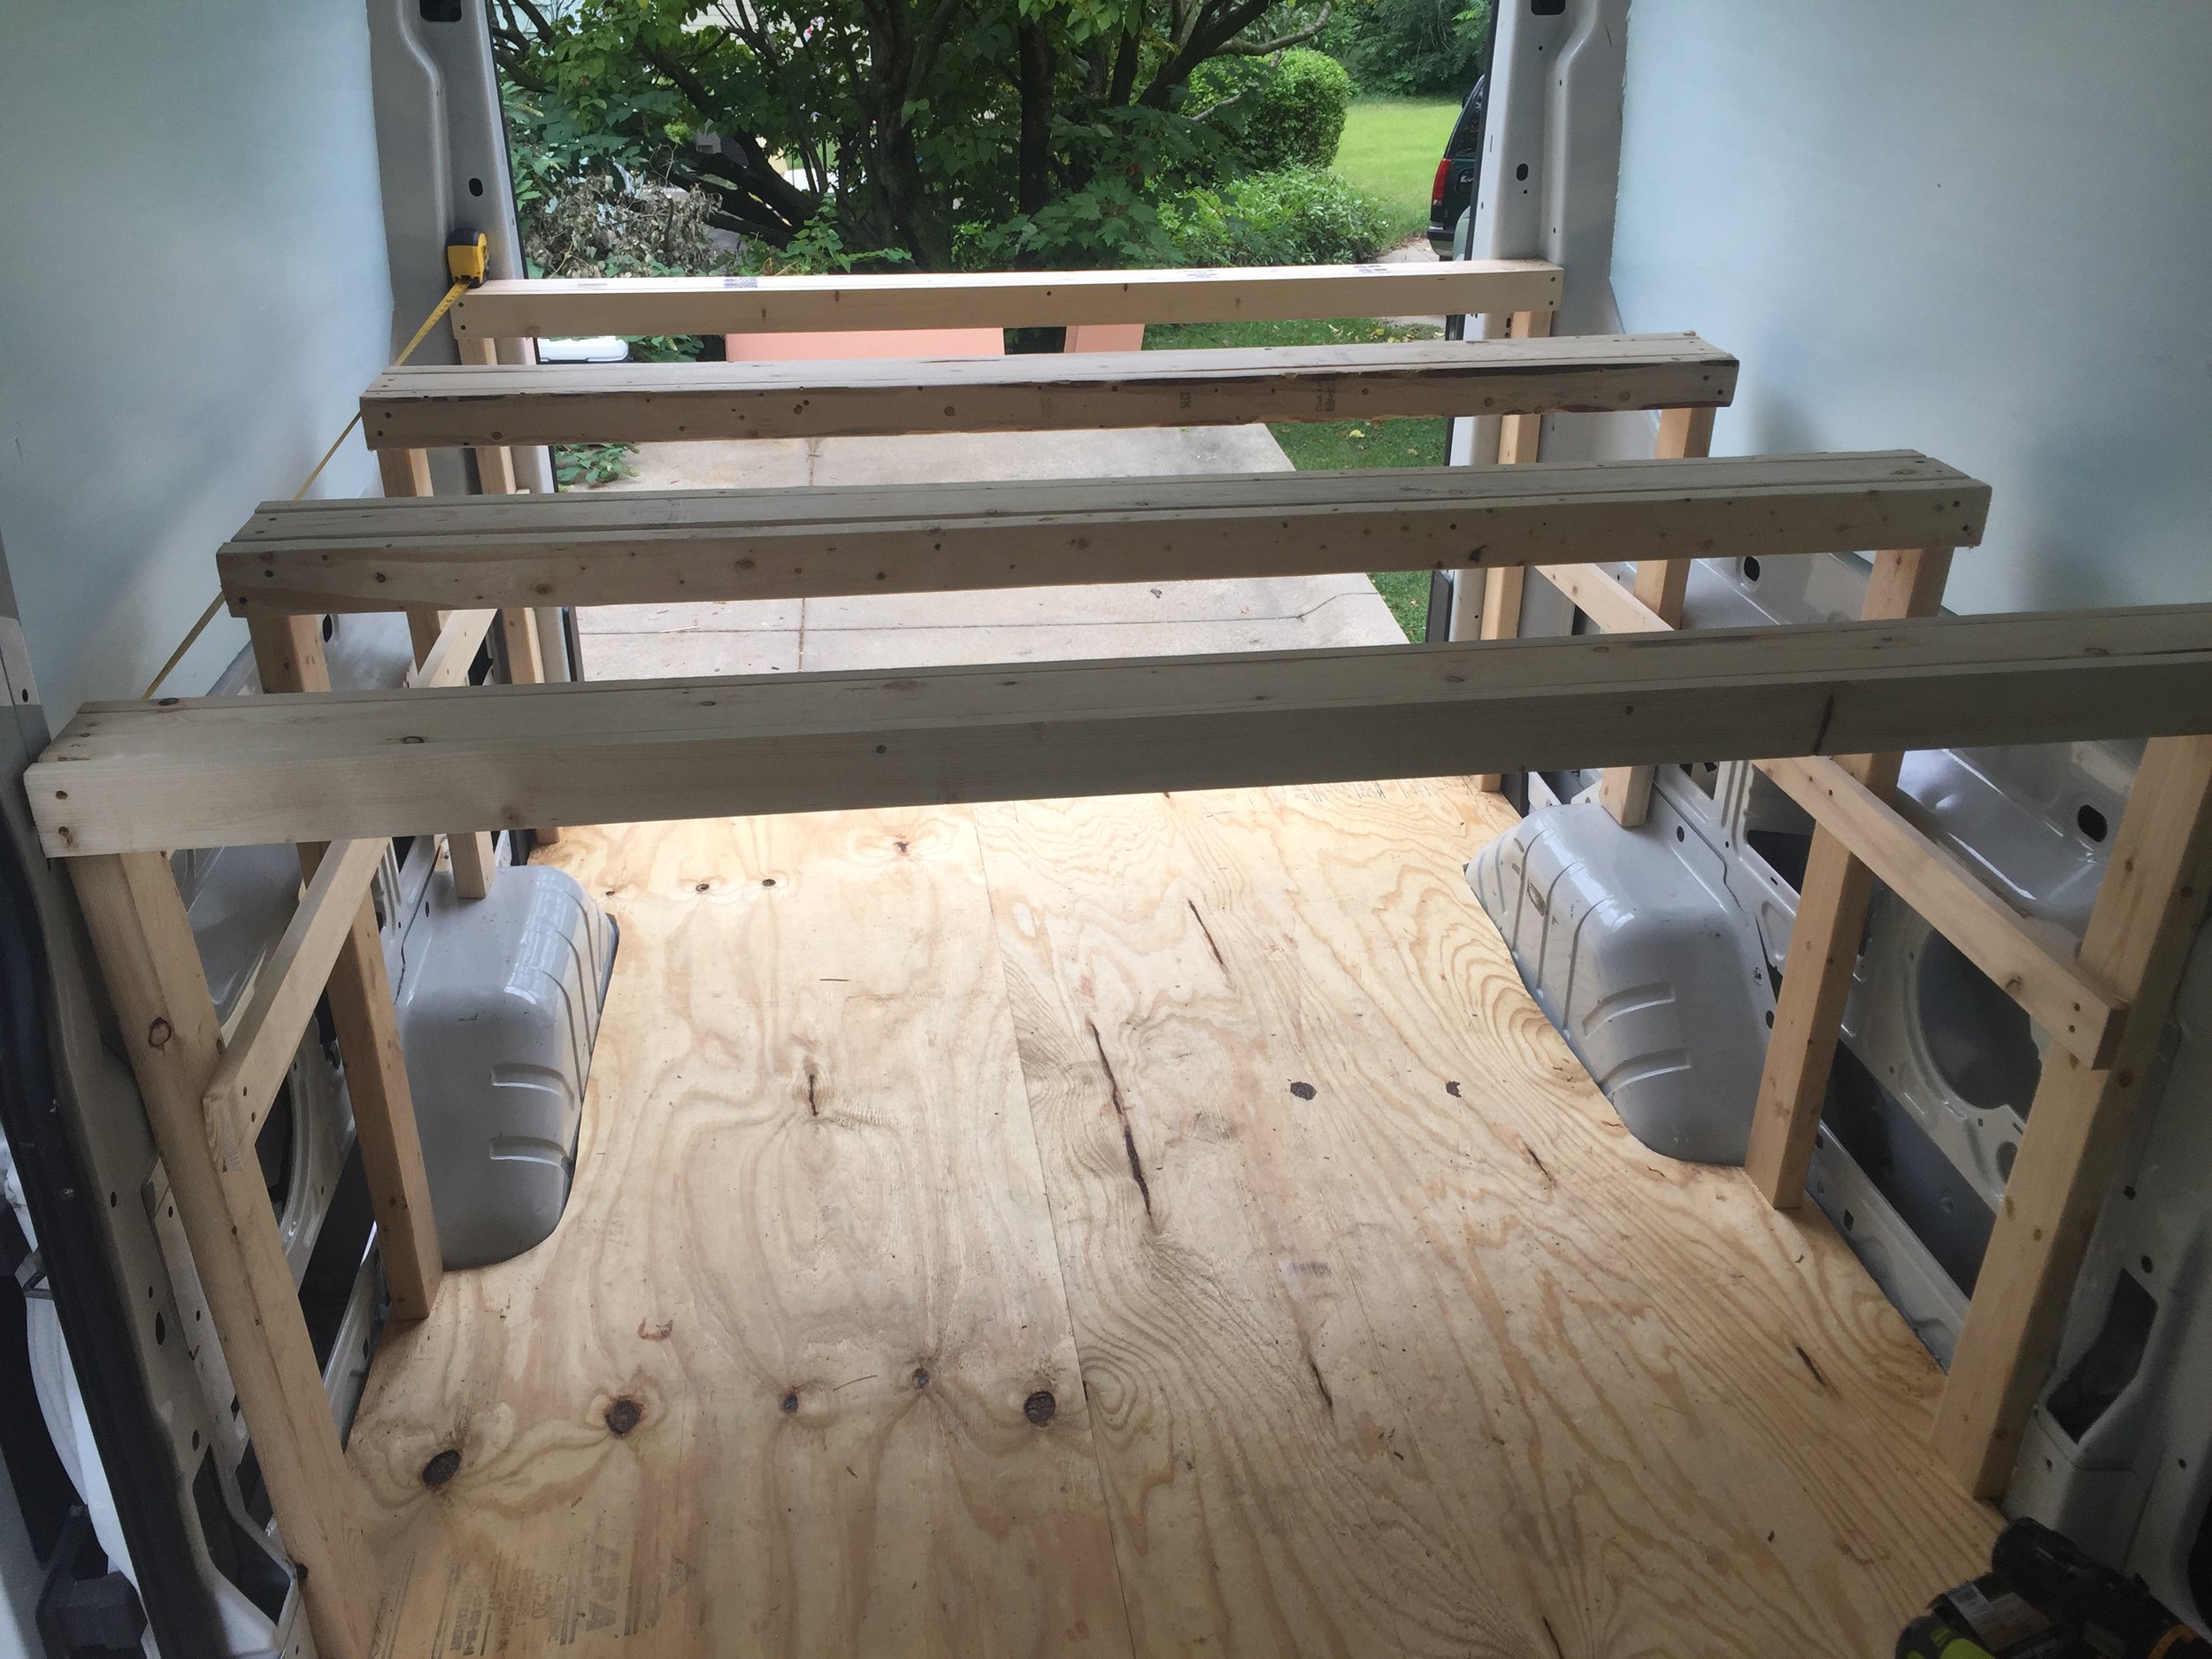
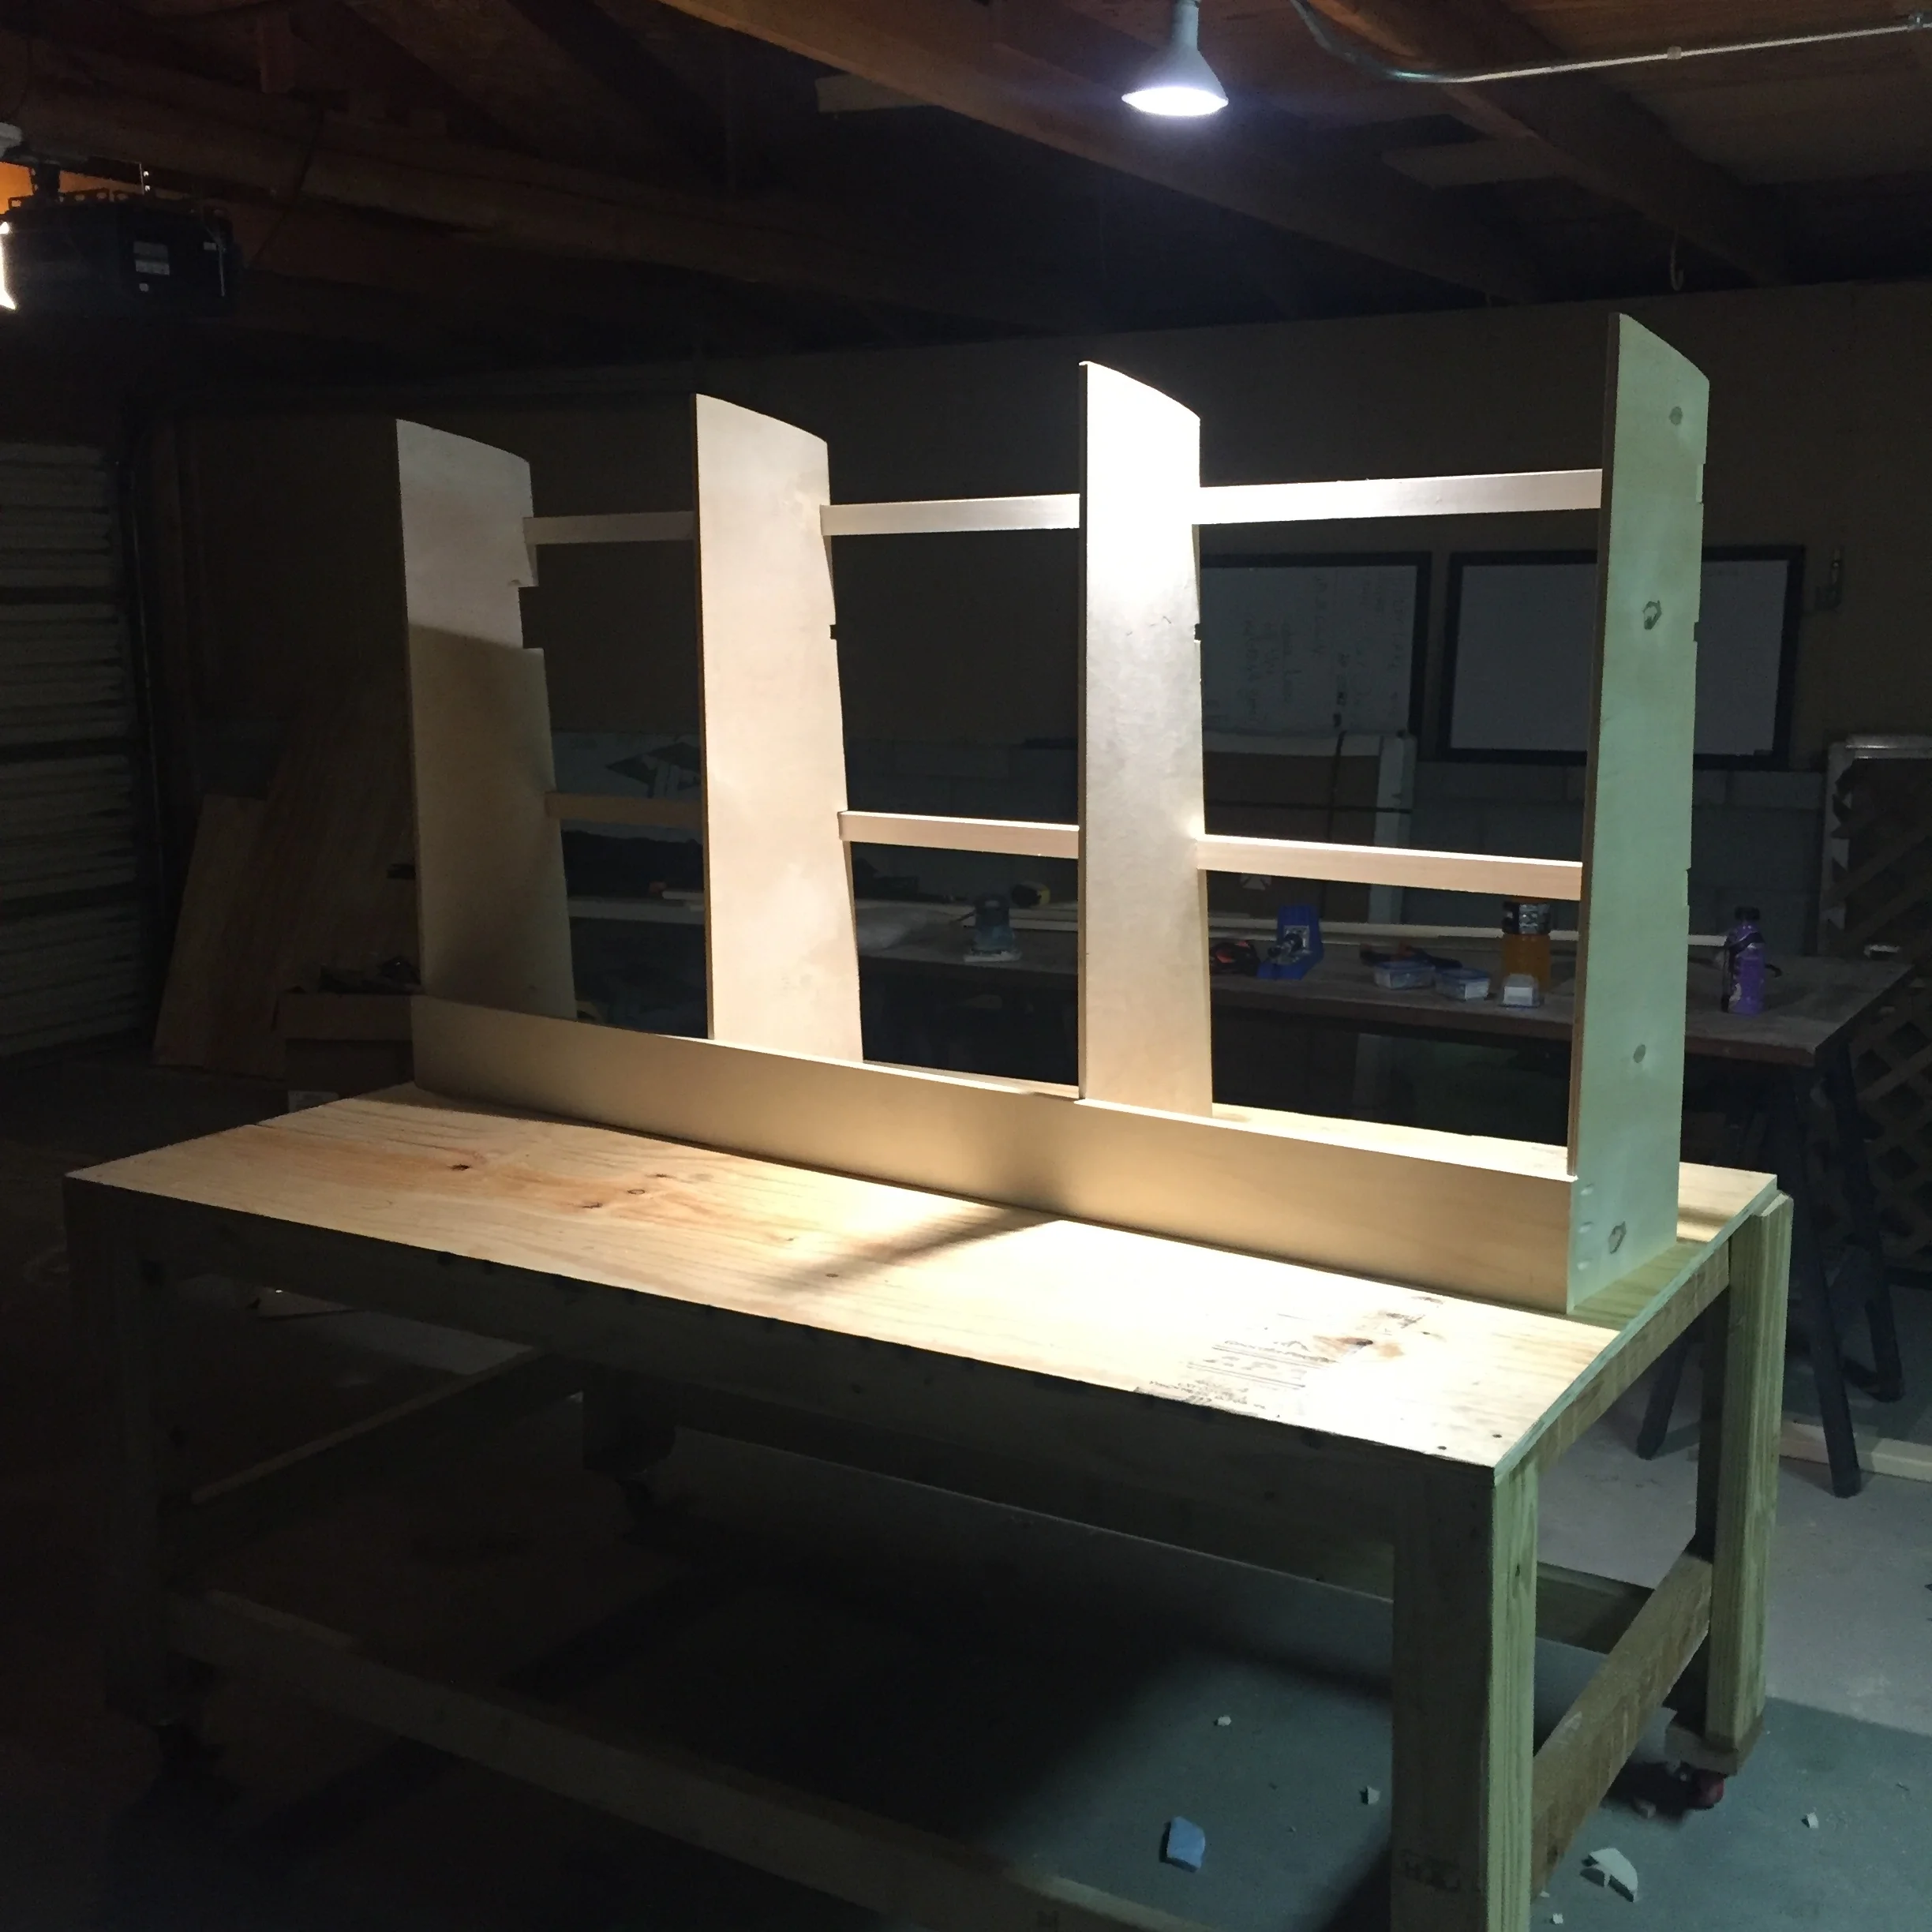
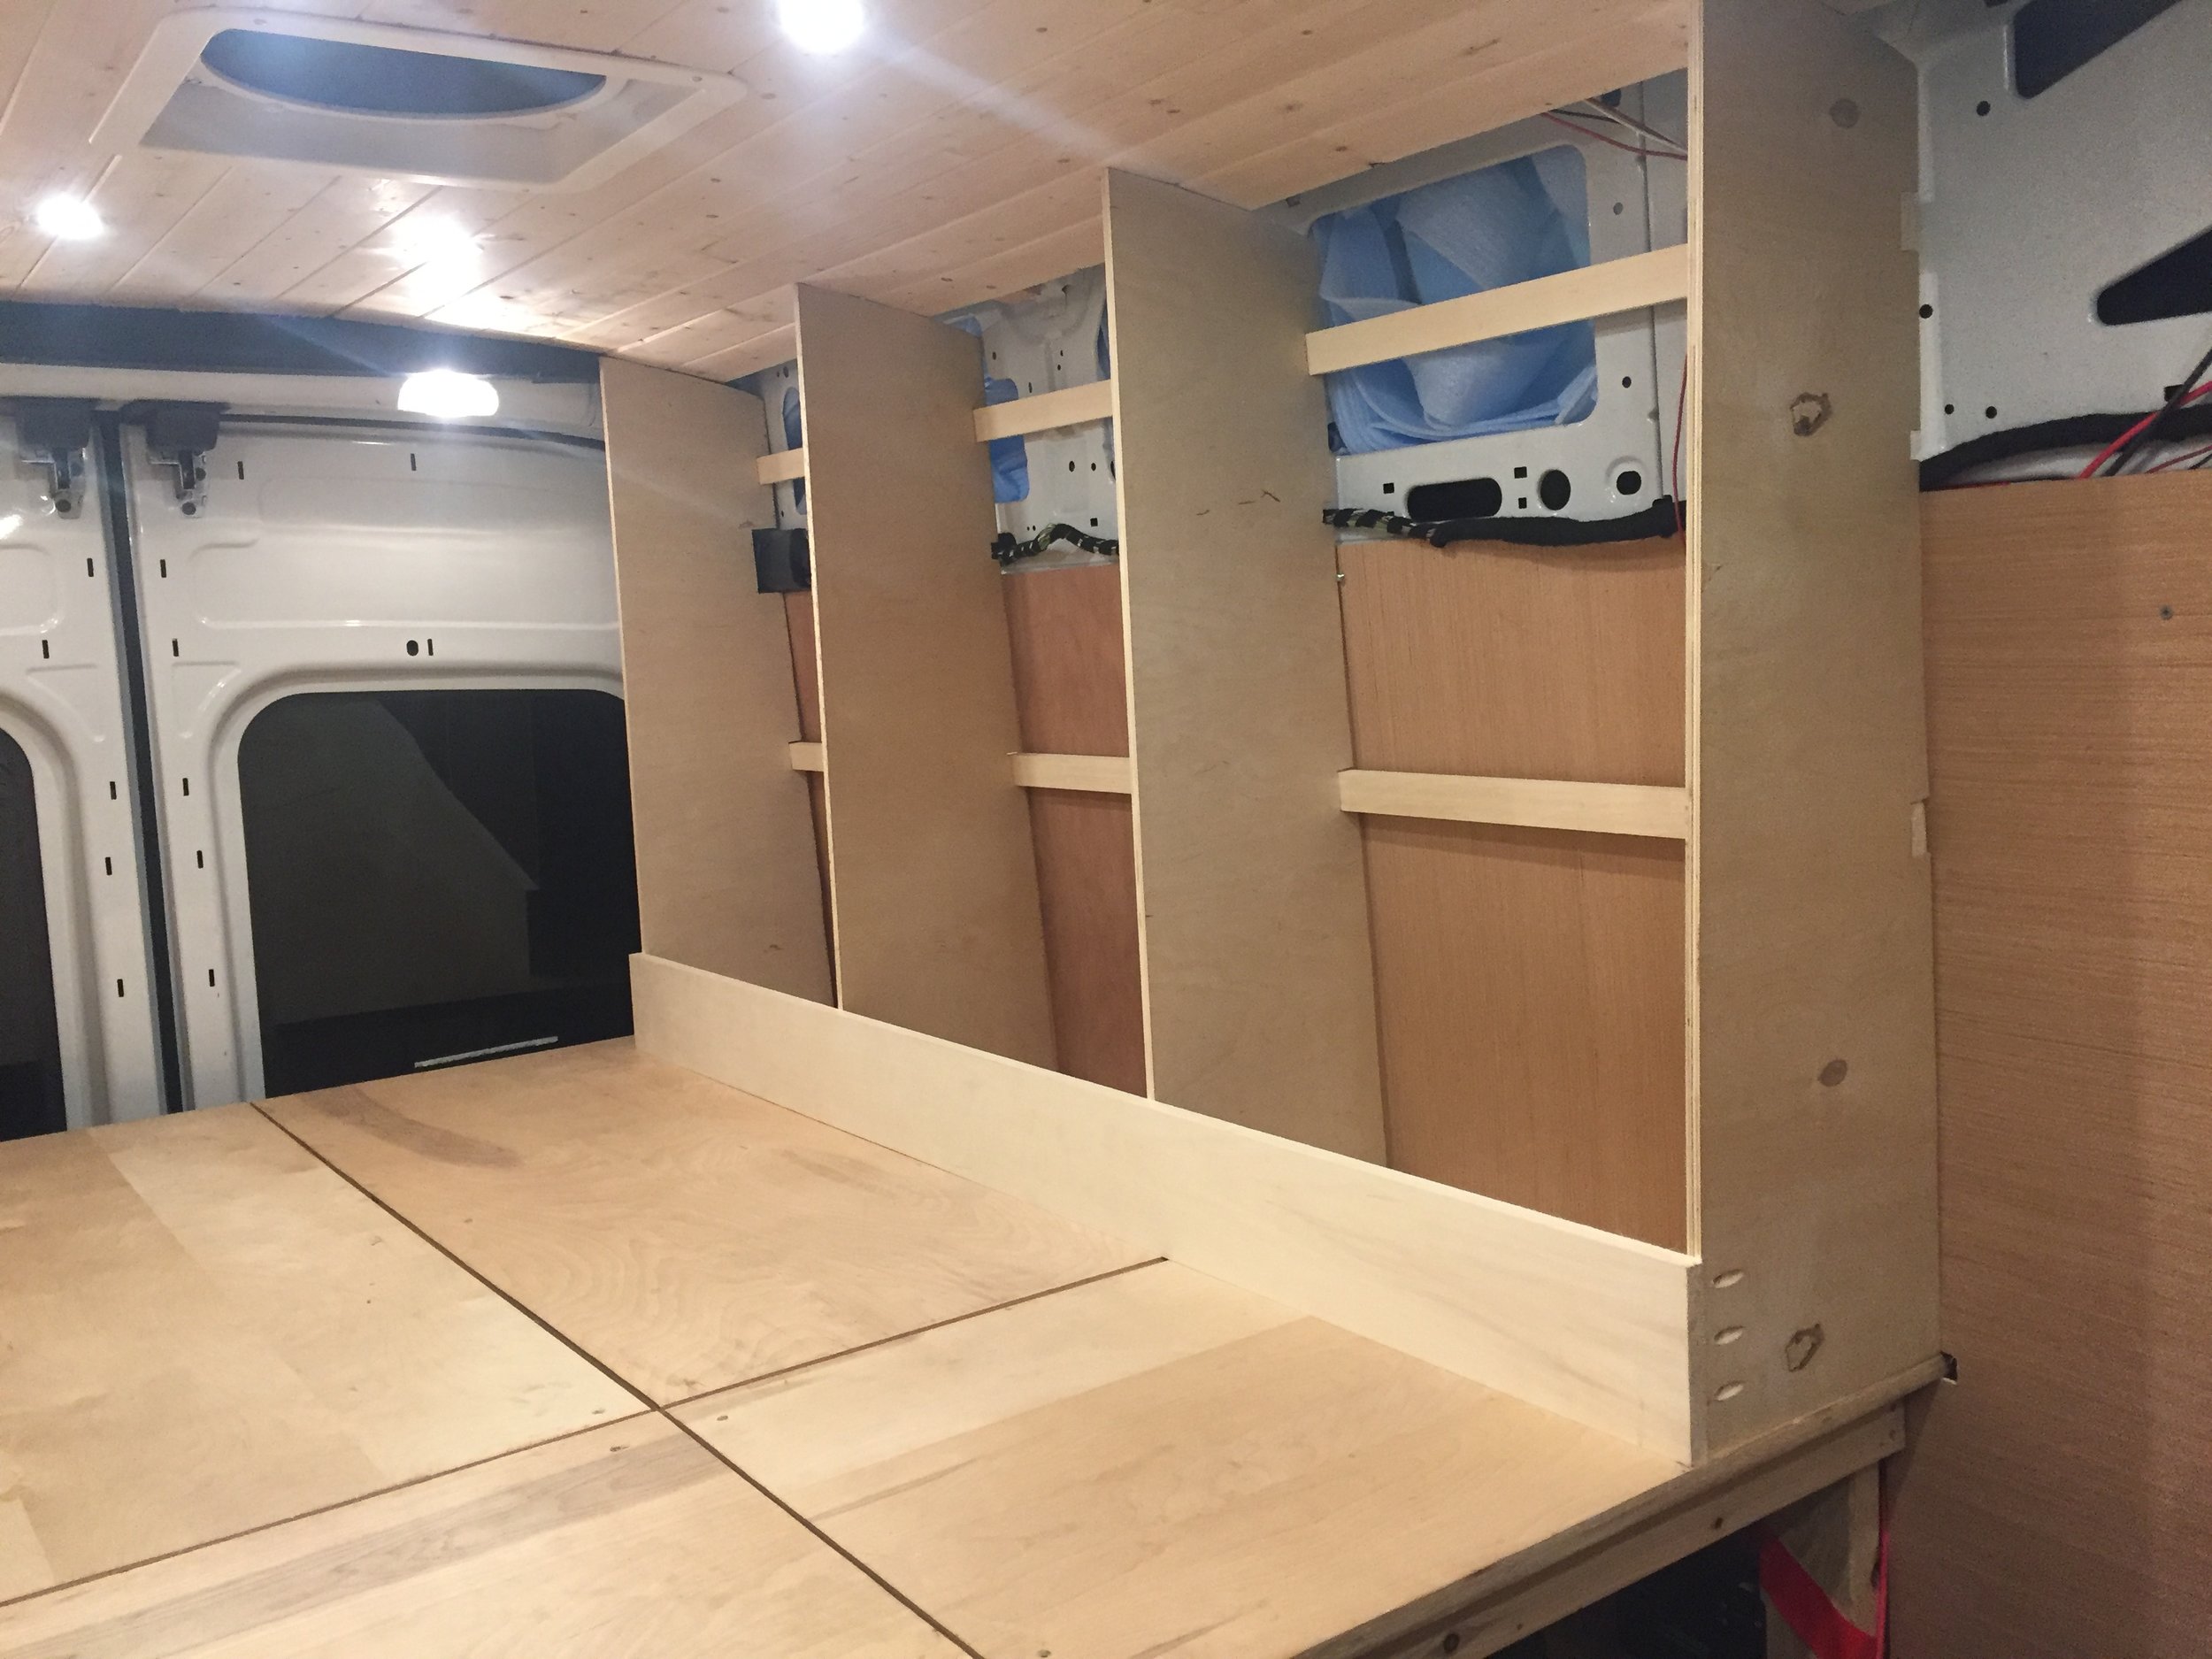
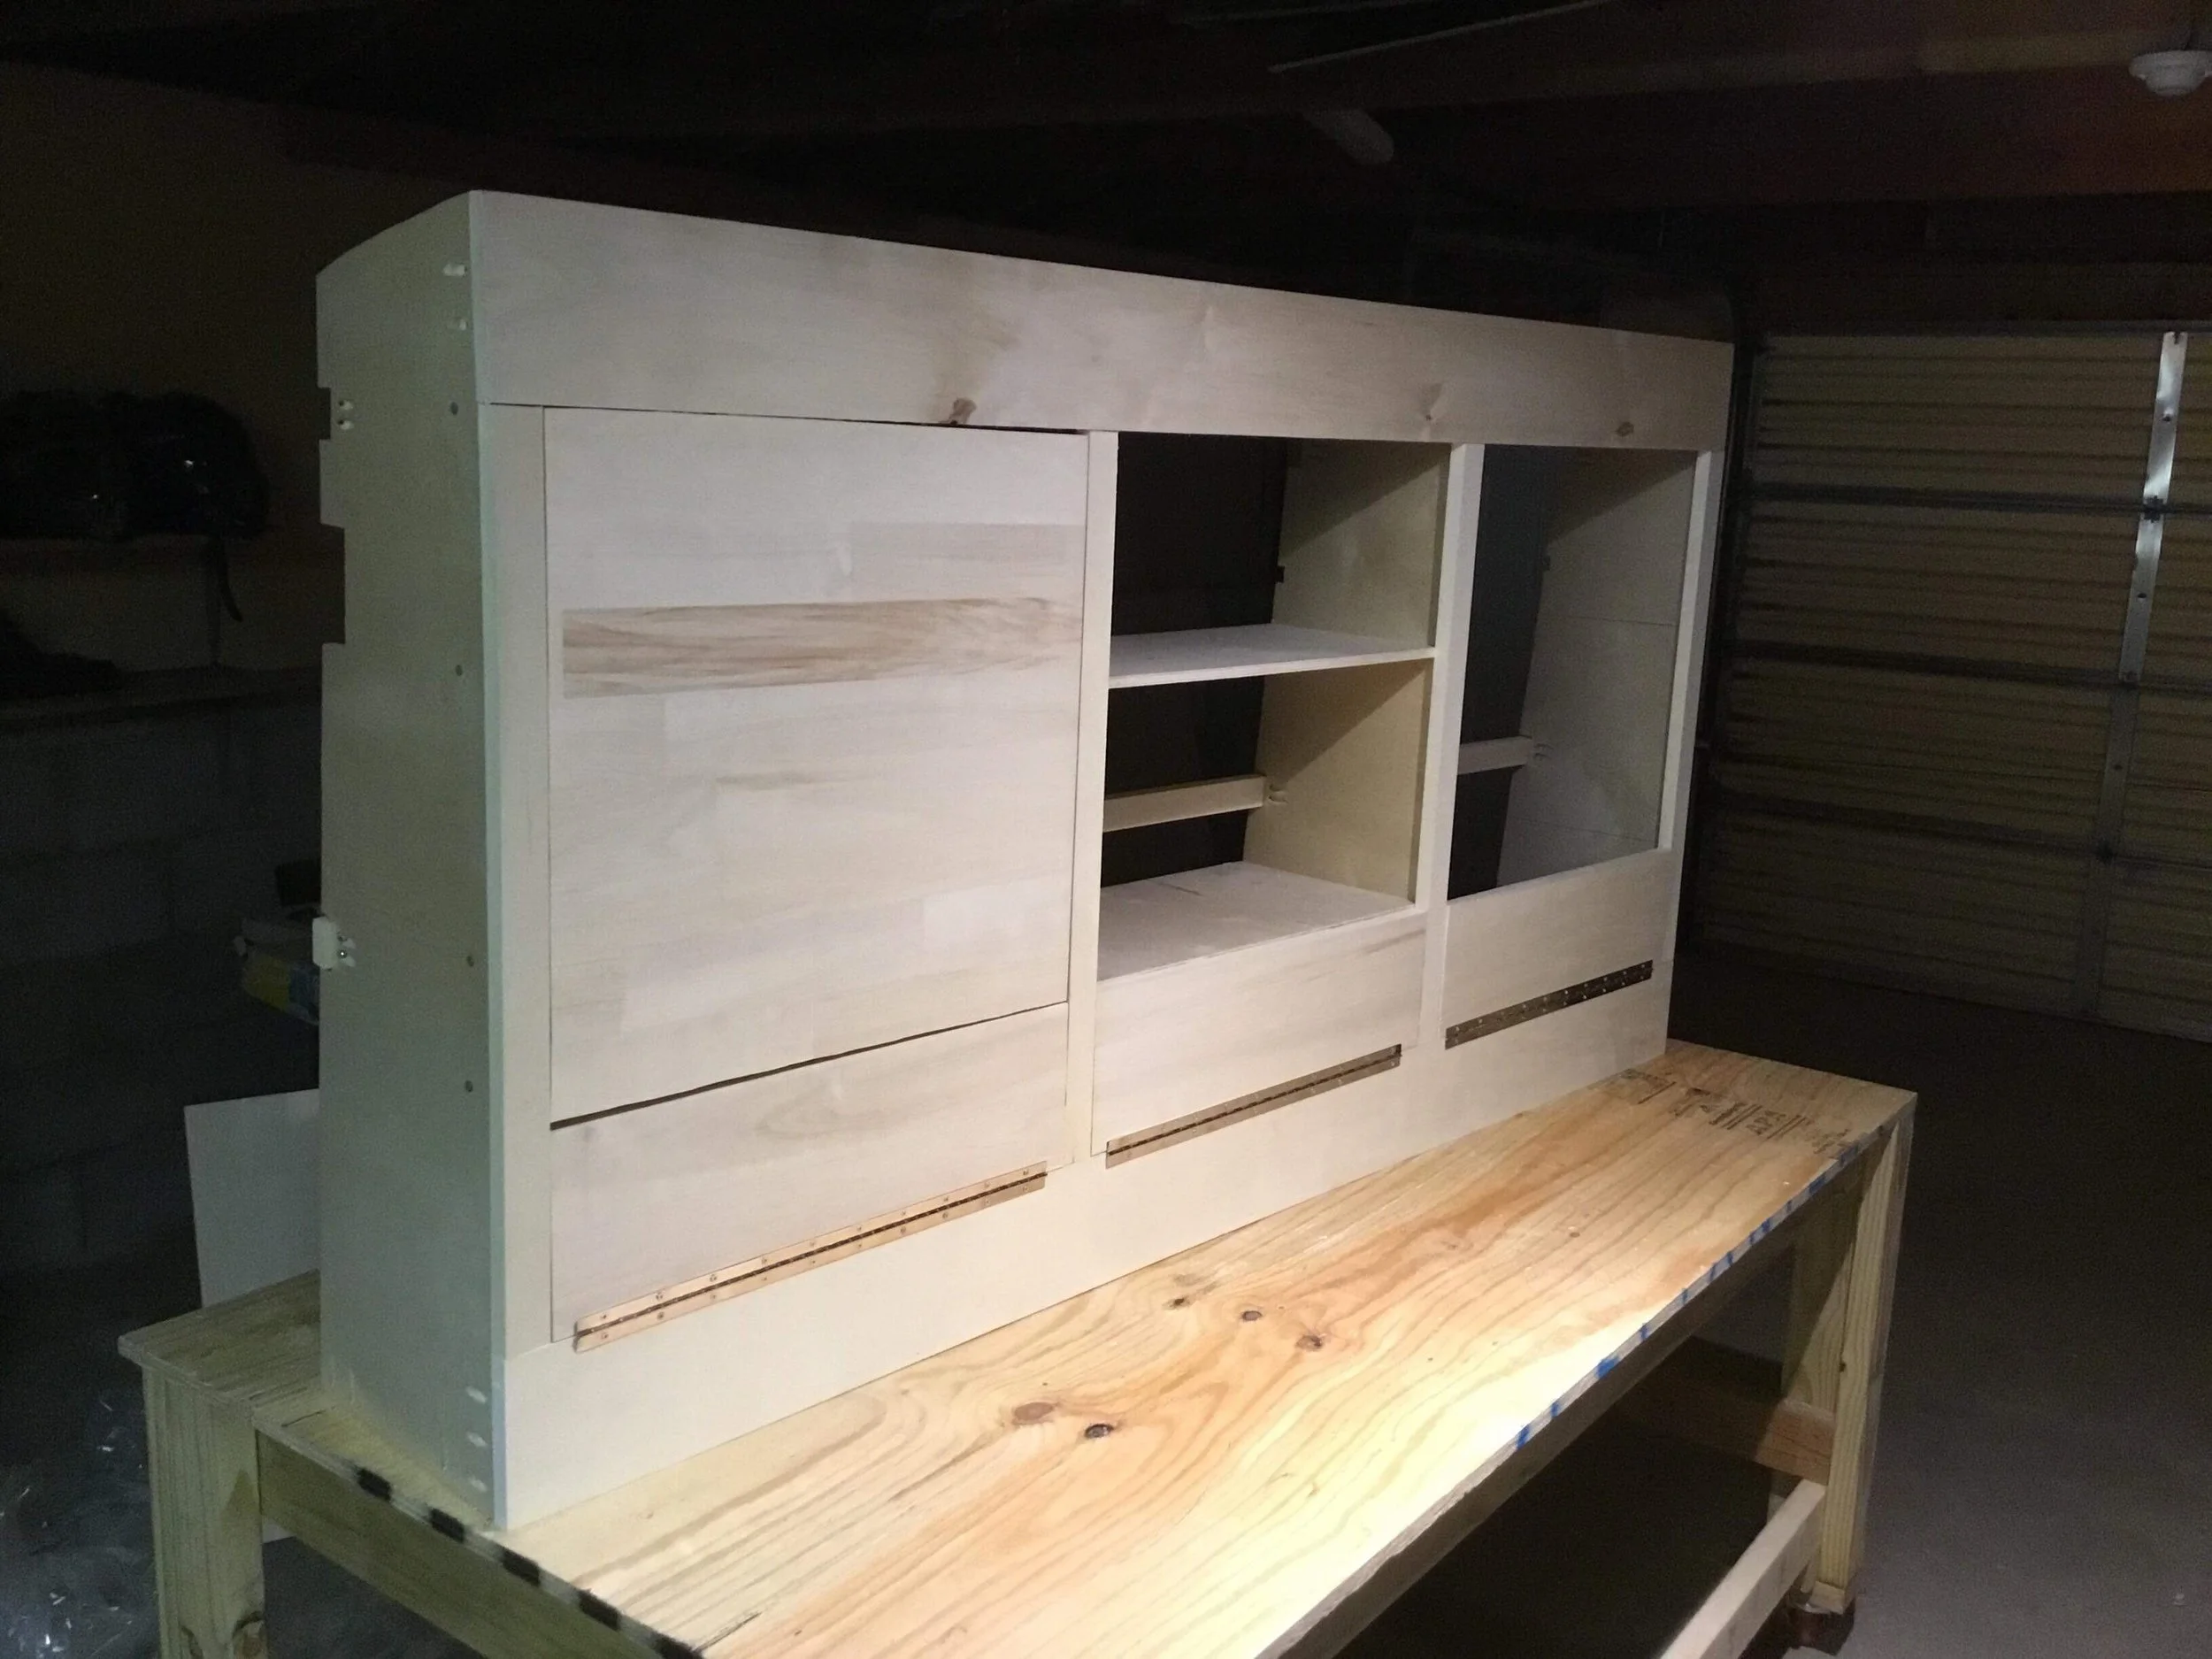
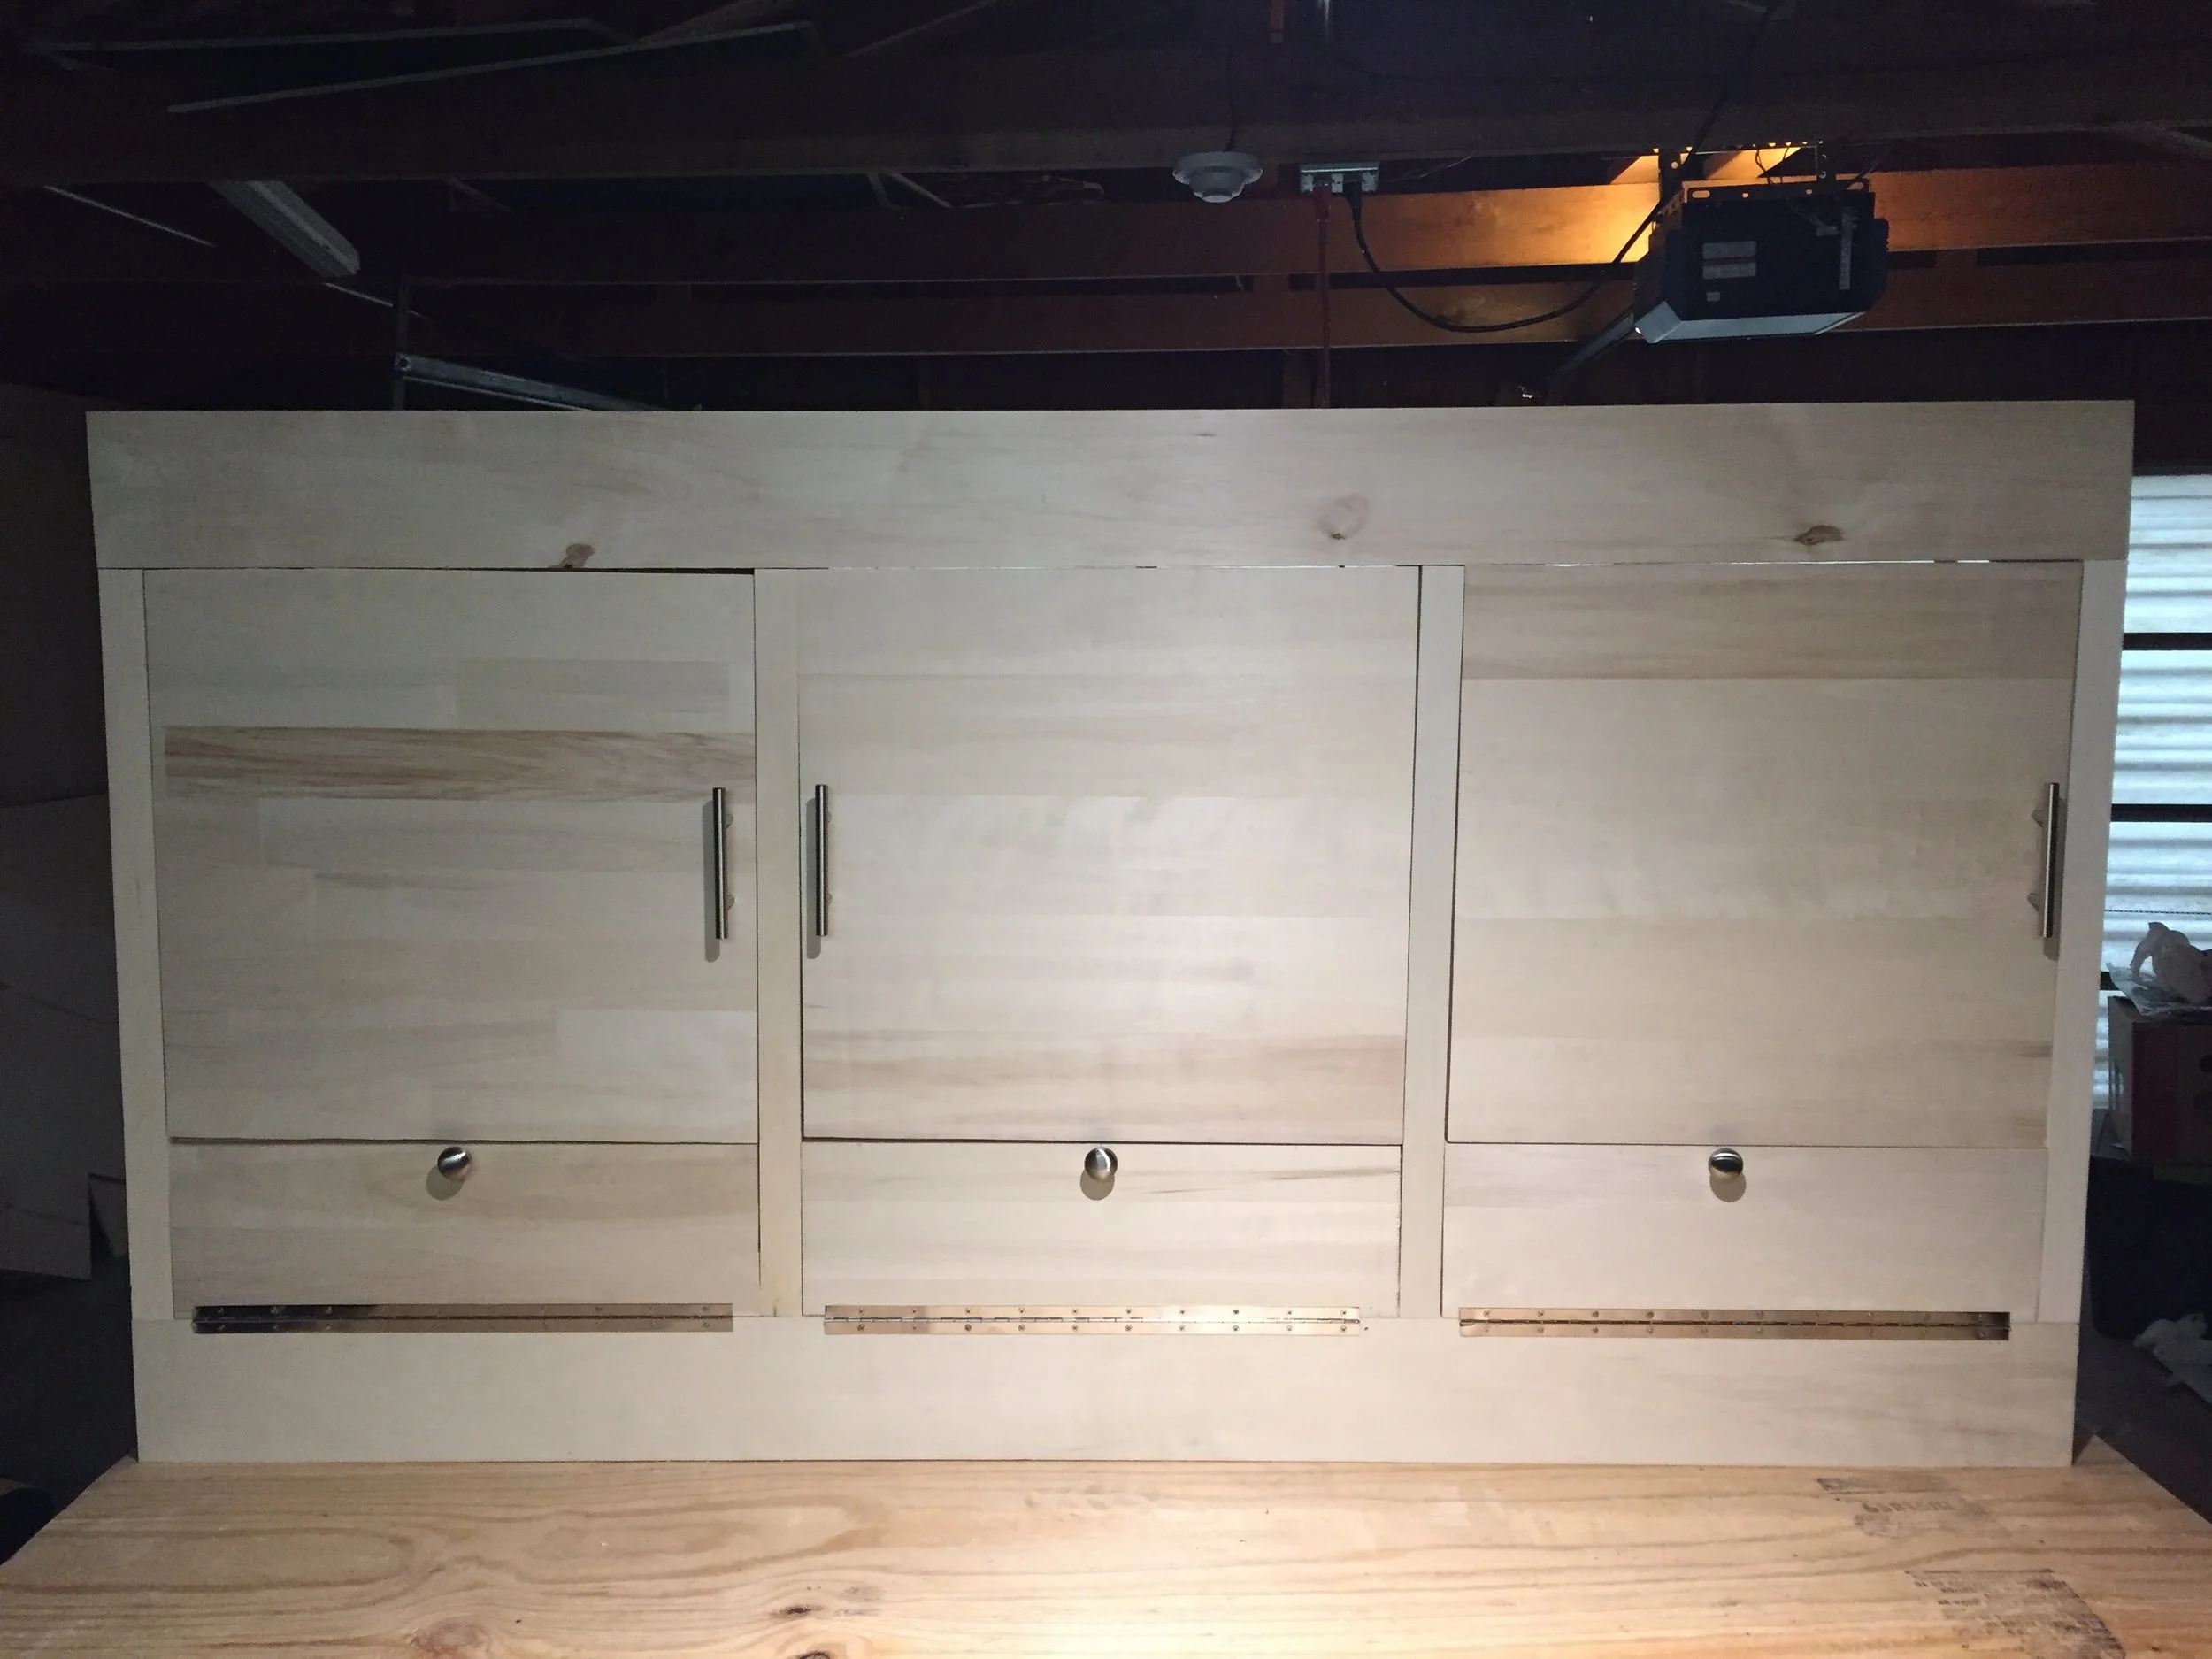
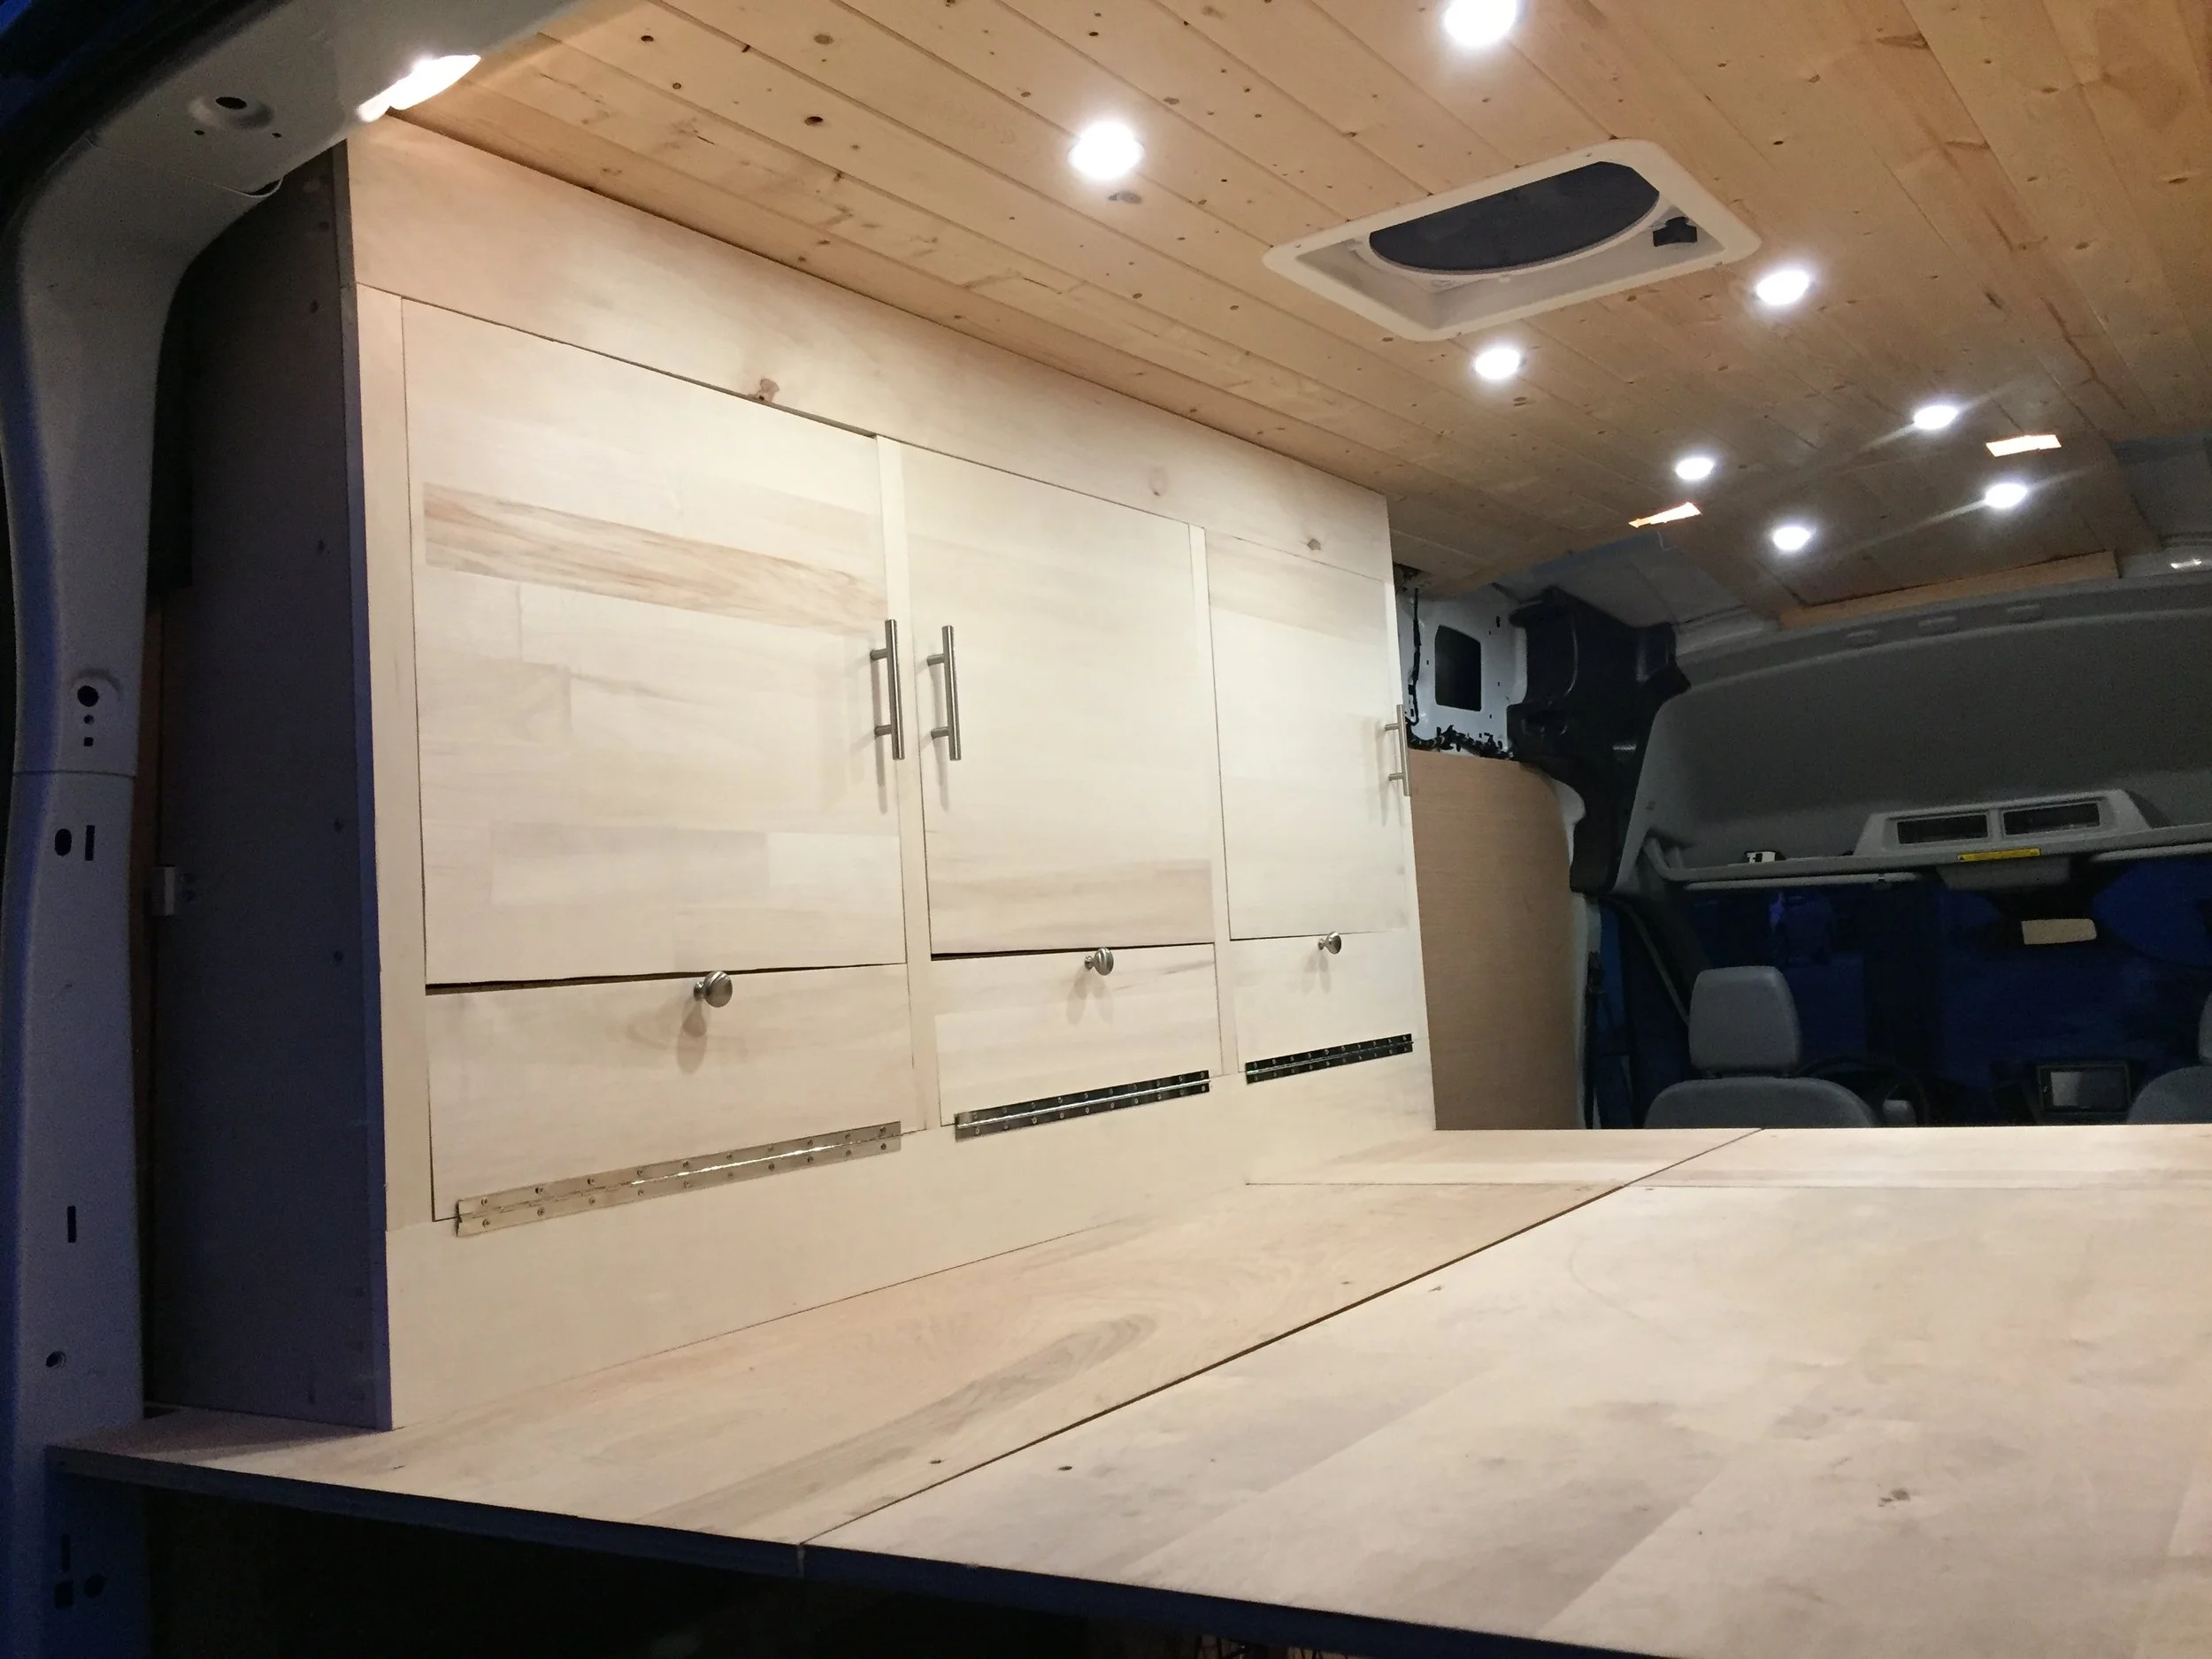
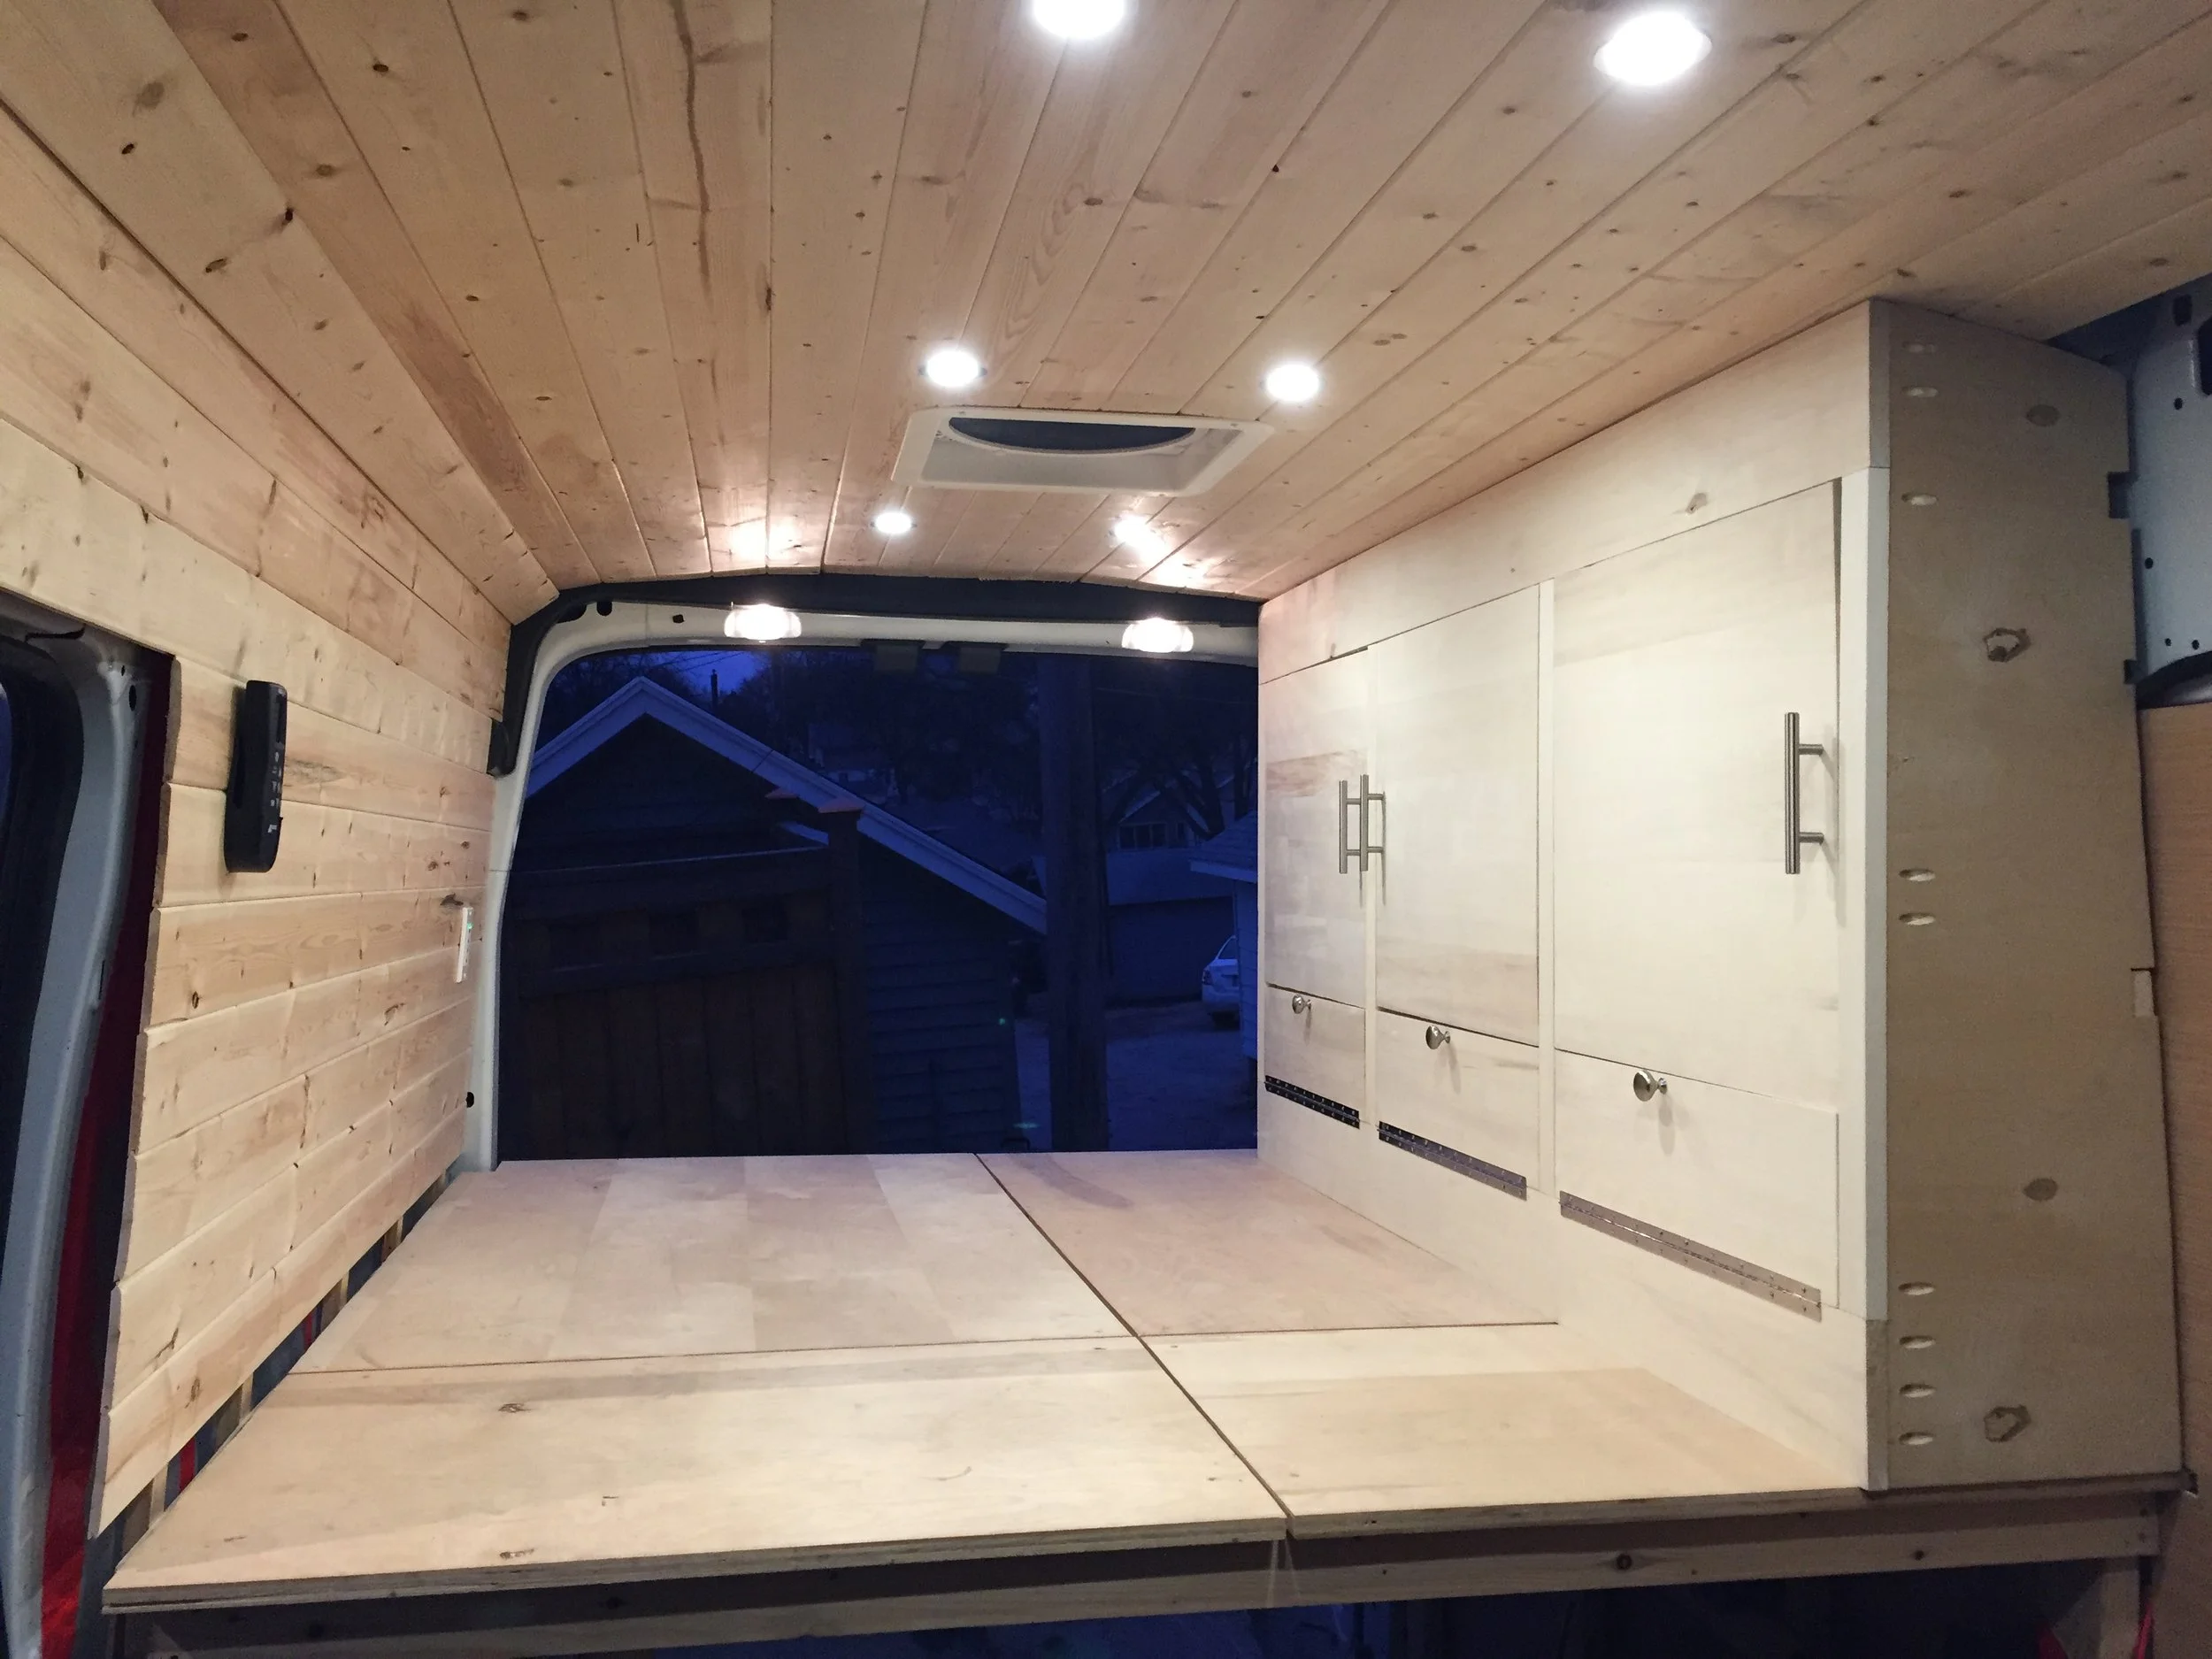
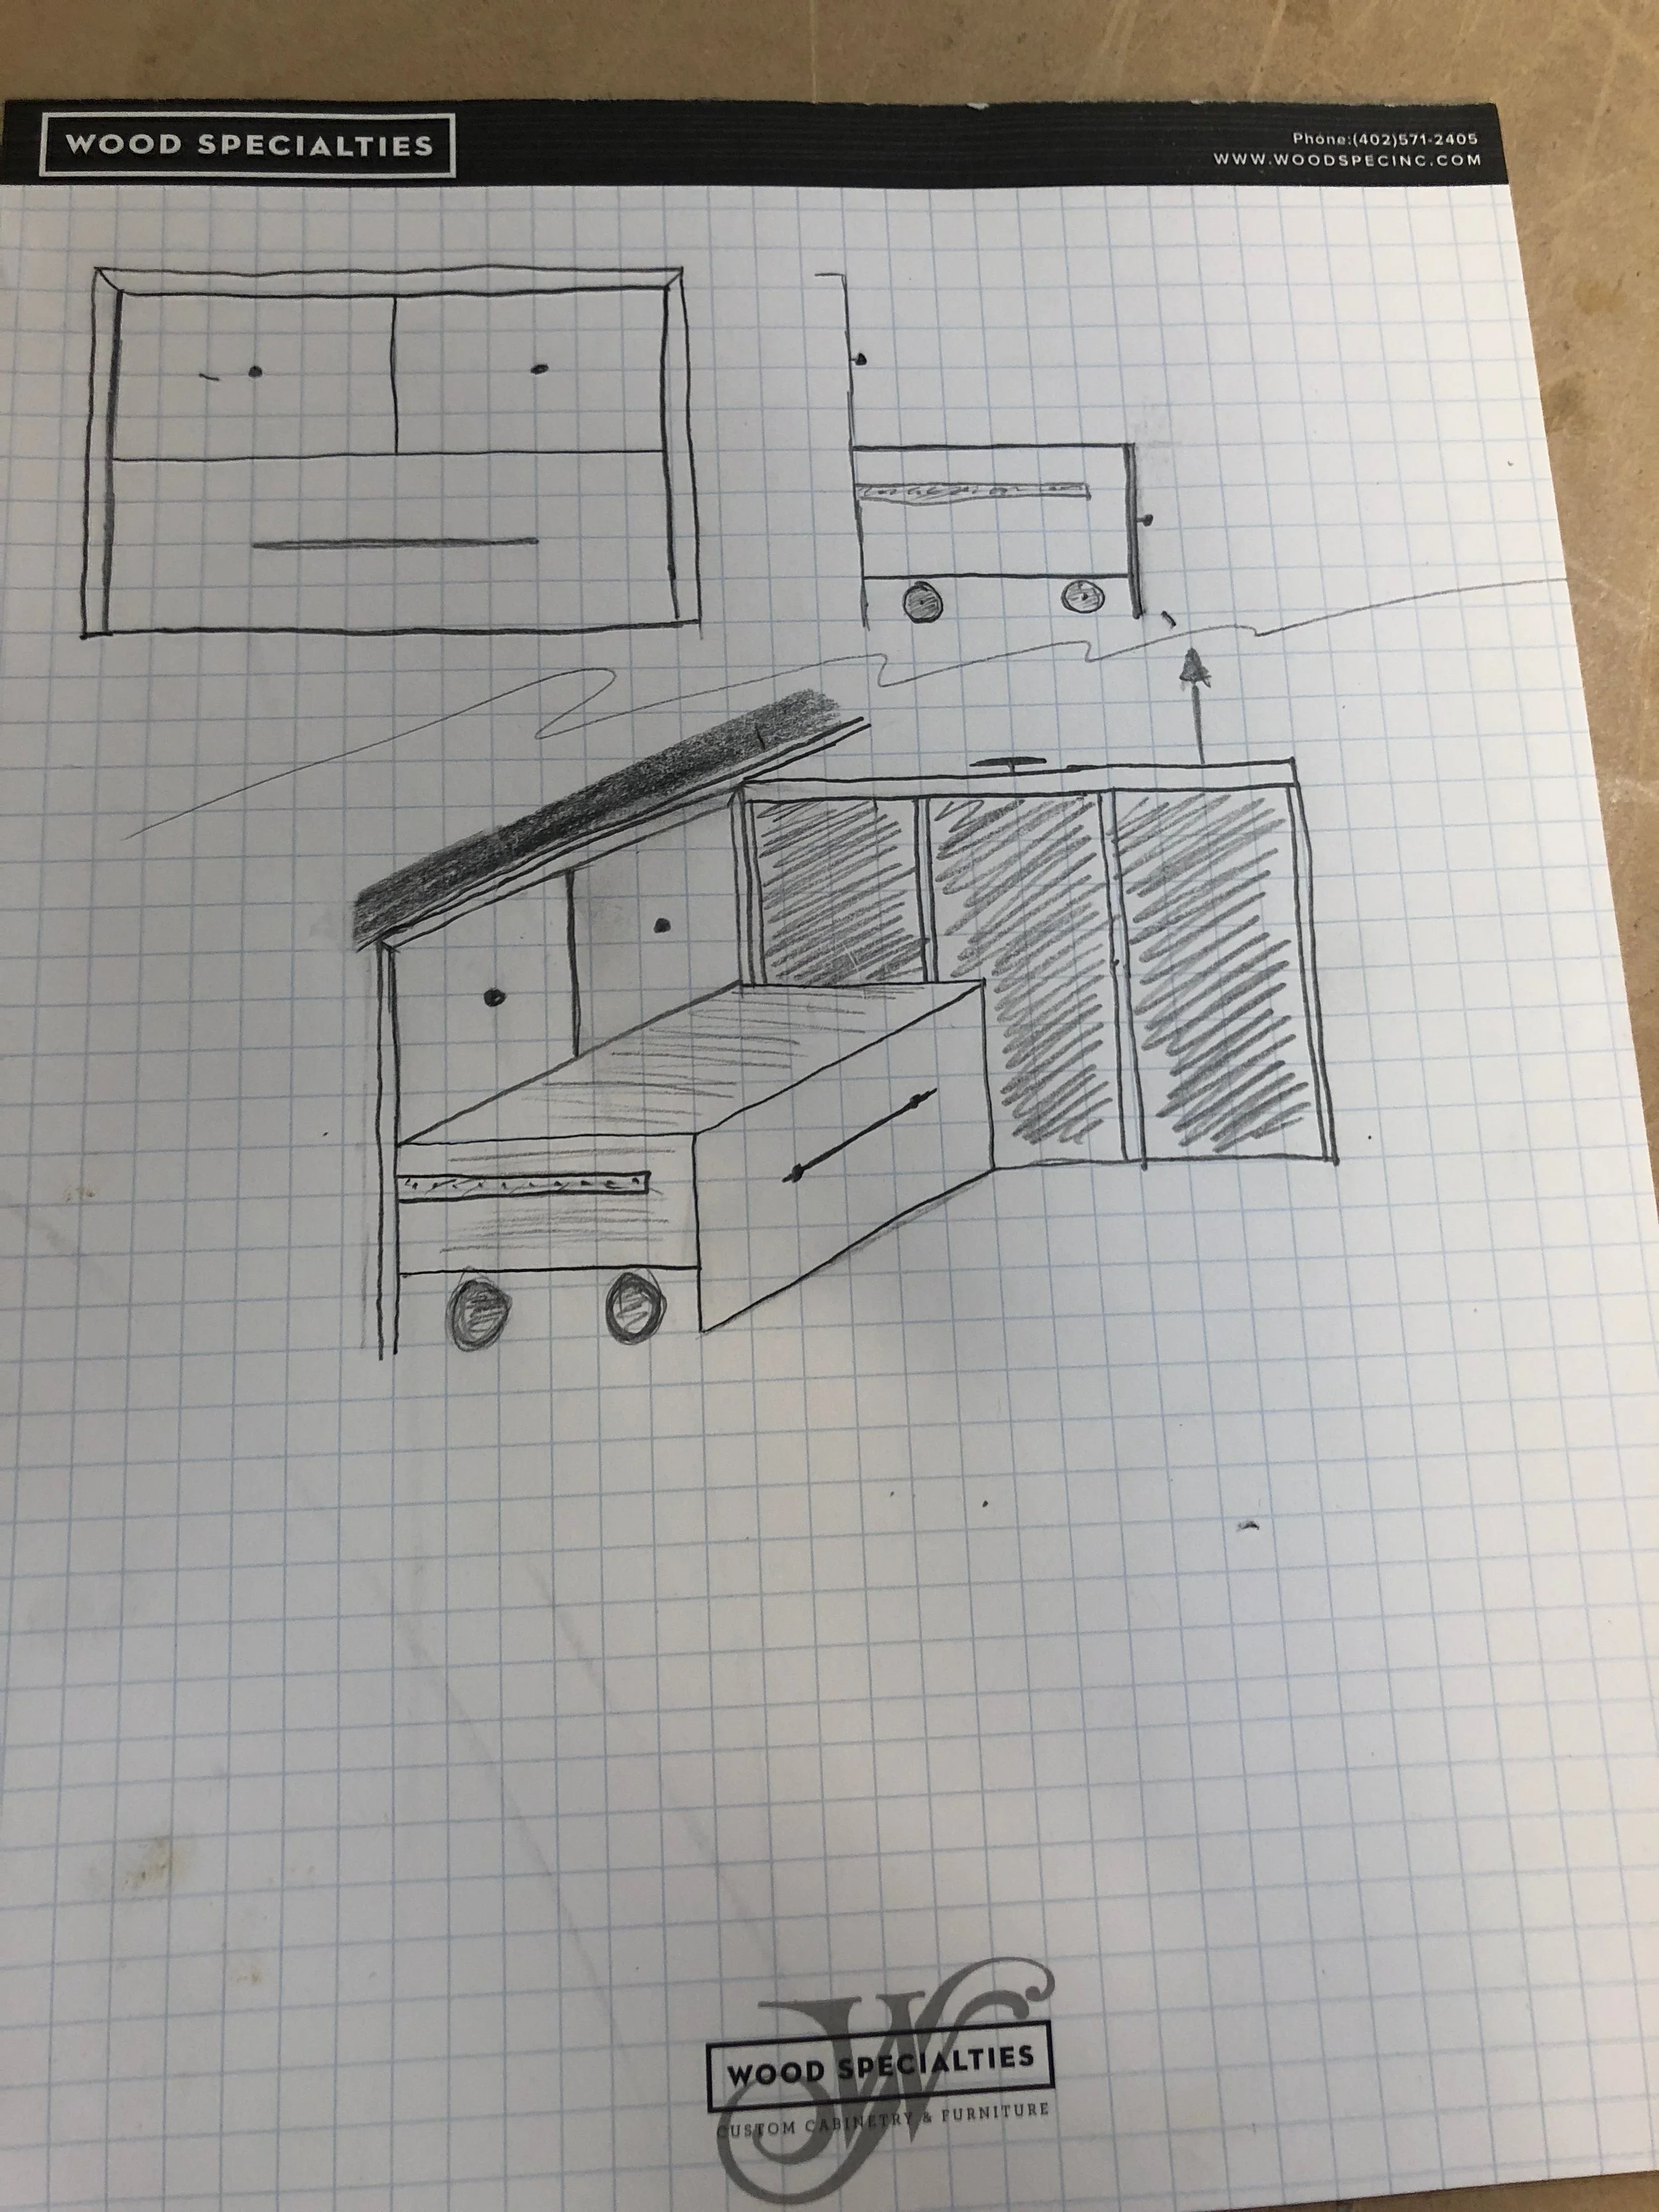
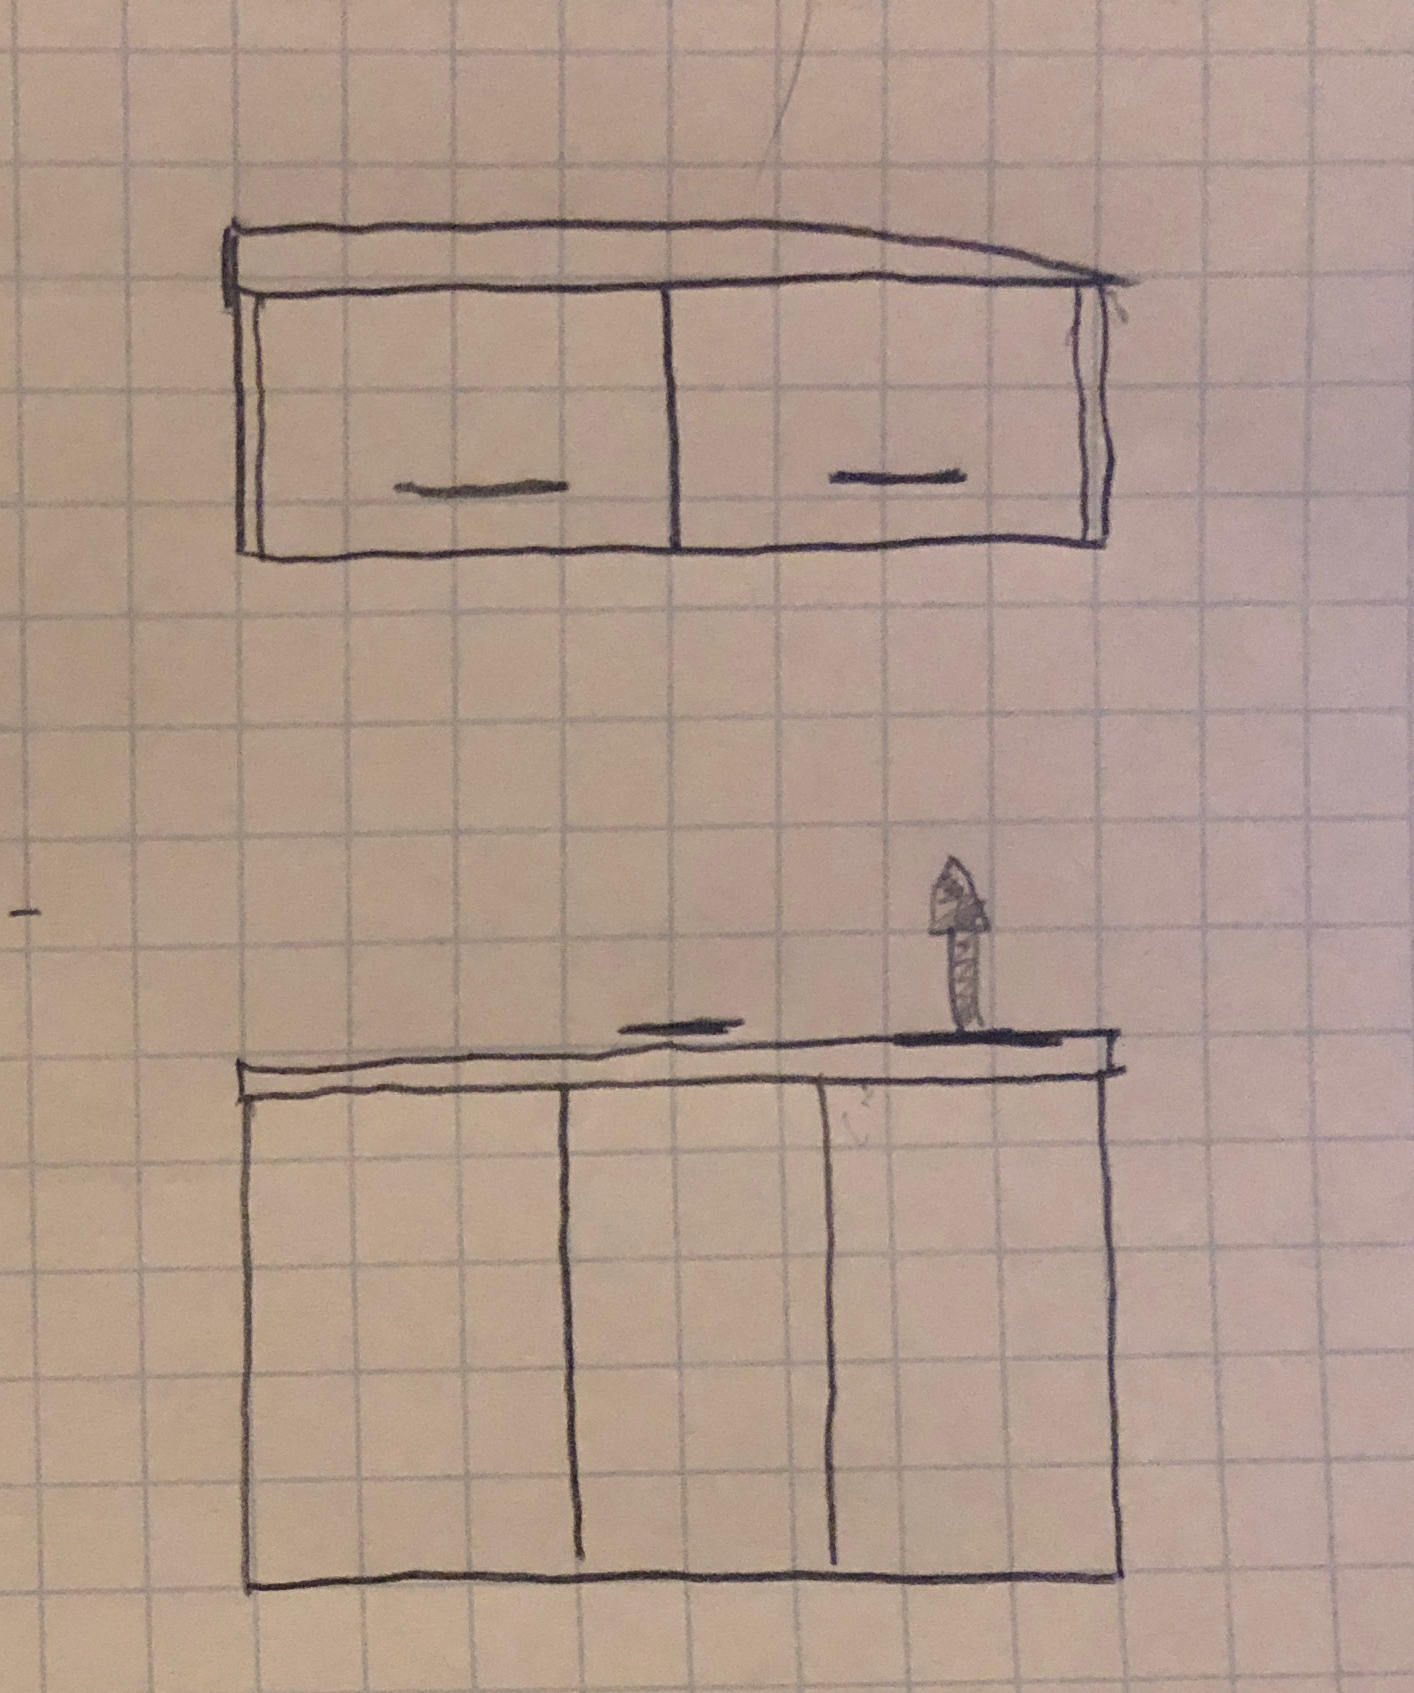
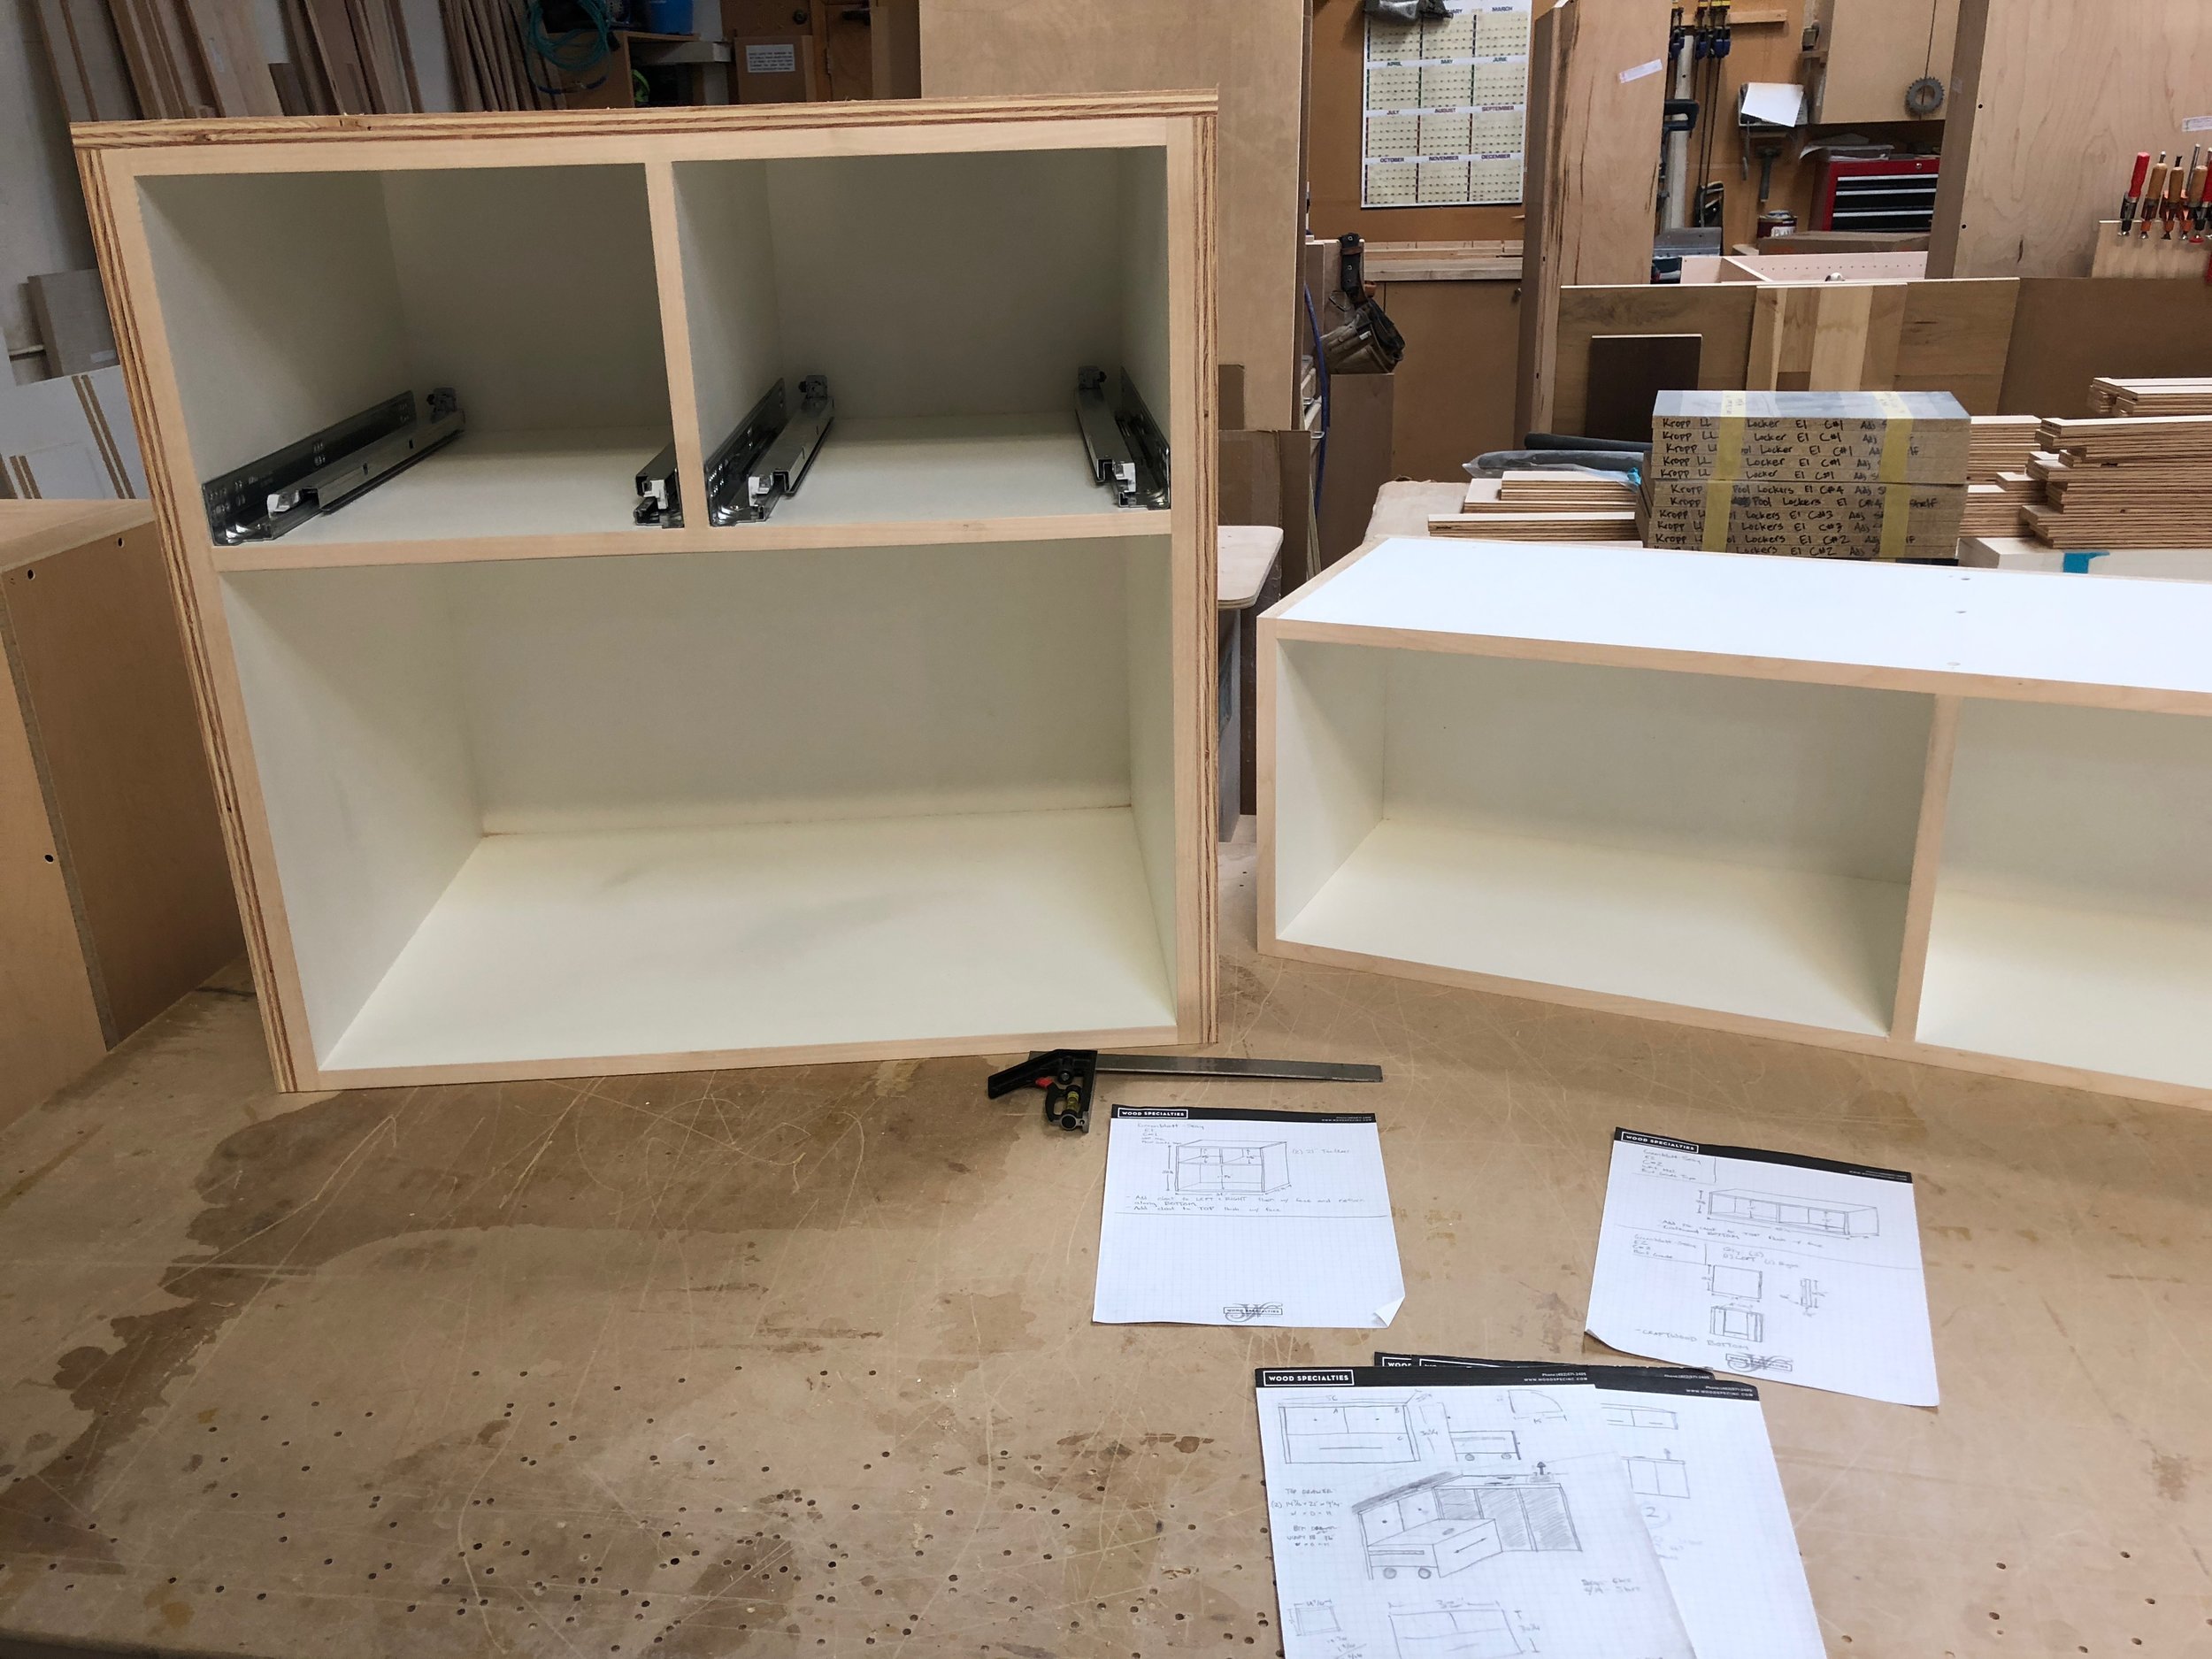
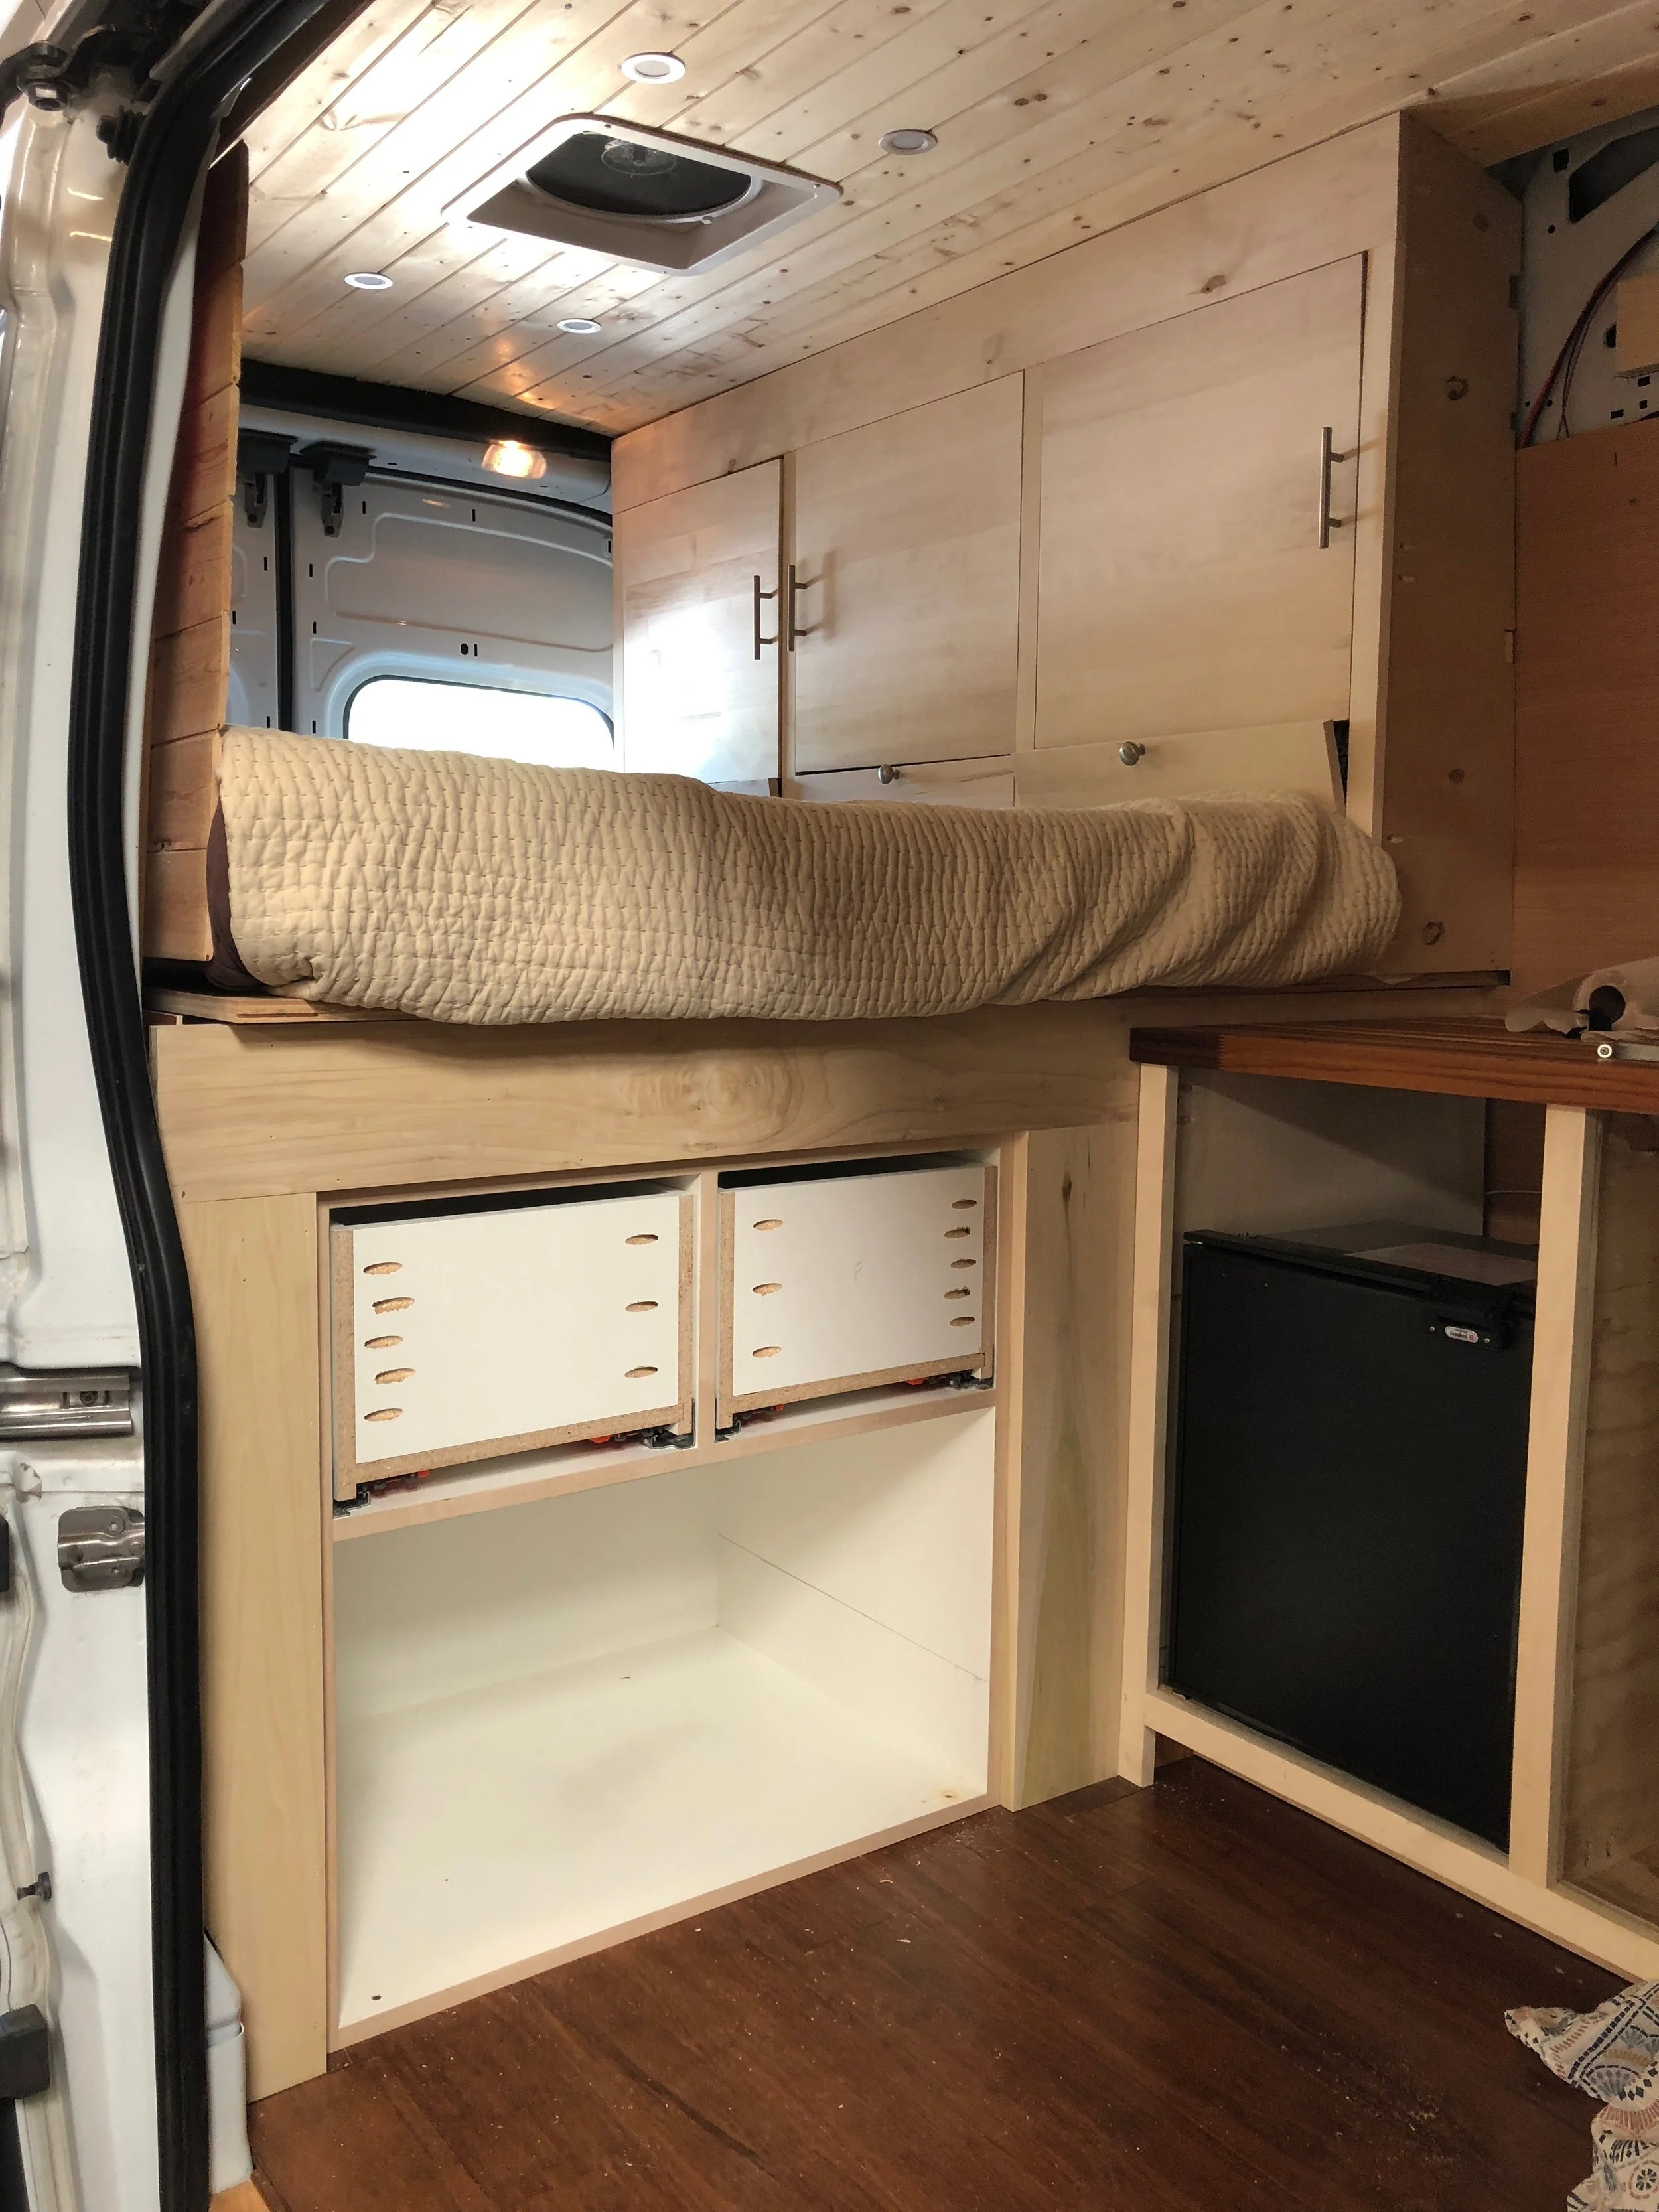
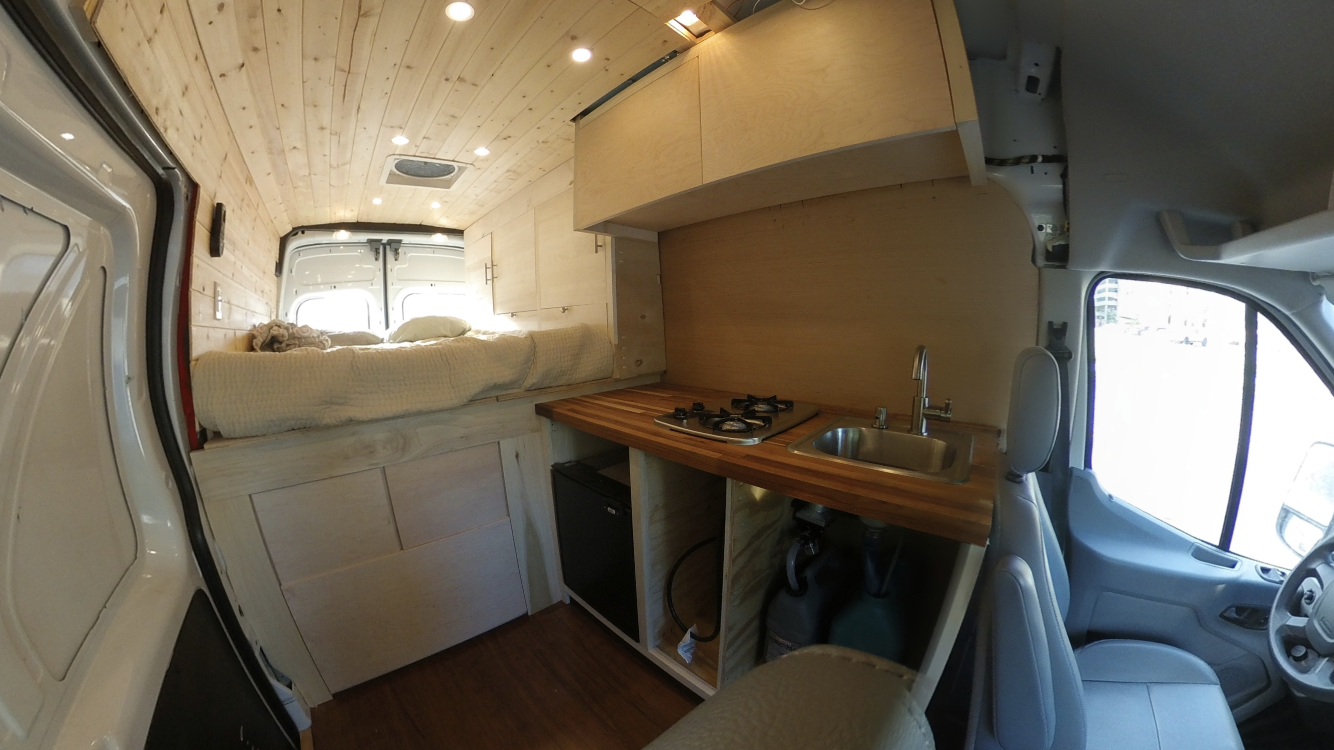
The living area has a pull-out bench/storage solution, which sits opposite a swiveling passenger seat. There are also two large utility drawers over the bench.
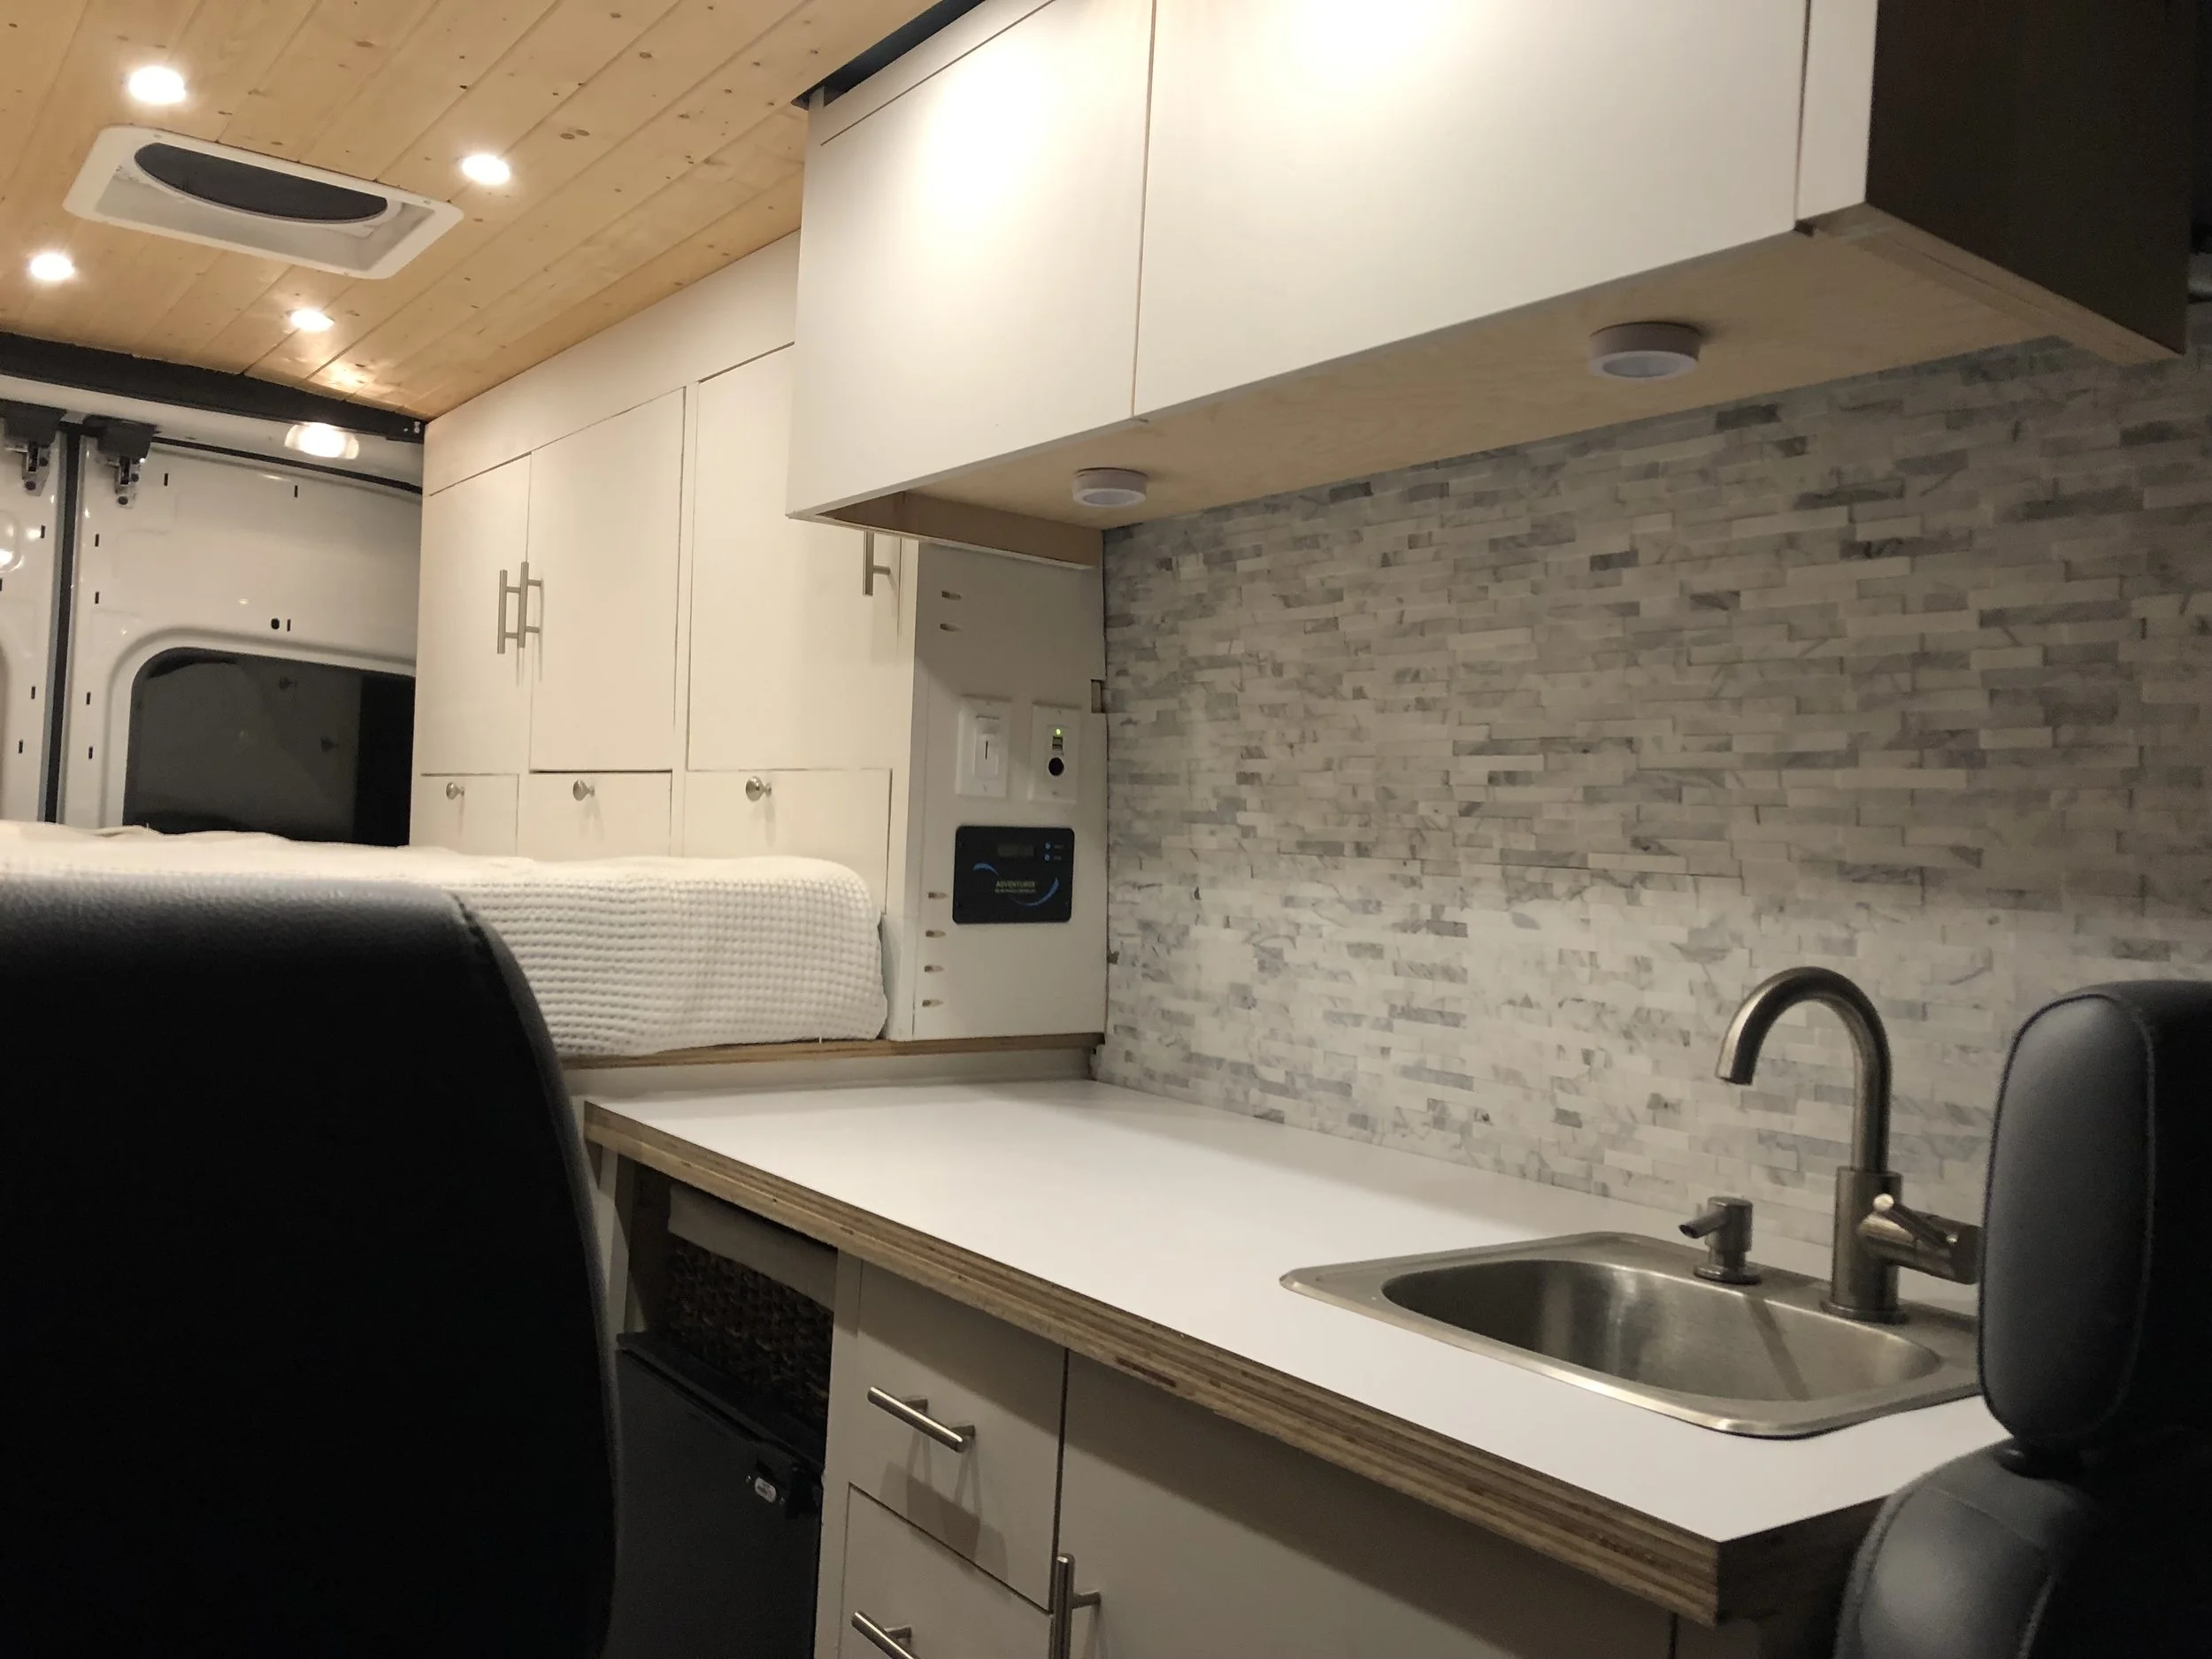
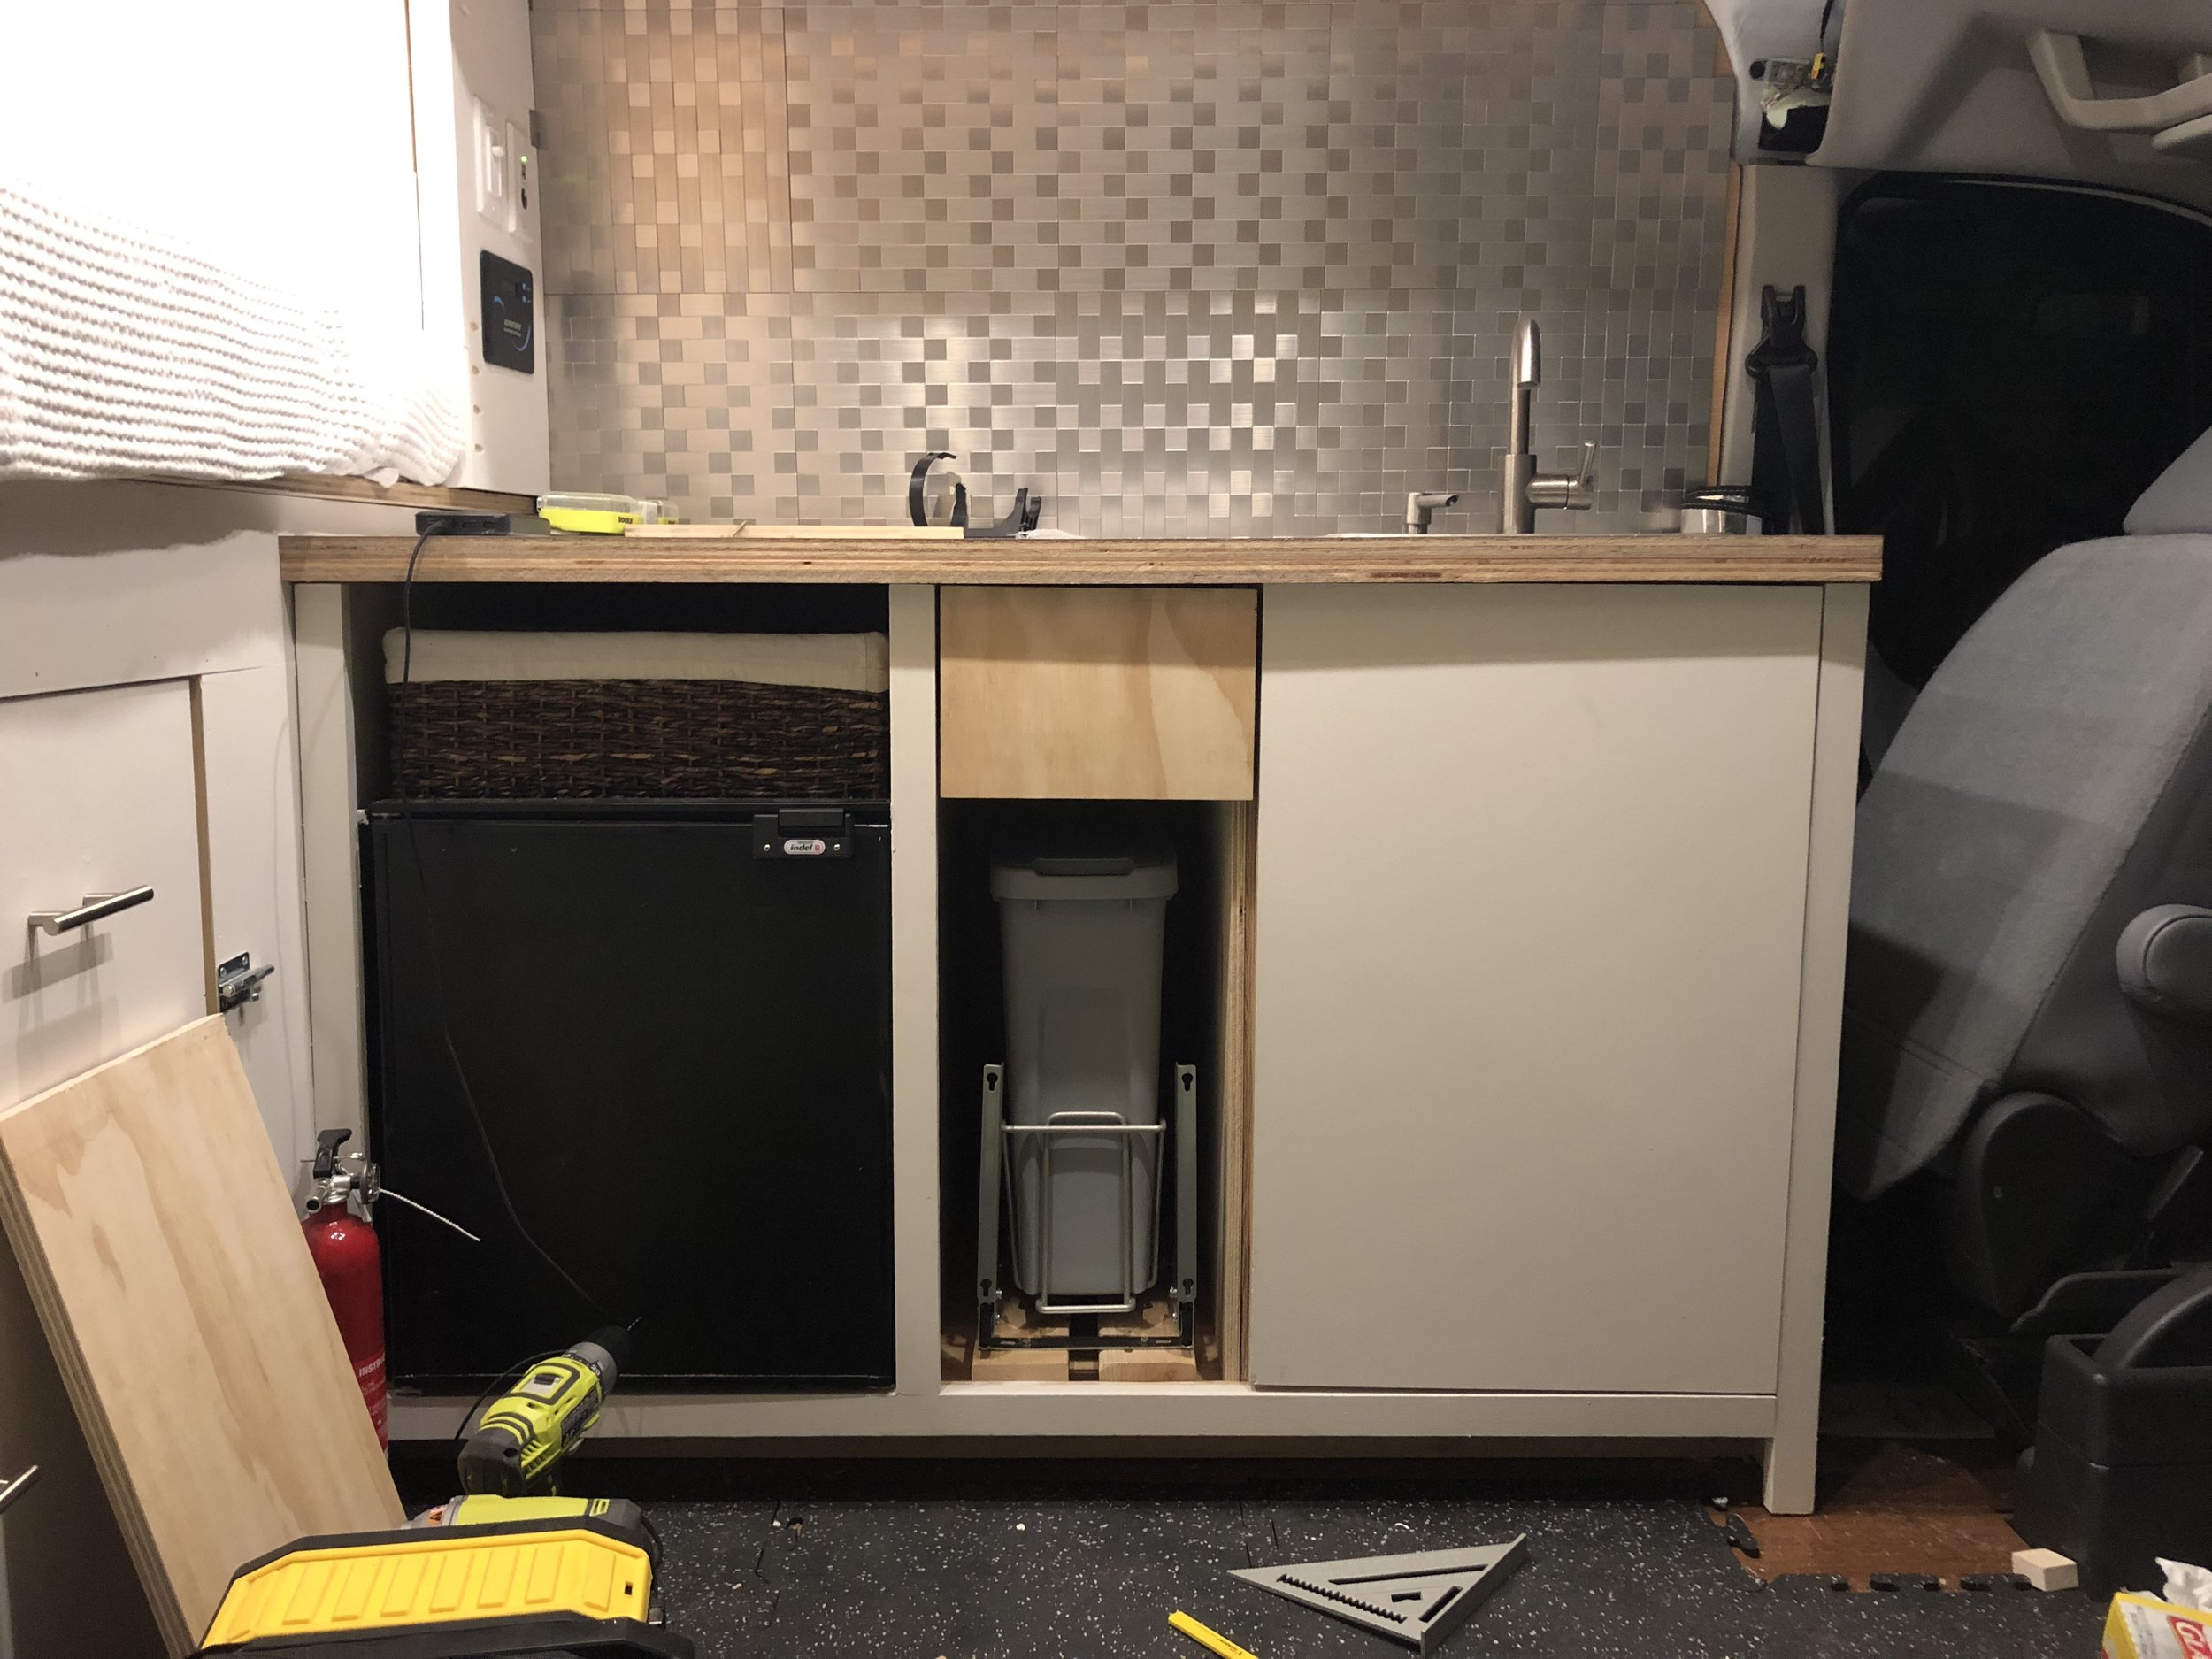
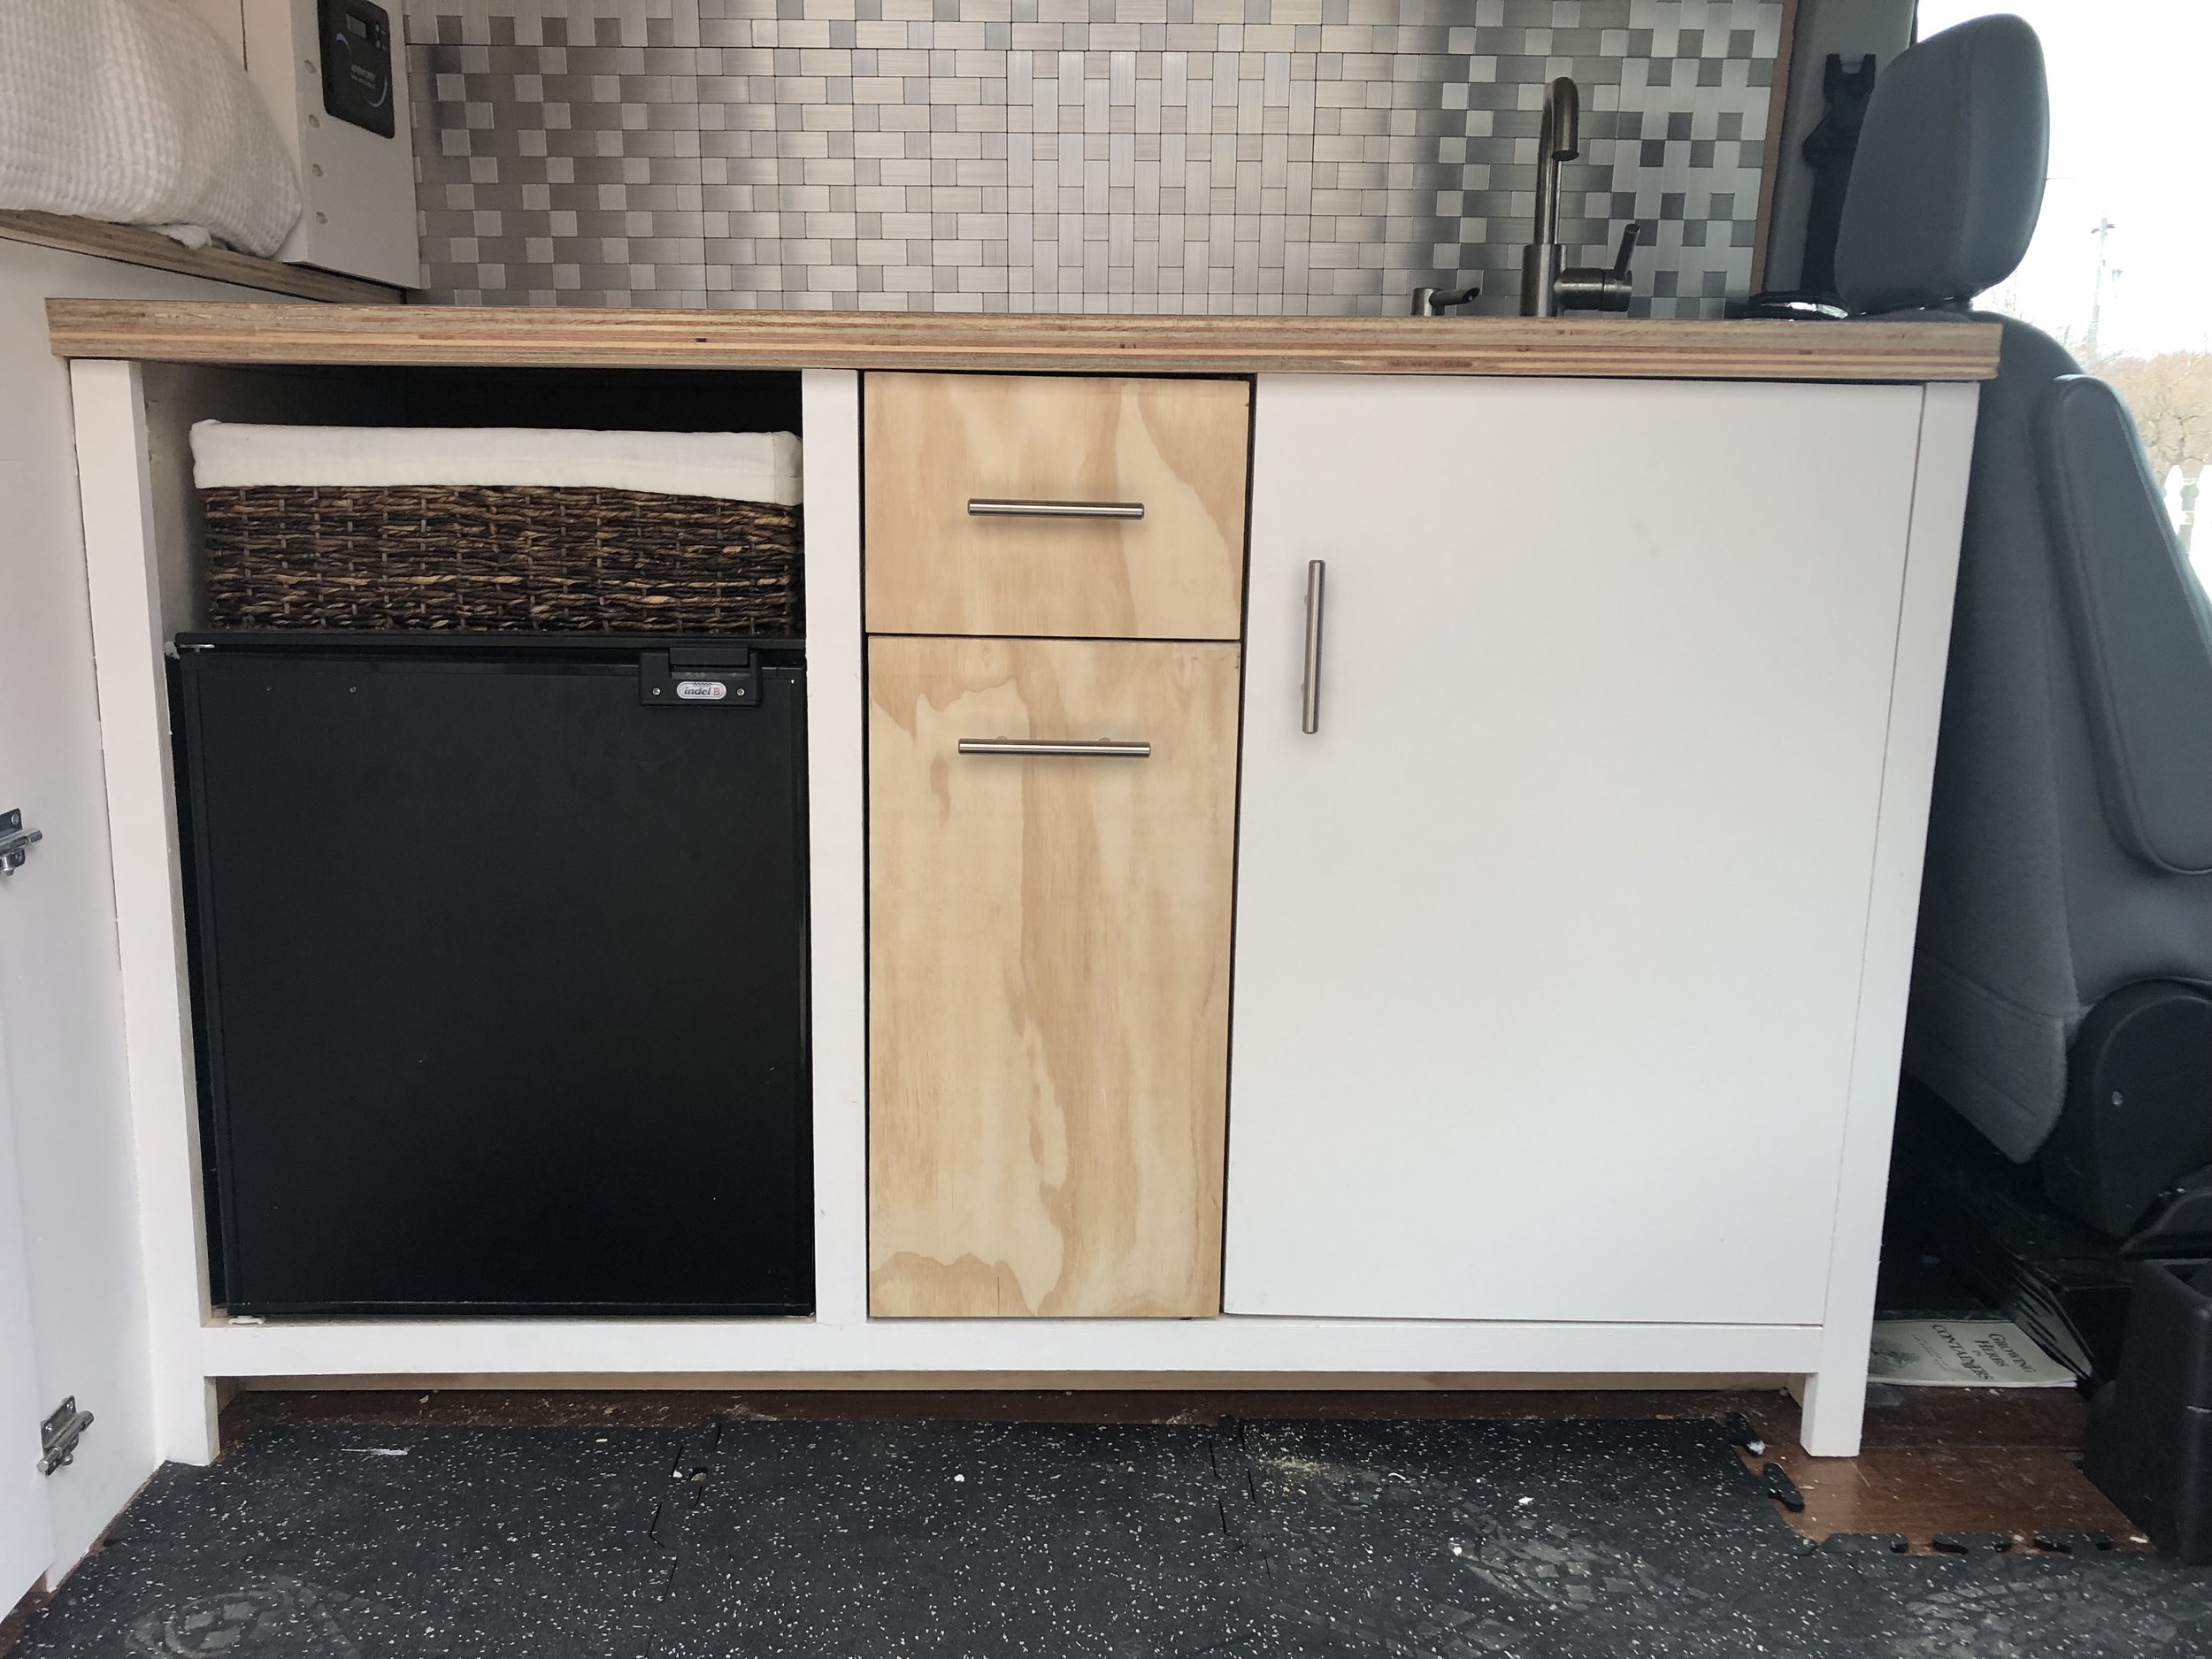
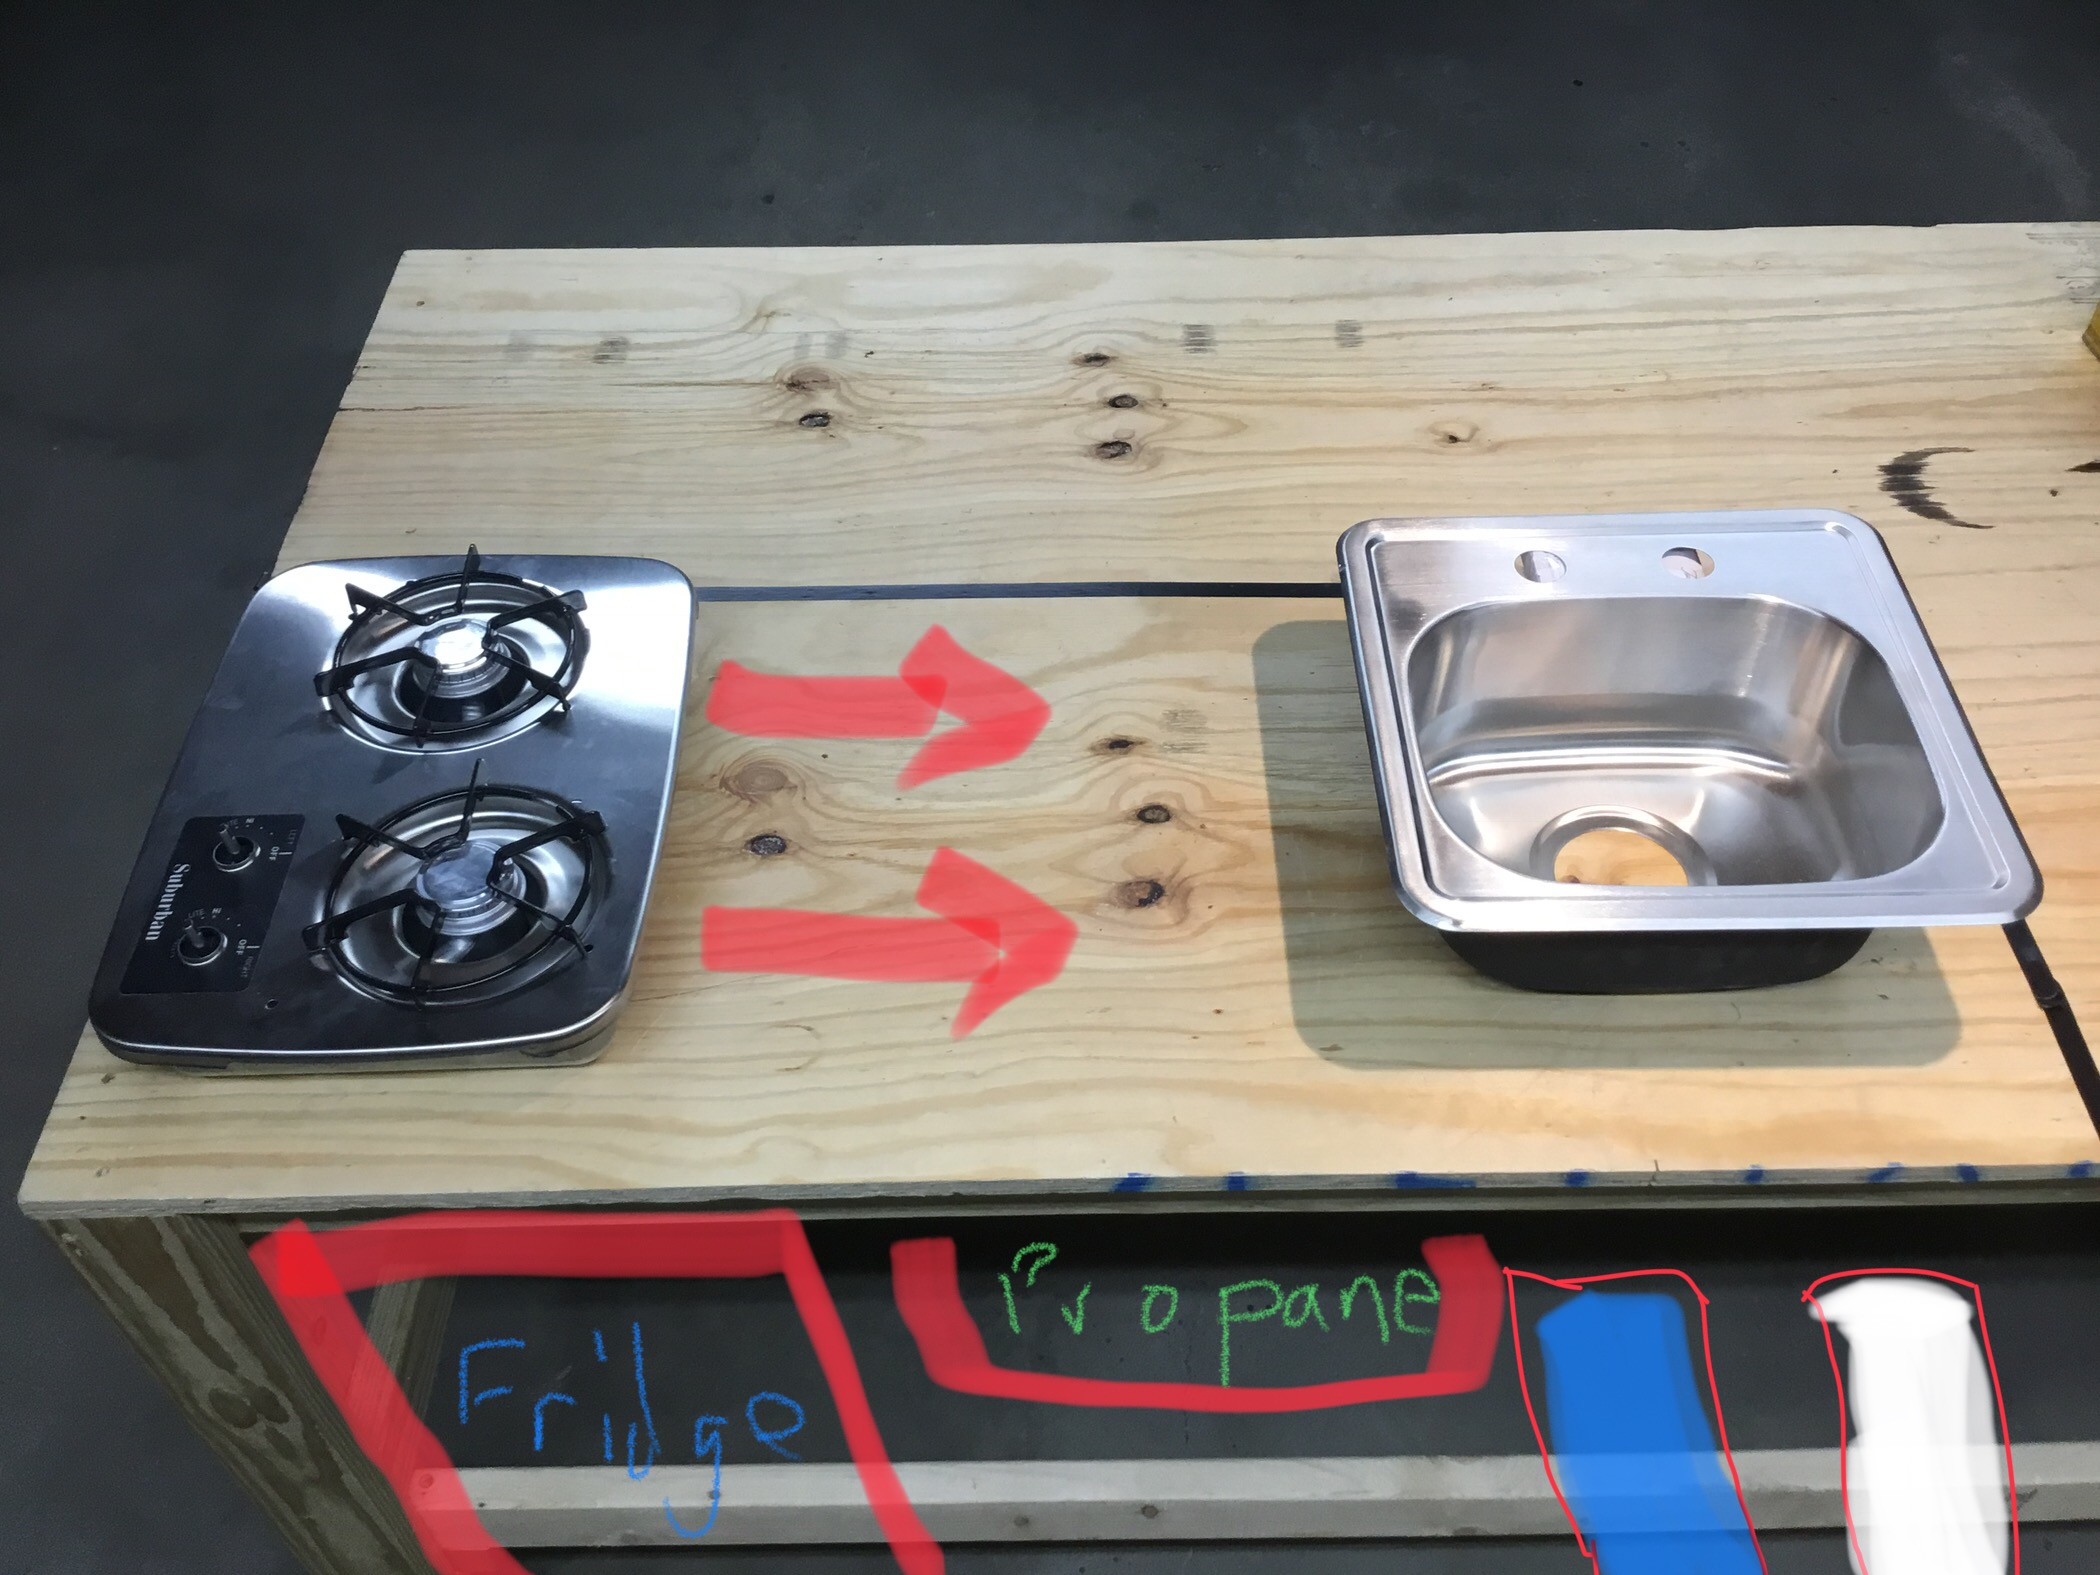
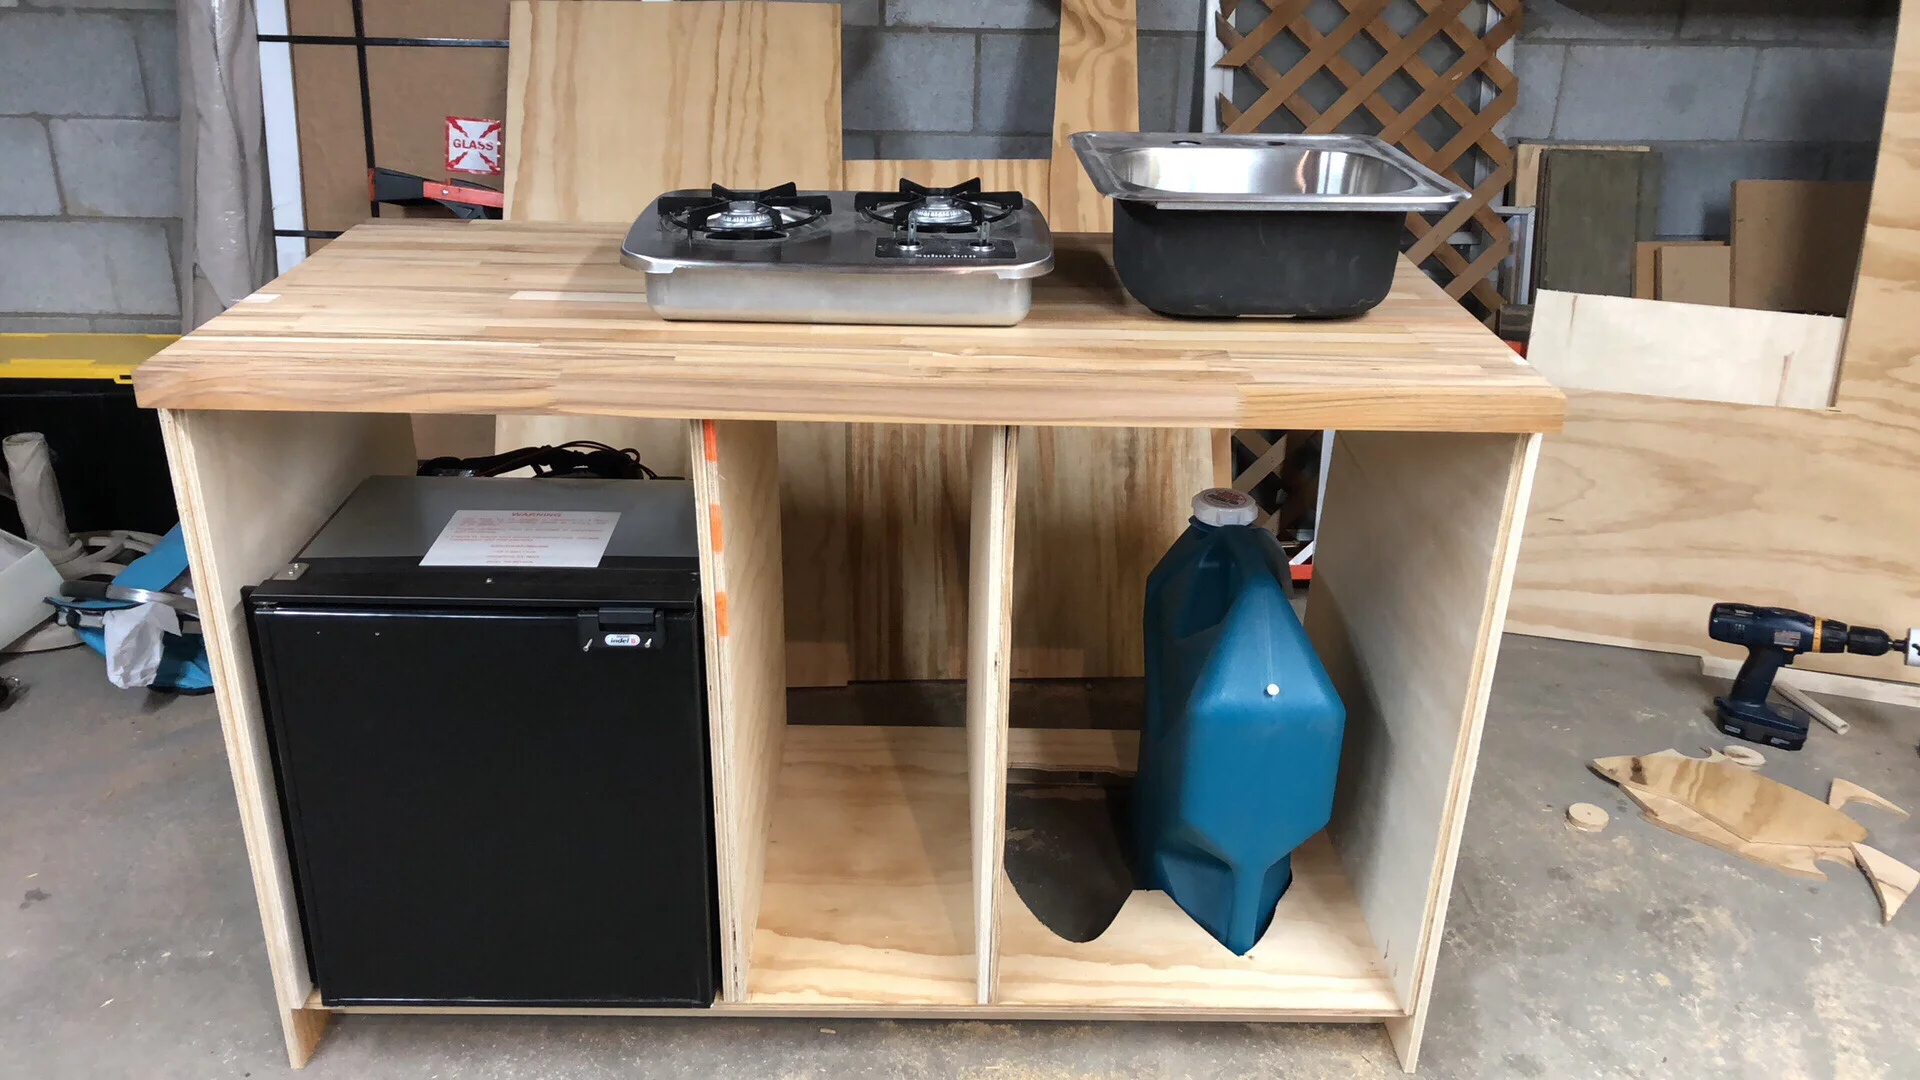
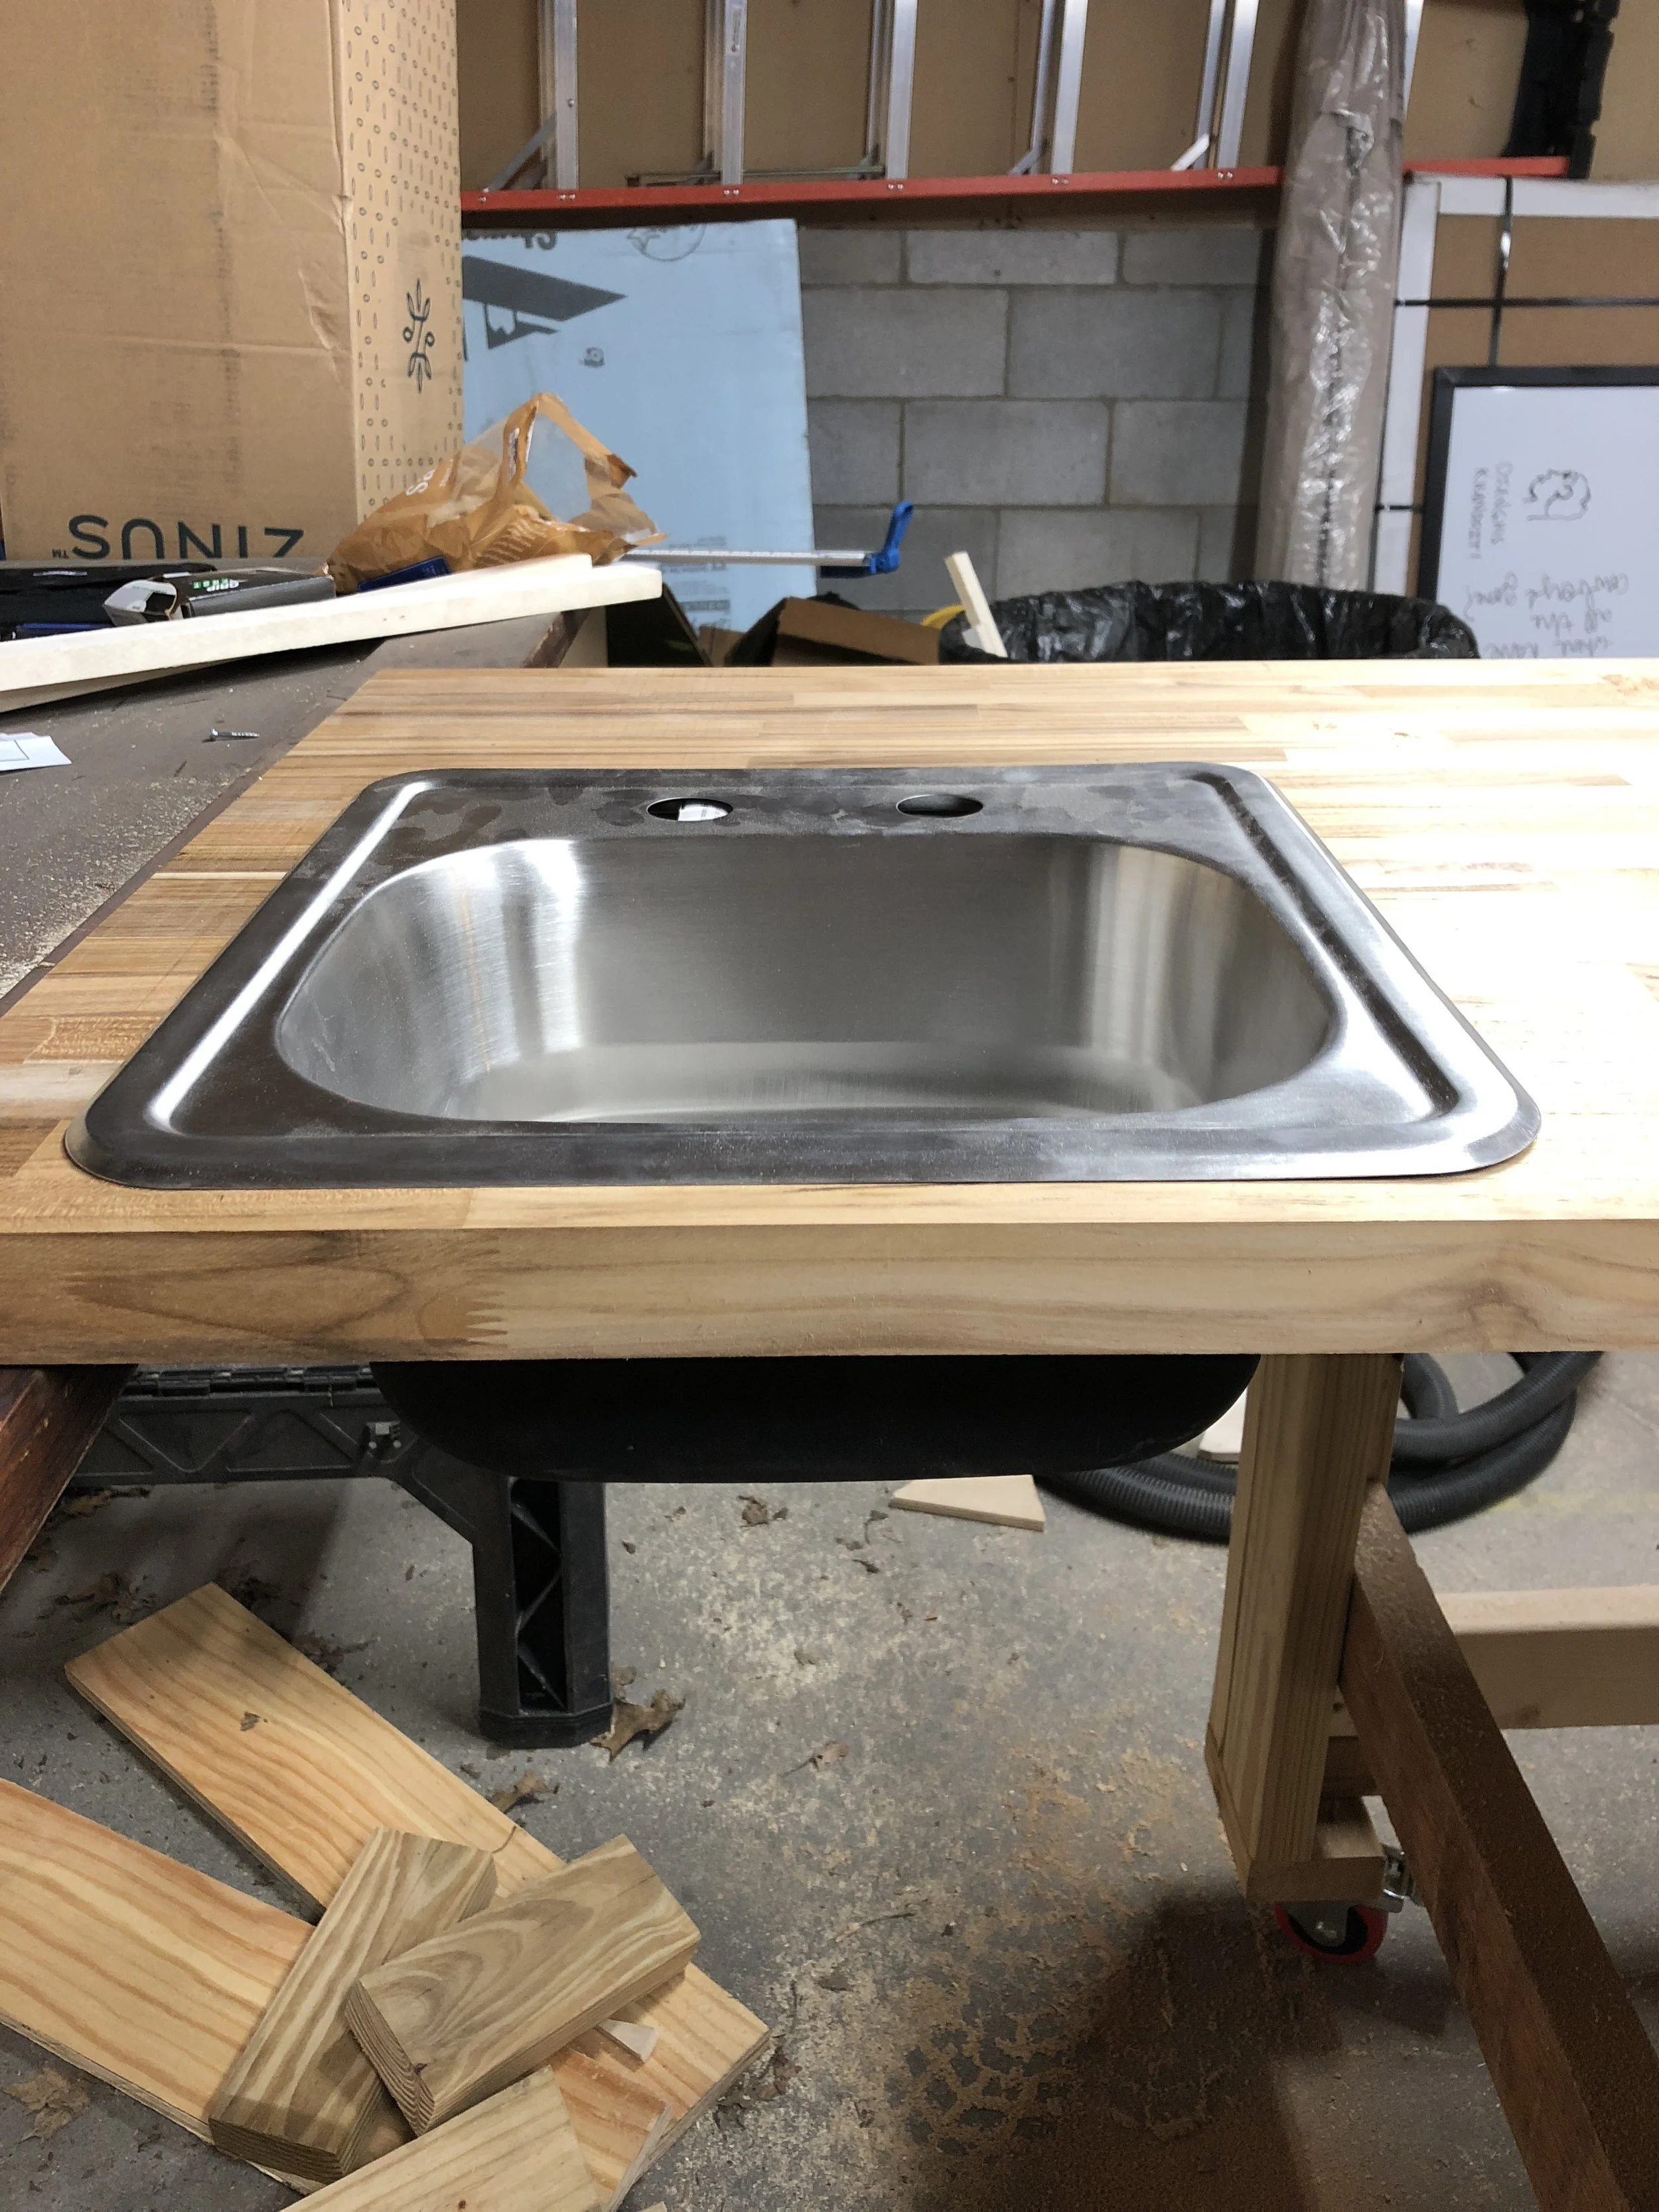
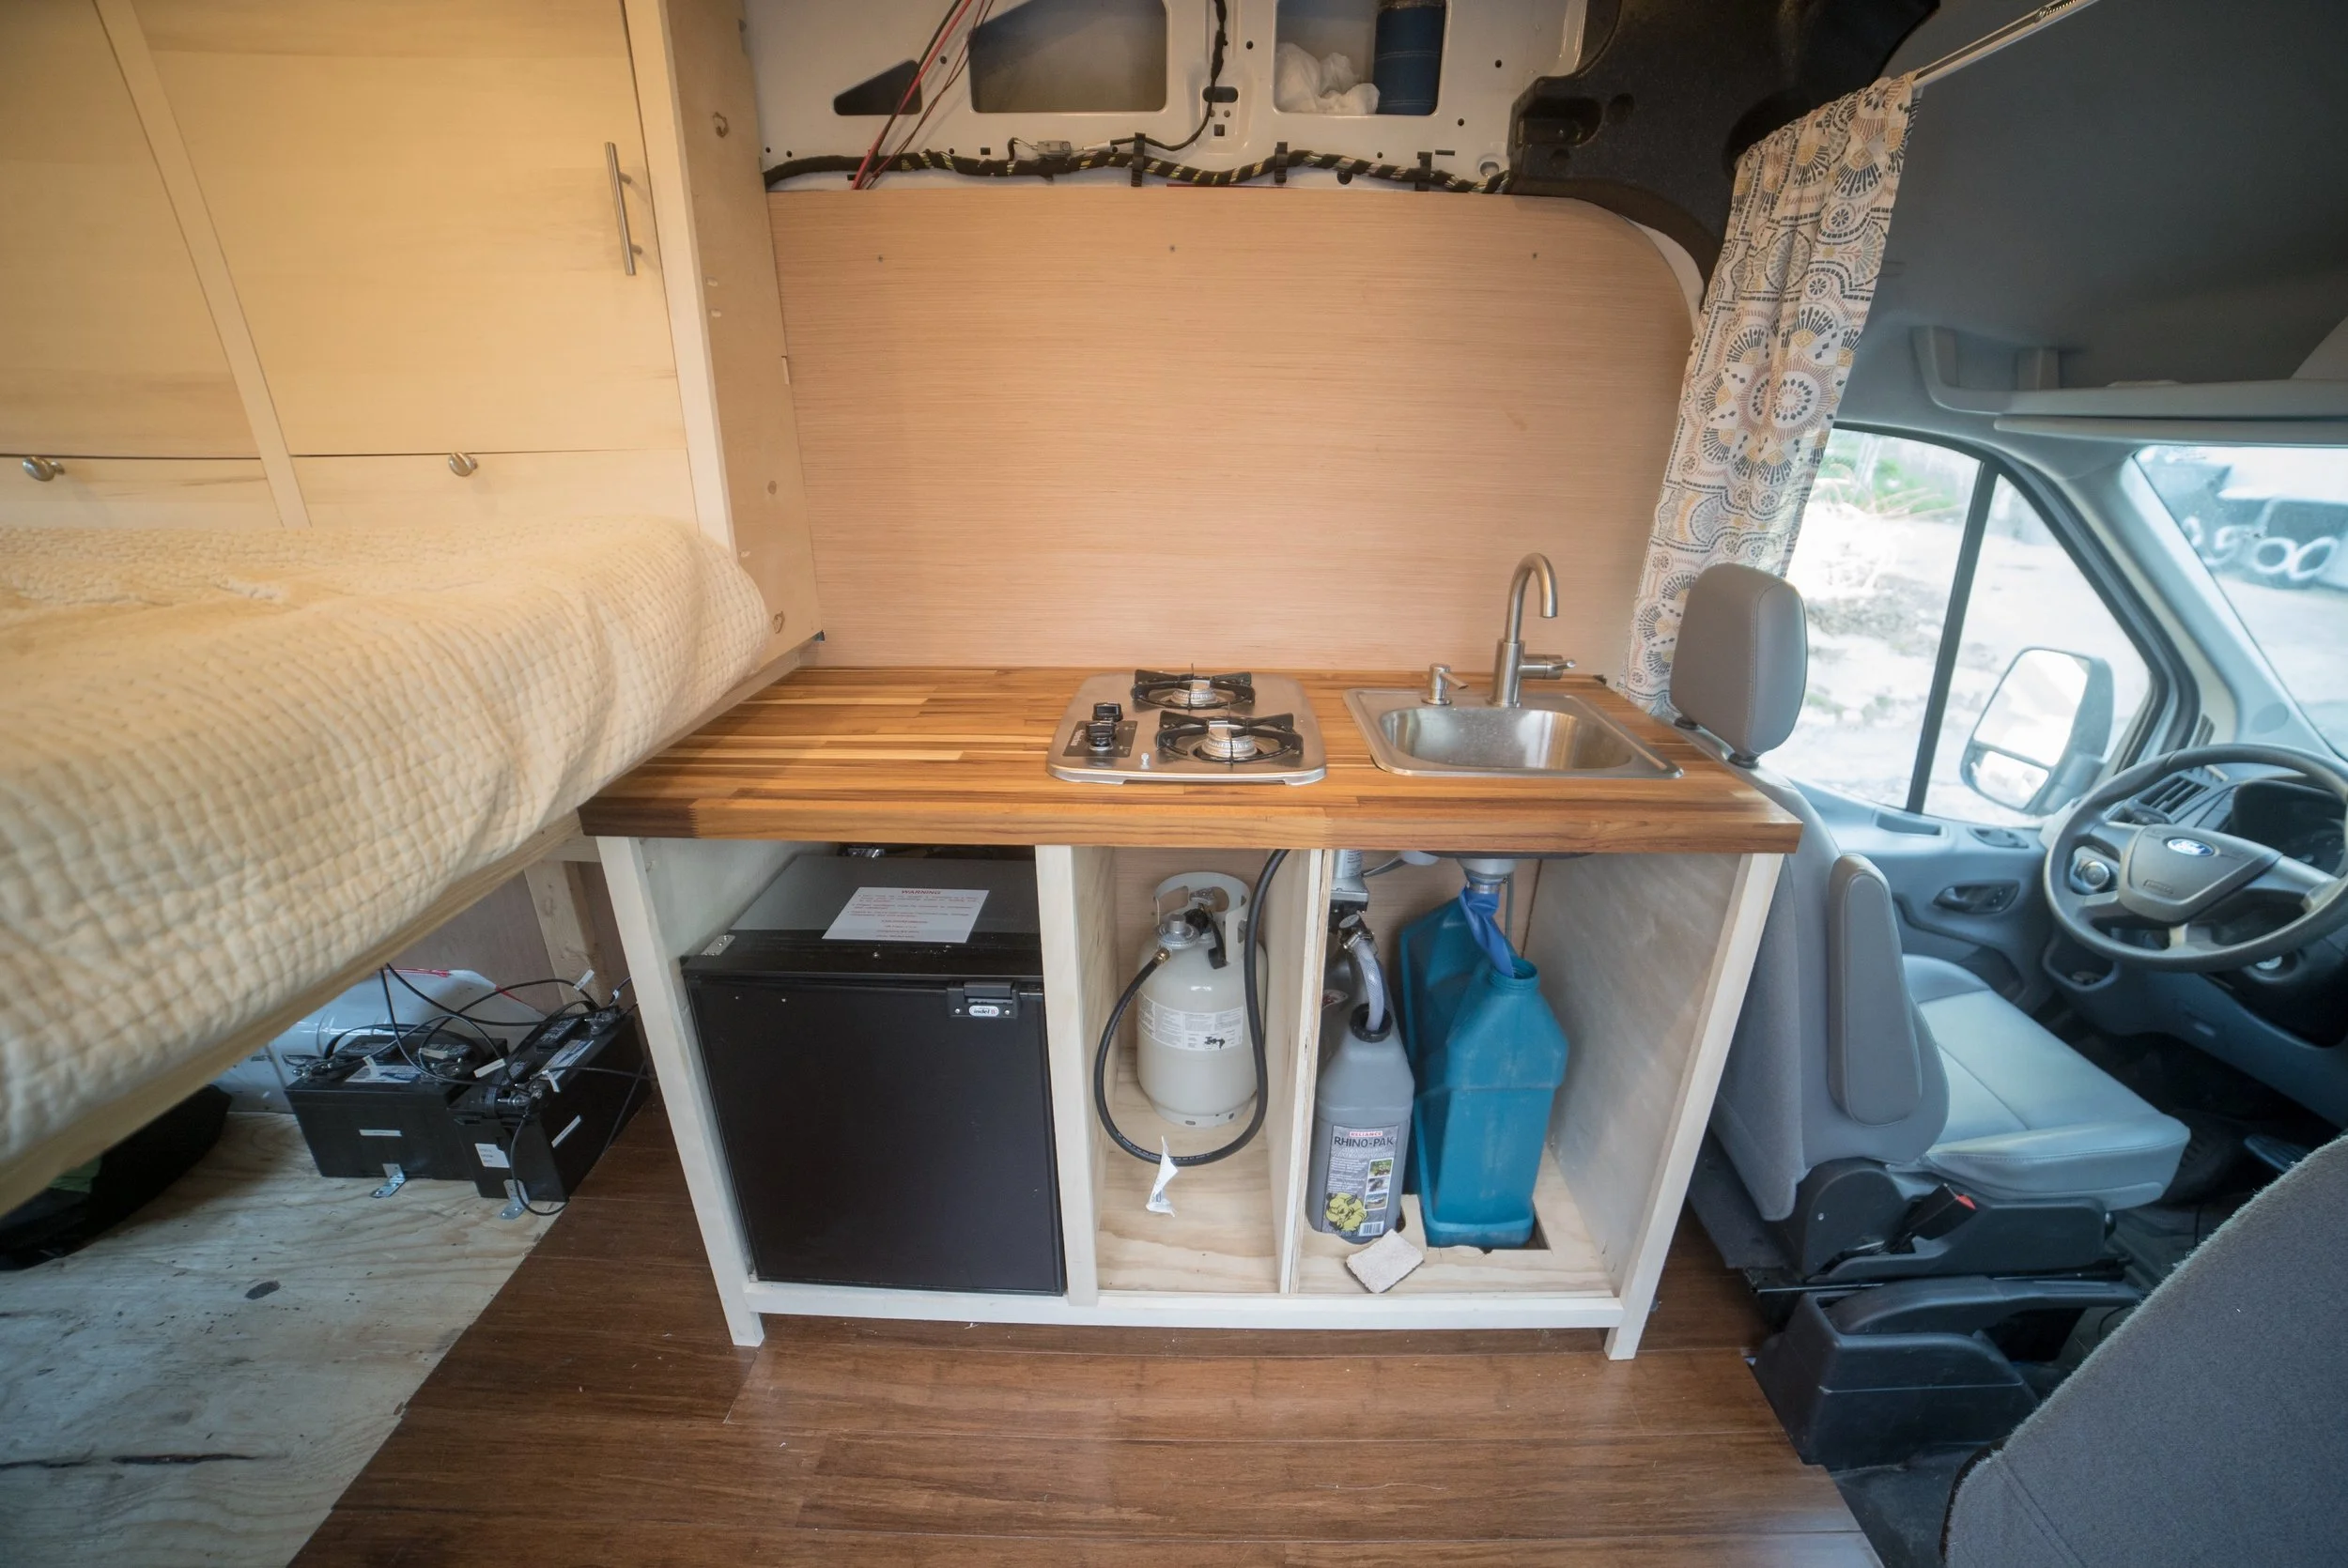
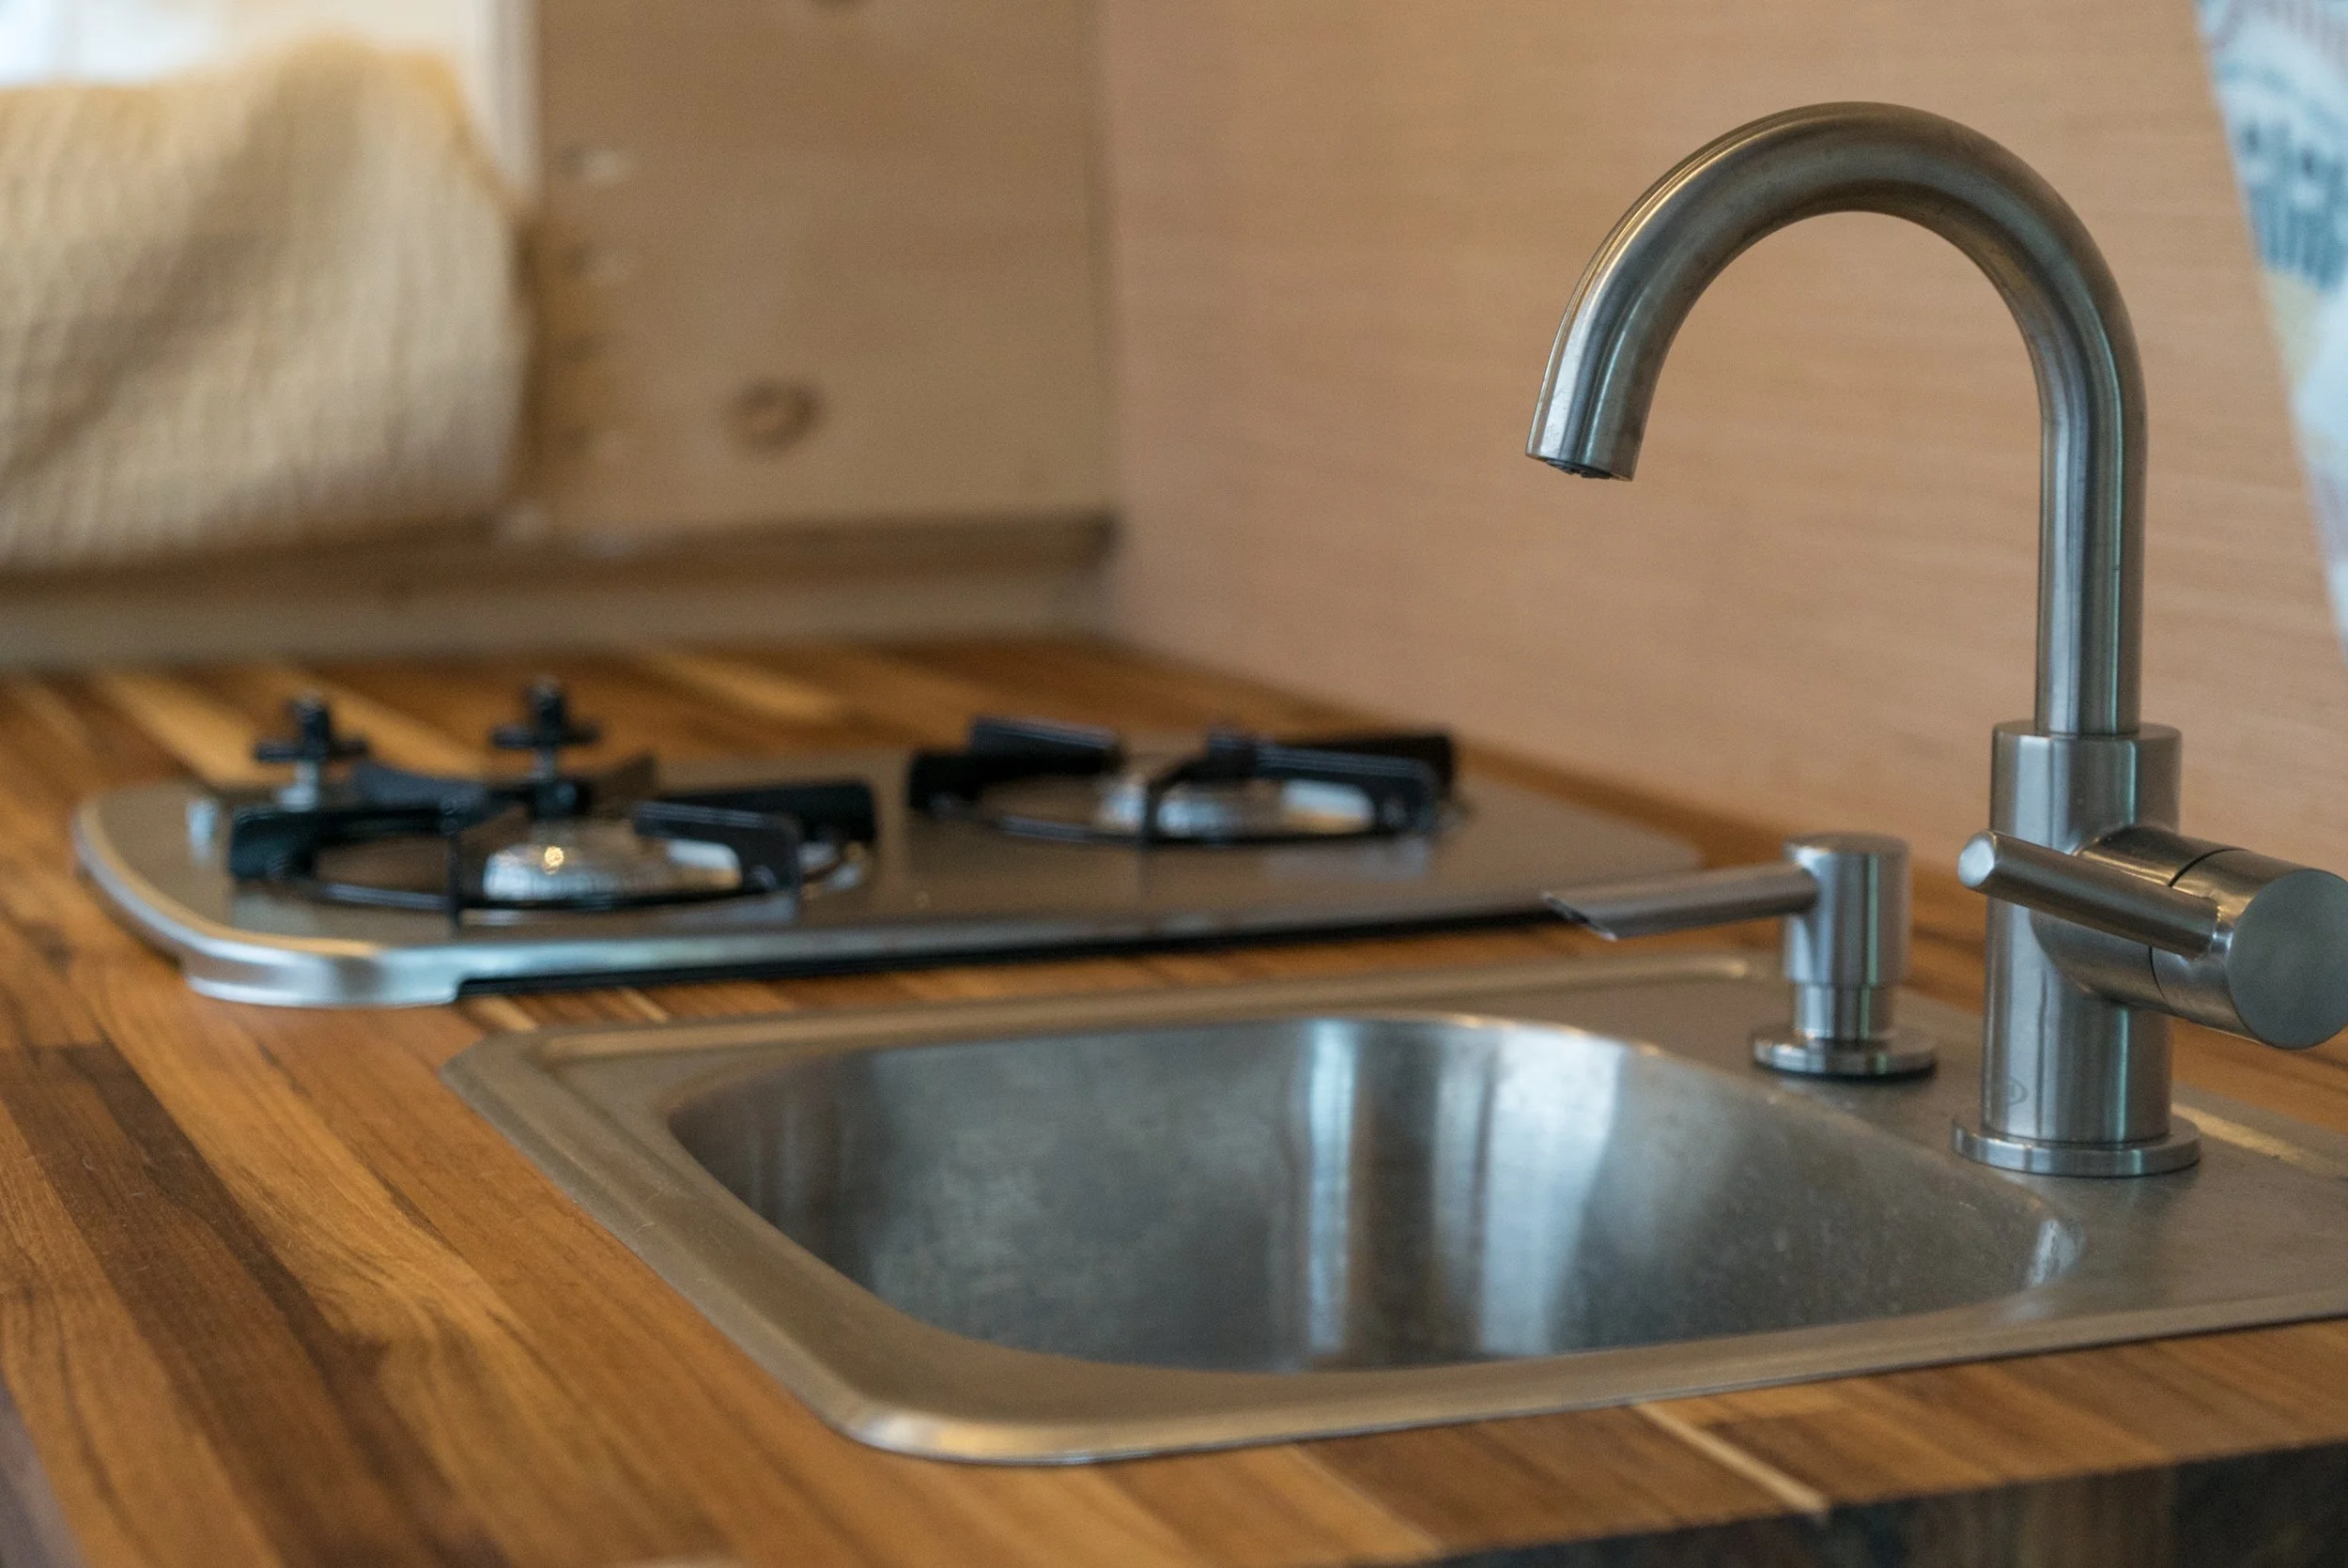
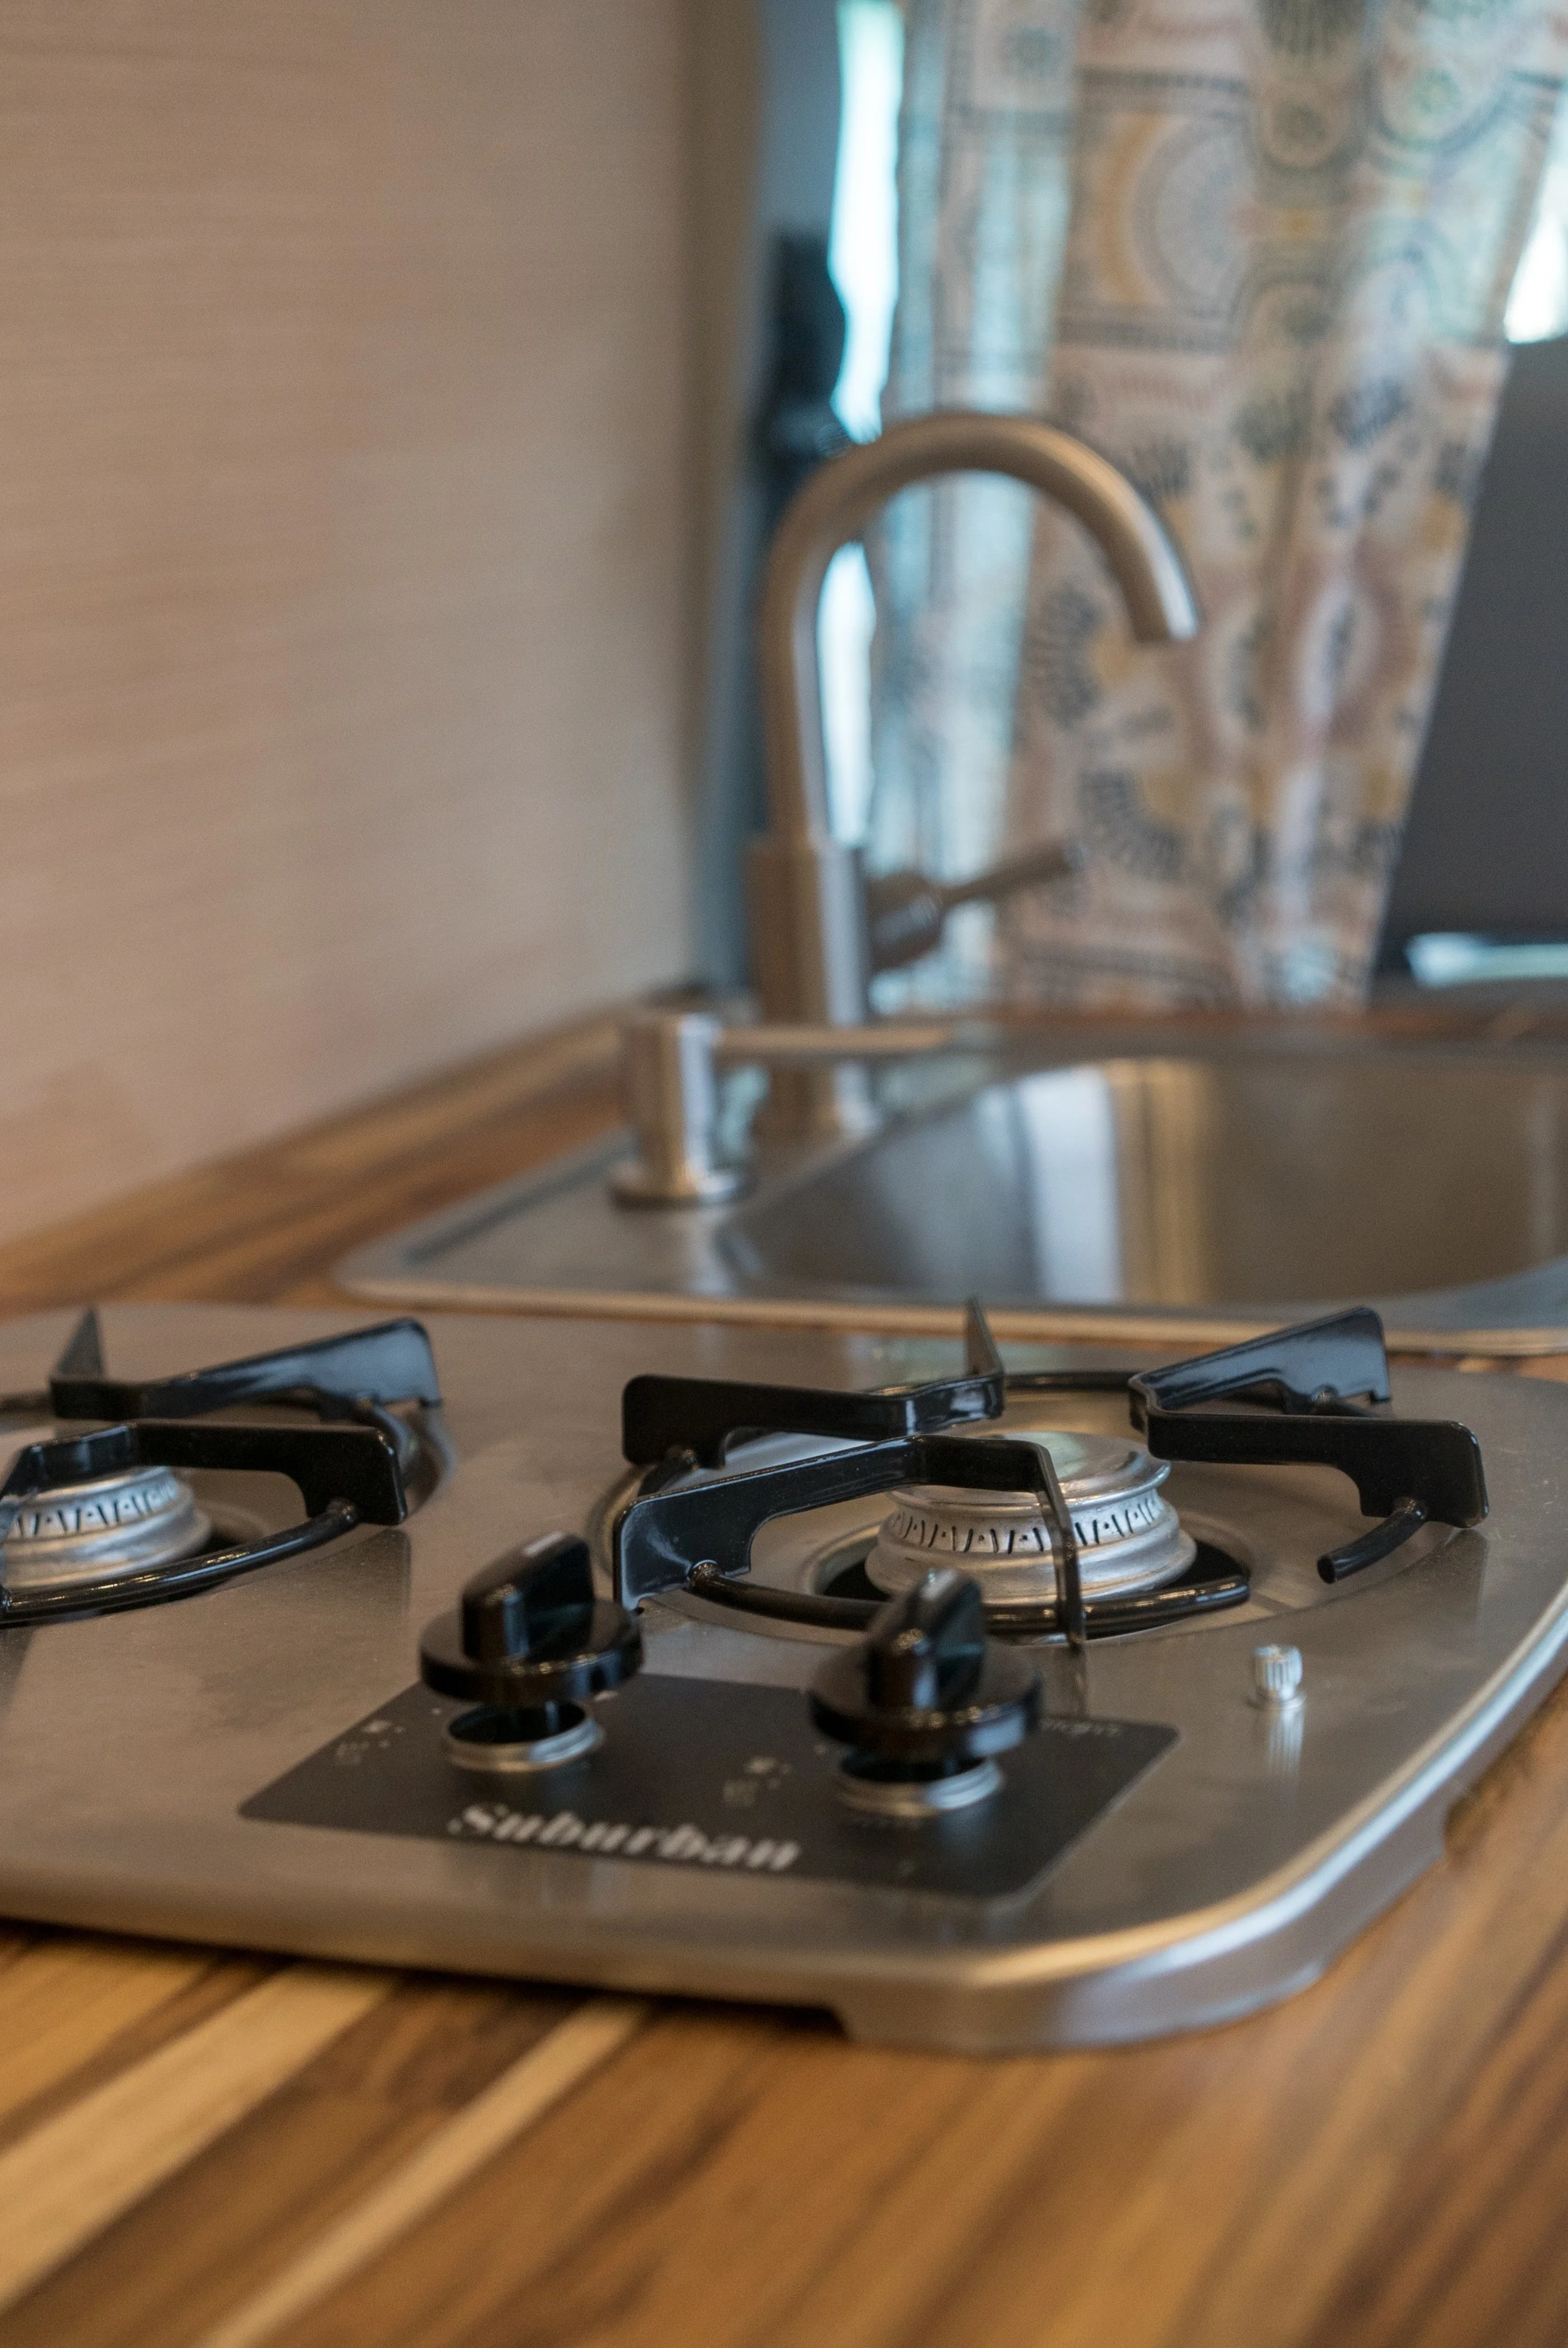
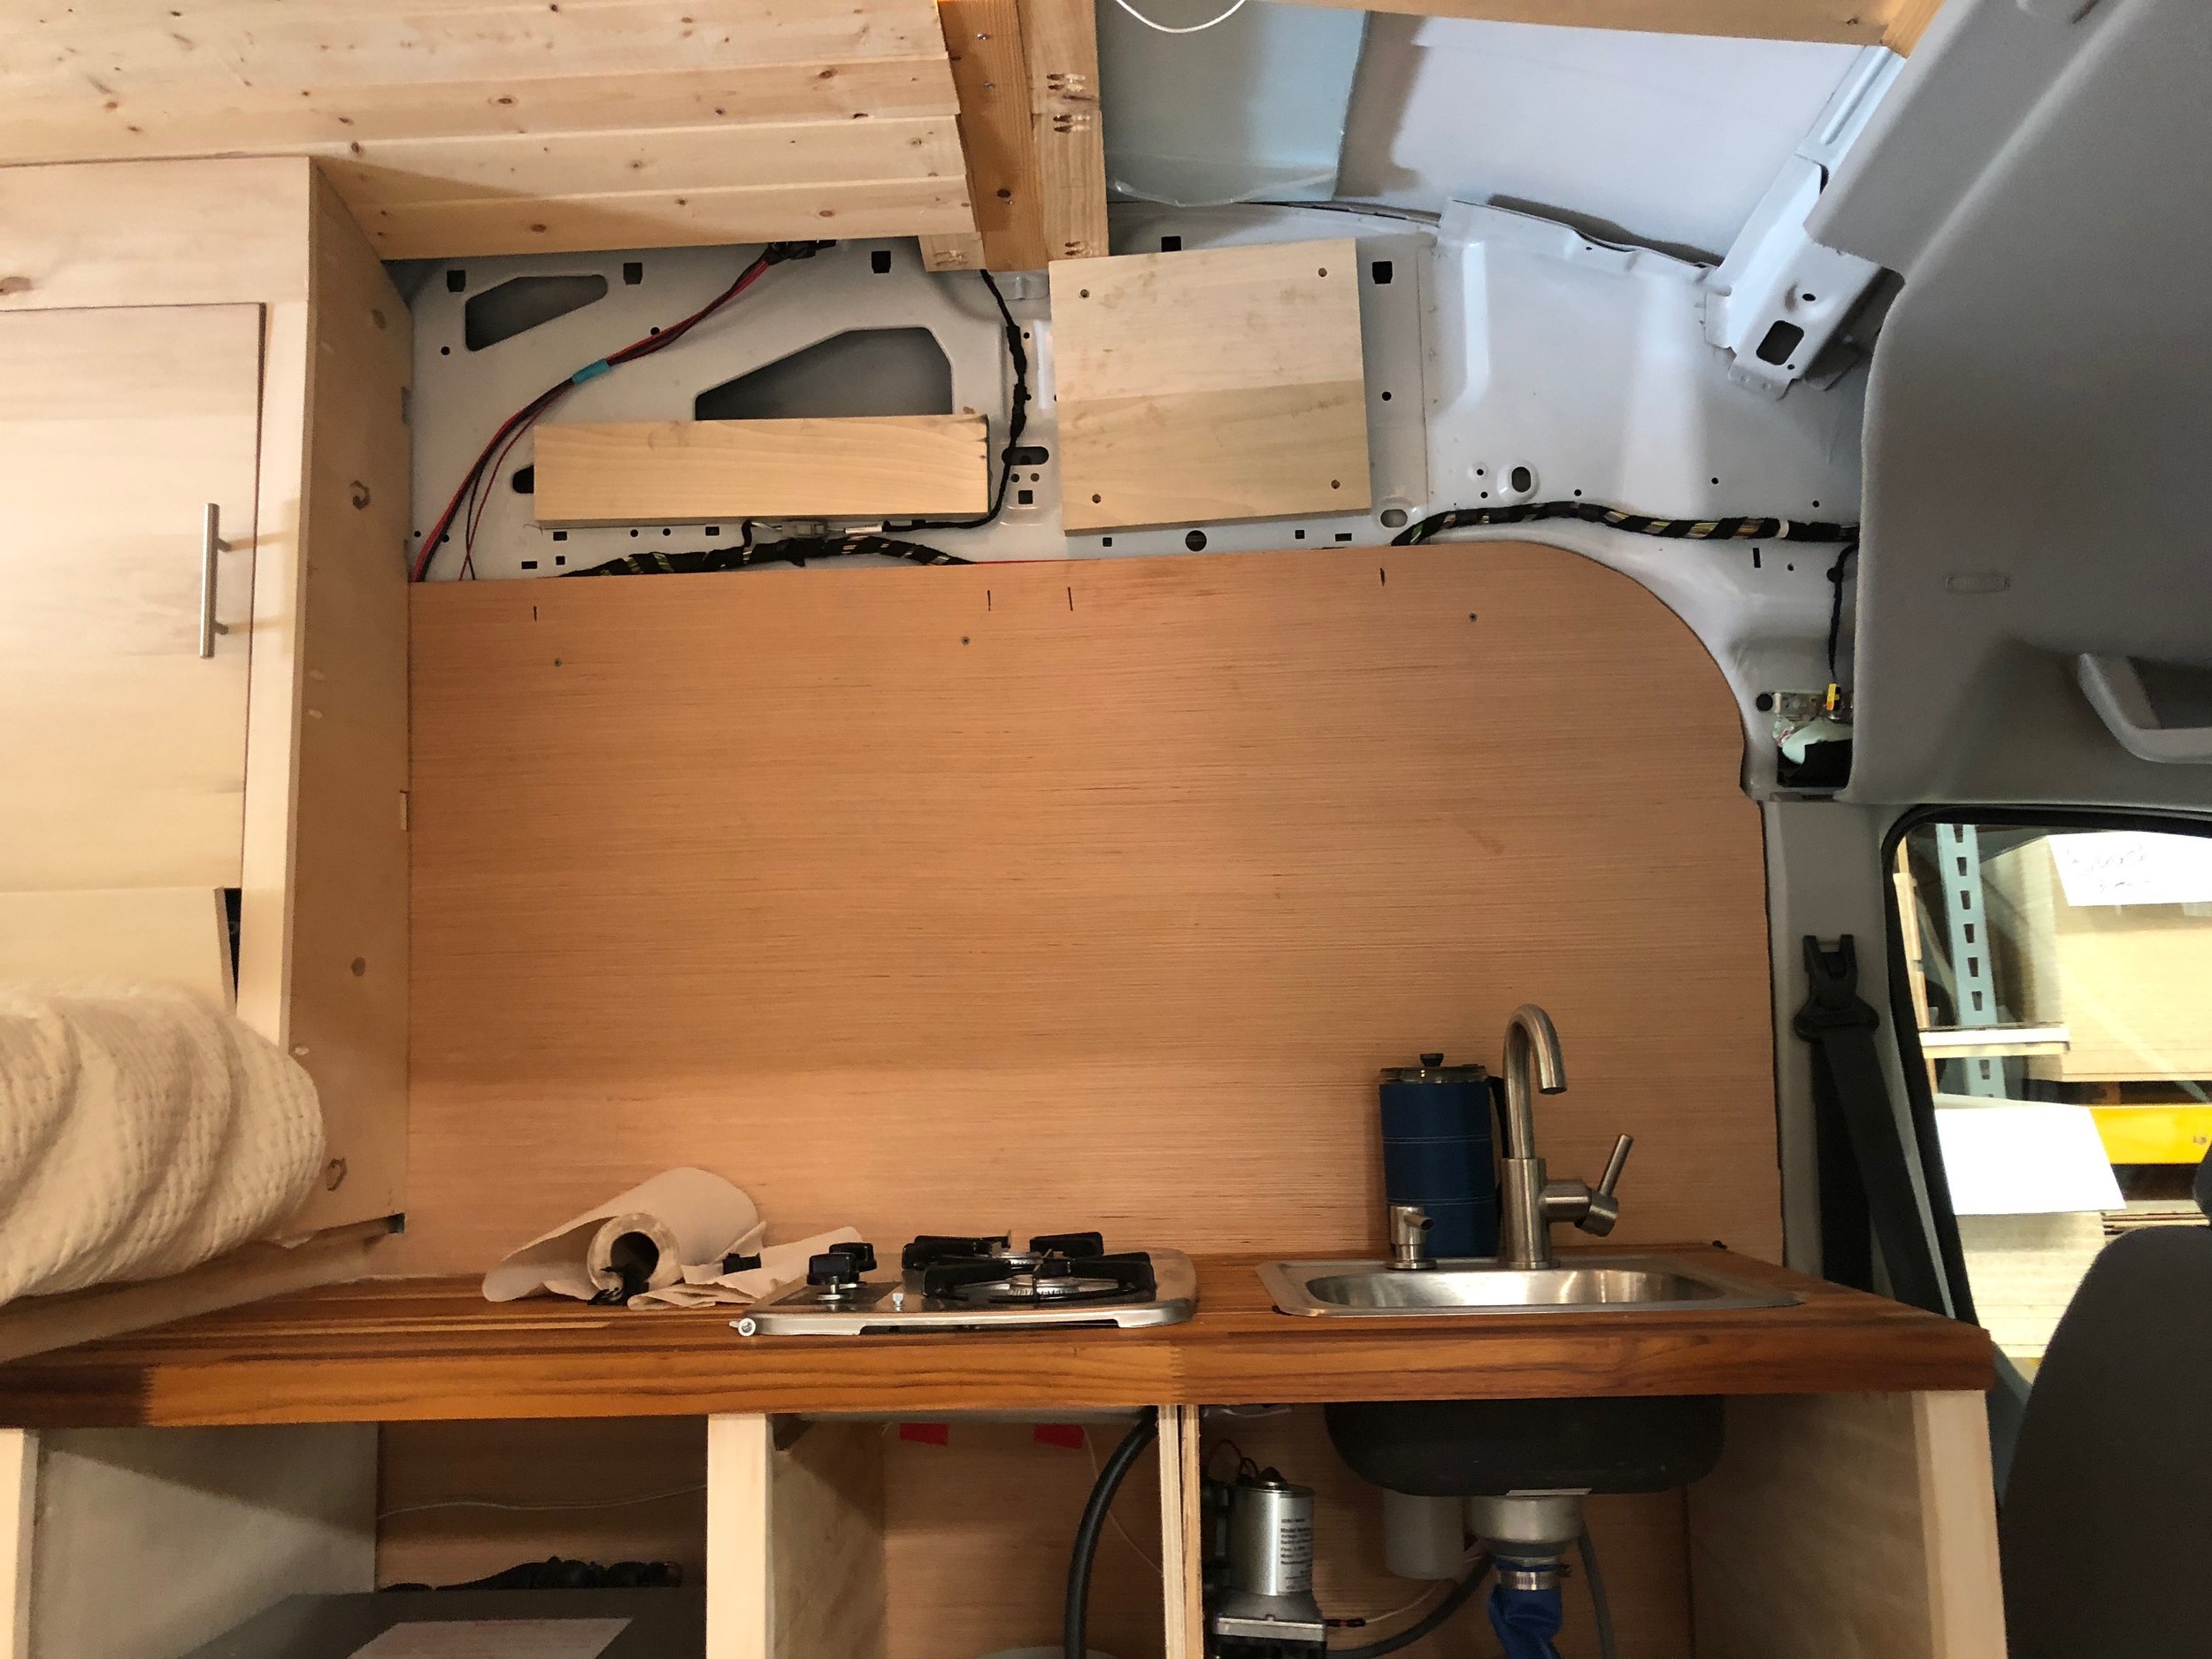
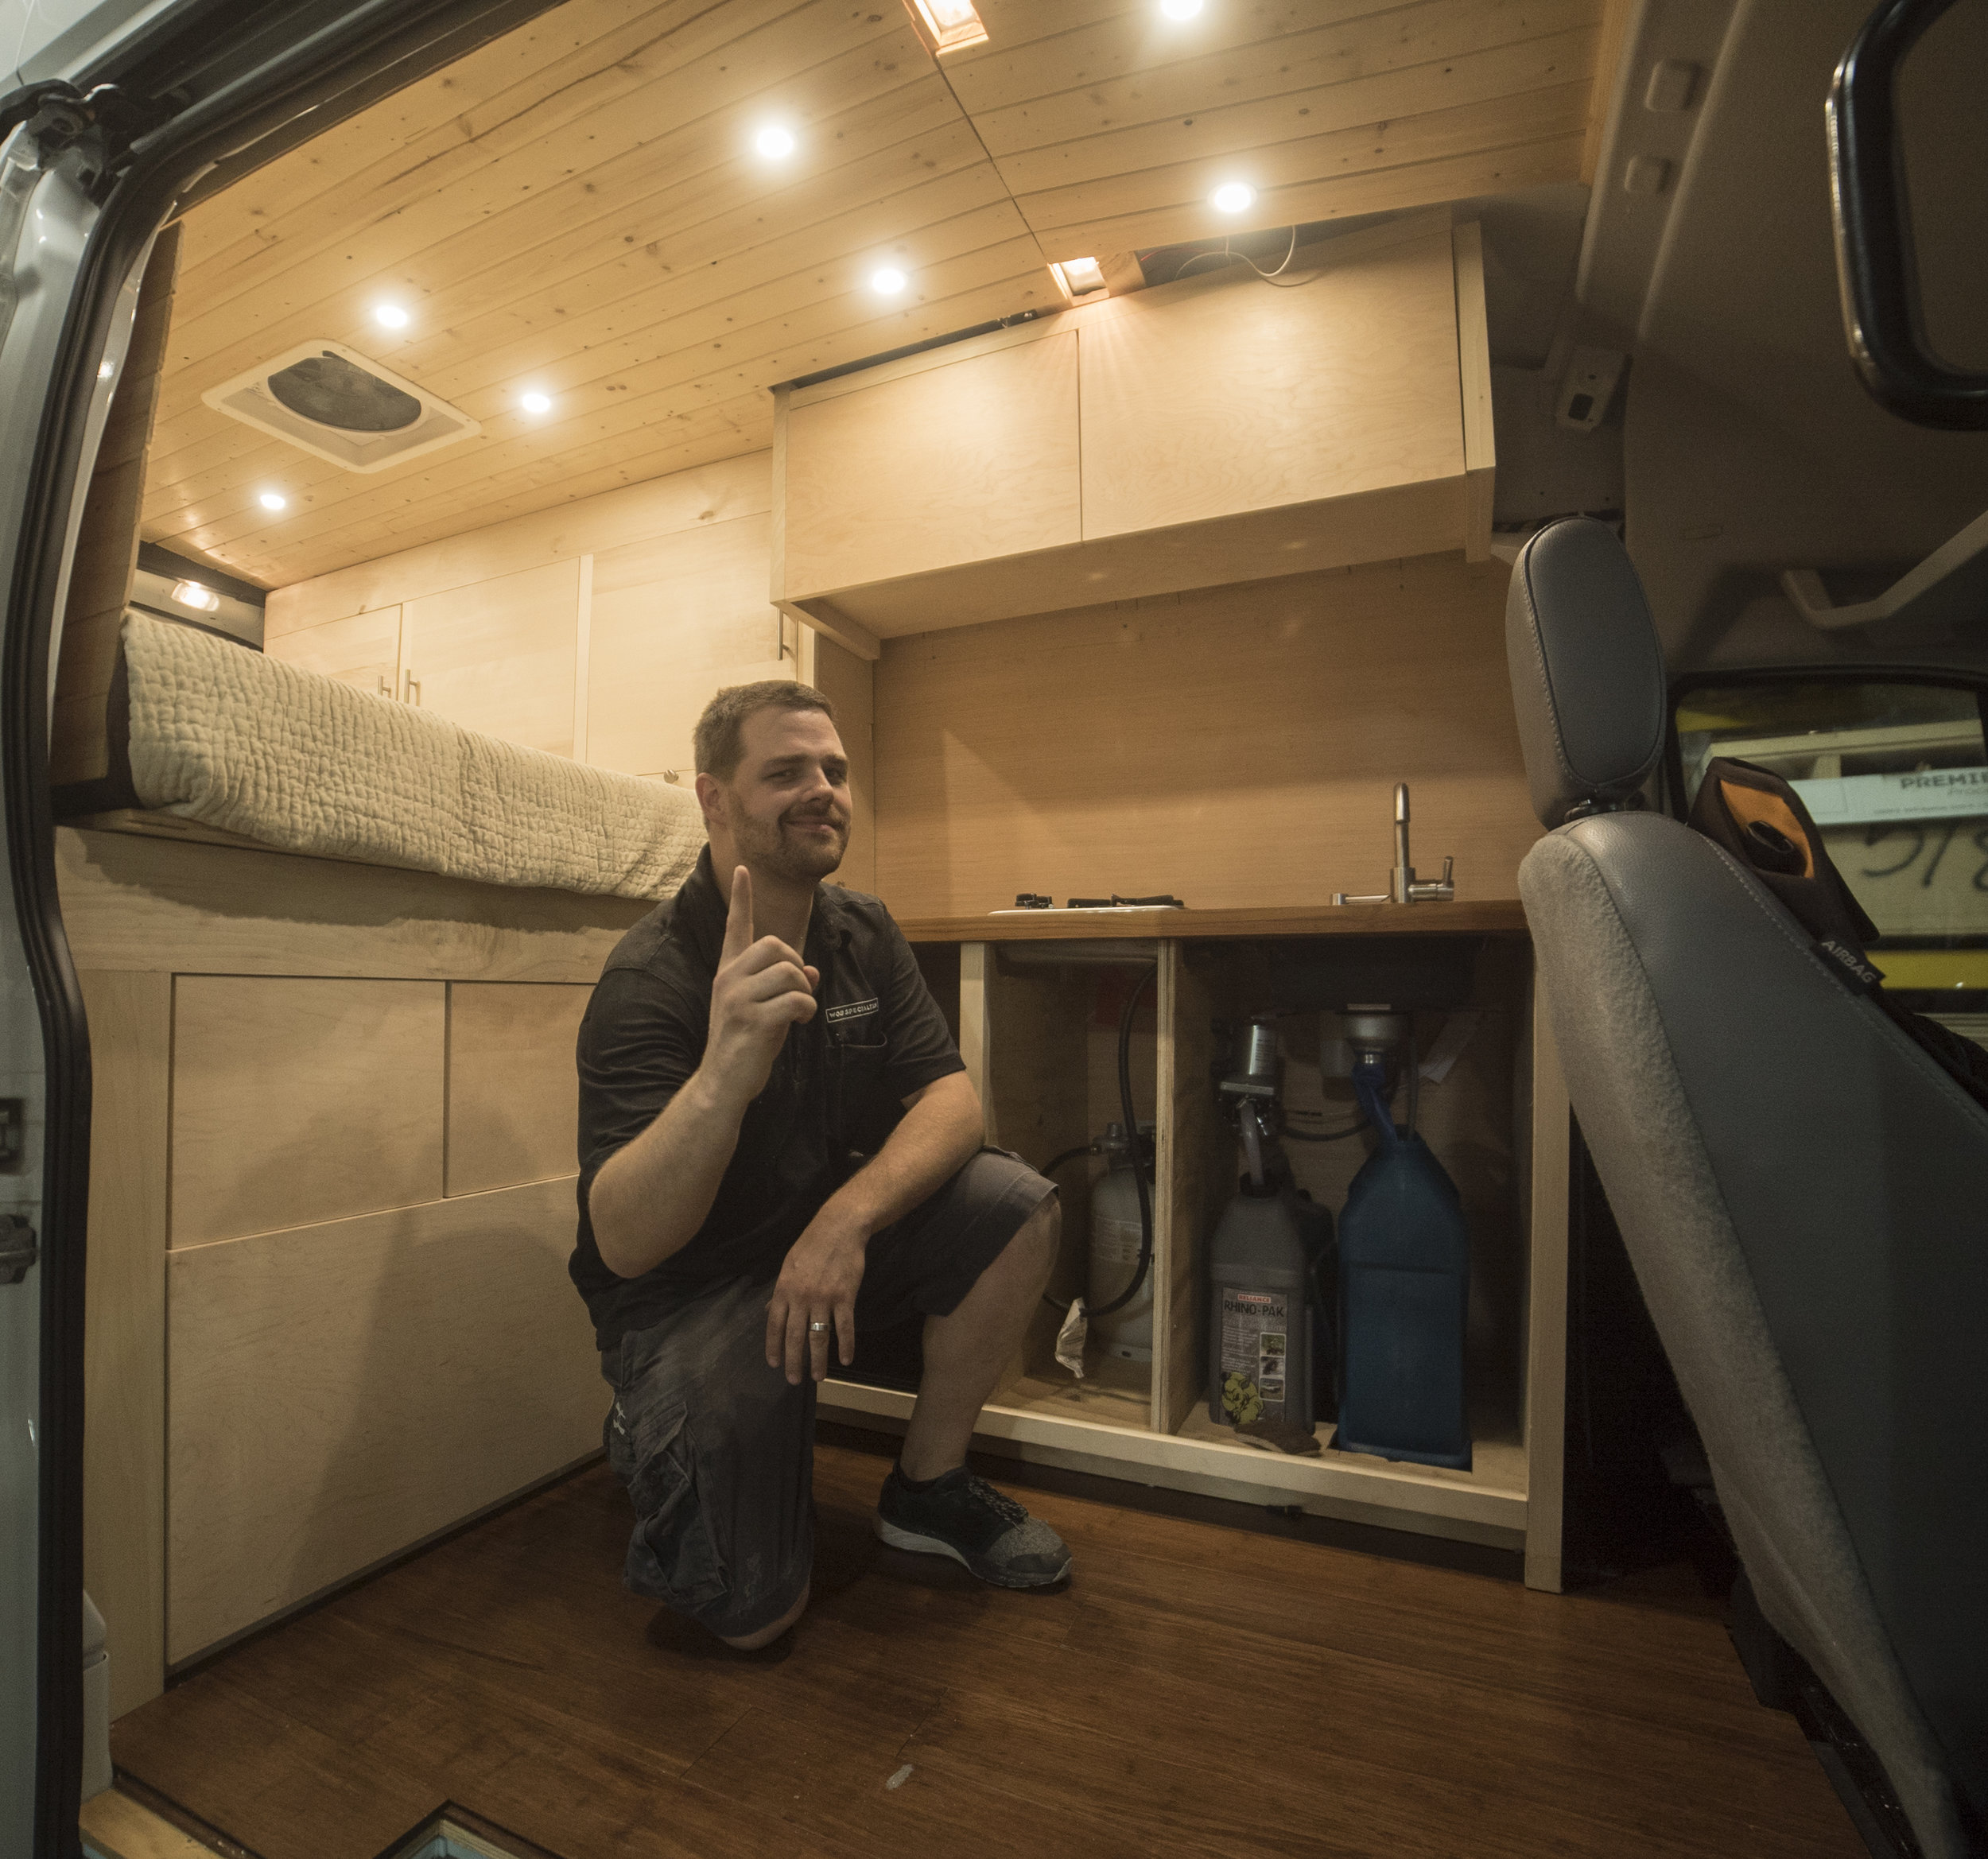
The kitchenette includes a cutlery drawer, a pull-out trash can, and a sink/faucet with white water and grey water tanks all under a white Formica laminate counter top.
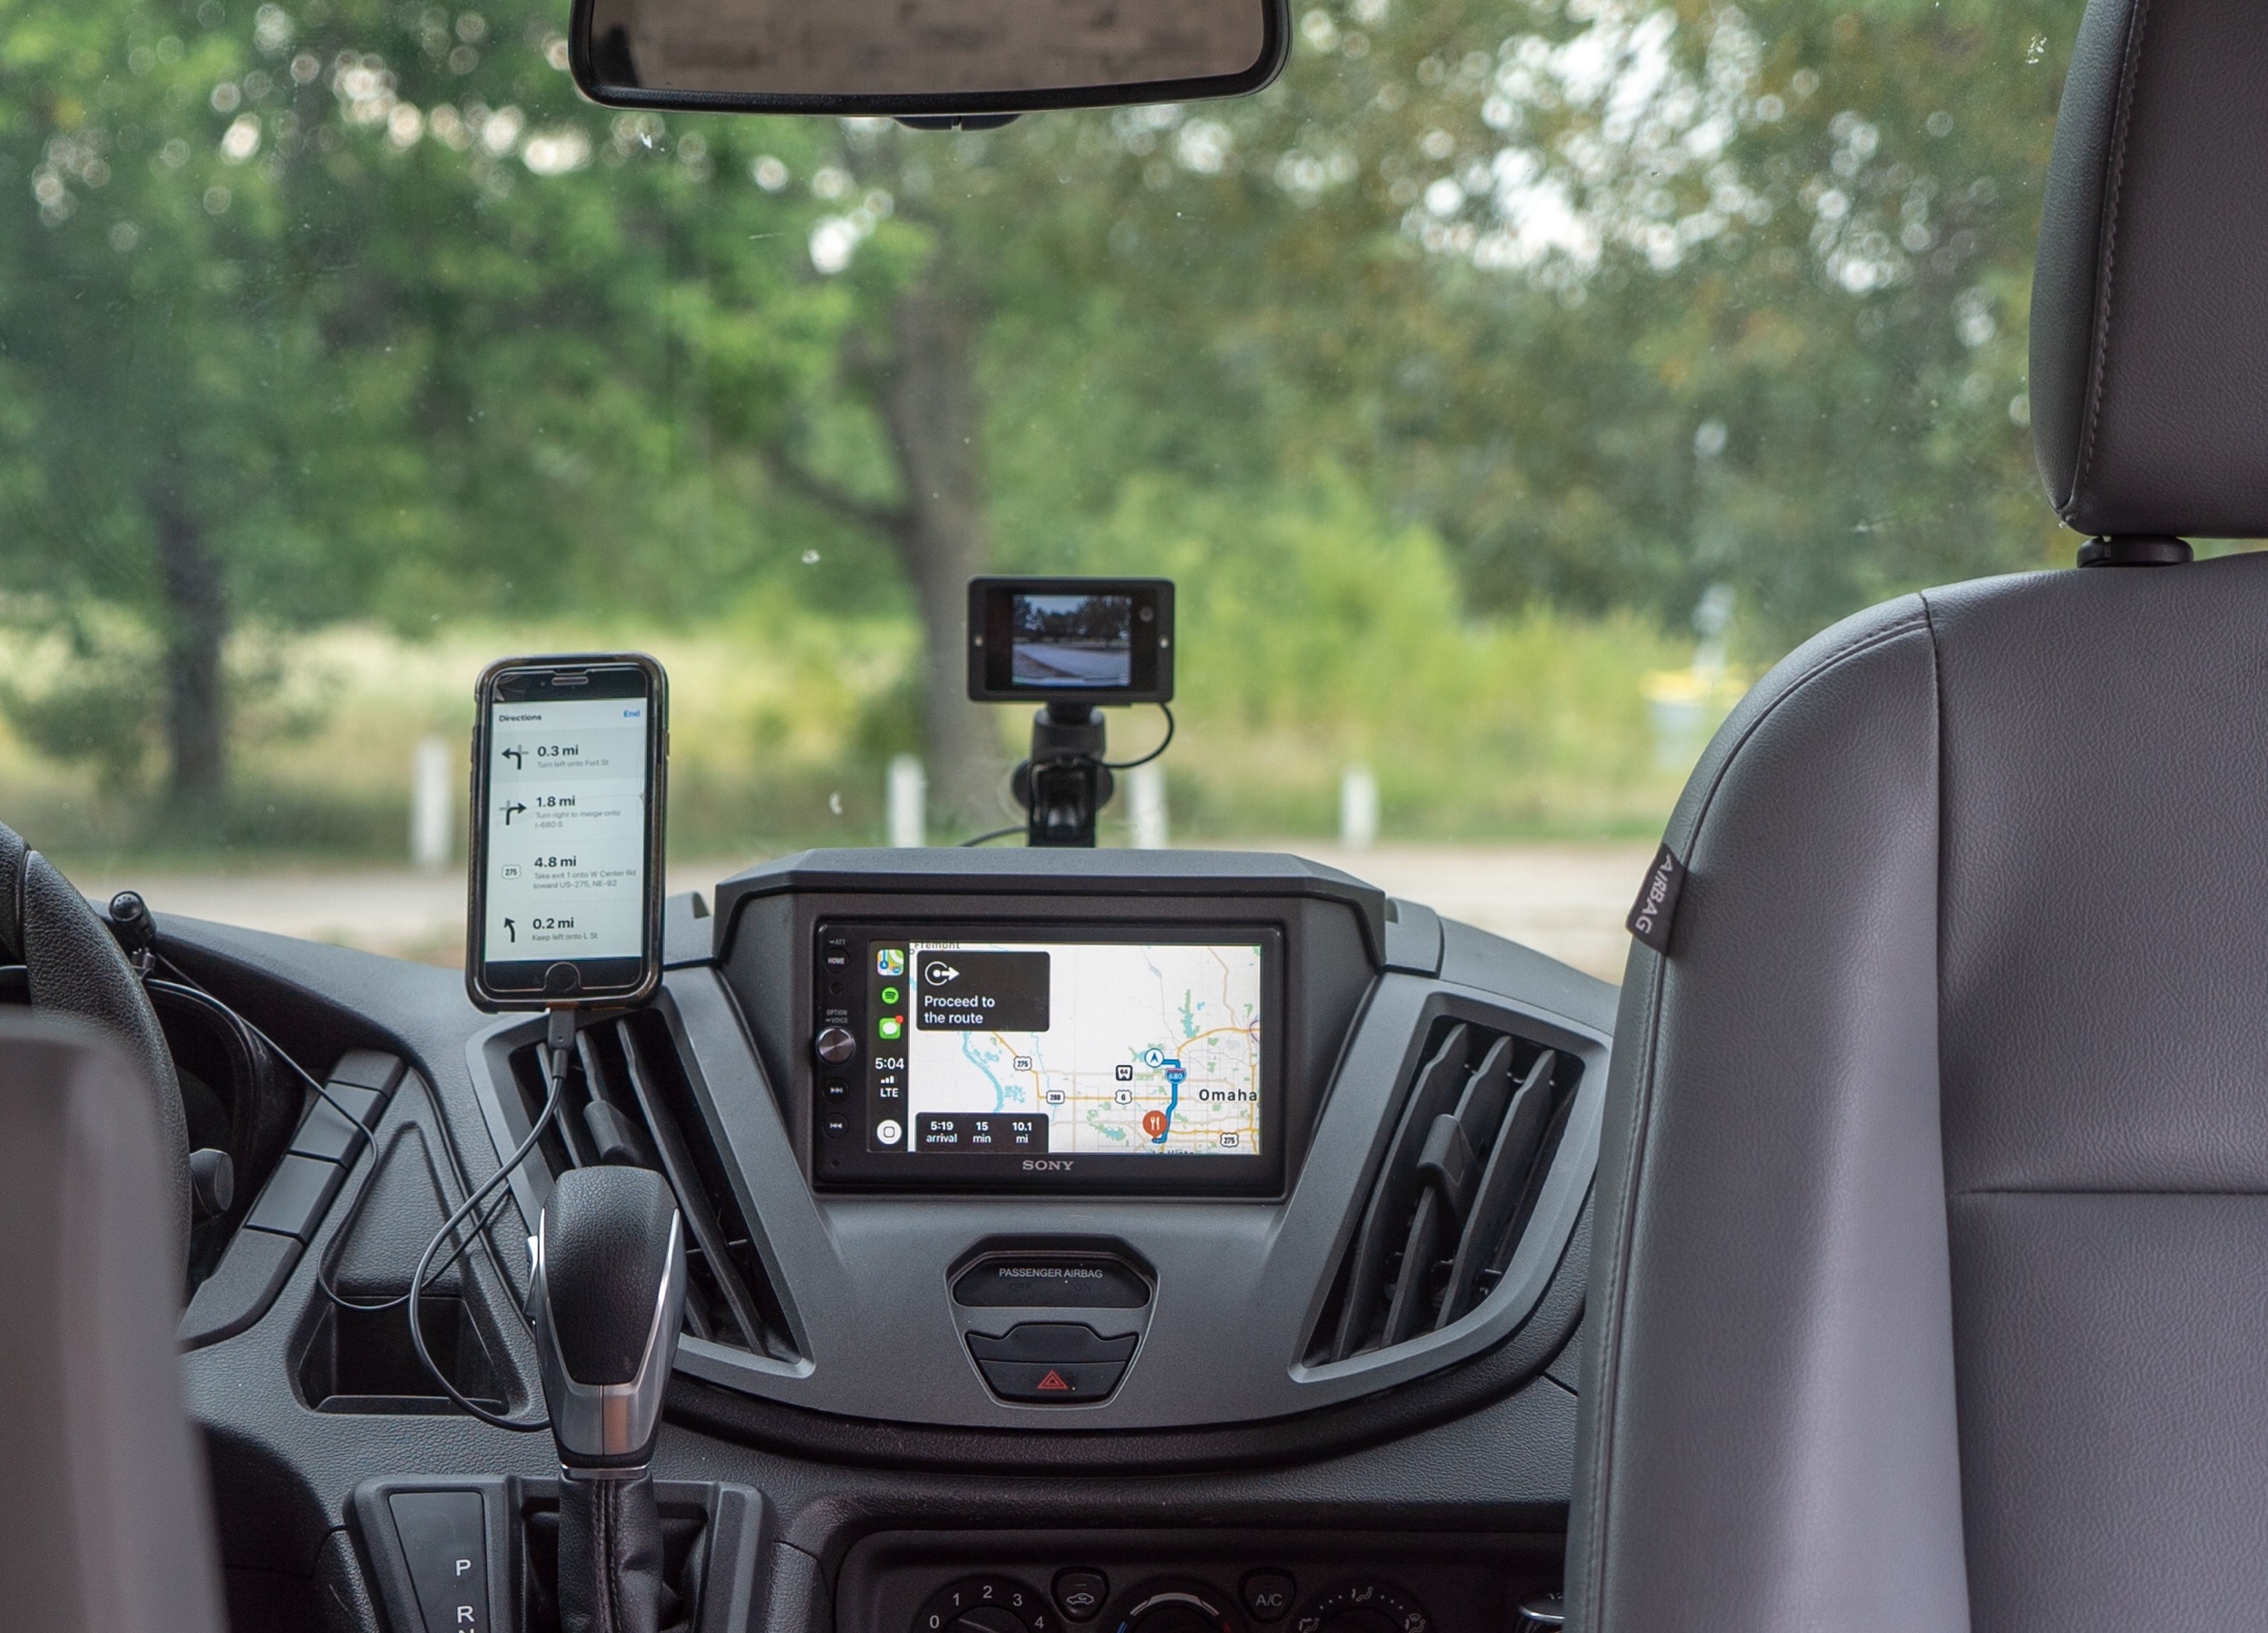
The van has a Sony XAV-AX100 stereo system, which supports Apple’s CarPlay and Android Auto Media. LOVE it.
@battlevangalactica on Instagram
CarFax report download
Here are some features:
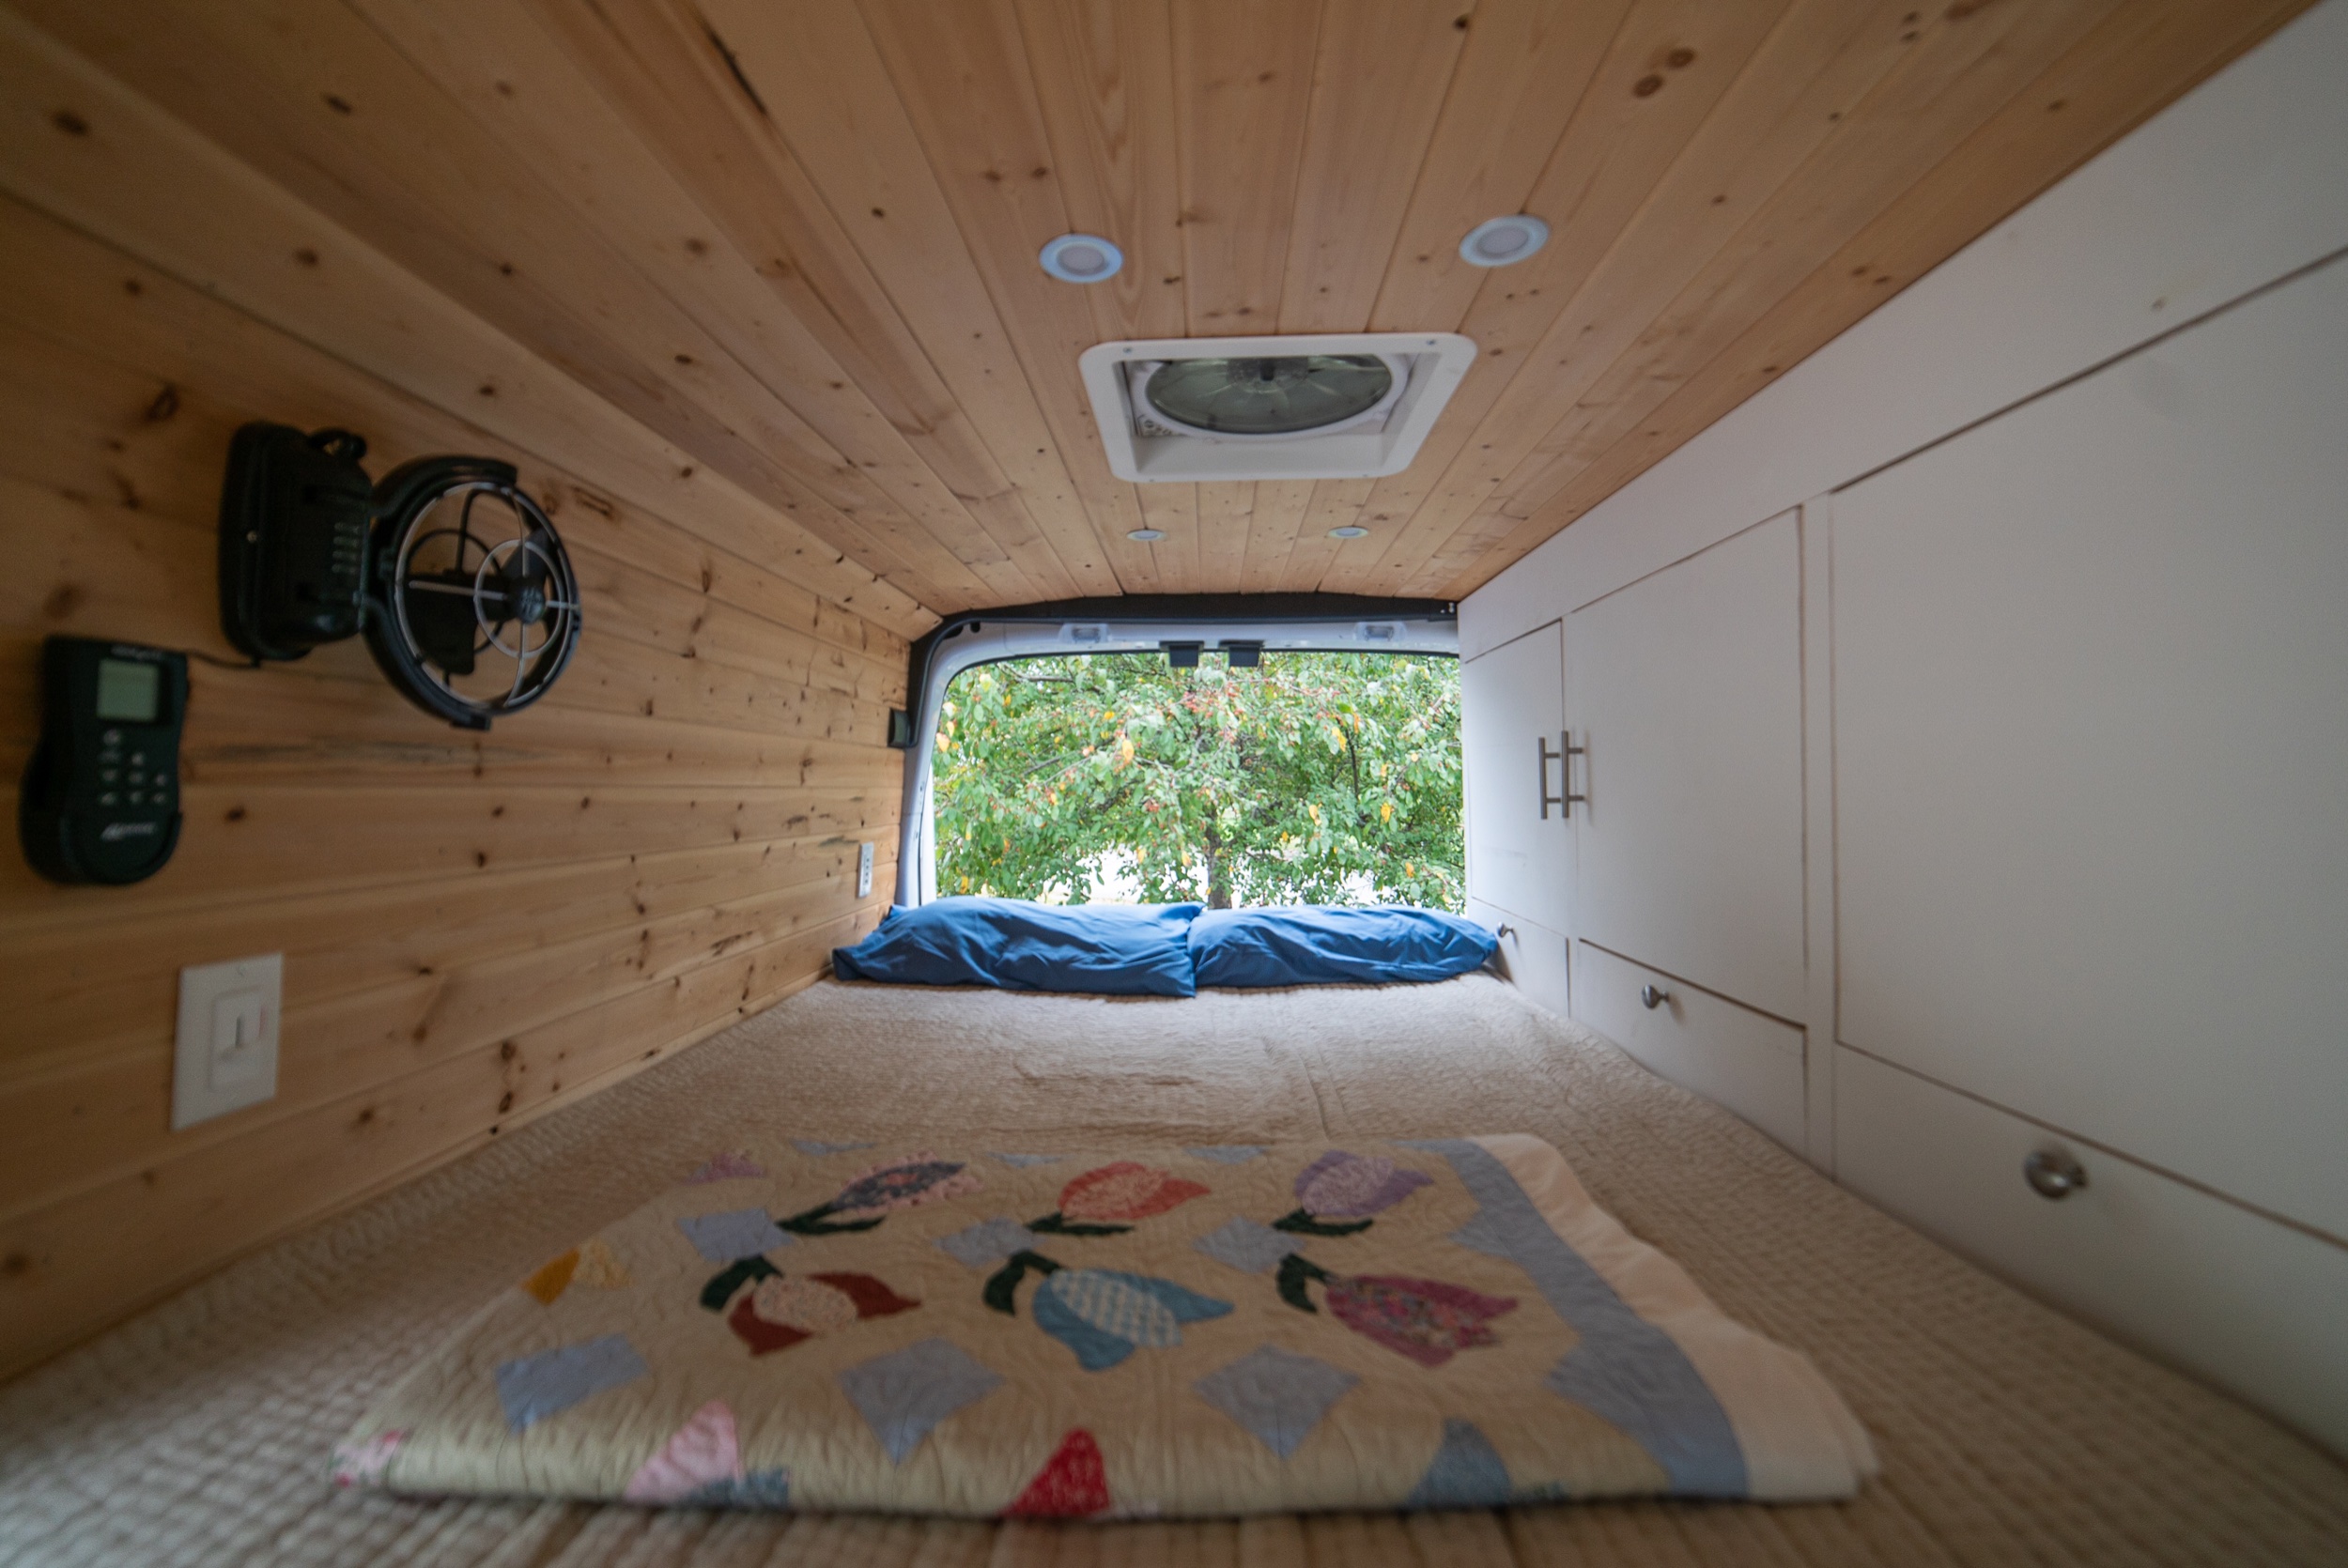
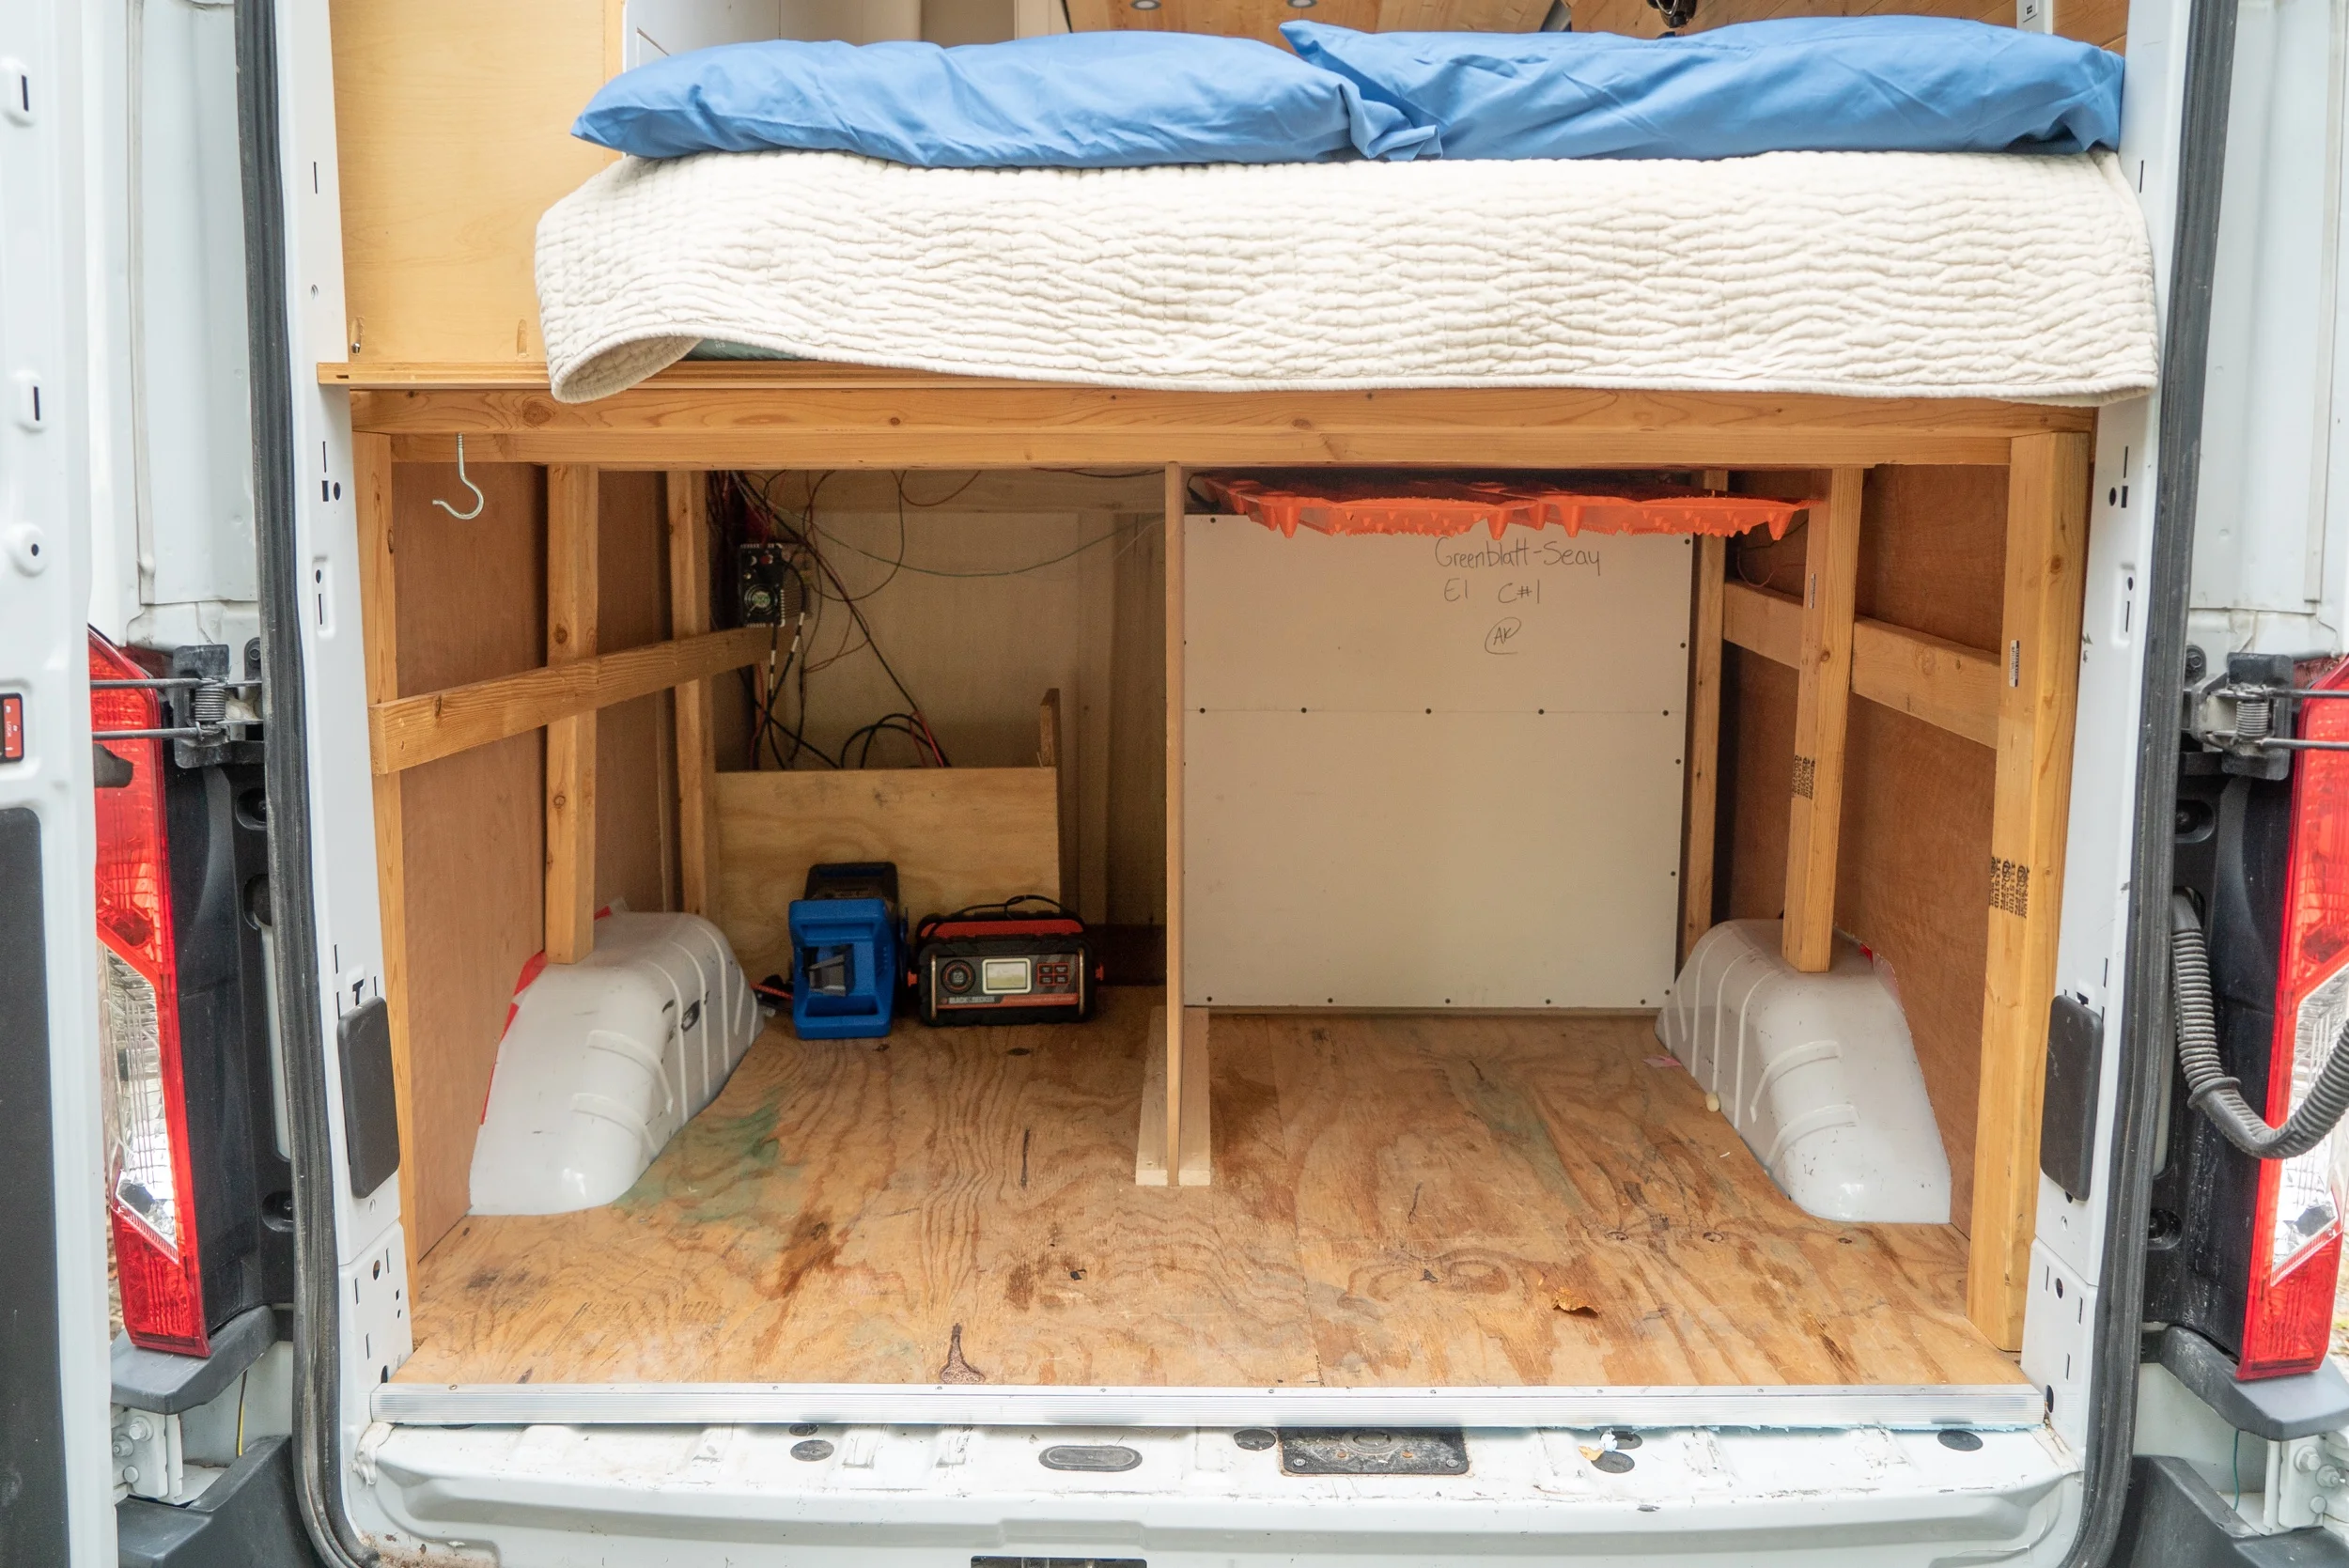
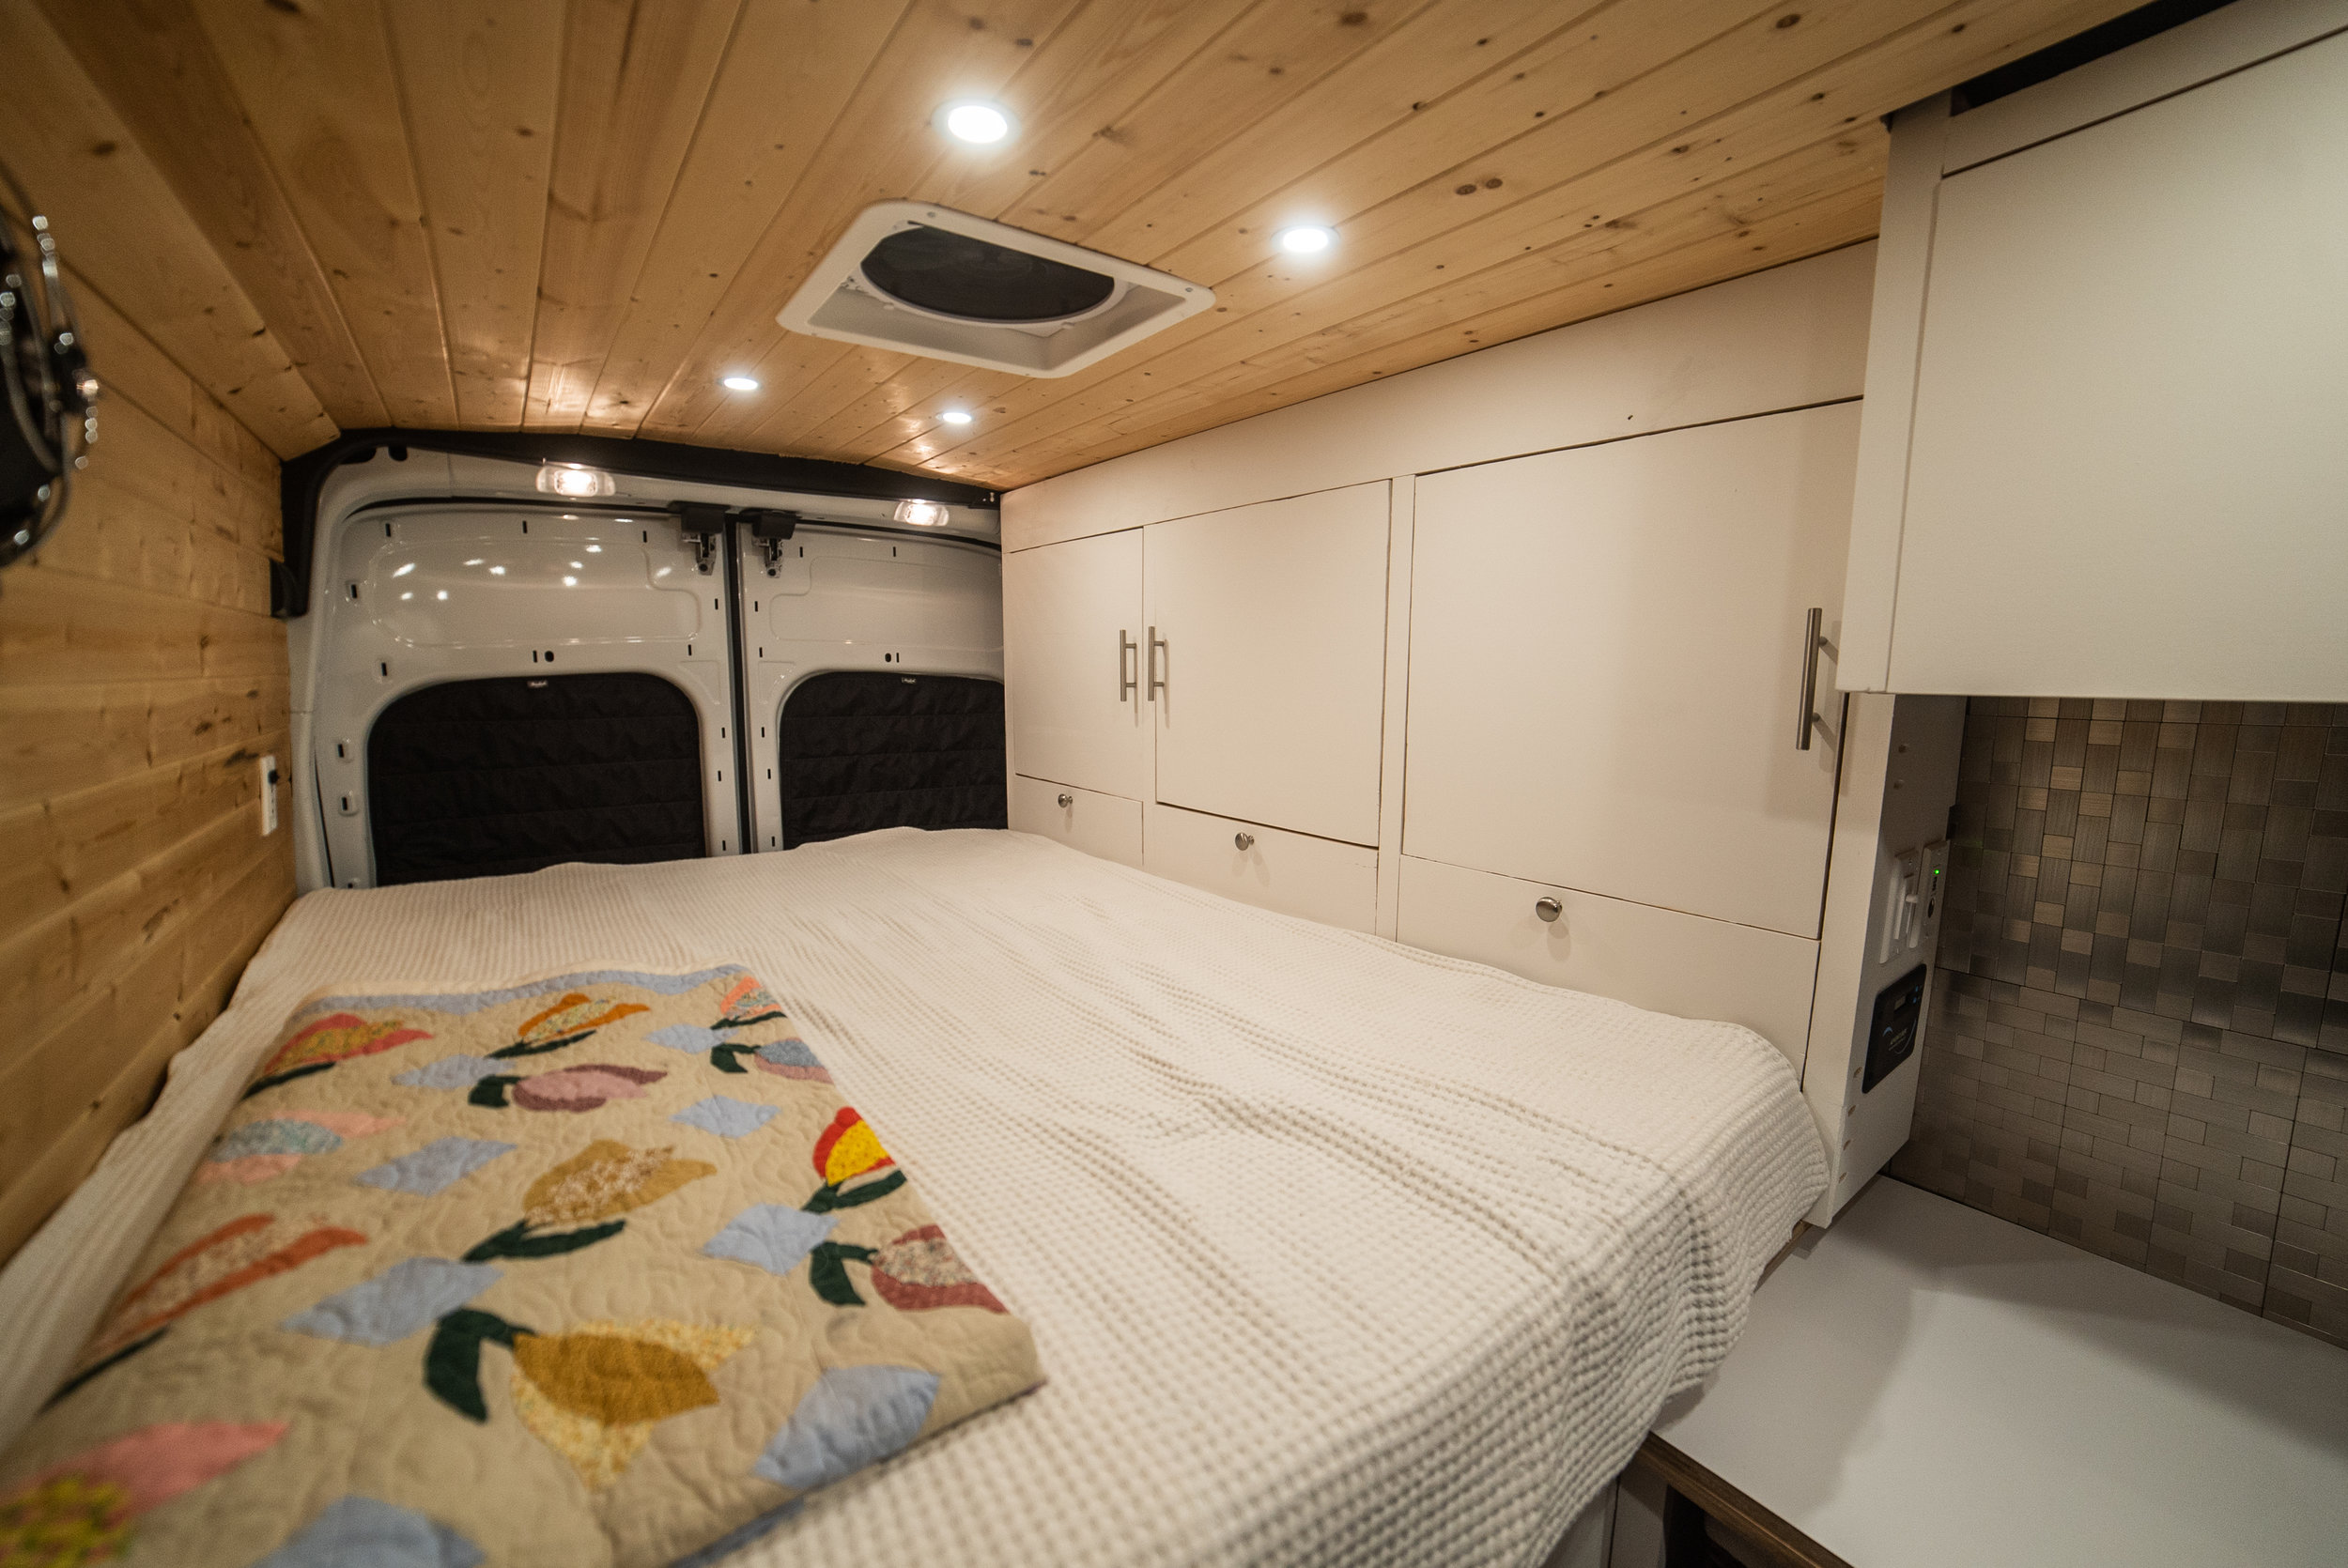
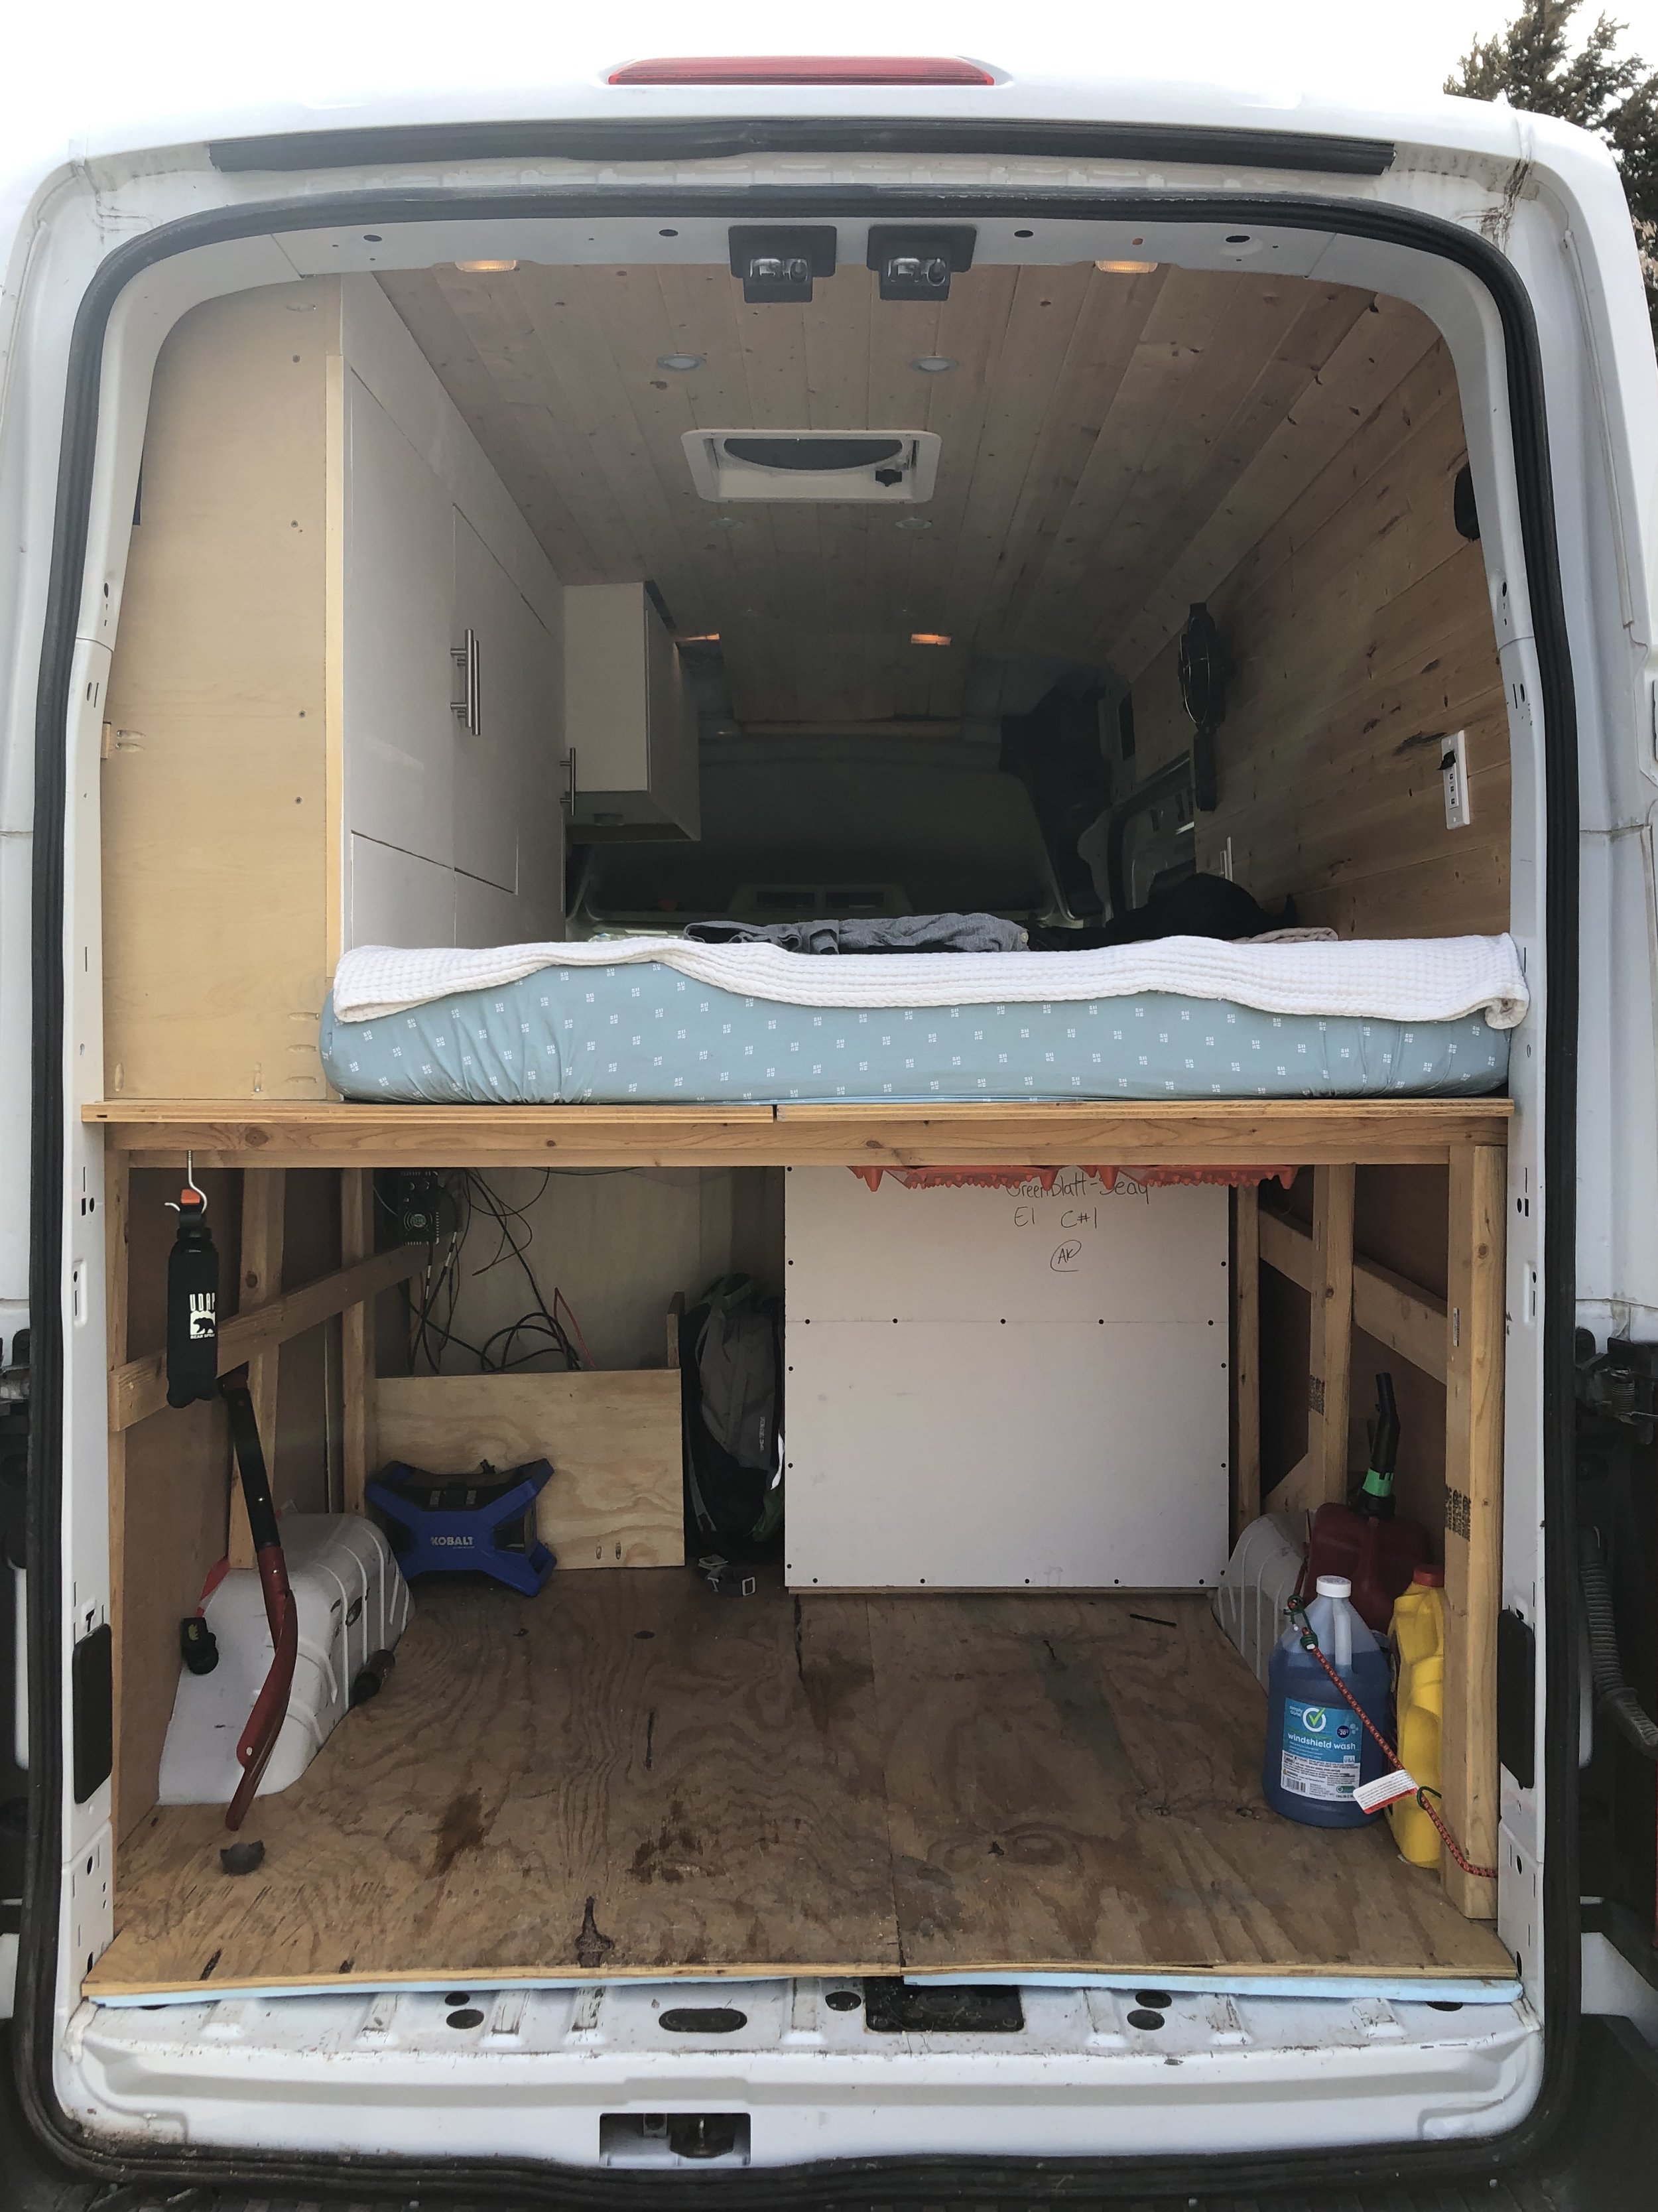
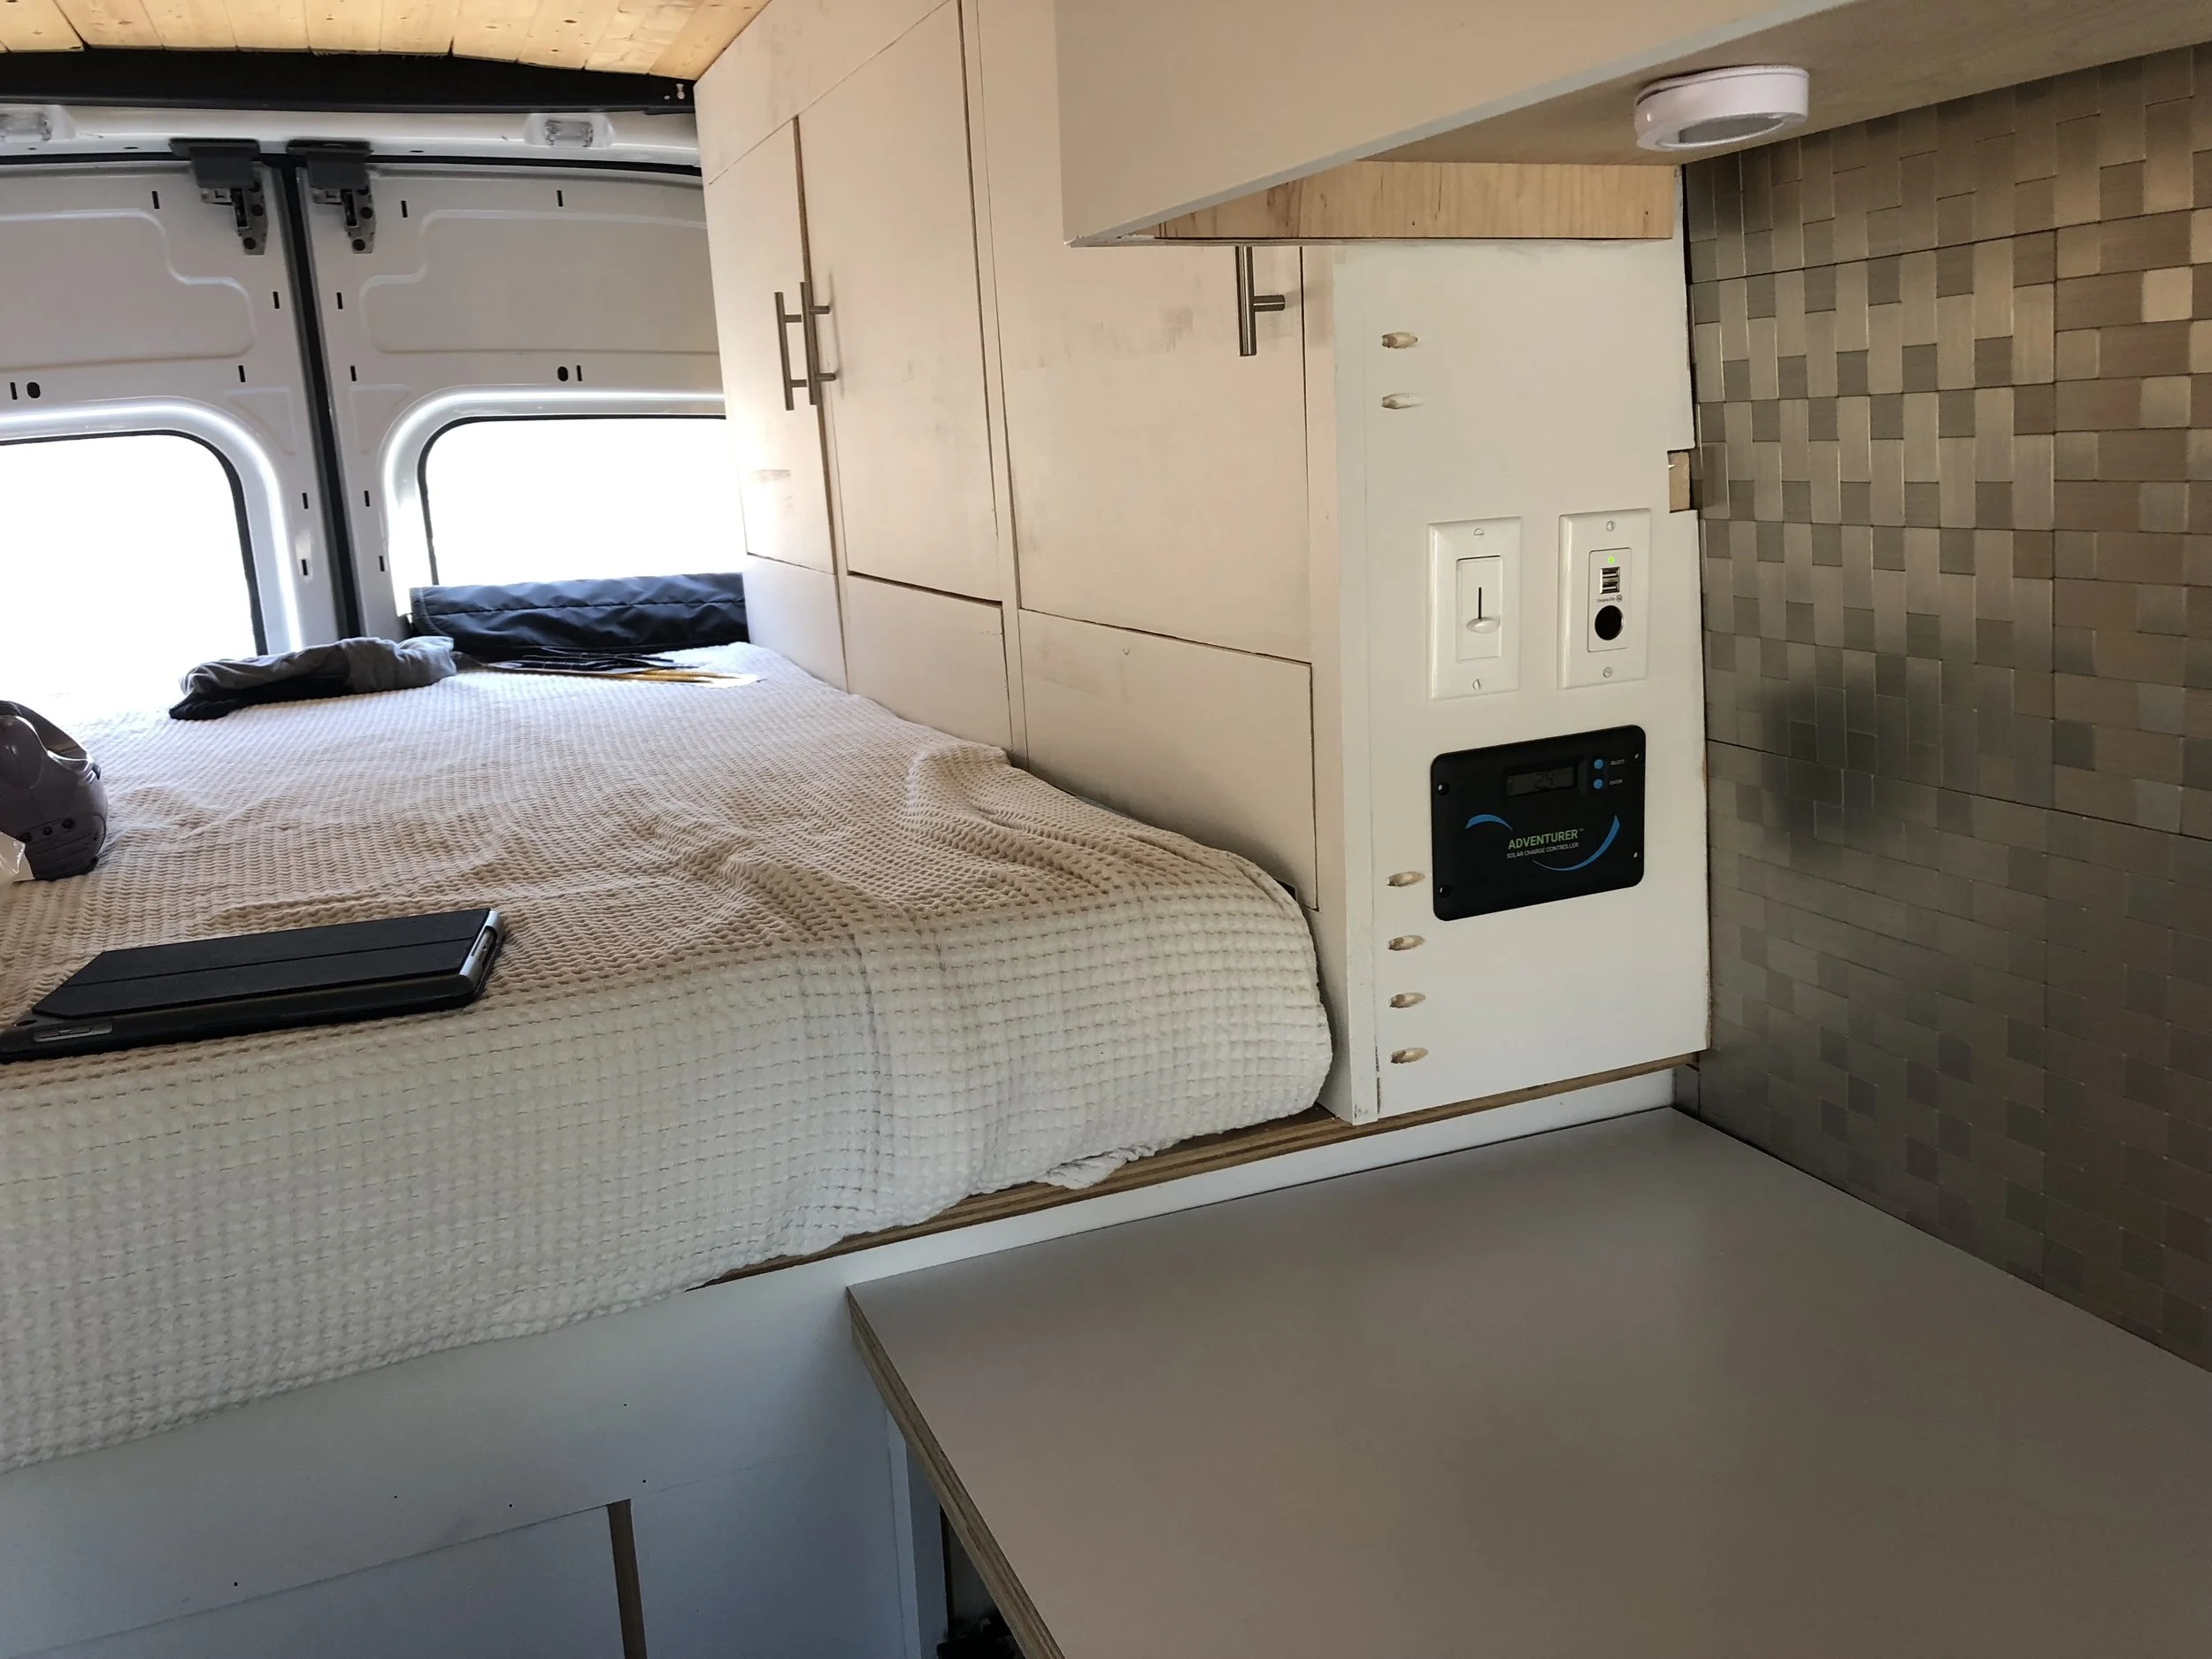
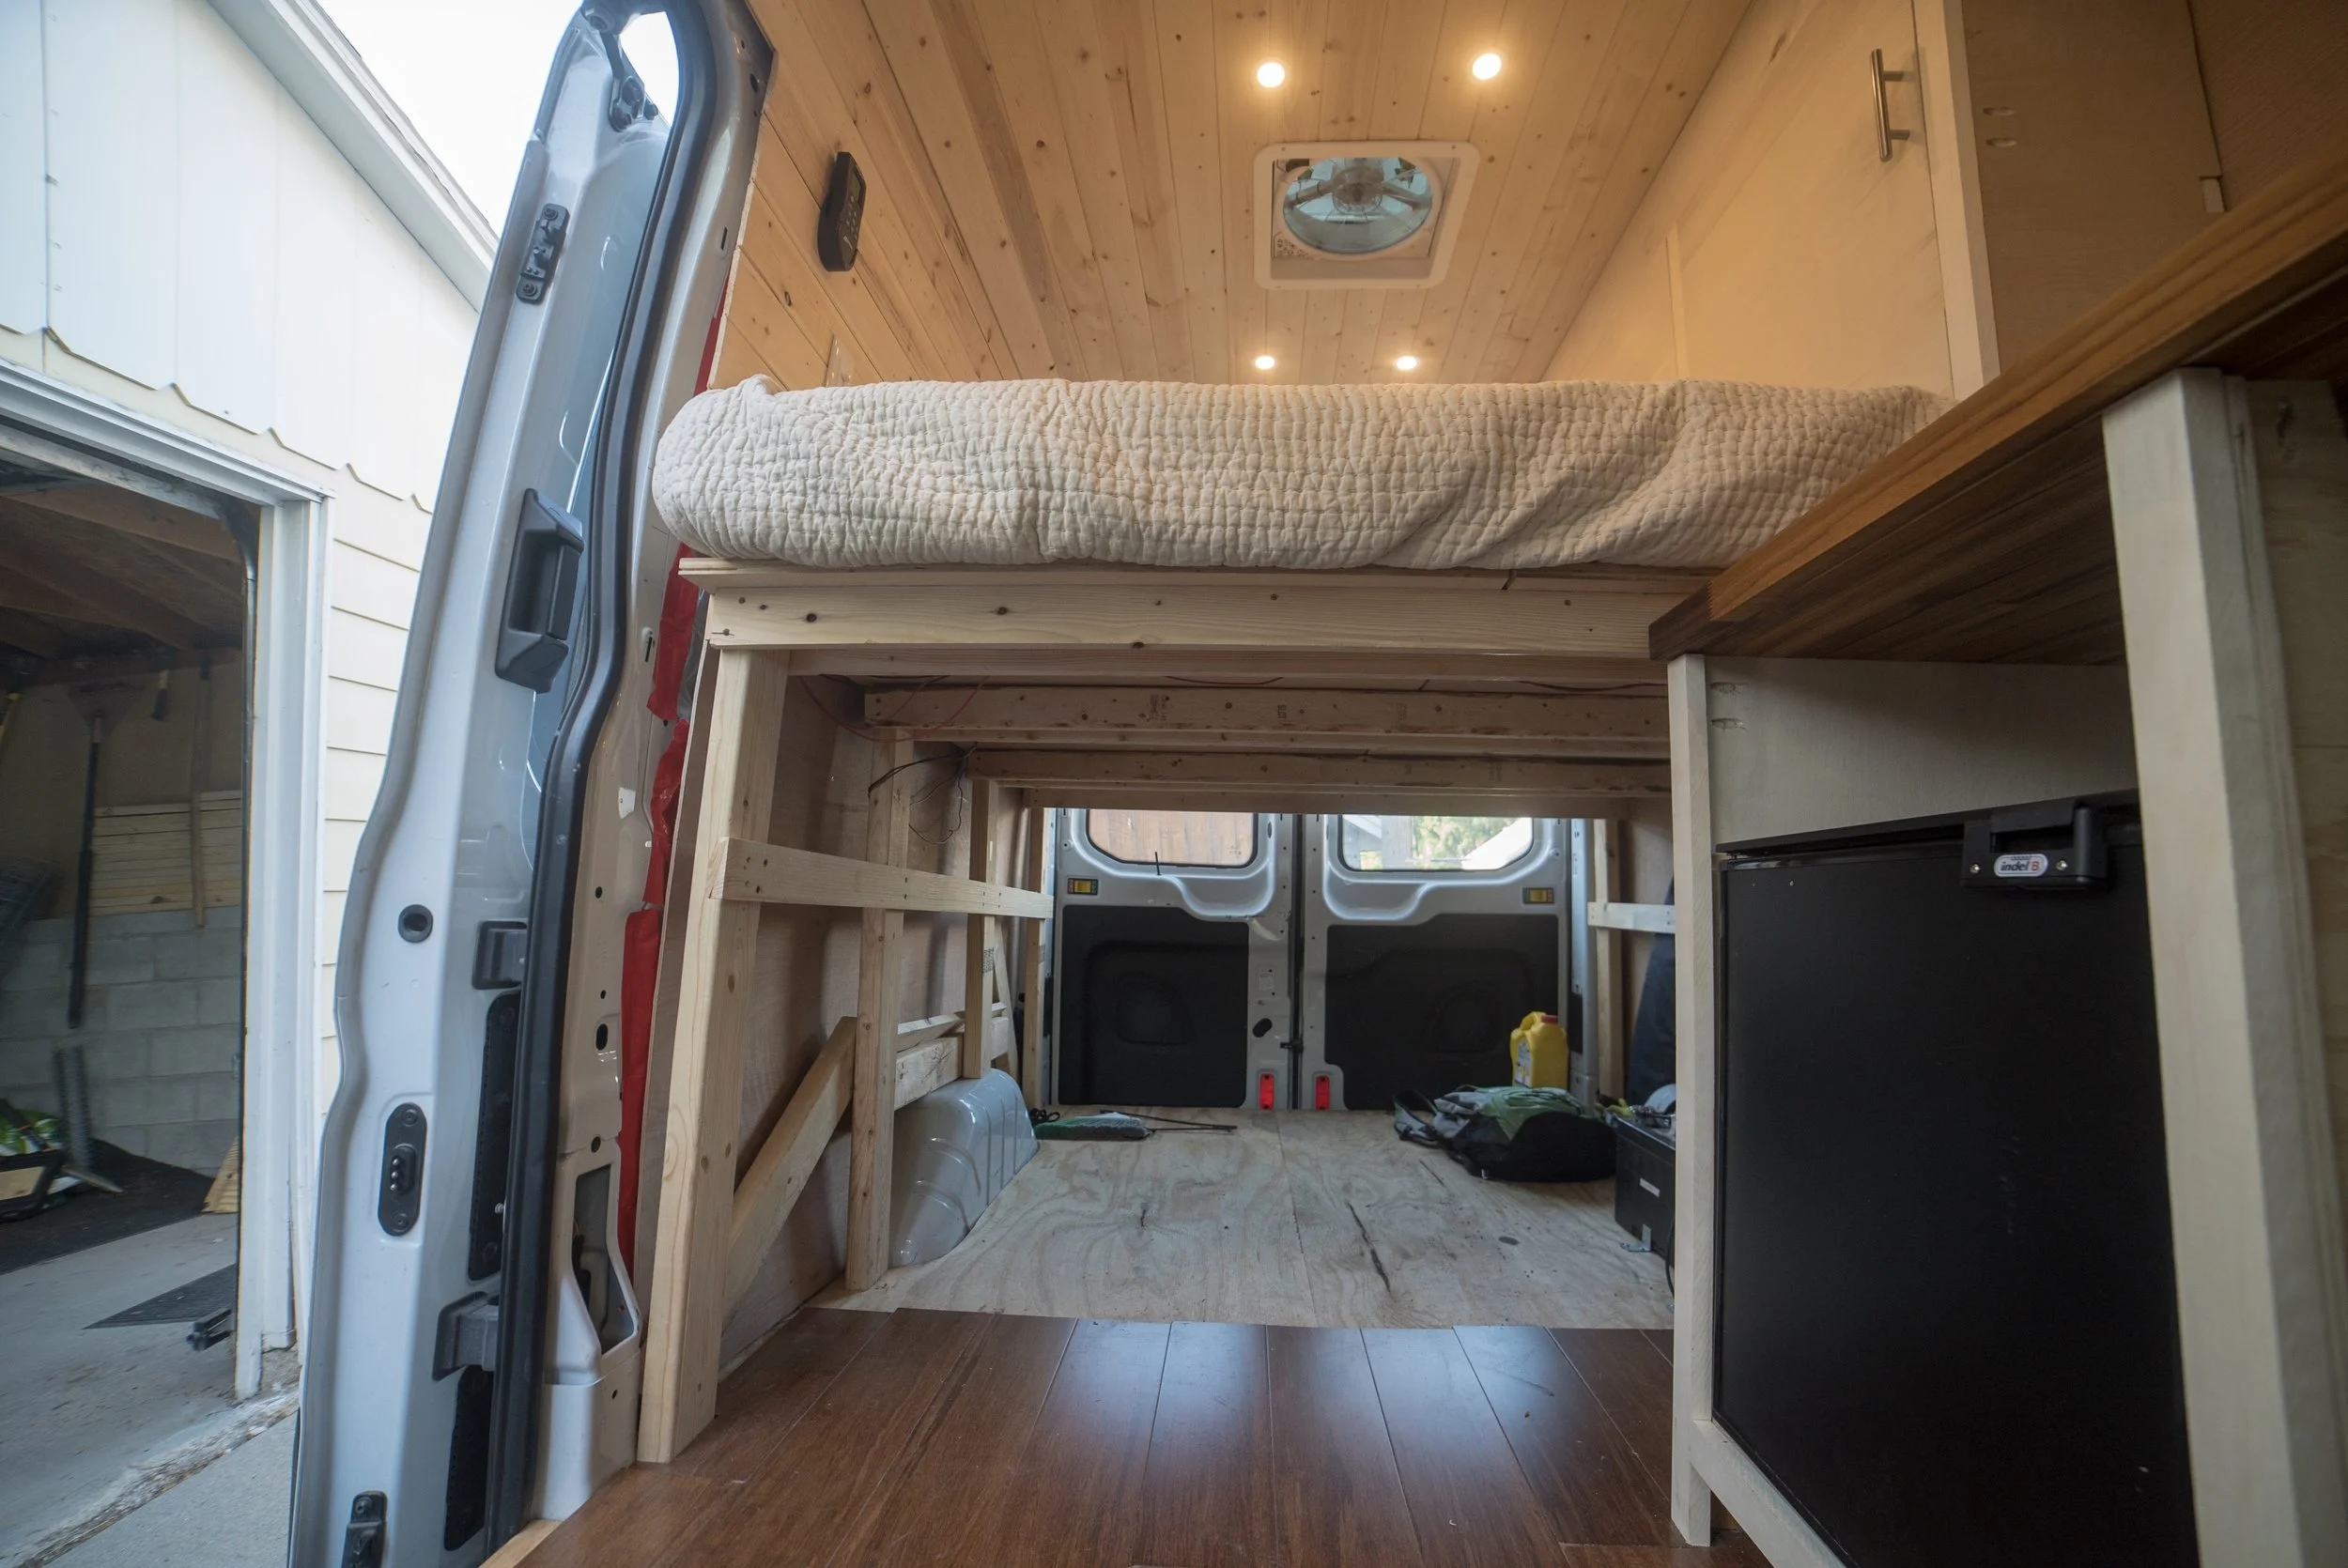
• Standard full-sized foam mattress
• Back-up camera
• Stereo has bluetooth, USB, and supports Apple CarPlay and Android Auto
• Heated seats
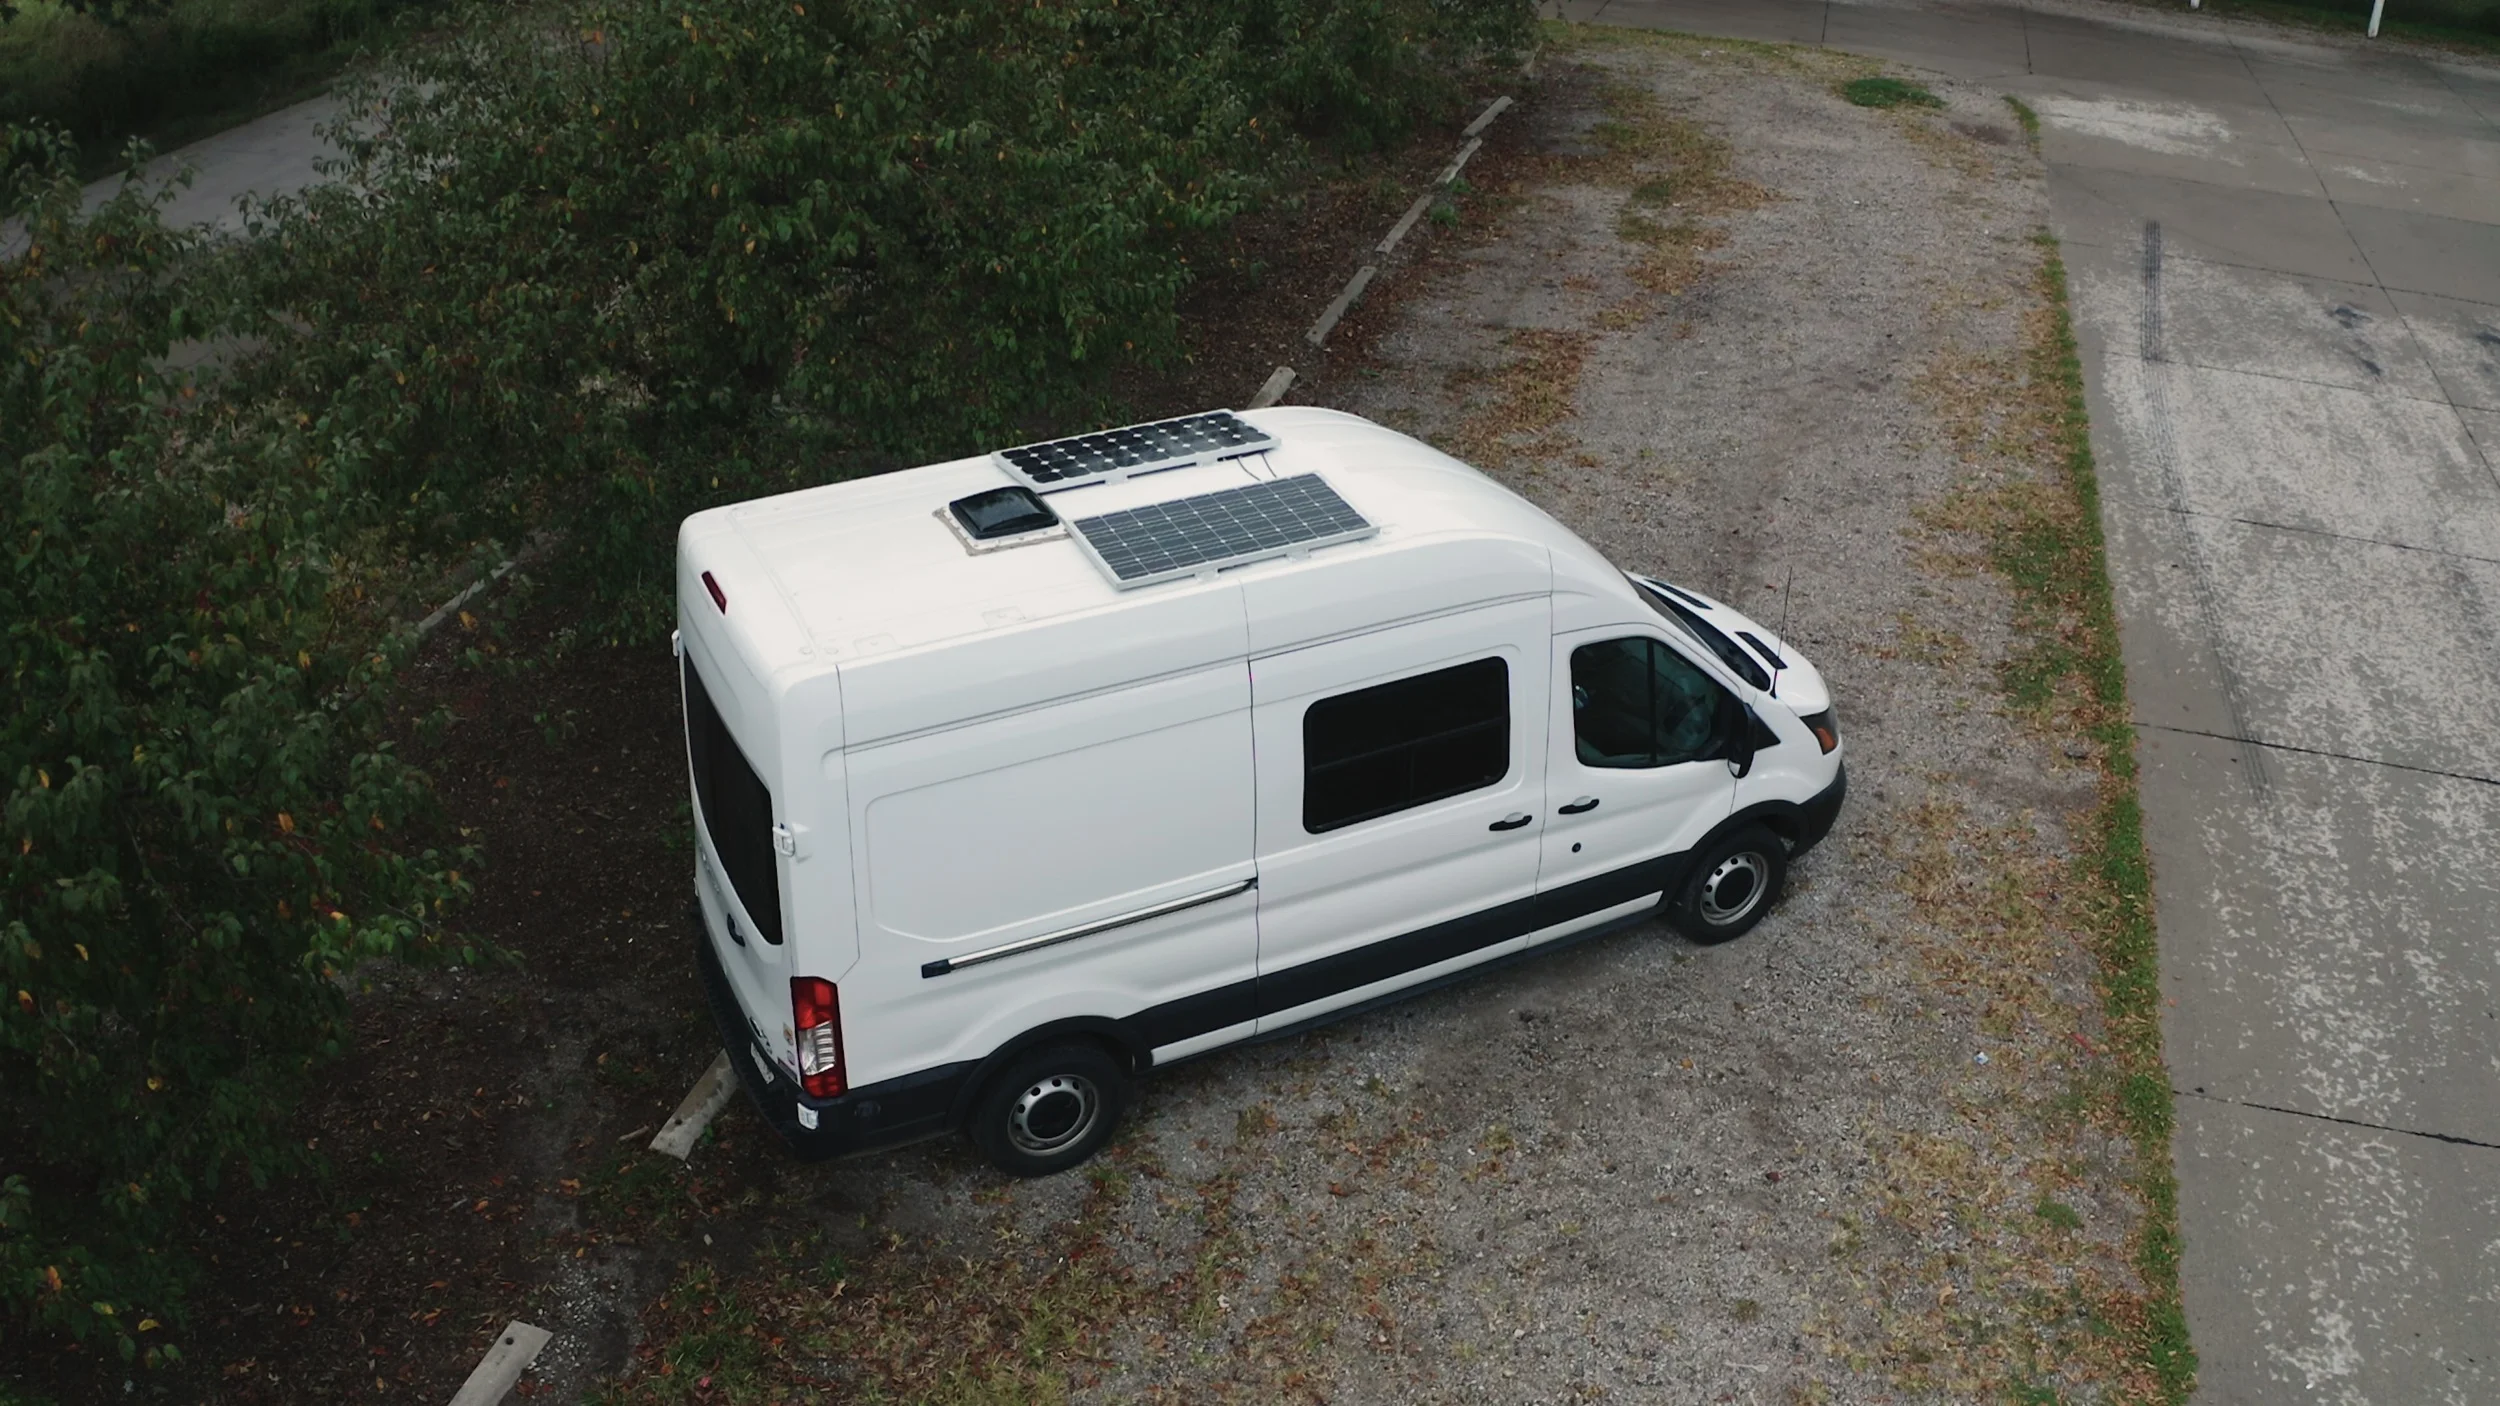
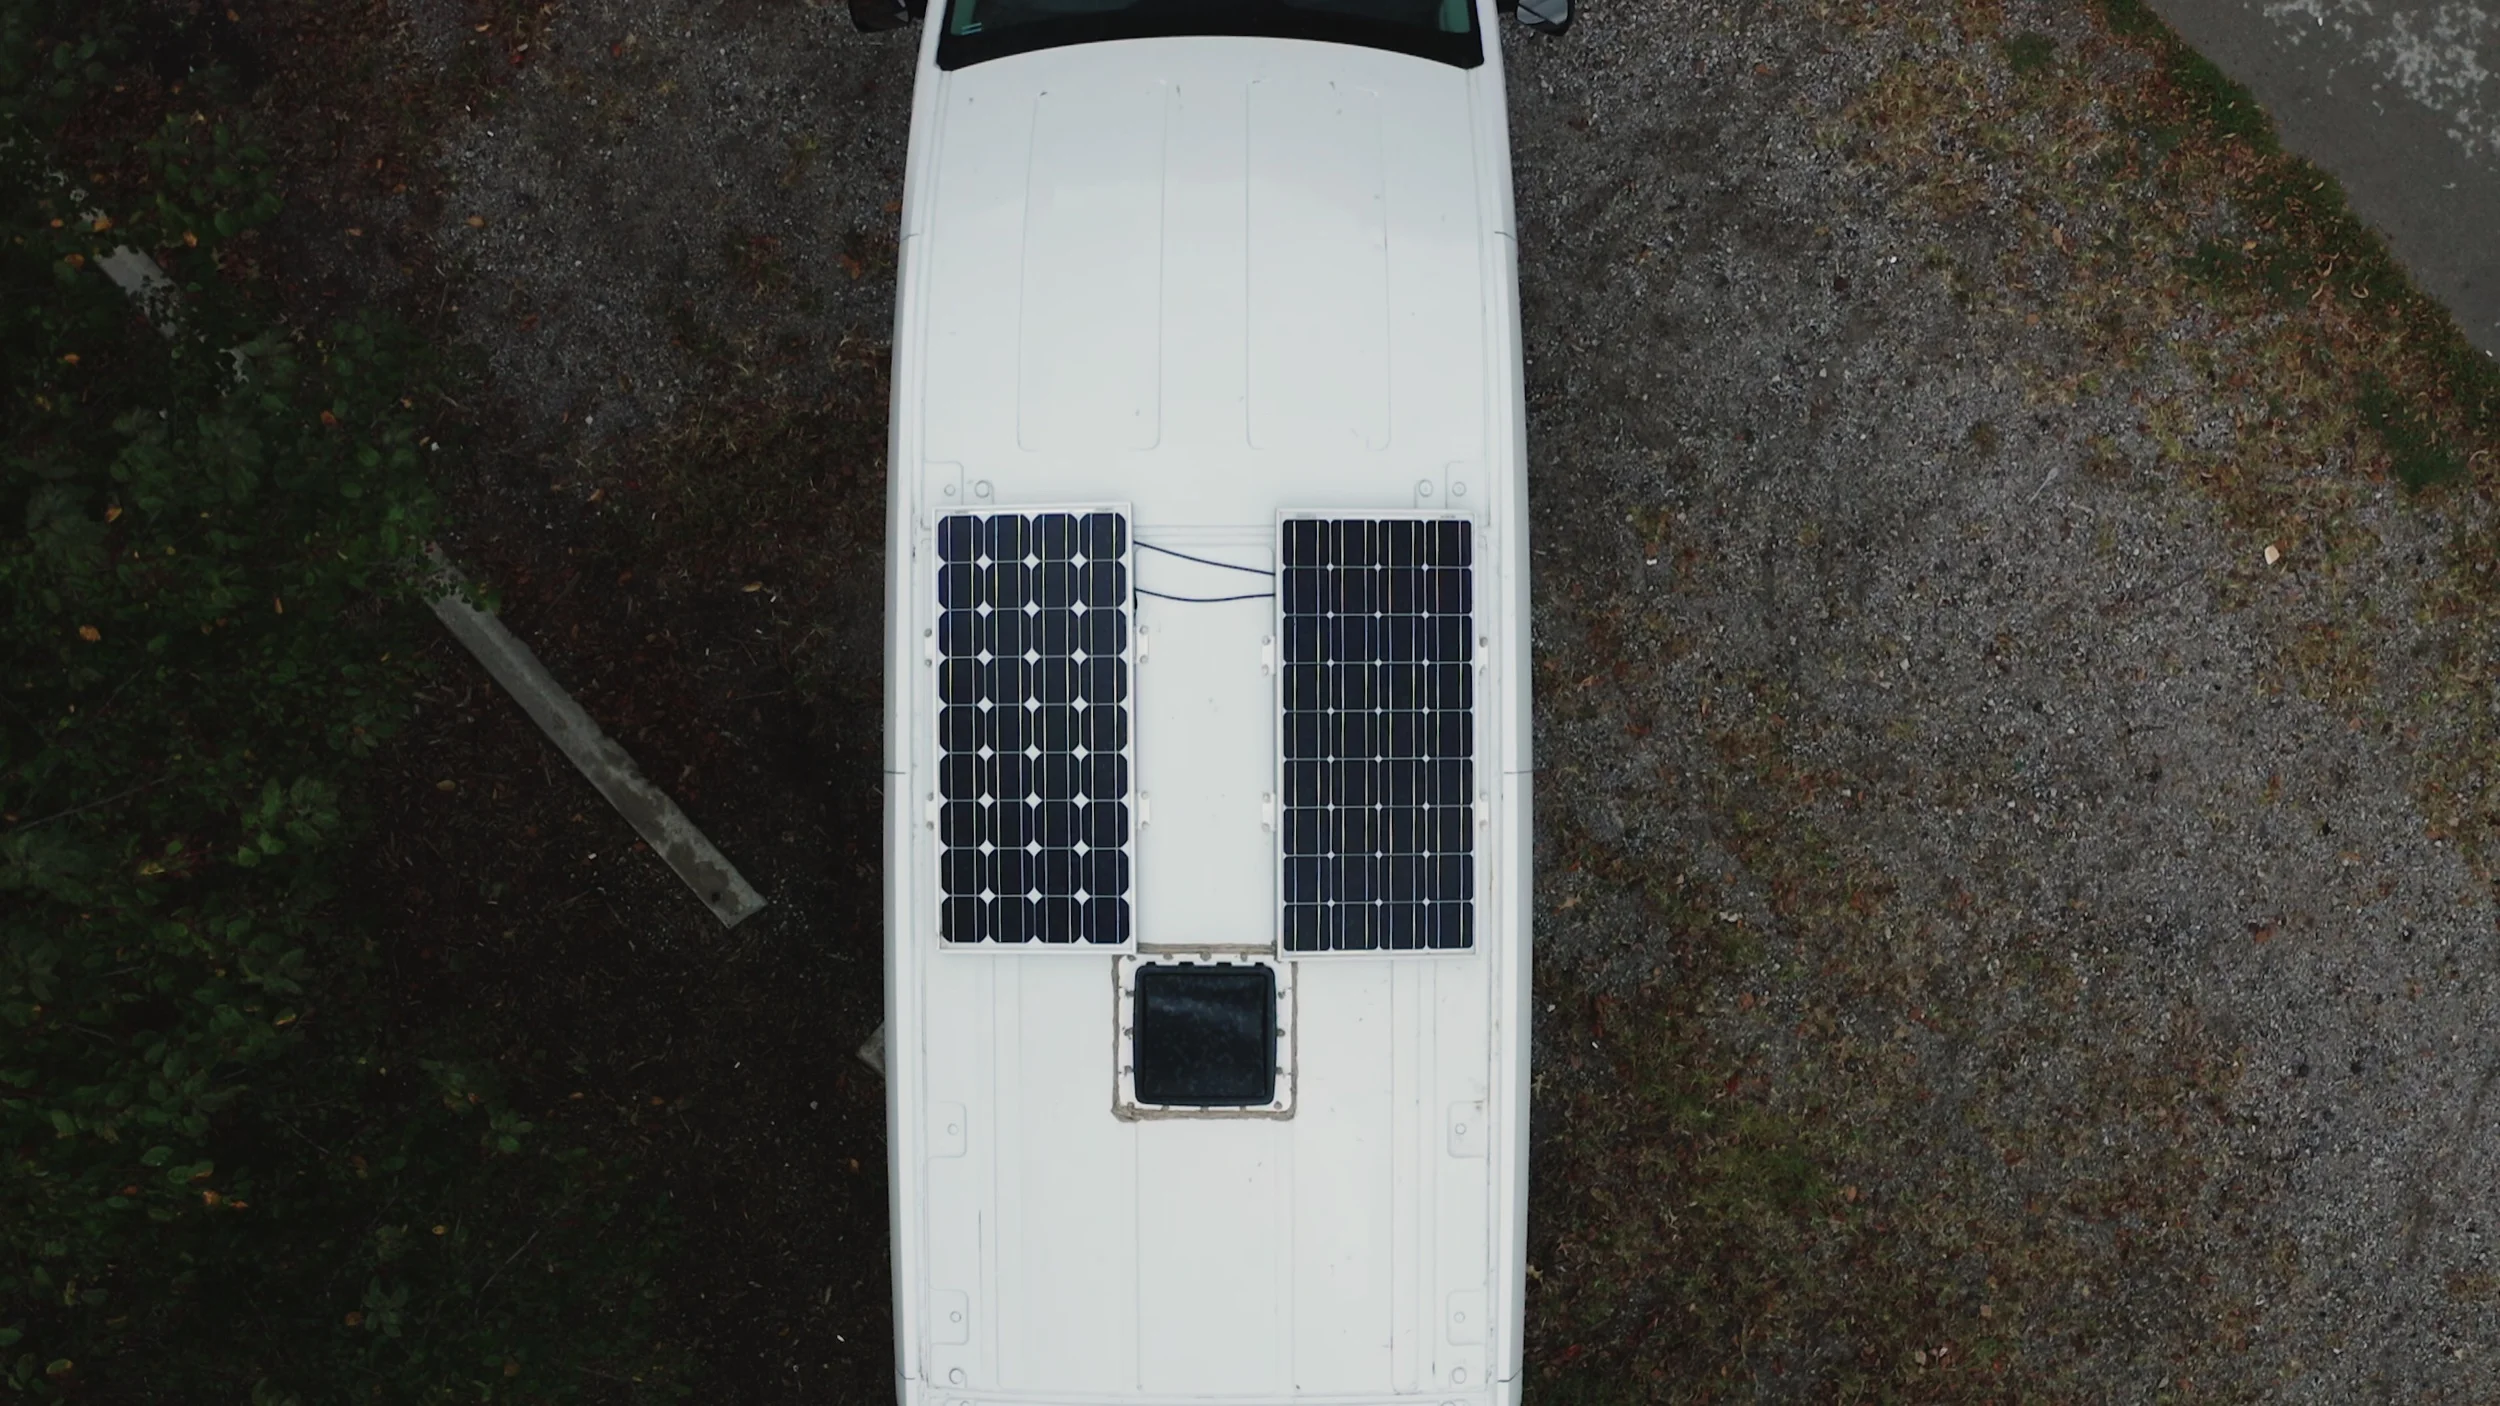
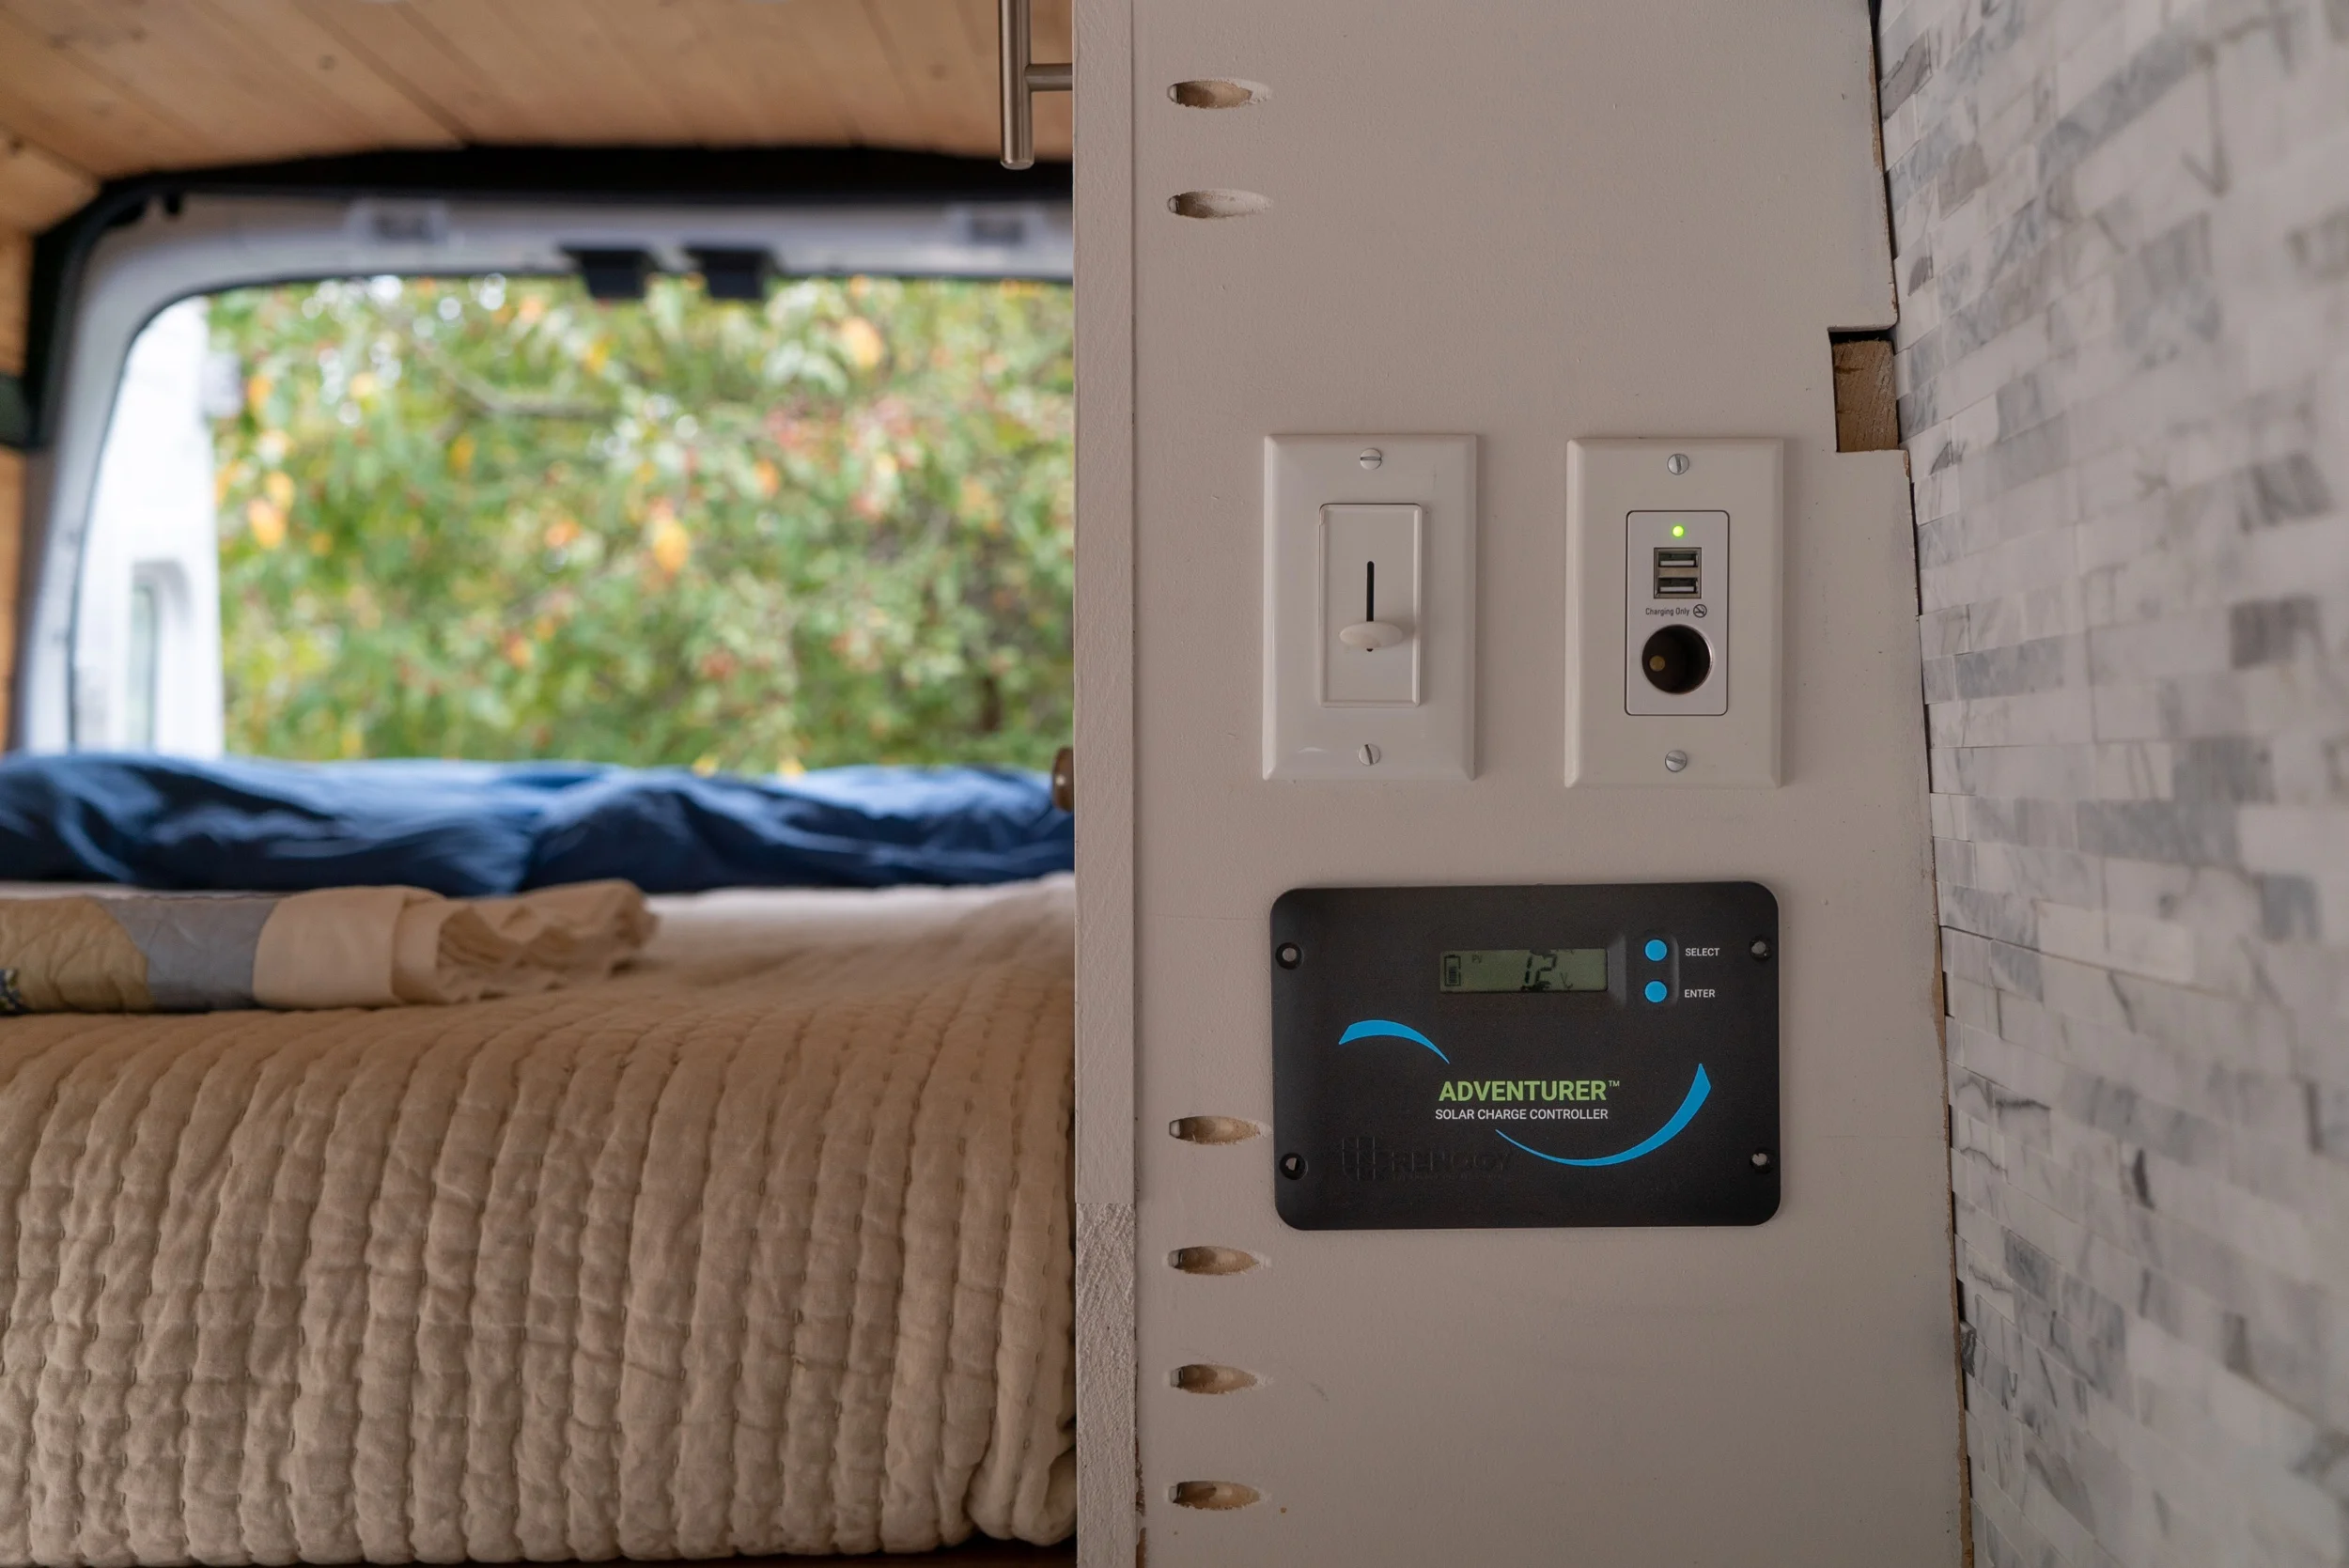
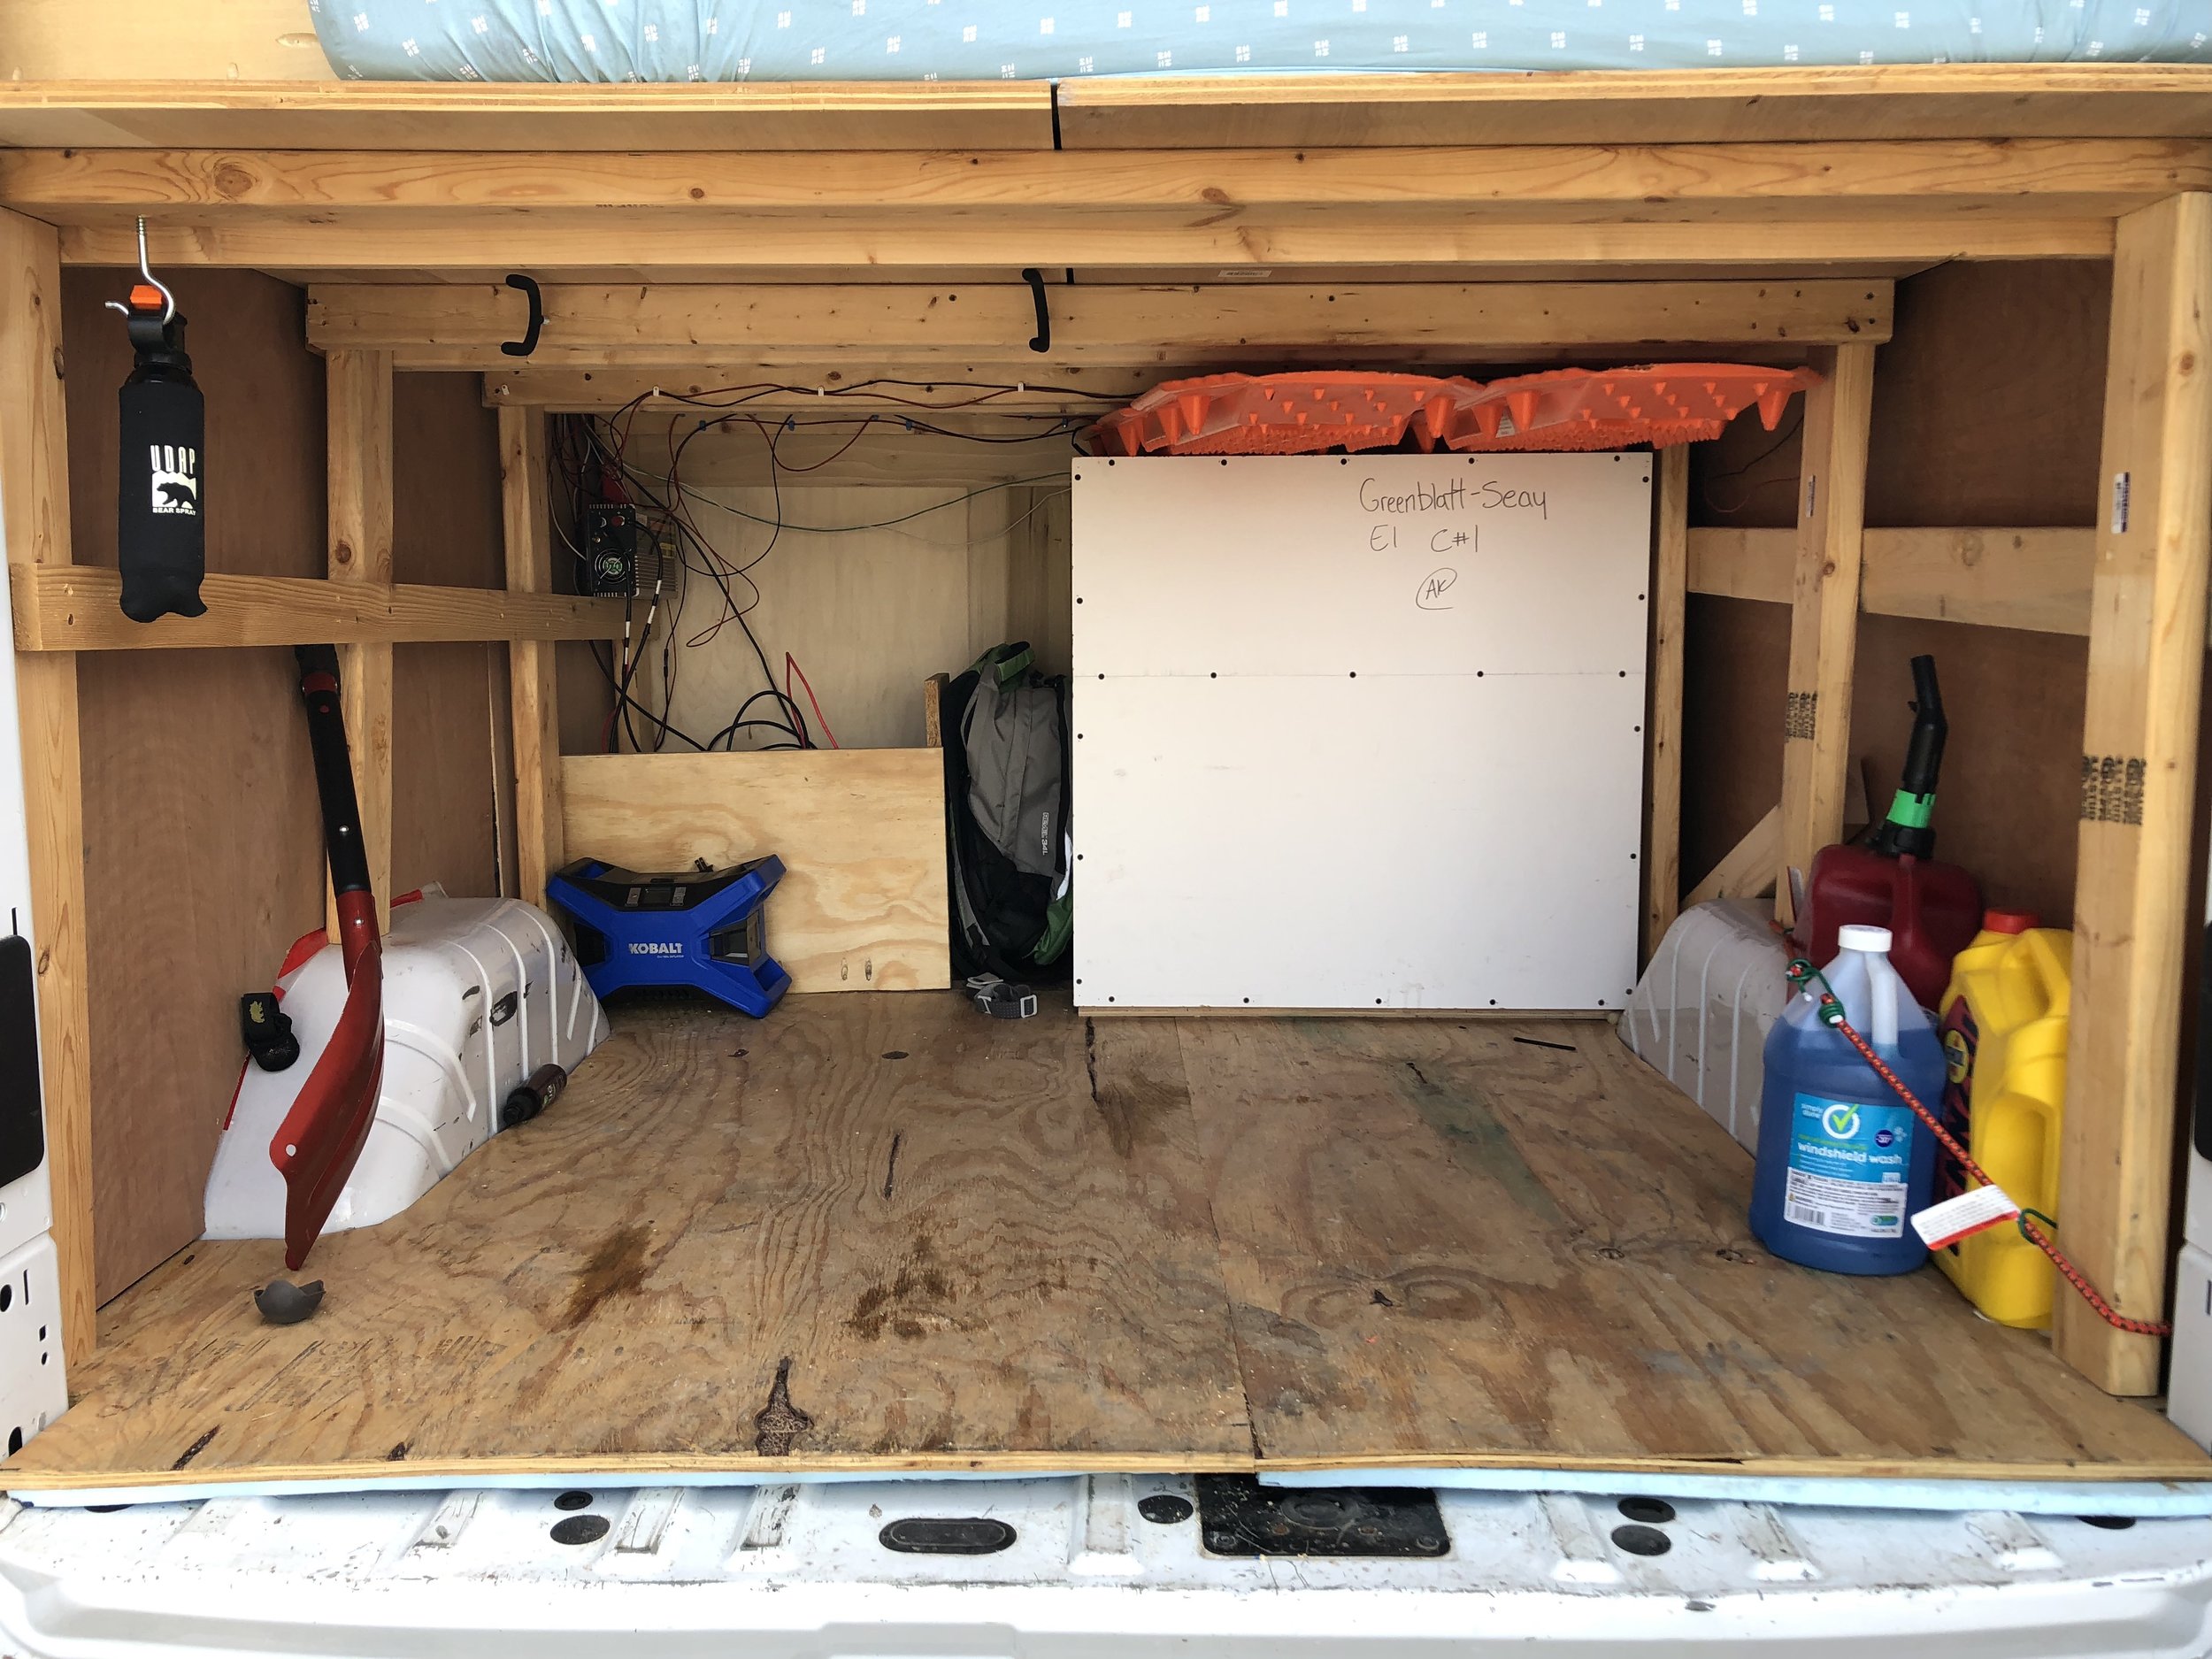
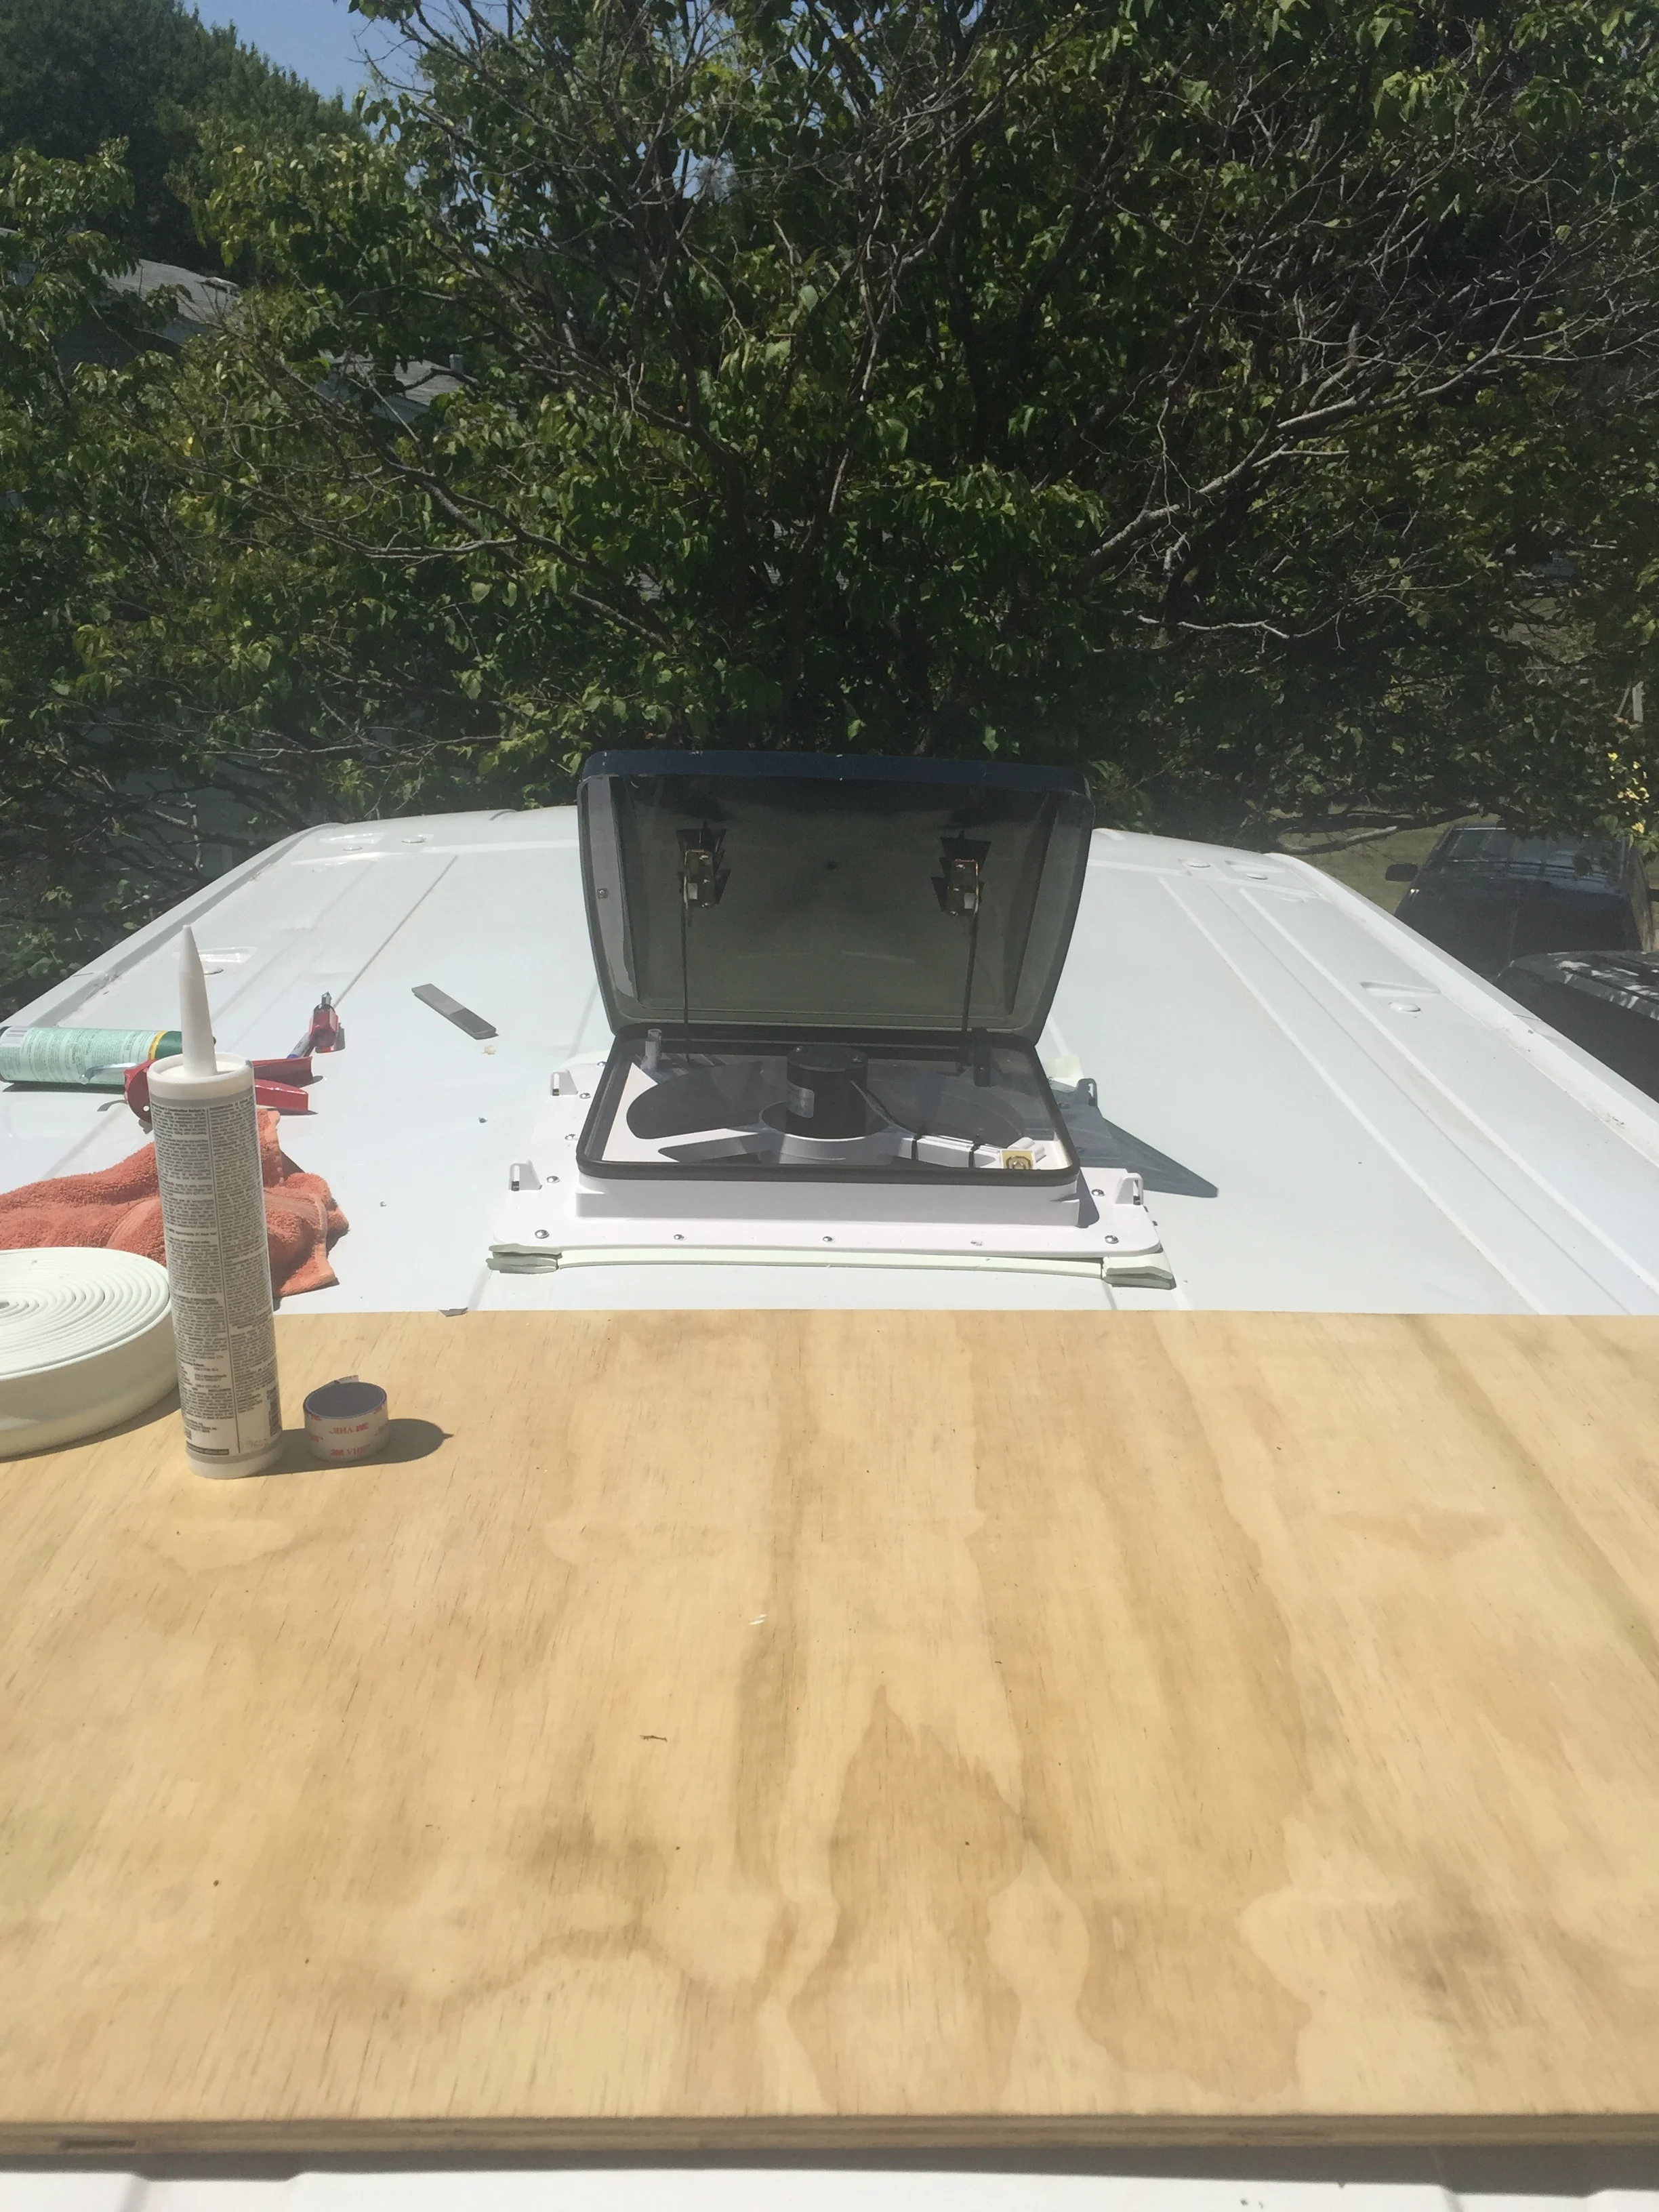
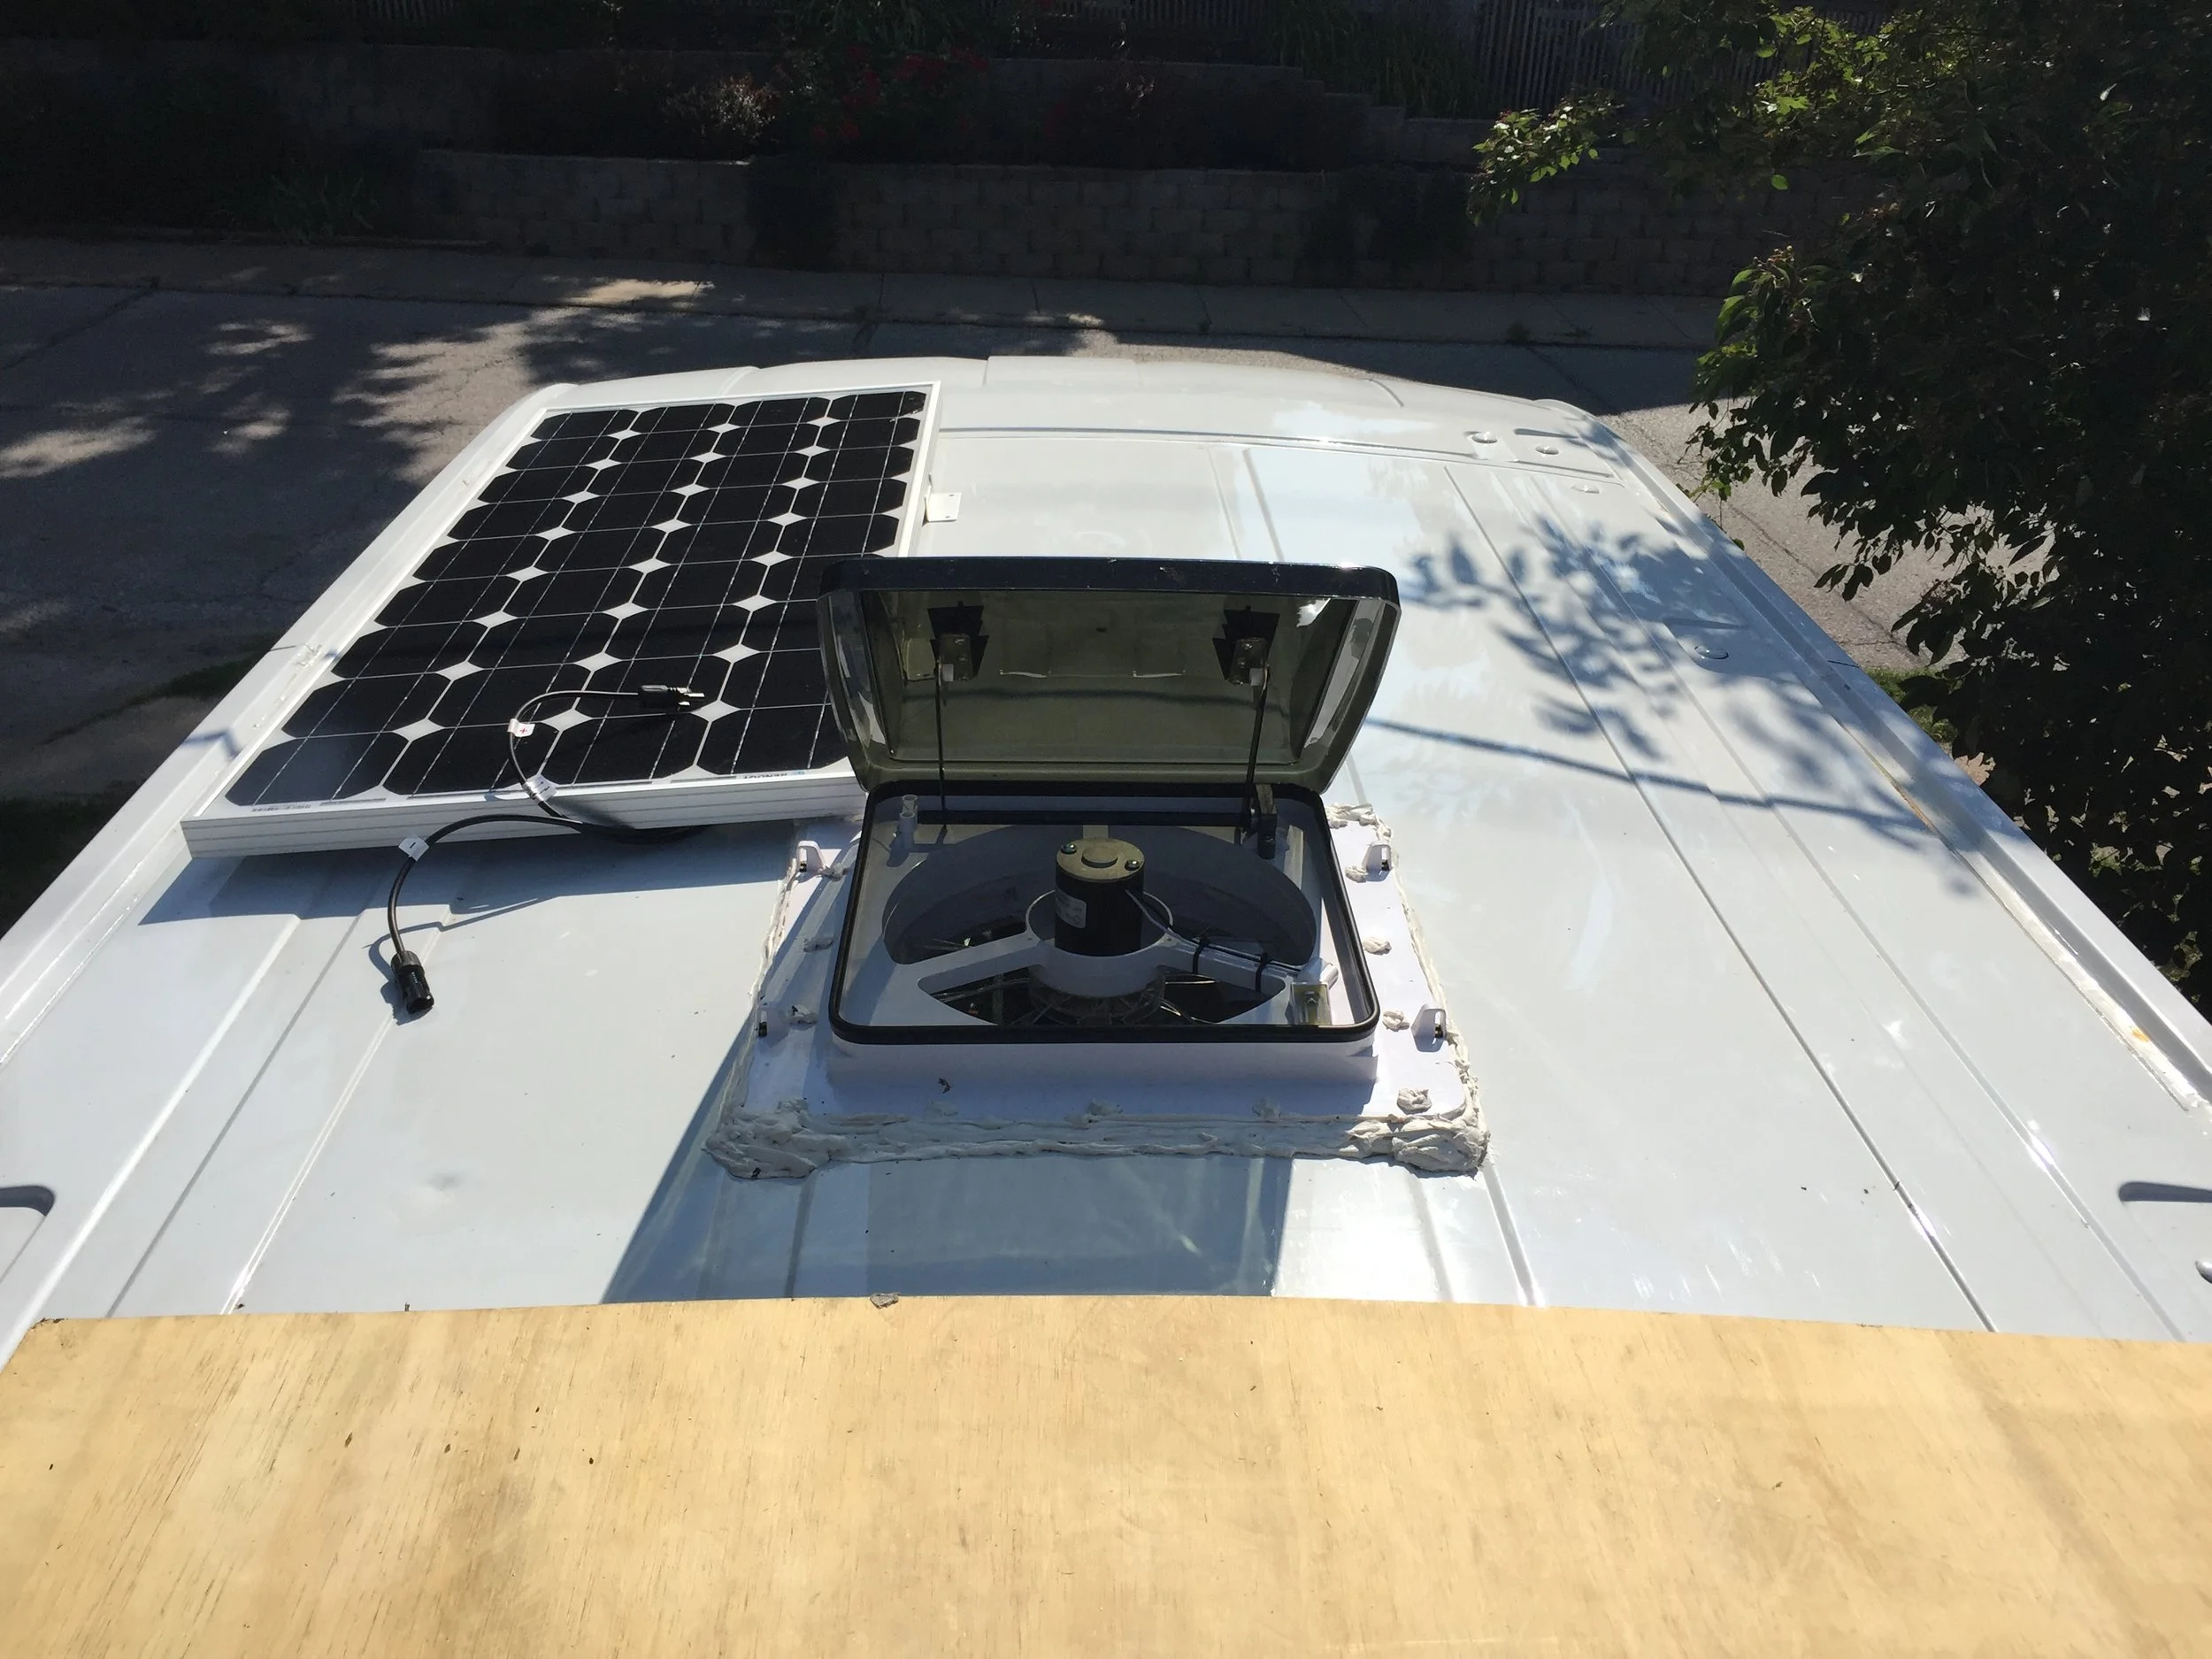
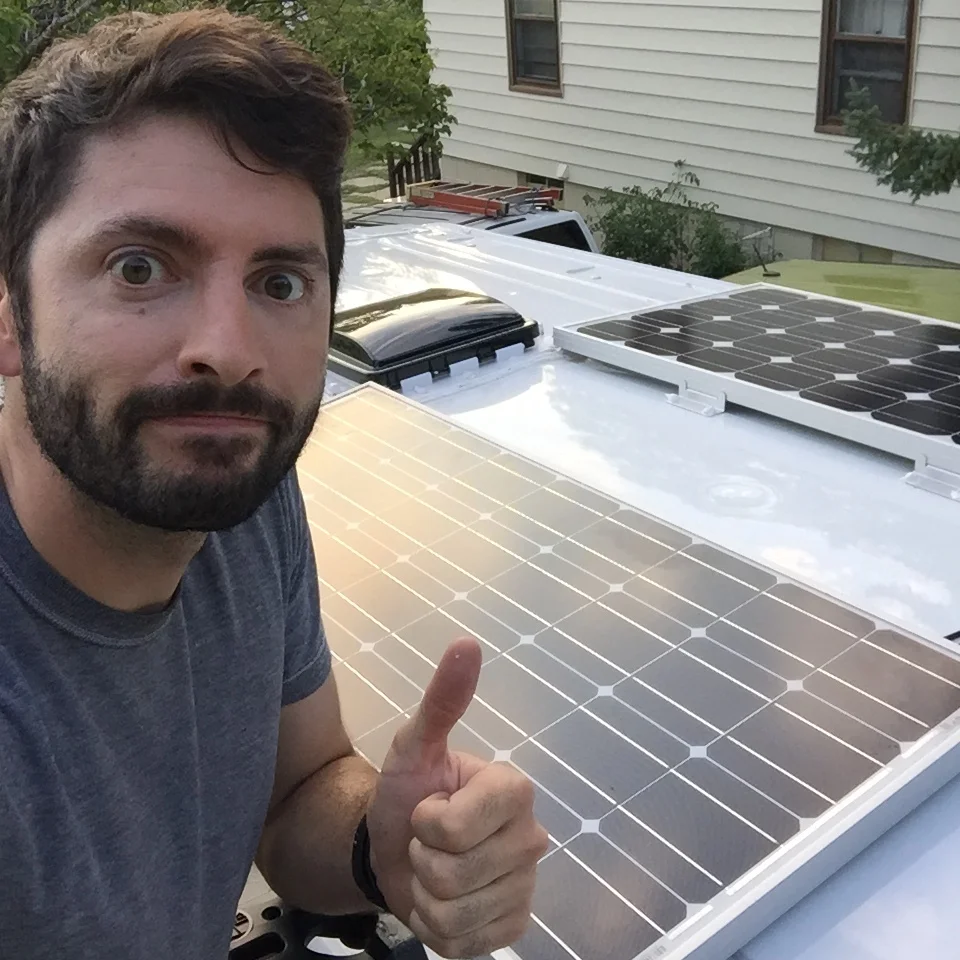
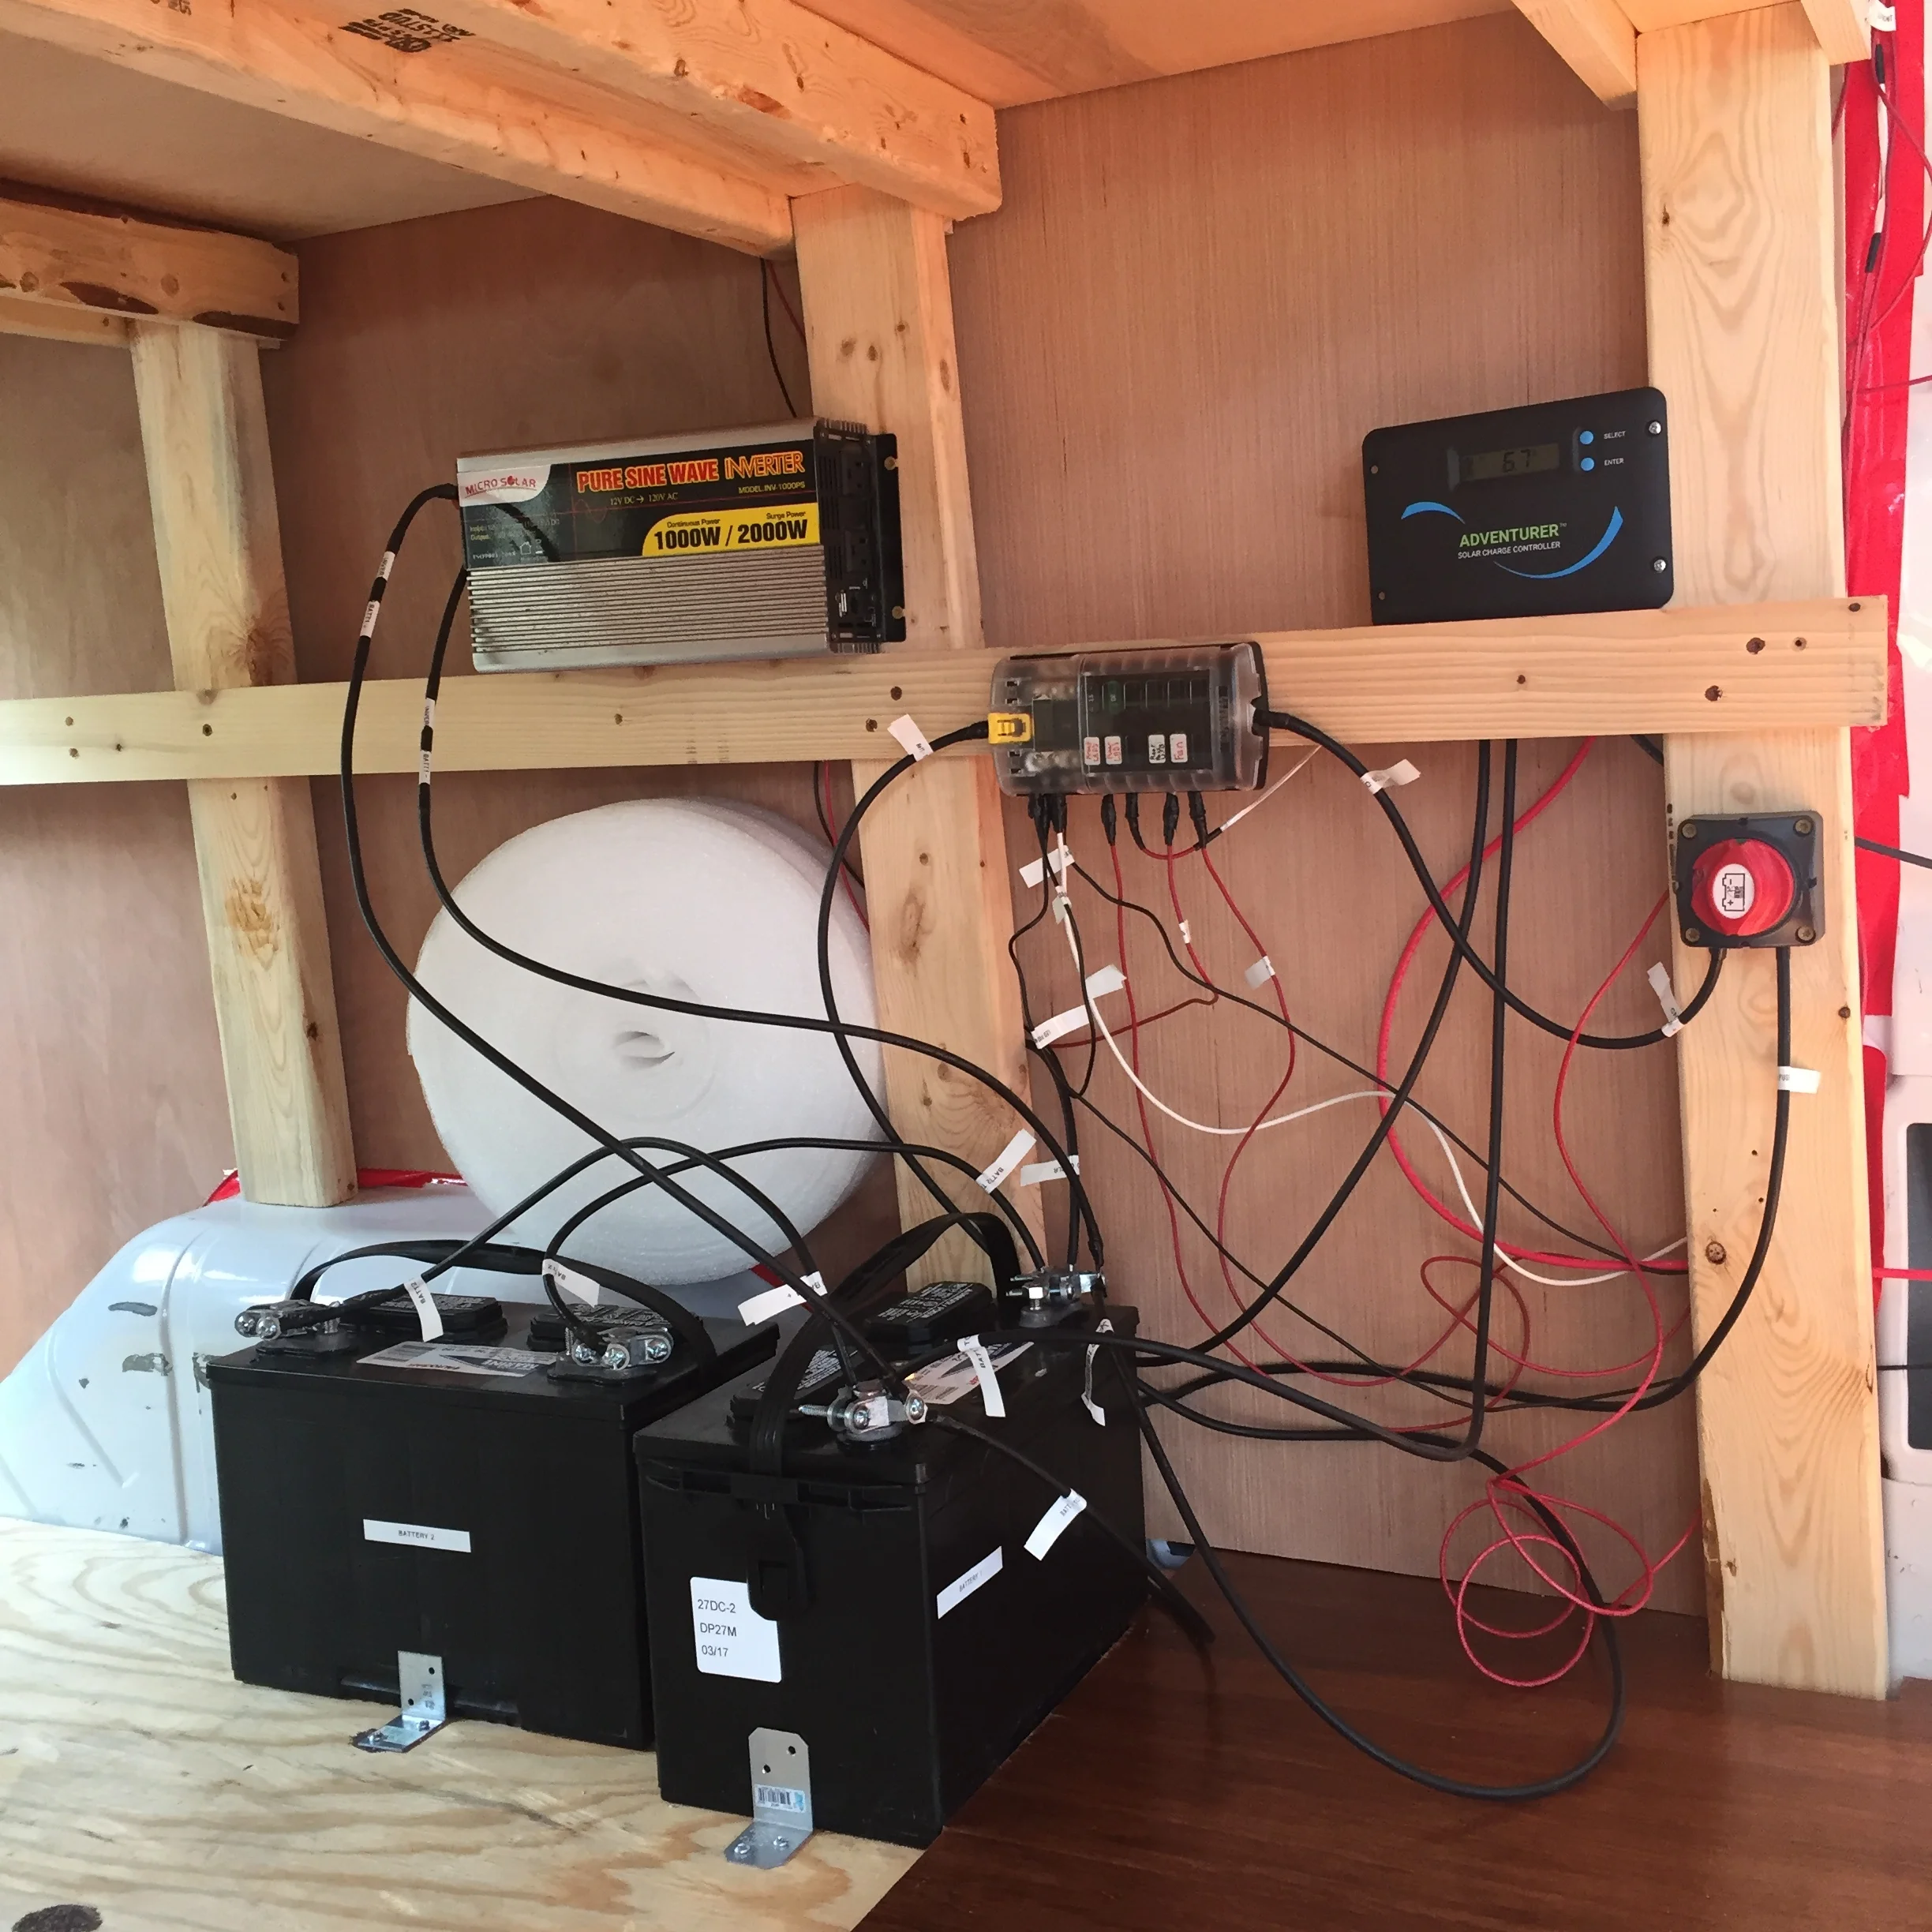
• 2x 100-watt solar panels running to two 65 amp hour house batteries
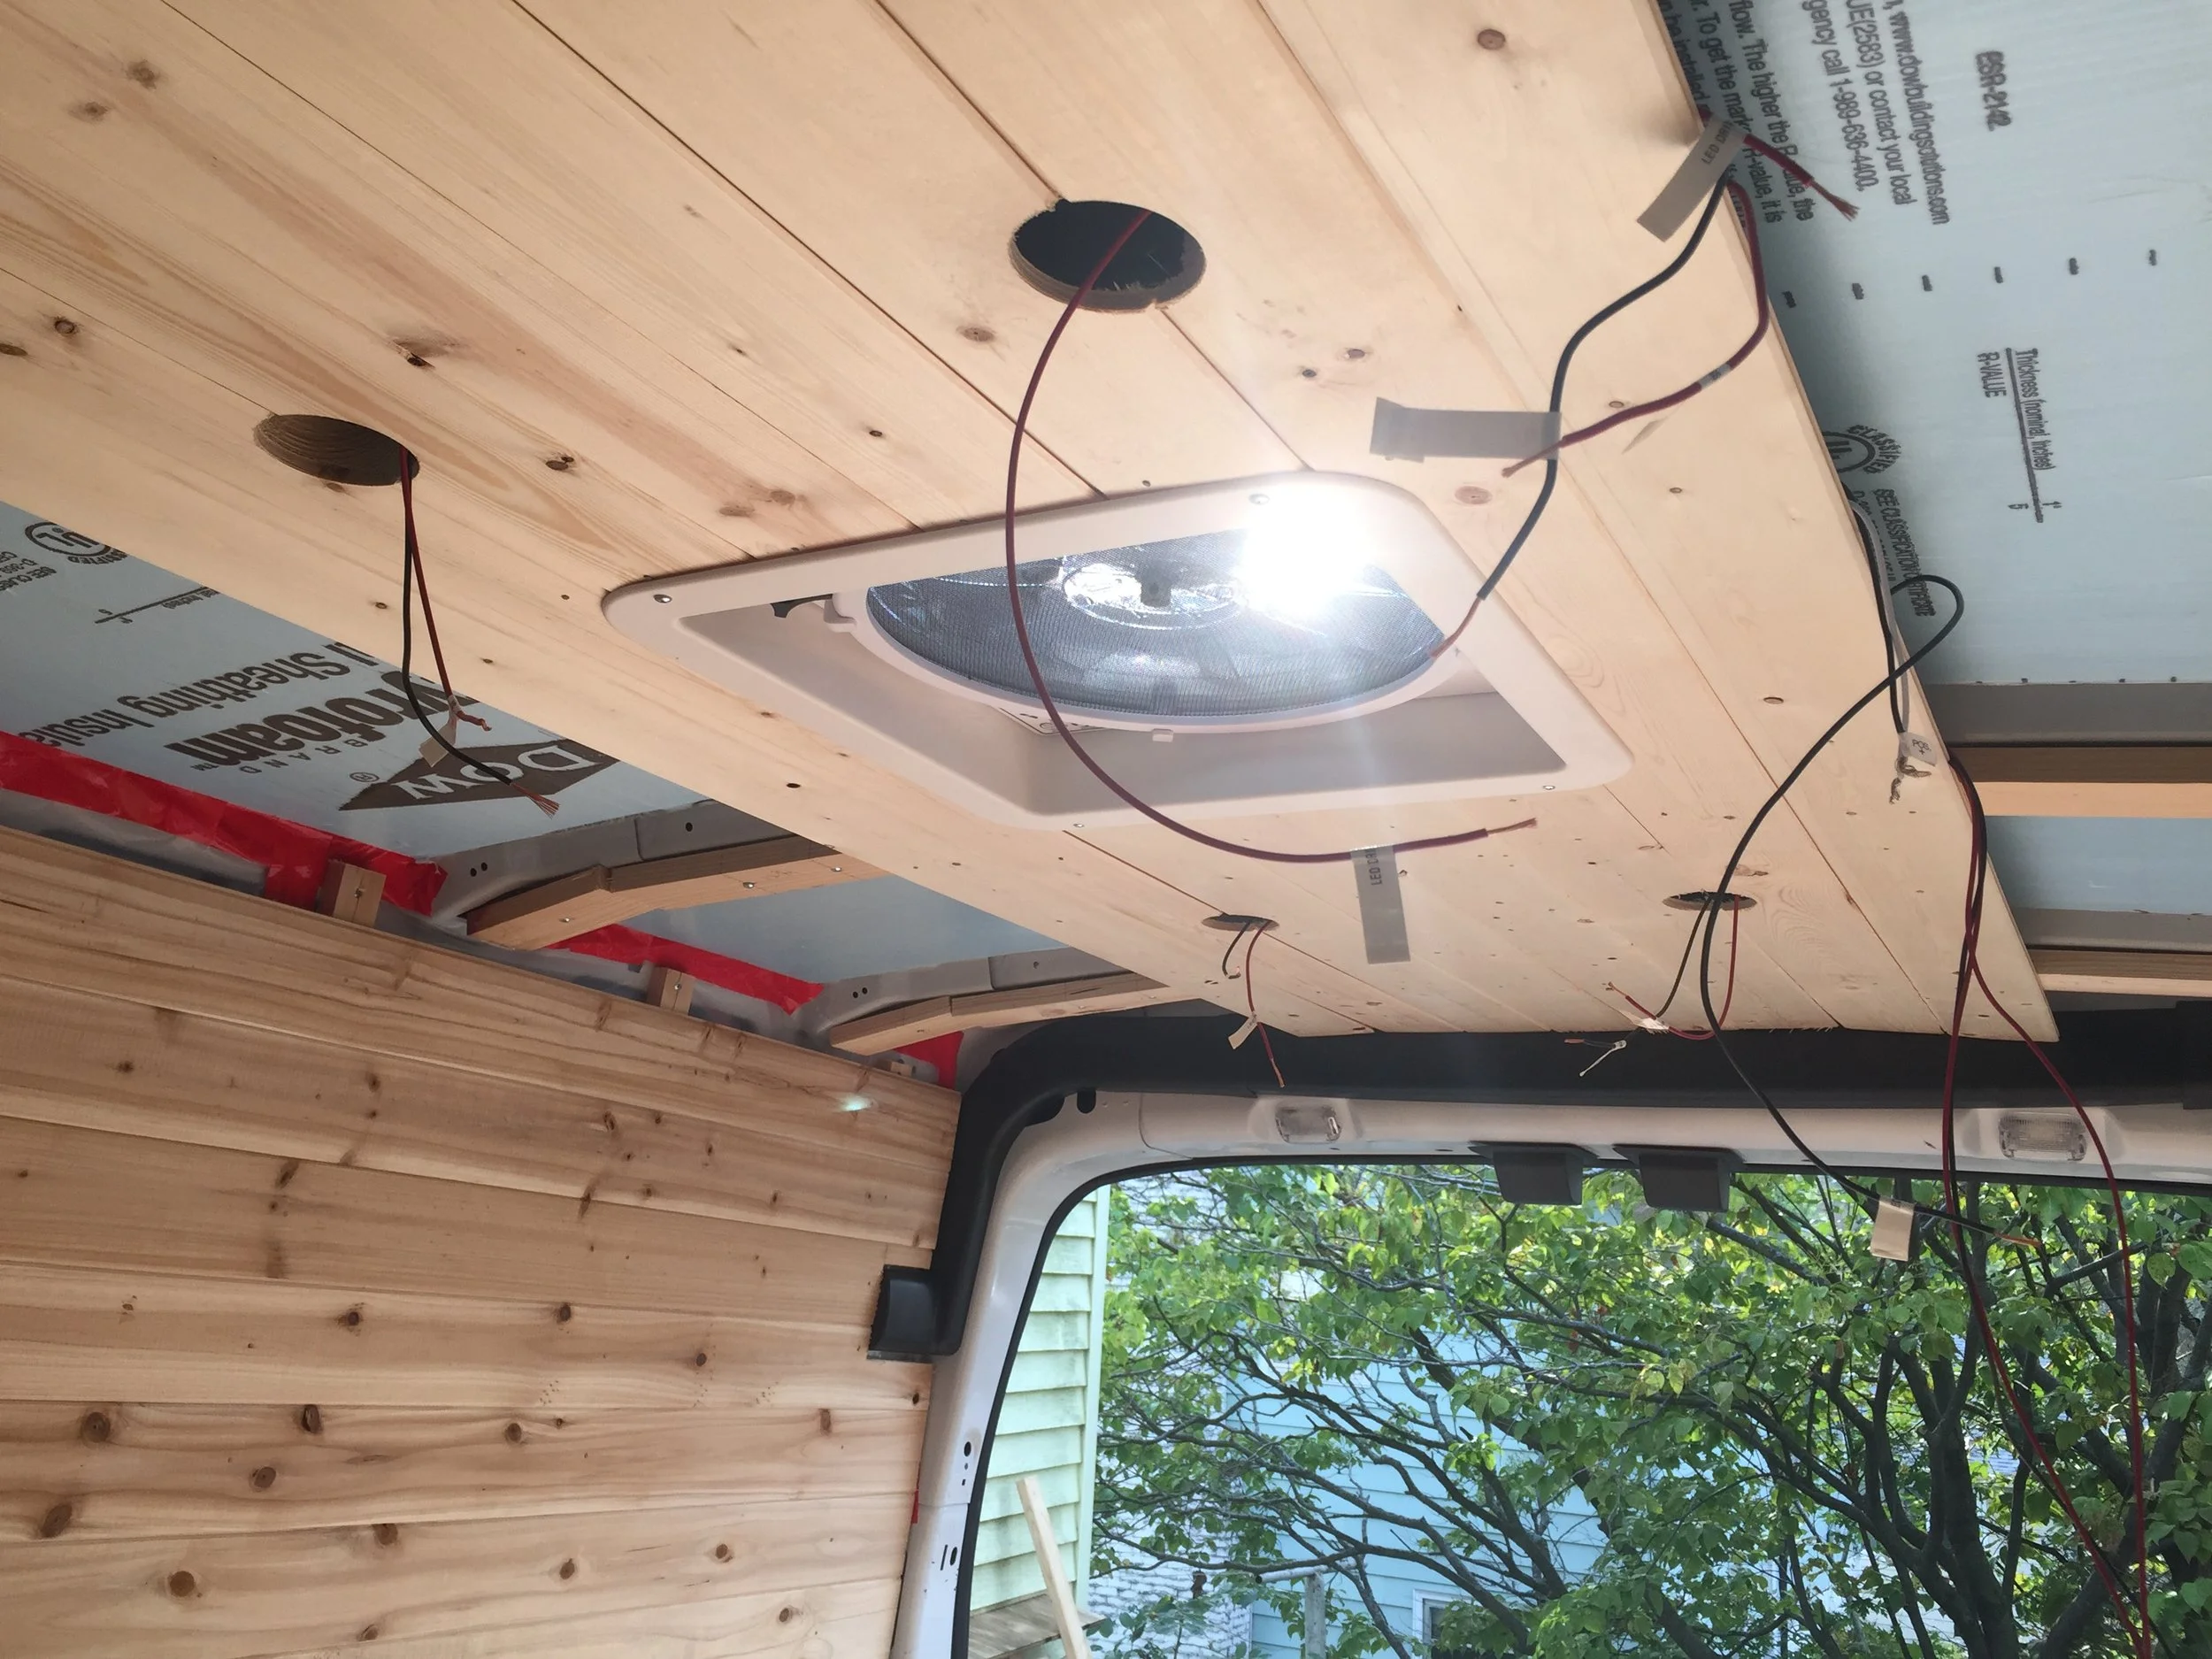
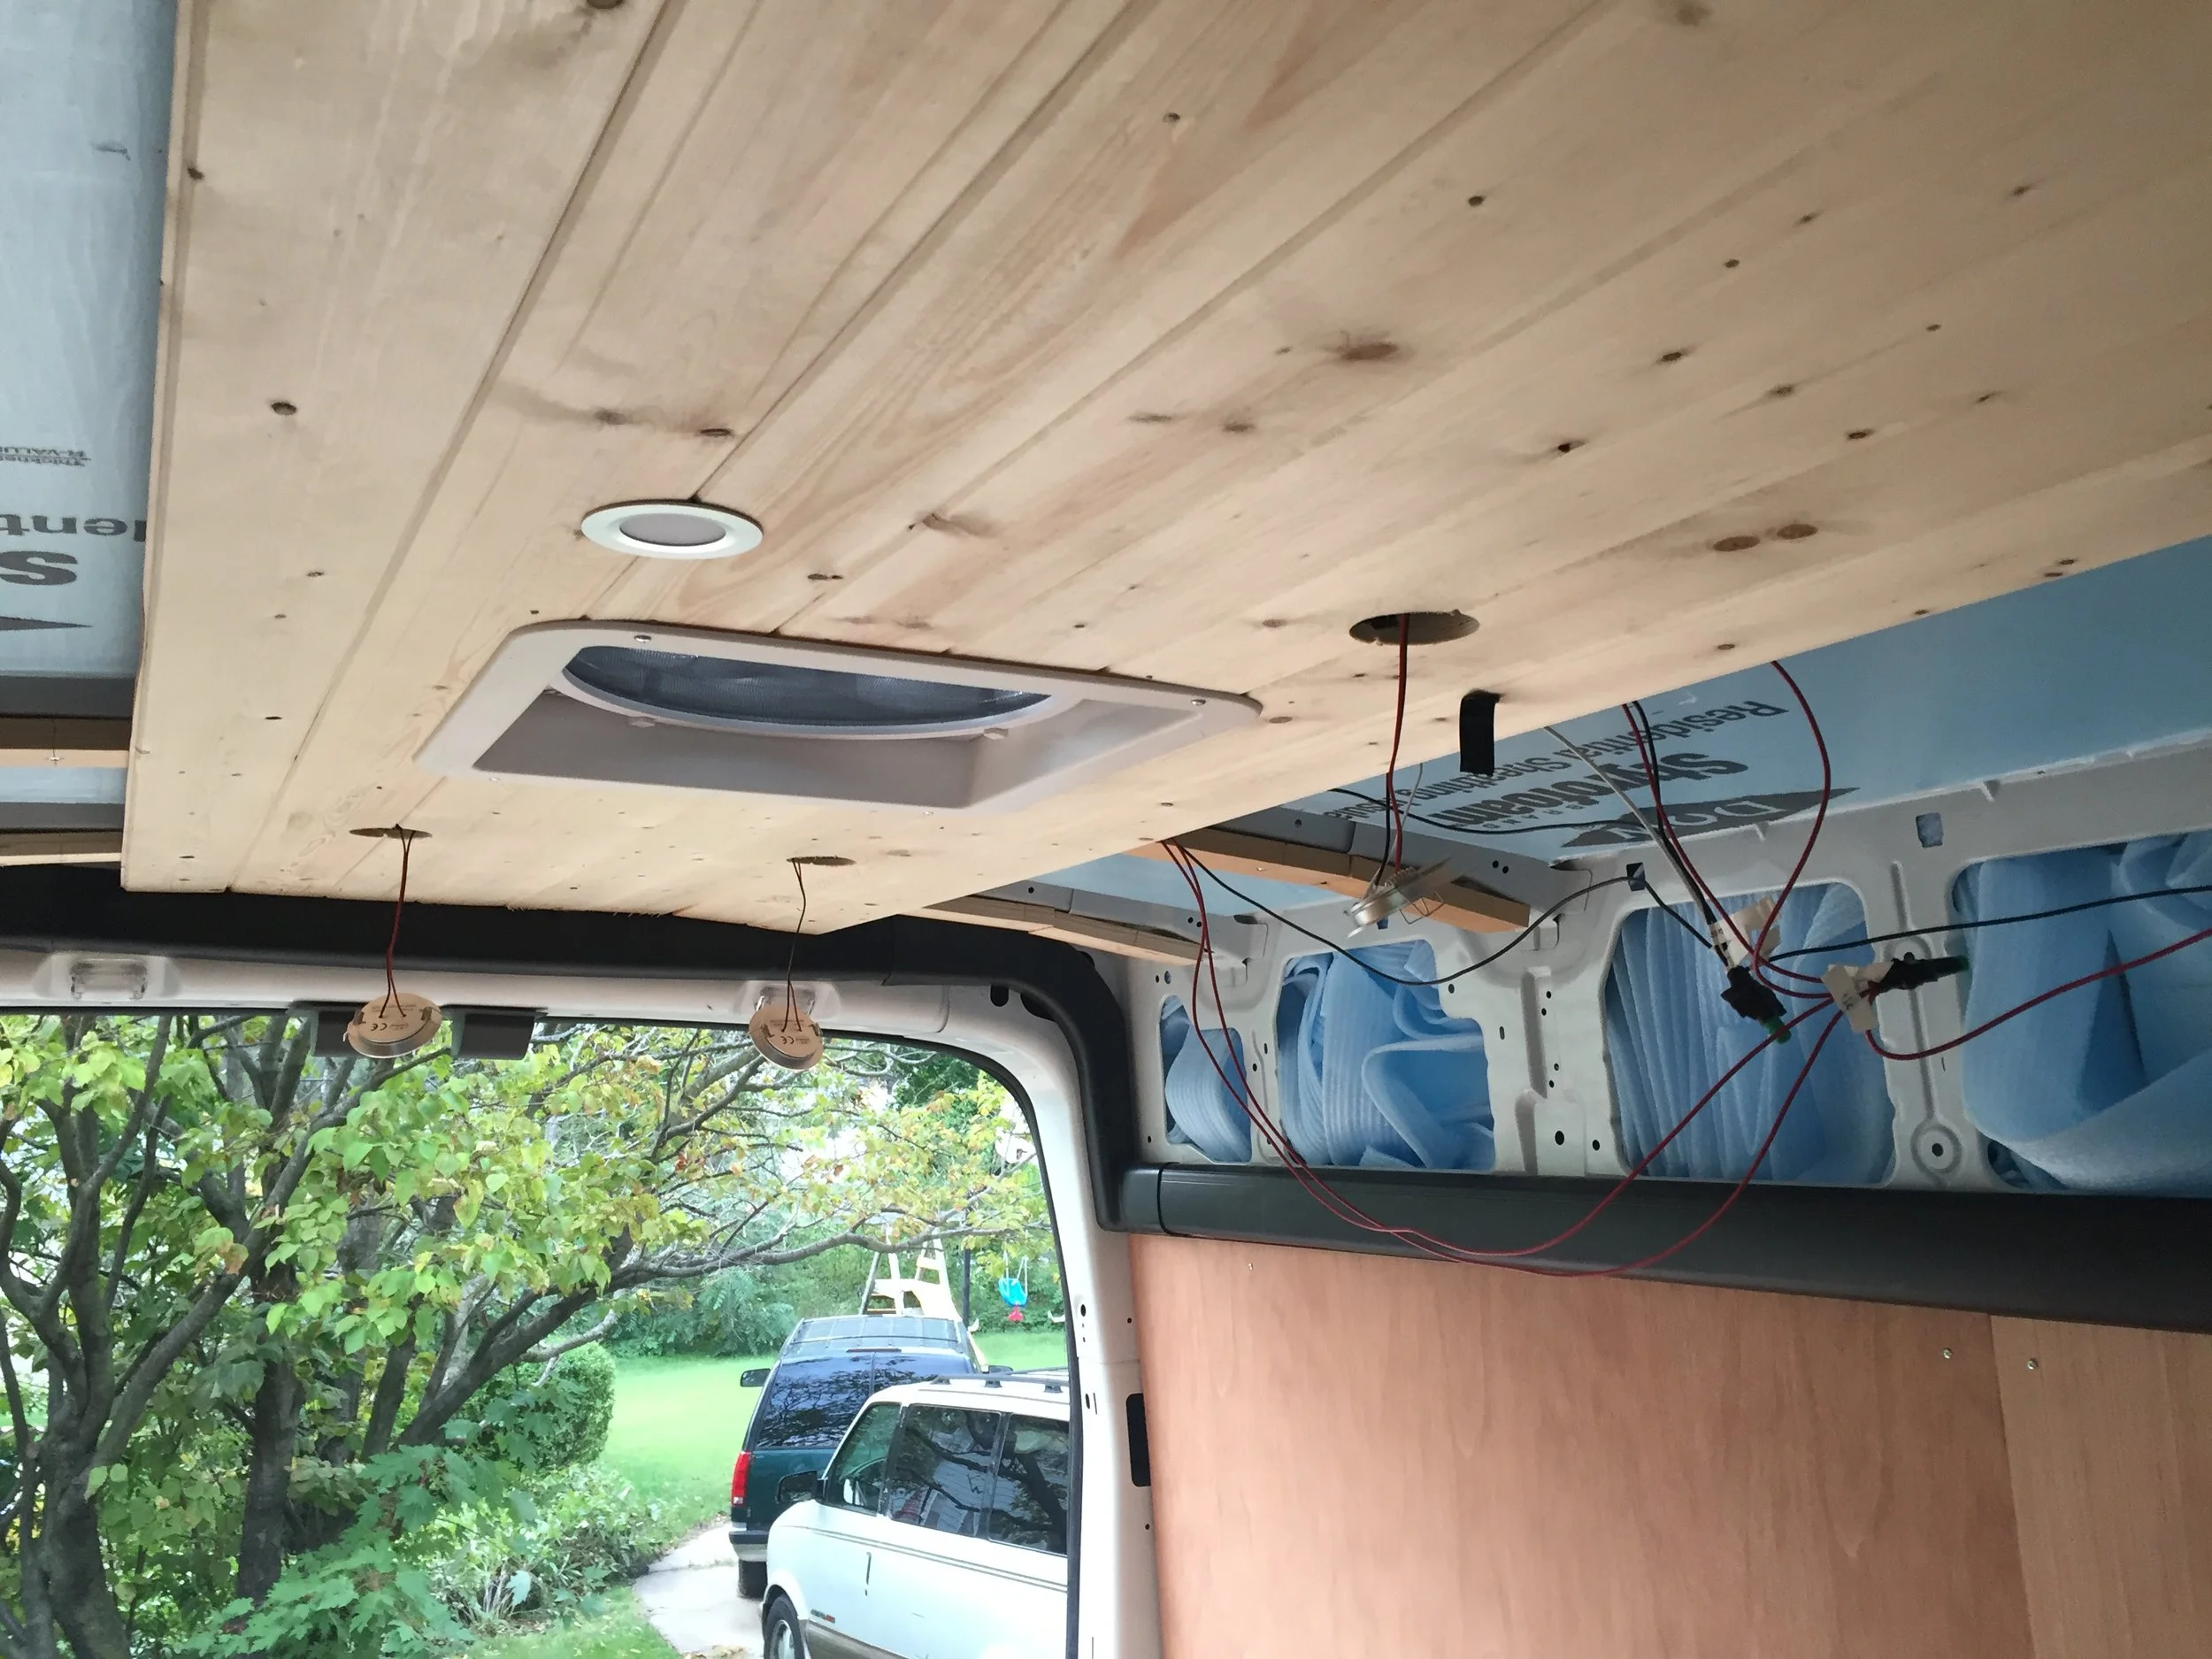
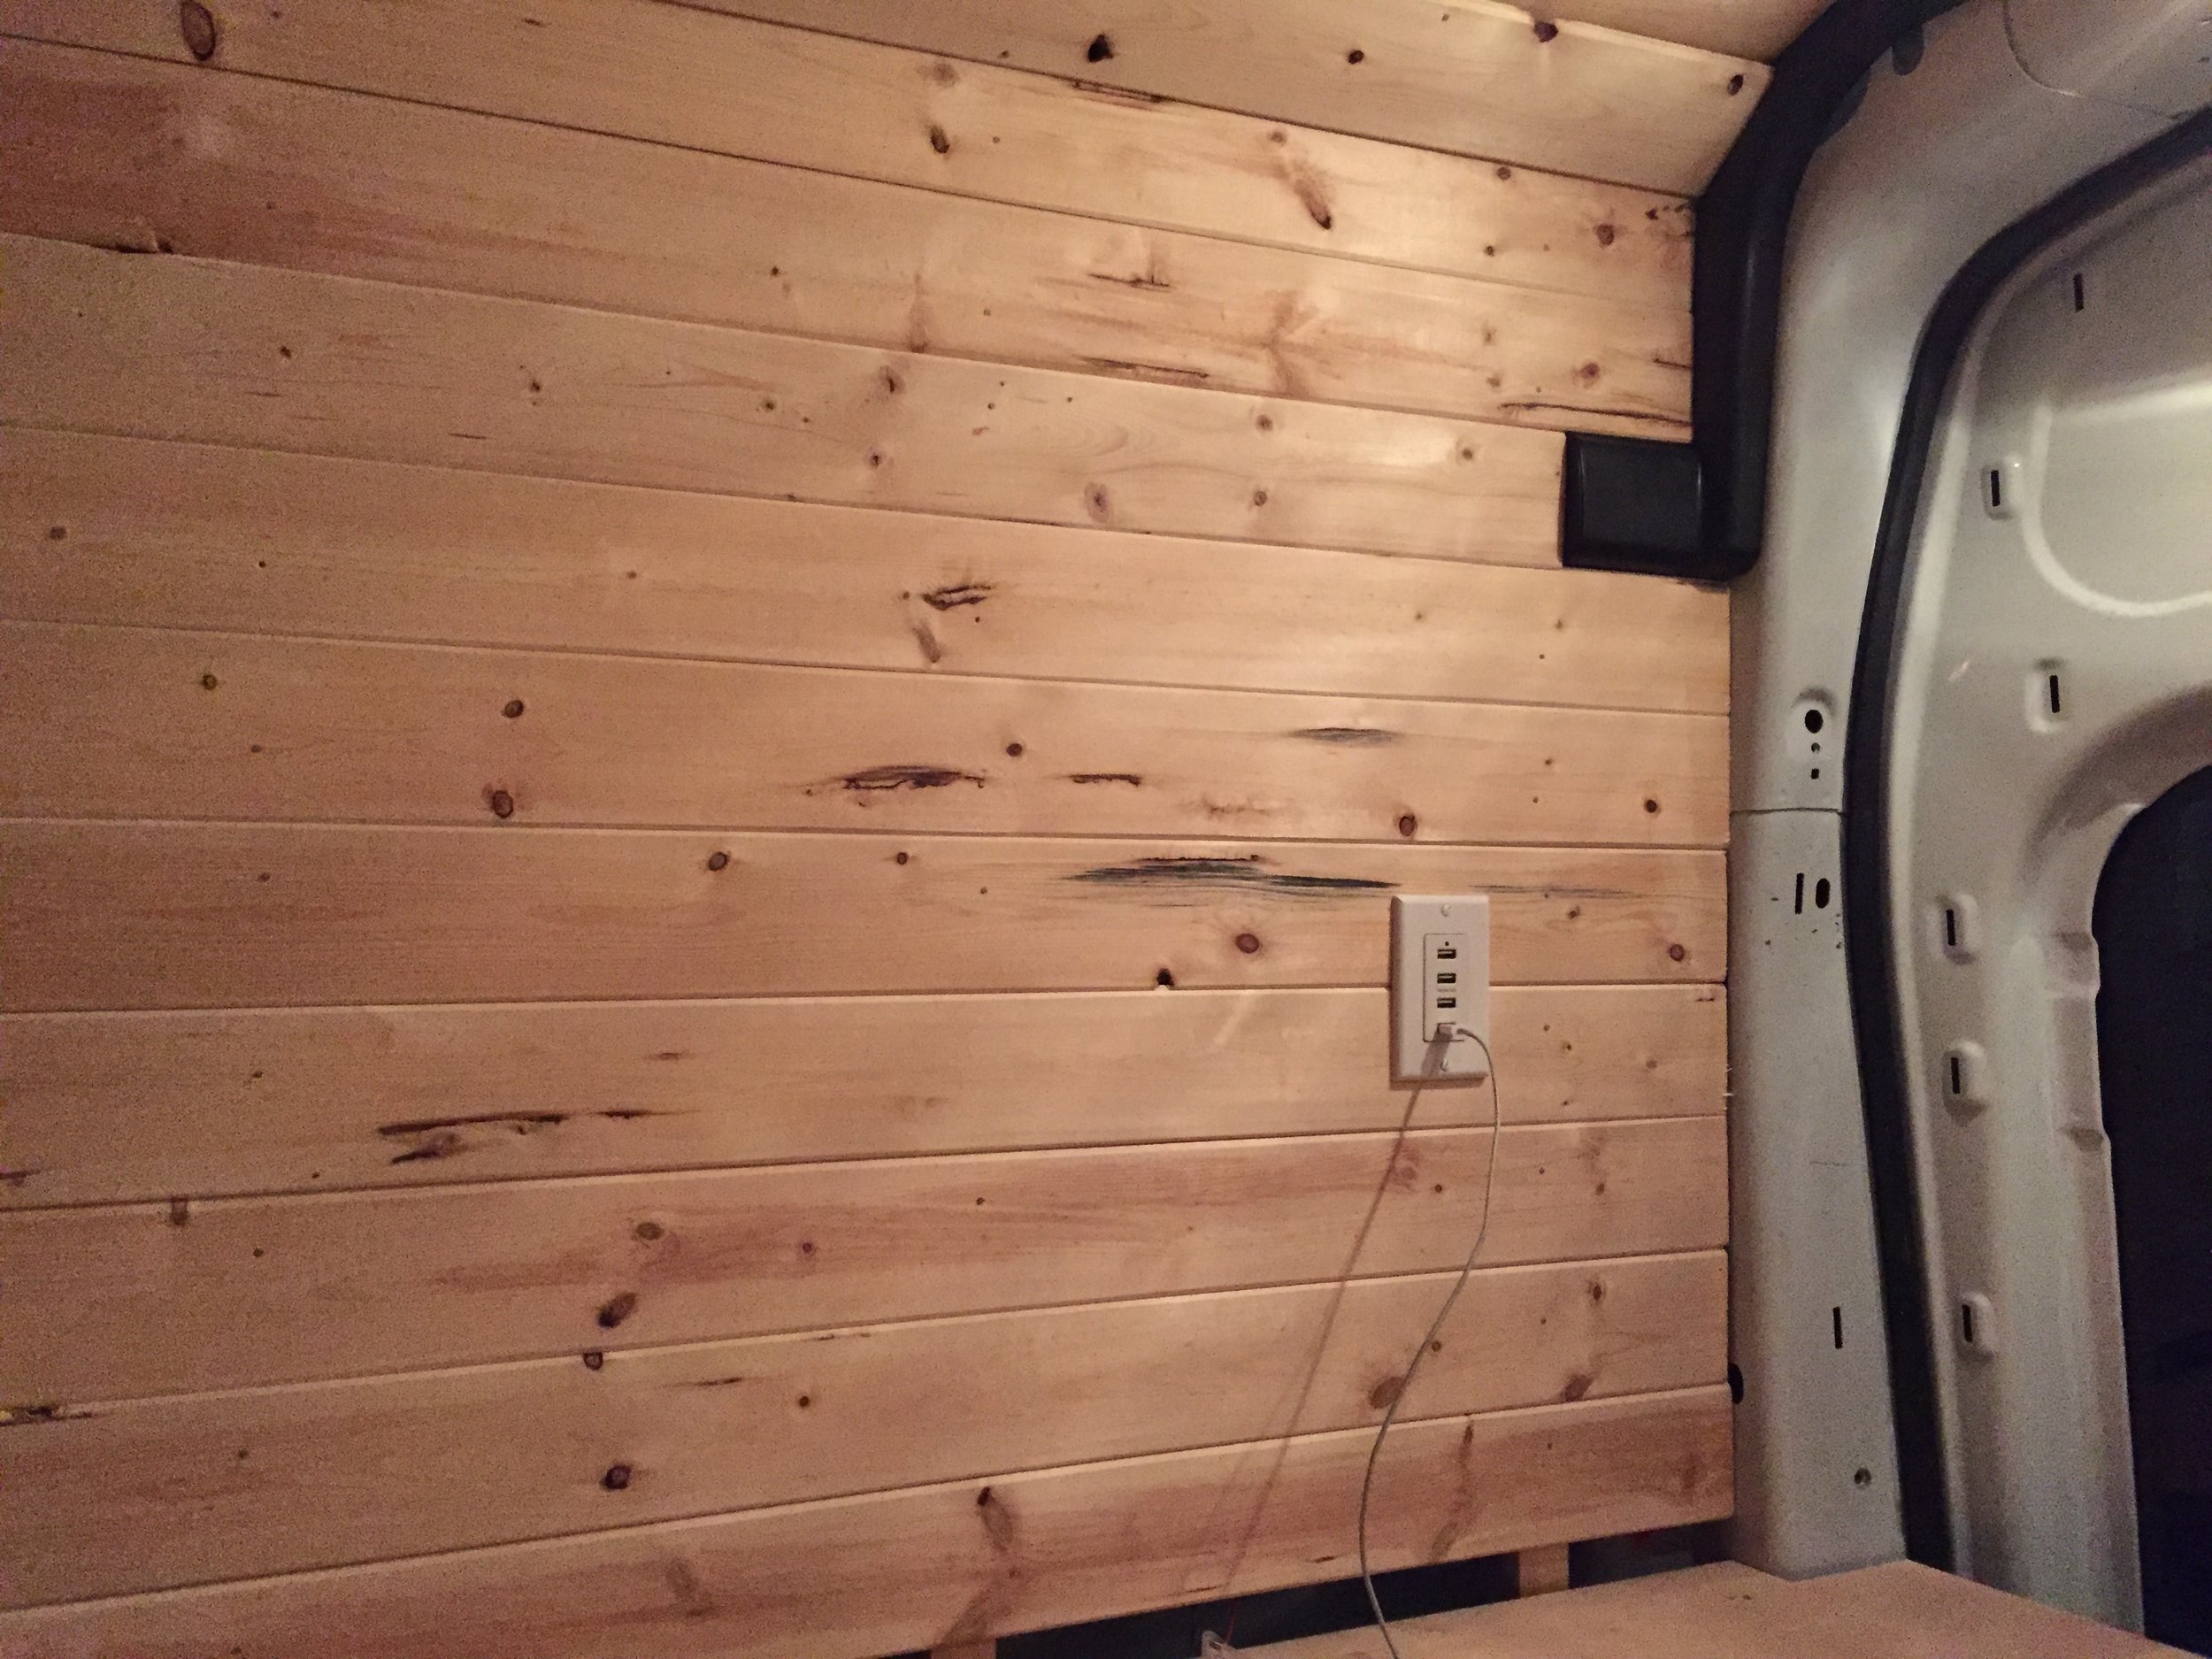
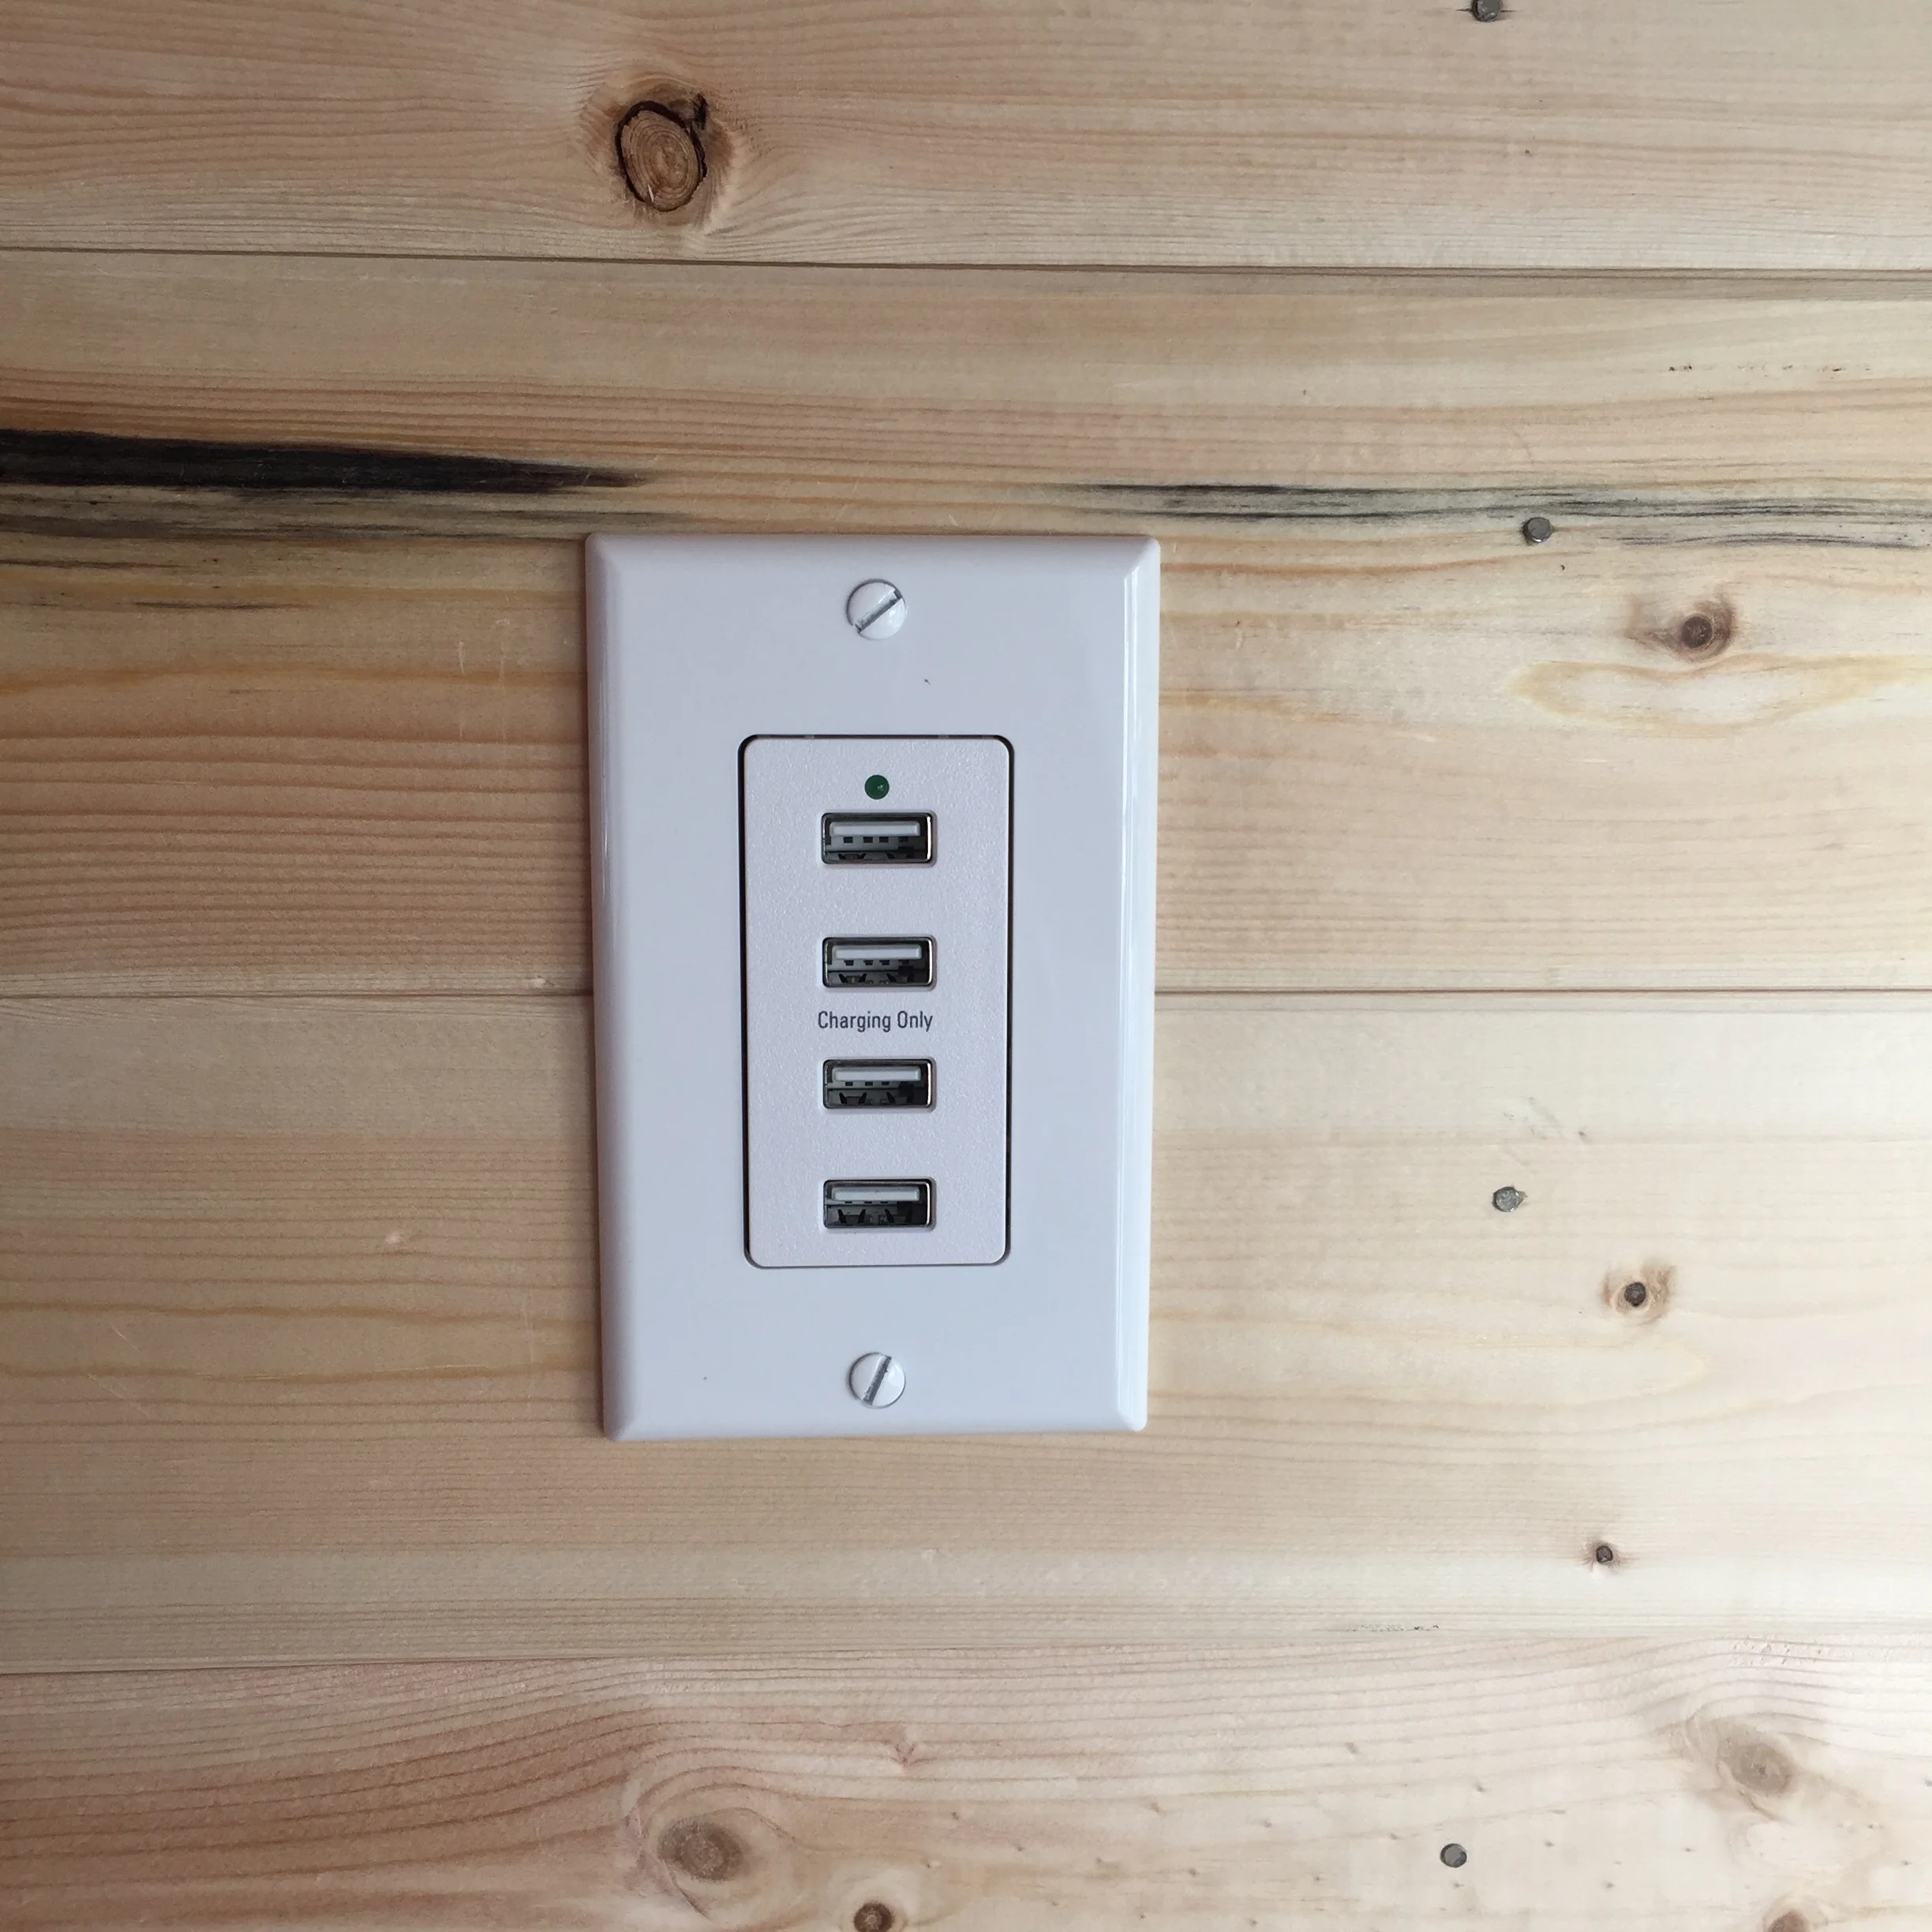
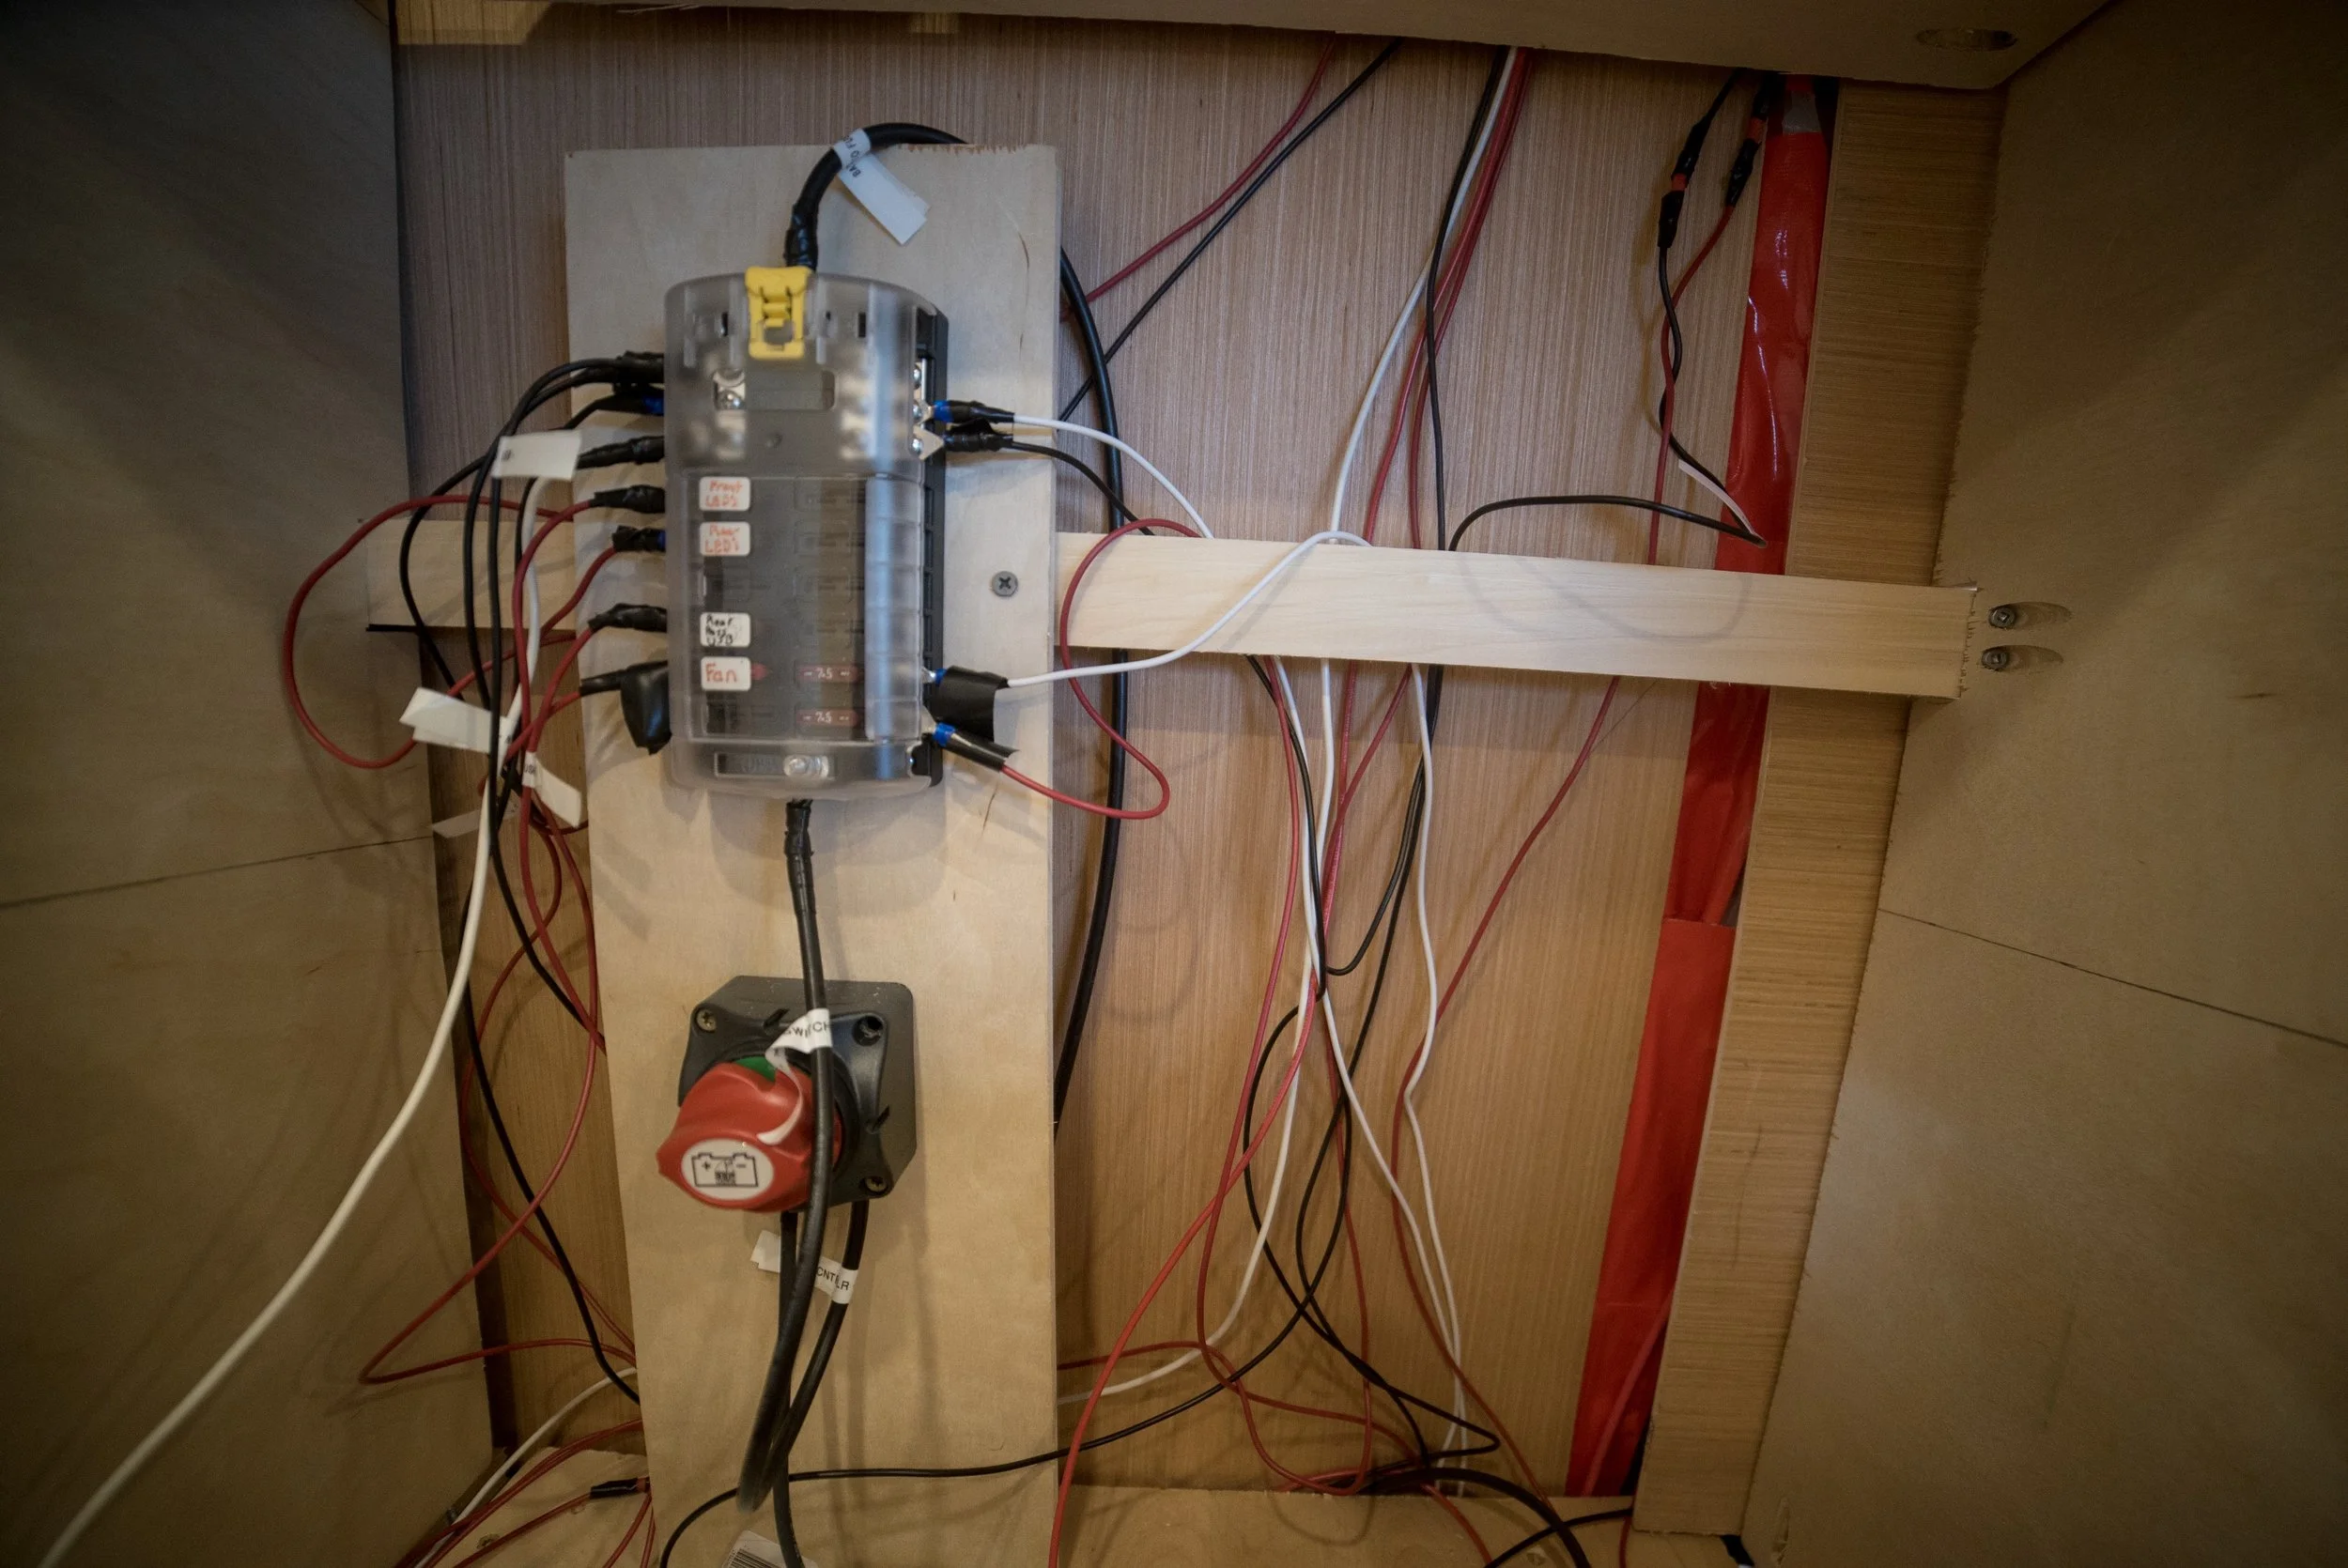
• 12v fuse block feeding 12v LED lights, ceiling fan, wall fan, 4-port USB outlet, 2-port USB + cigarette lighter outlet, and faucet pump.
• Swivel passenger seat
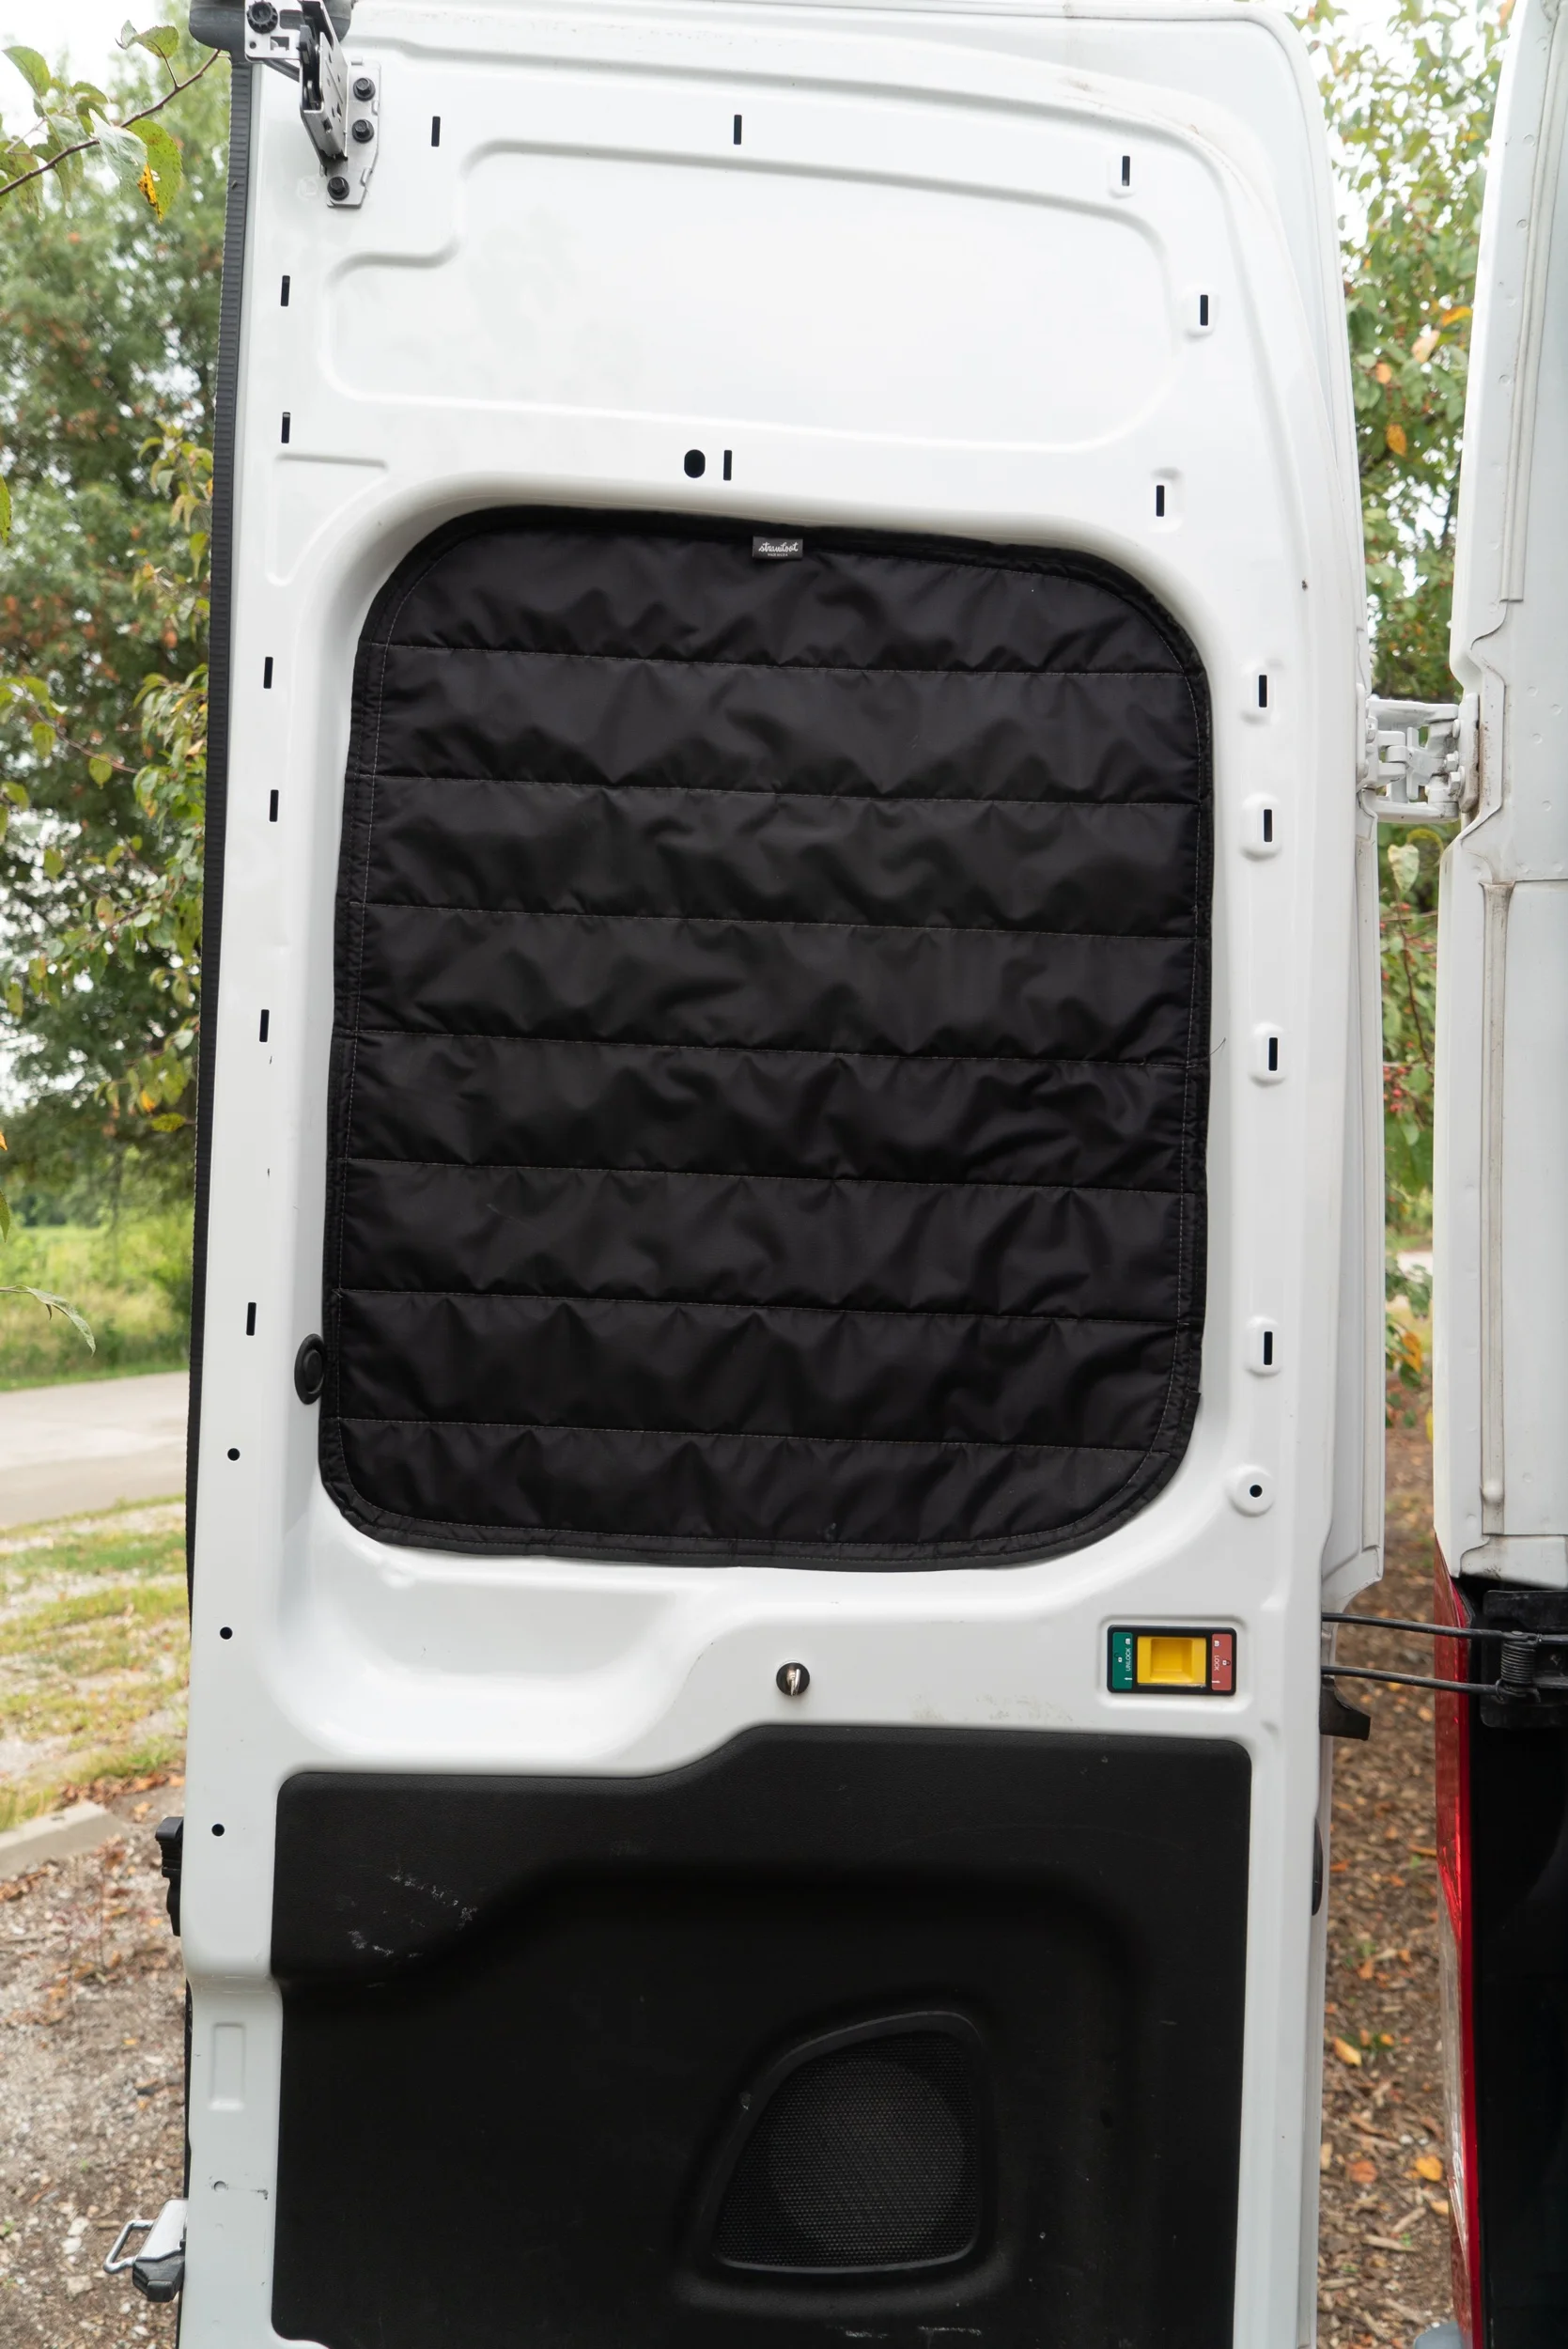
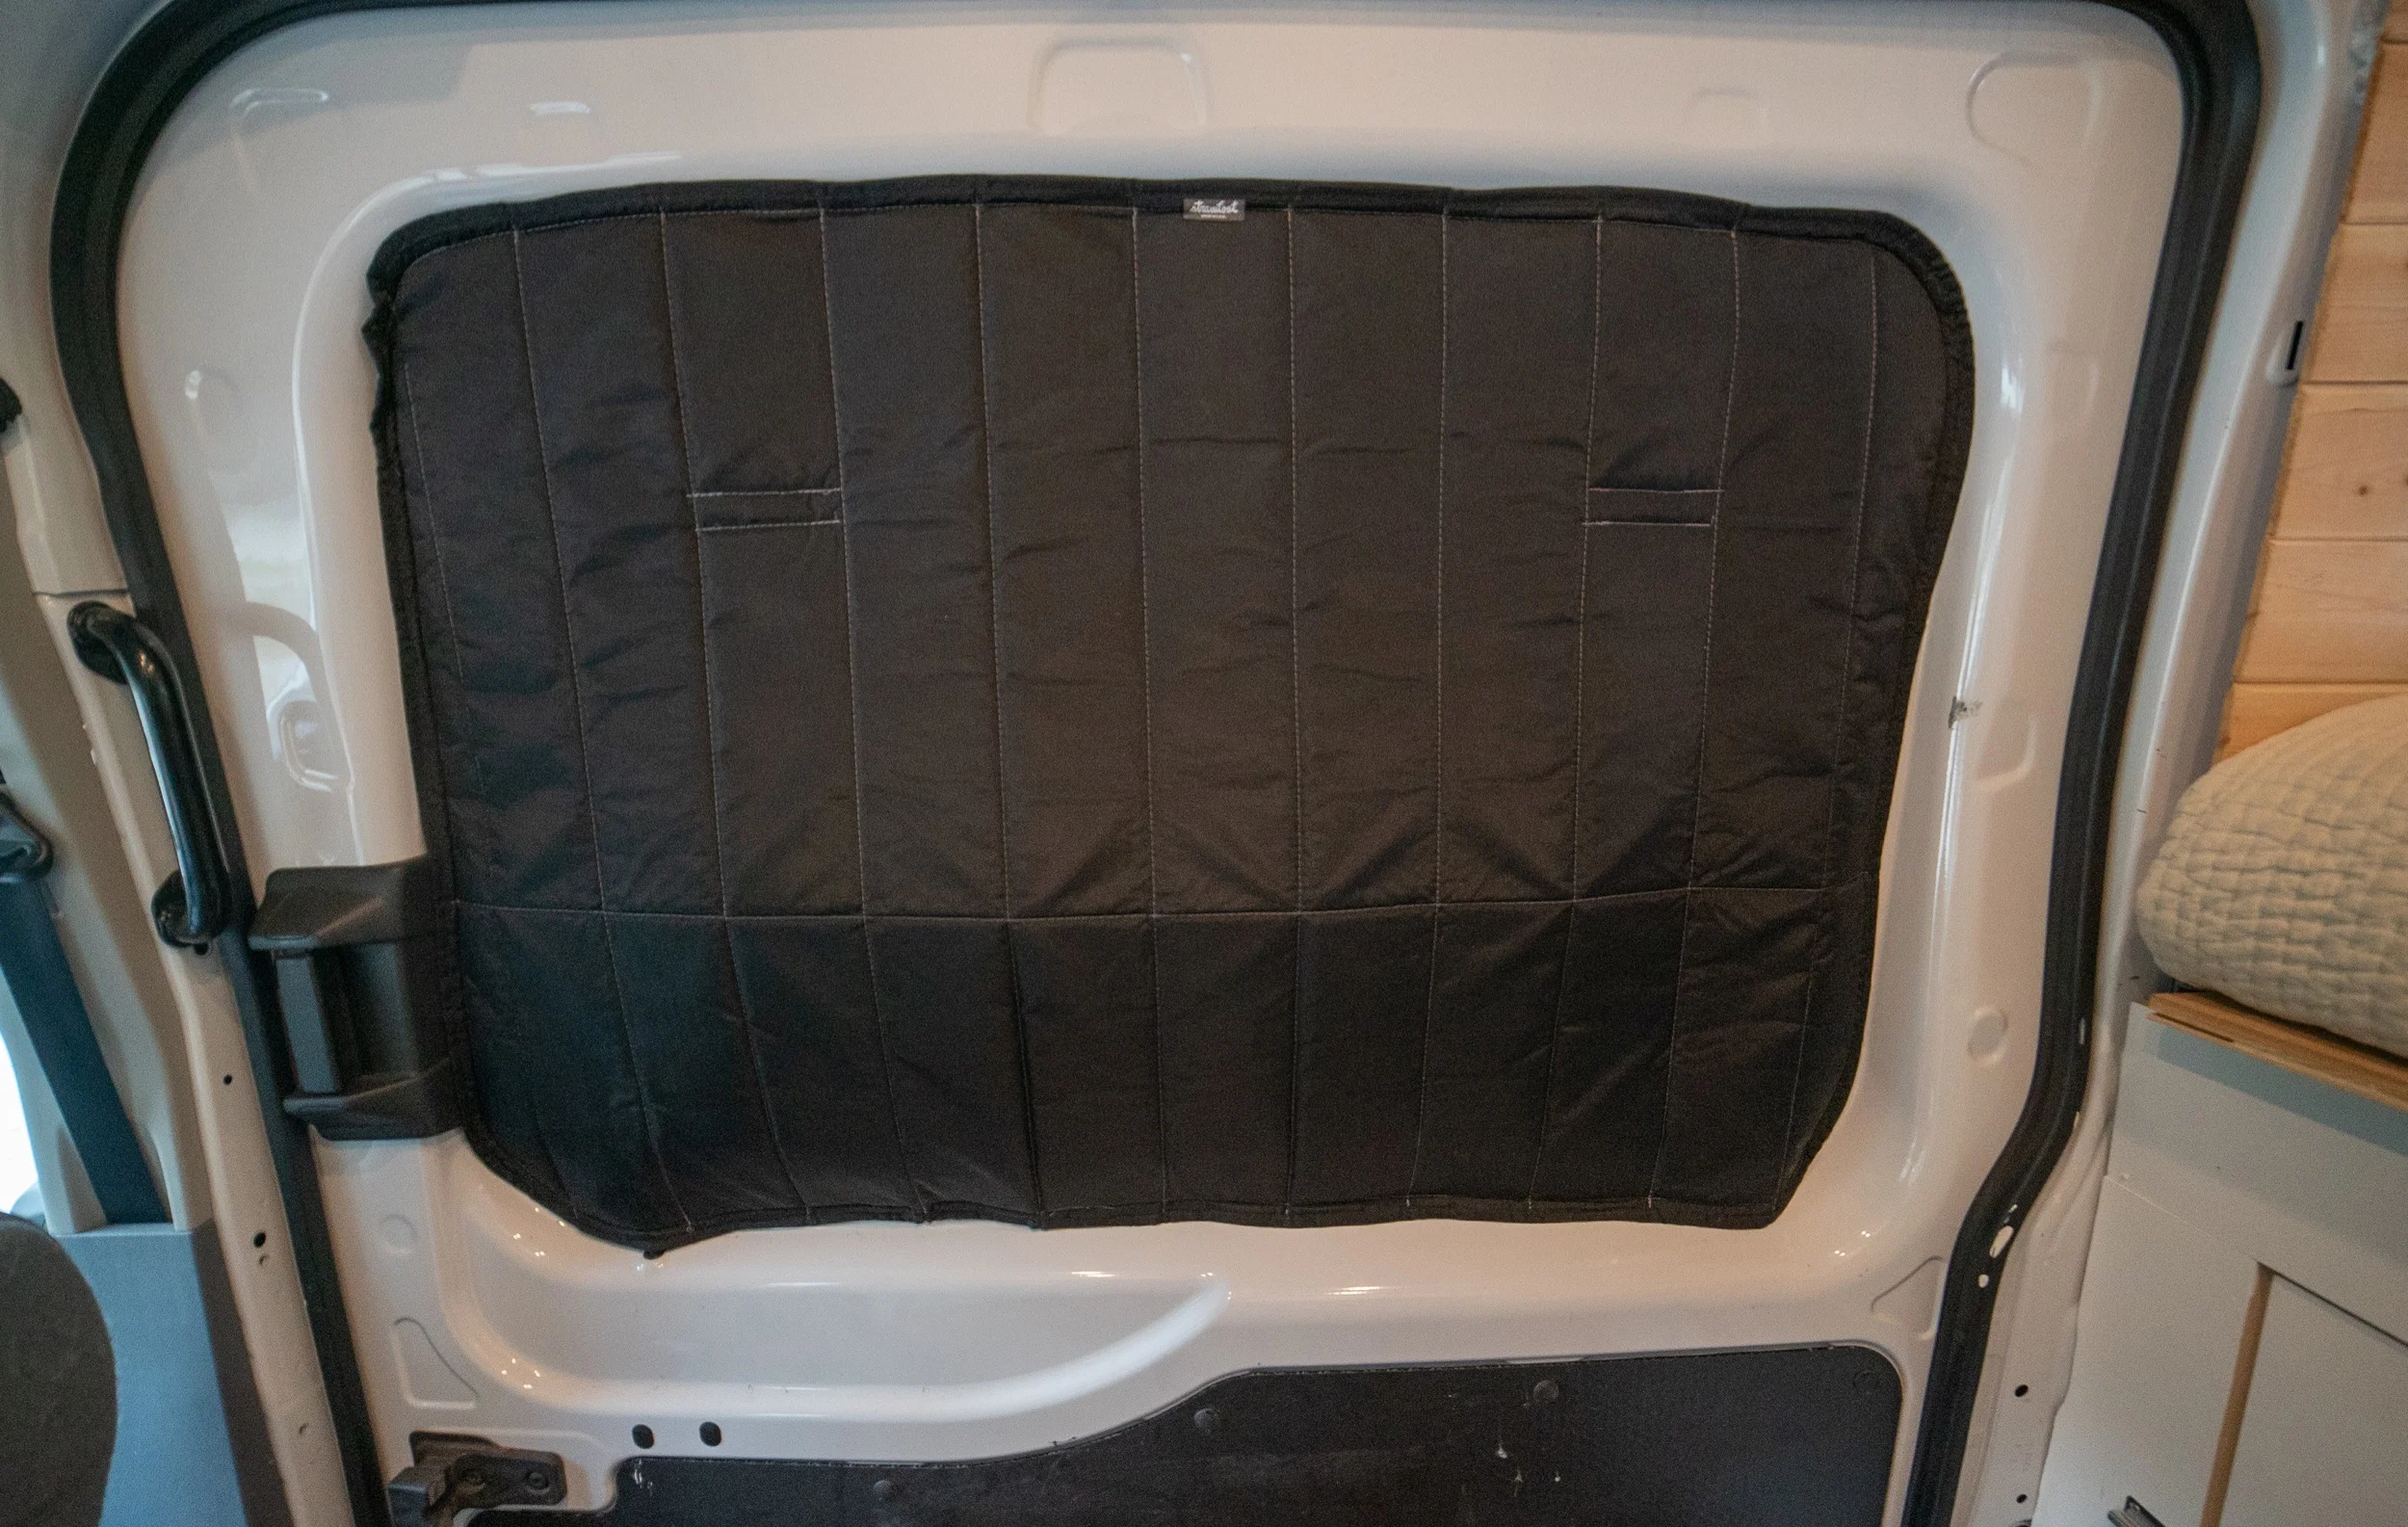
• Magnetic, insulated window covers made by Straw foot
• Four lights over the bed on one dimmer switch
• Four lights over the kitchen area on a separate dimmer switch
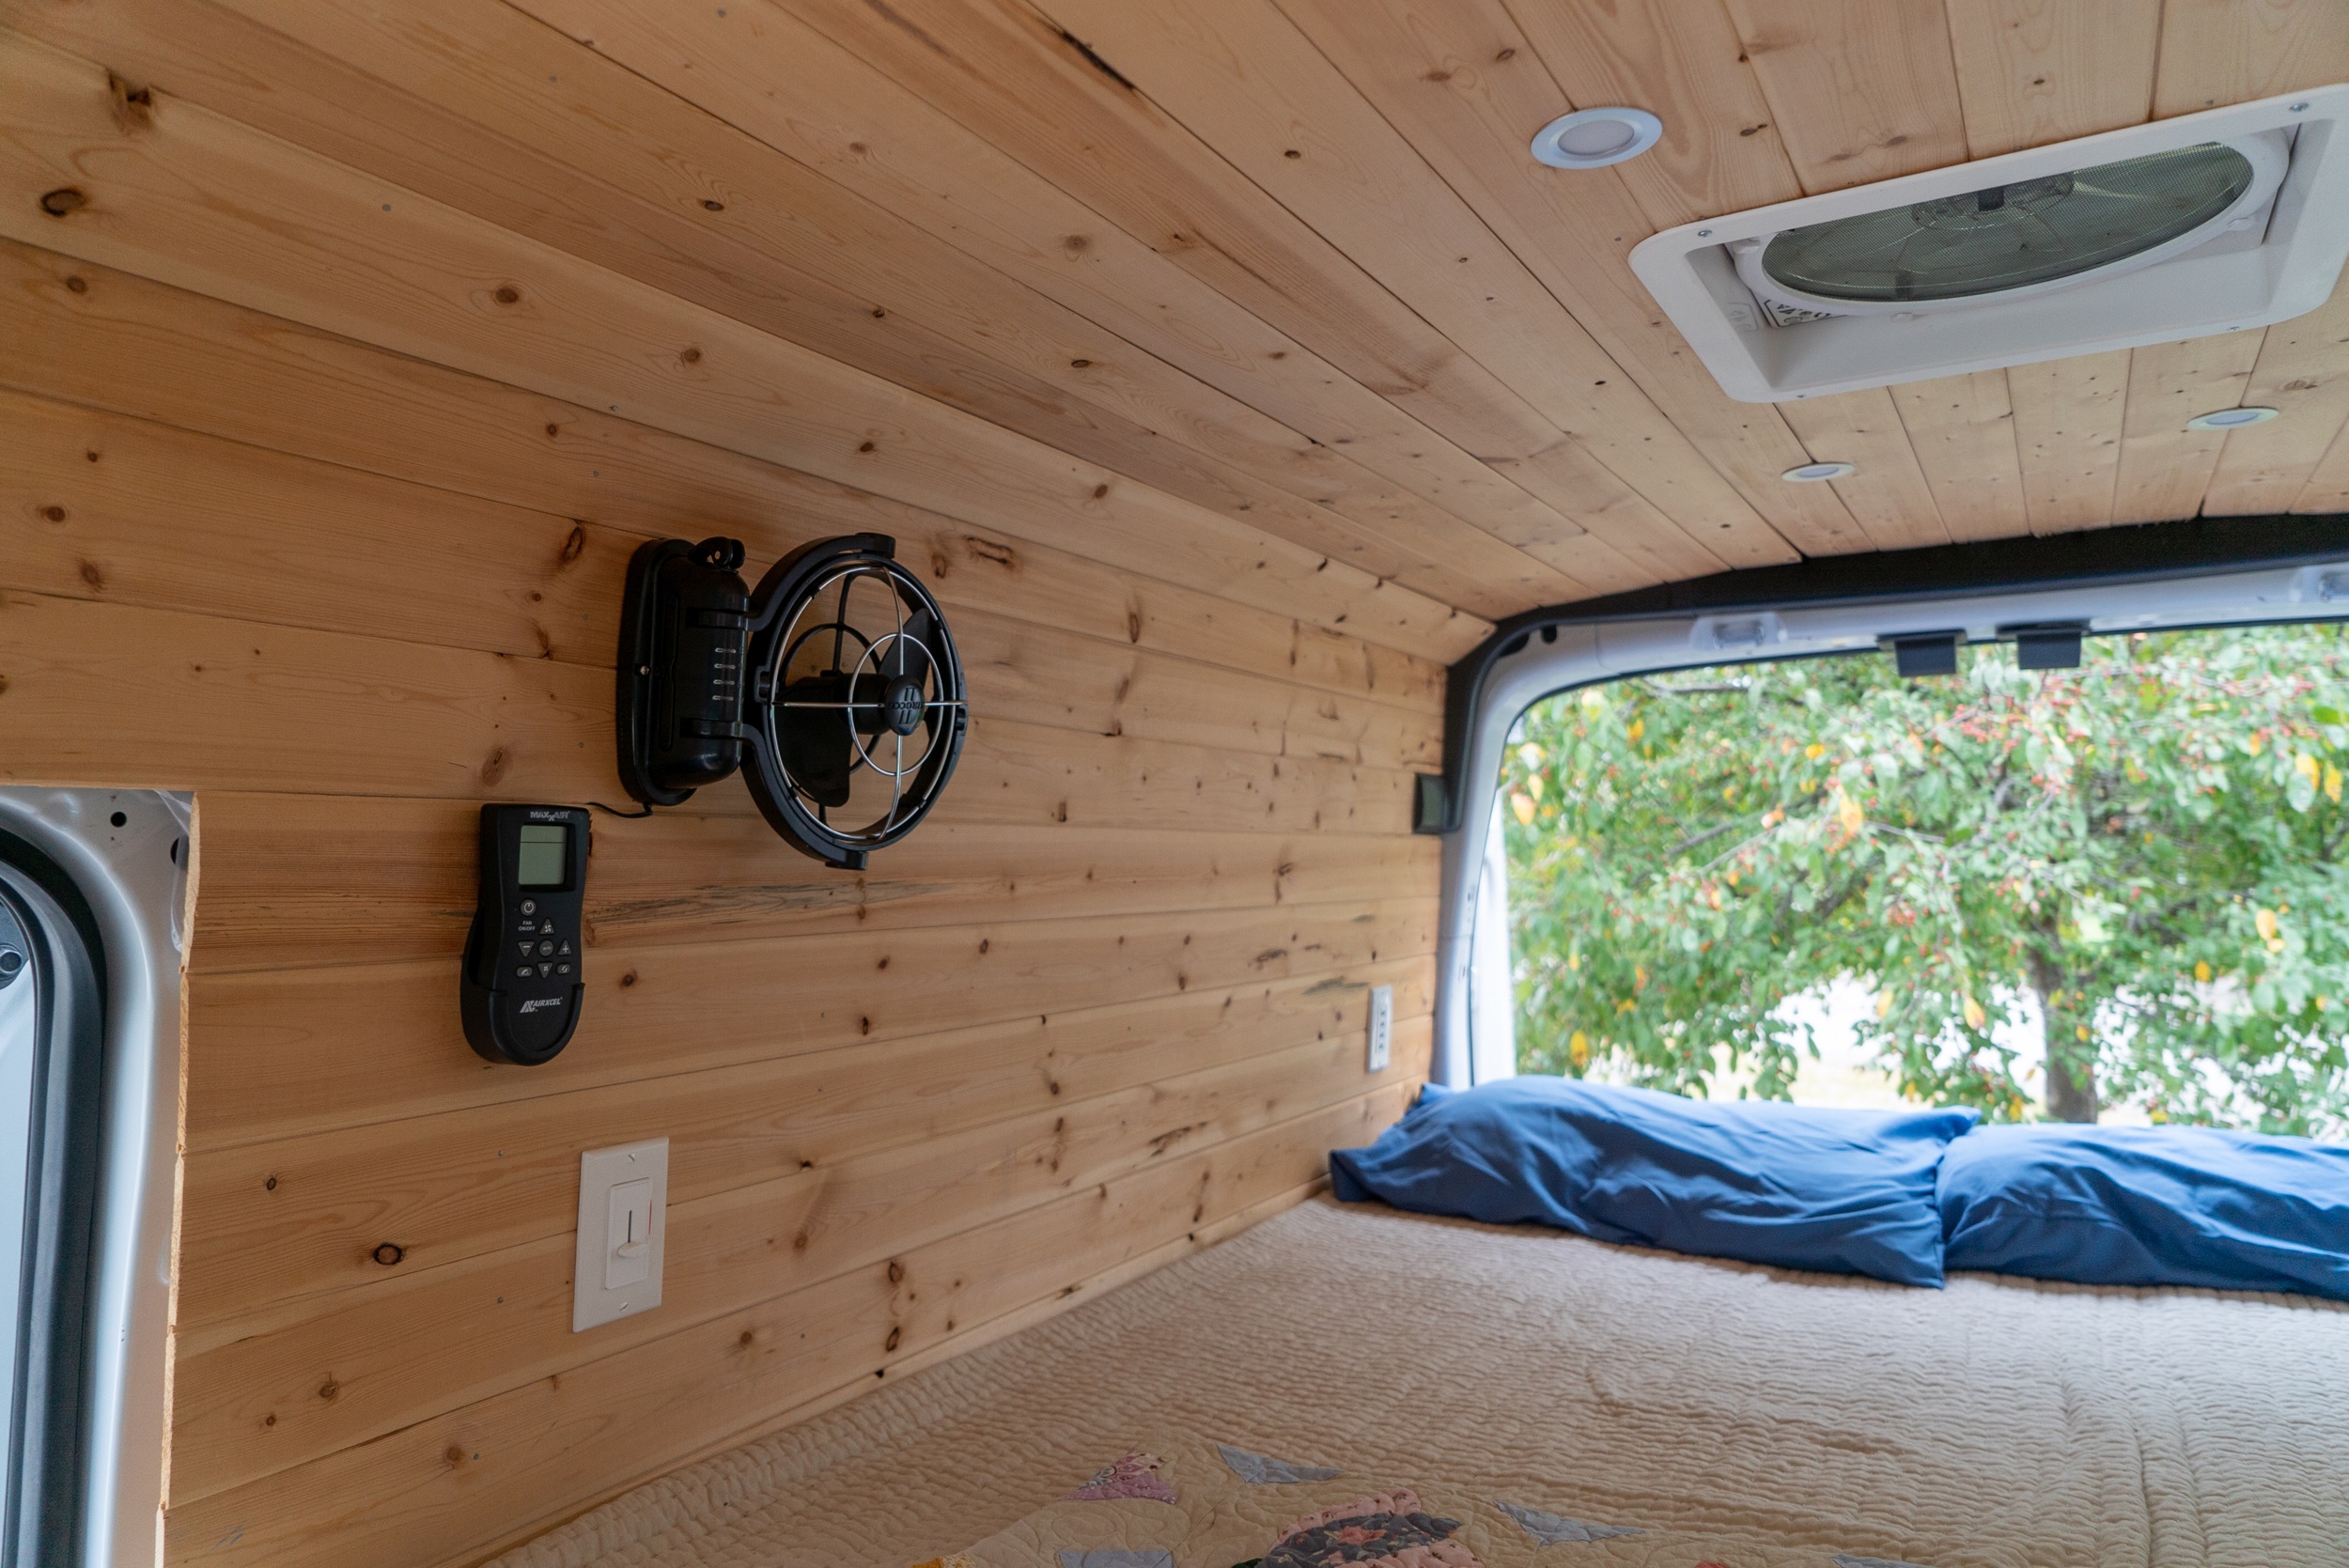
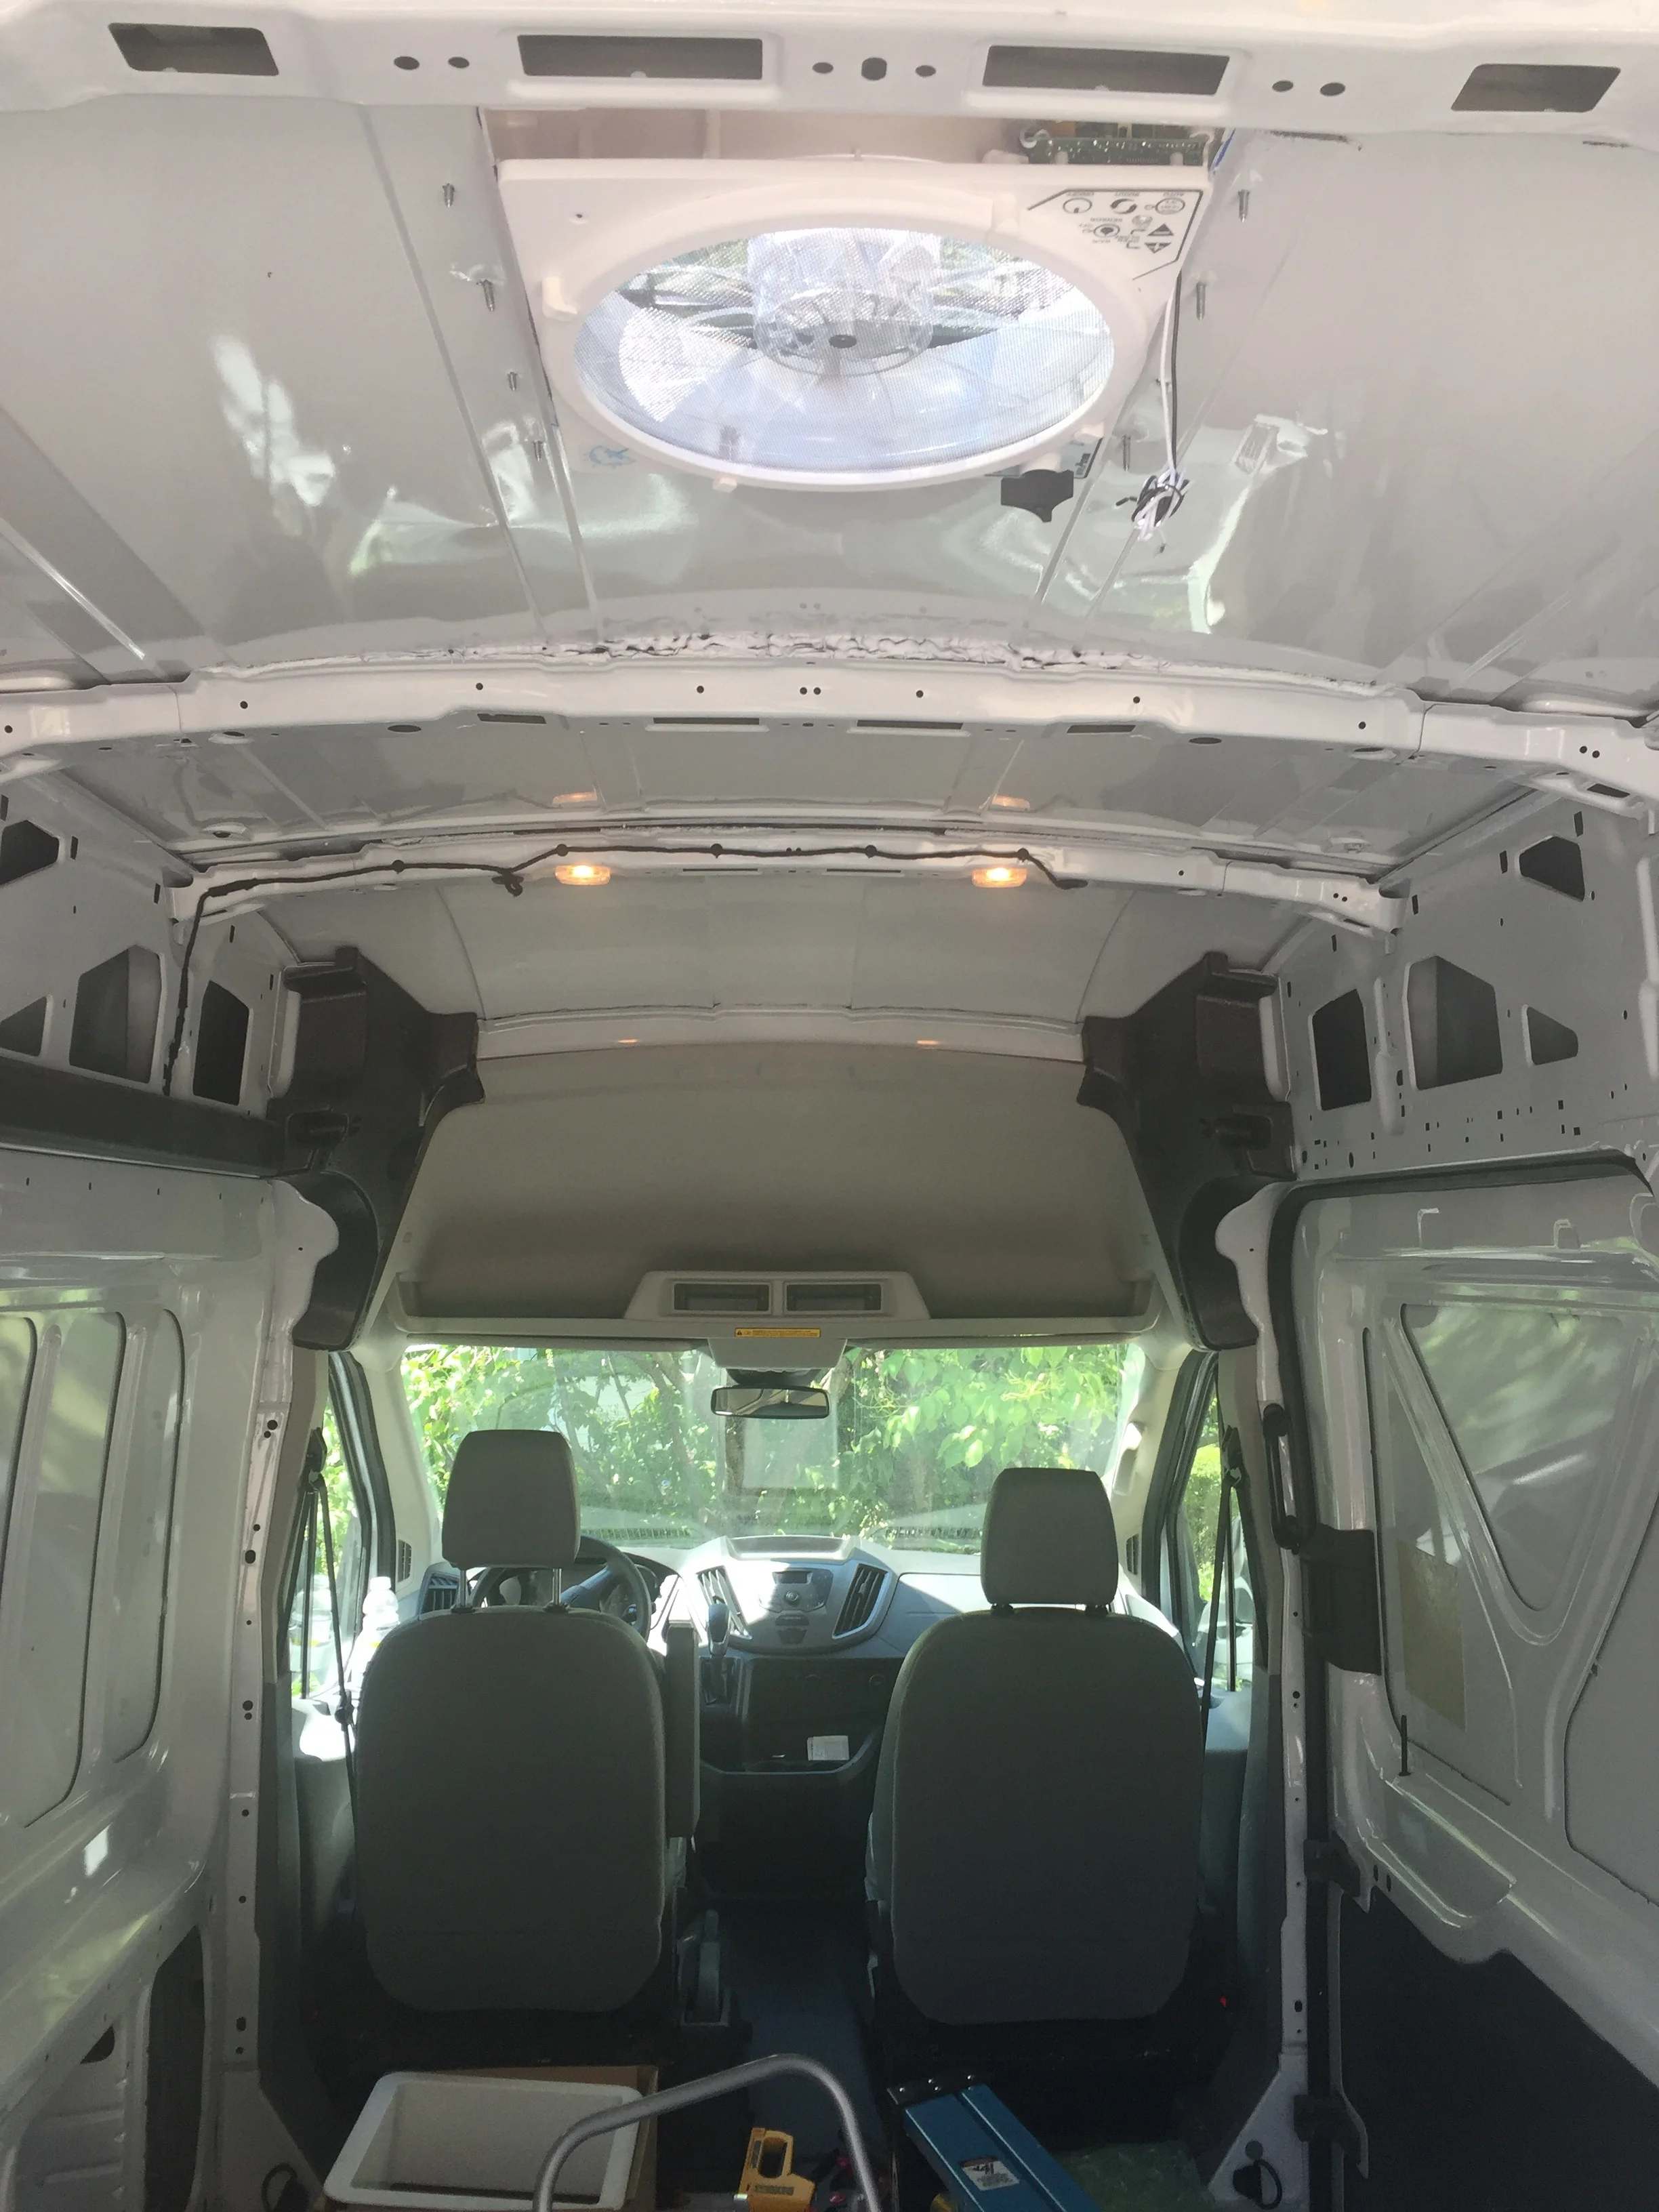
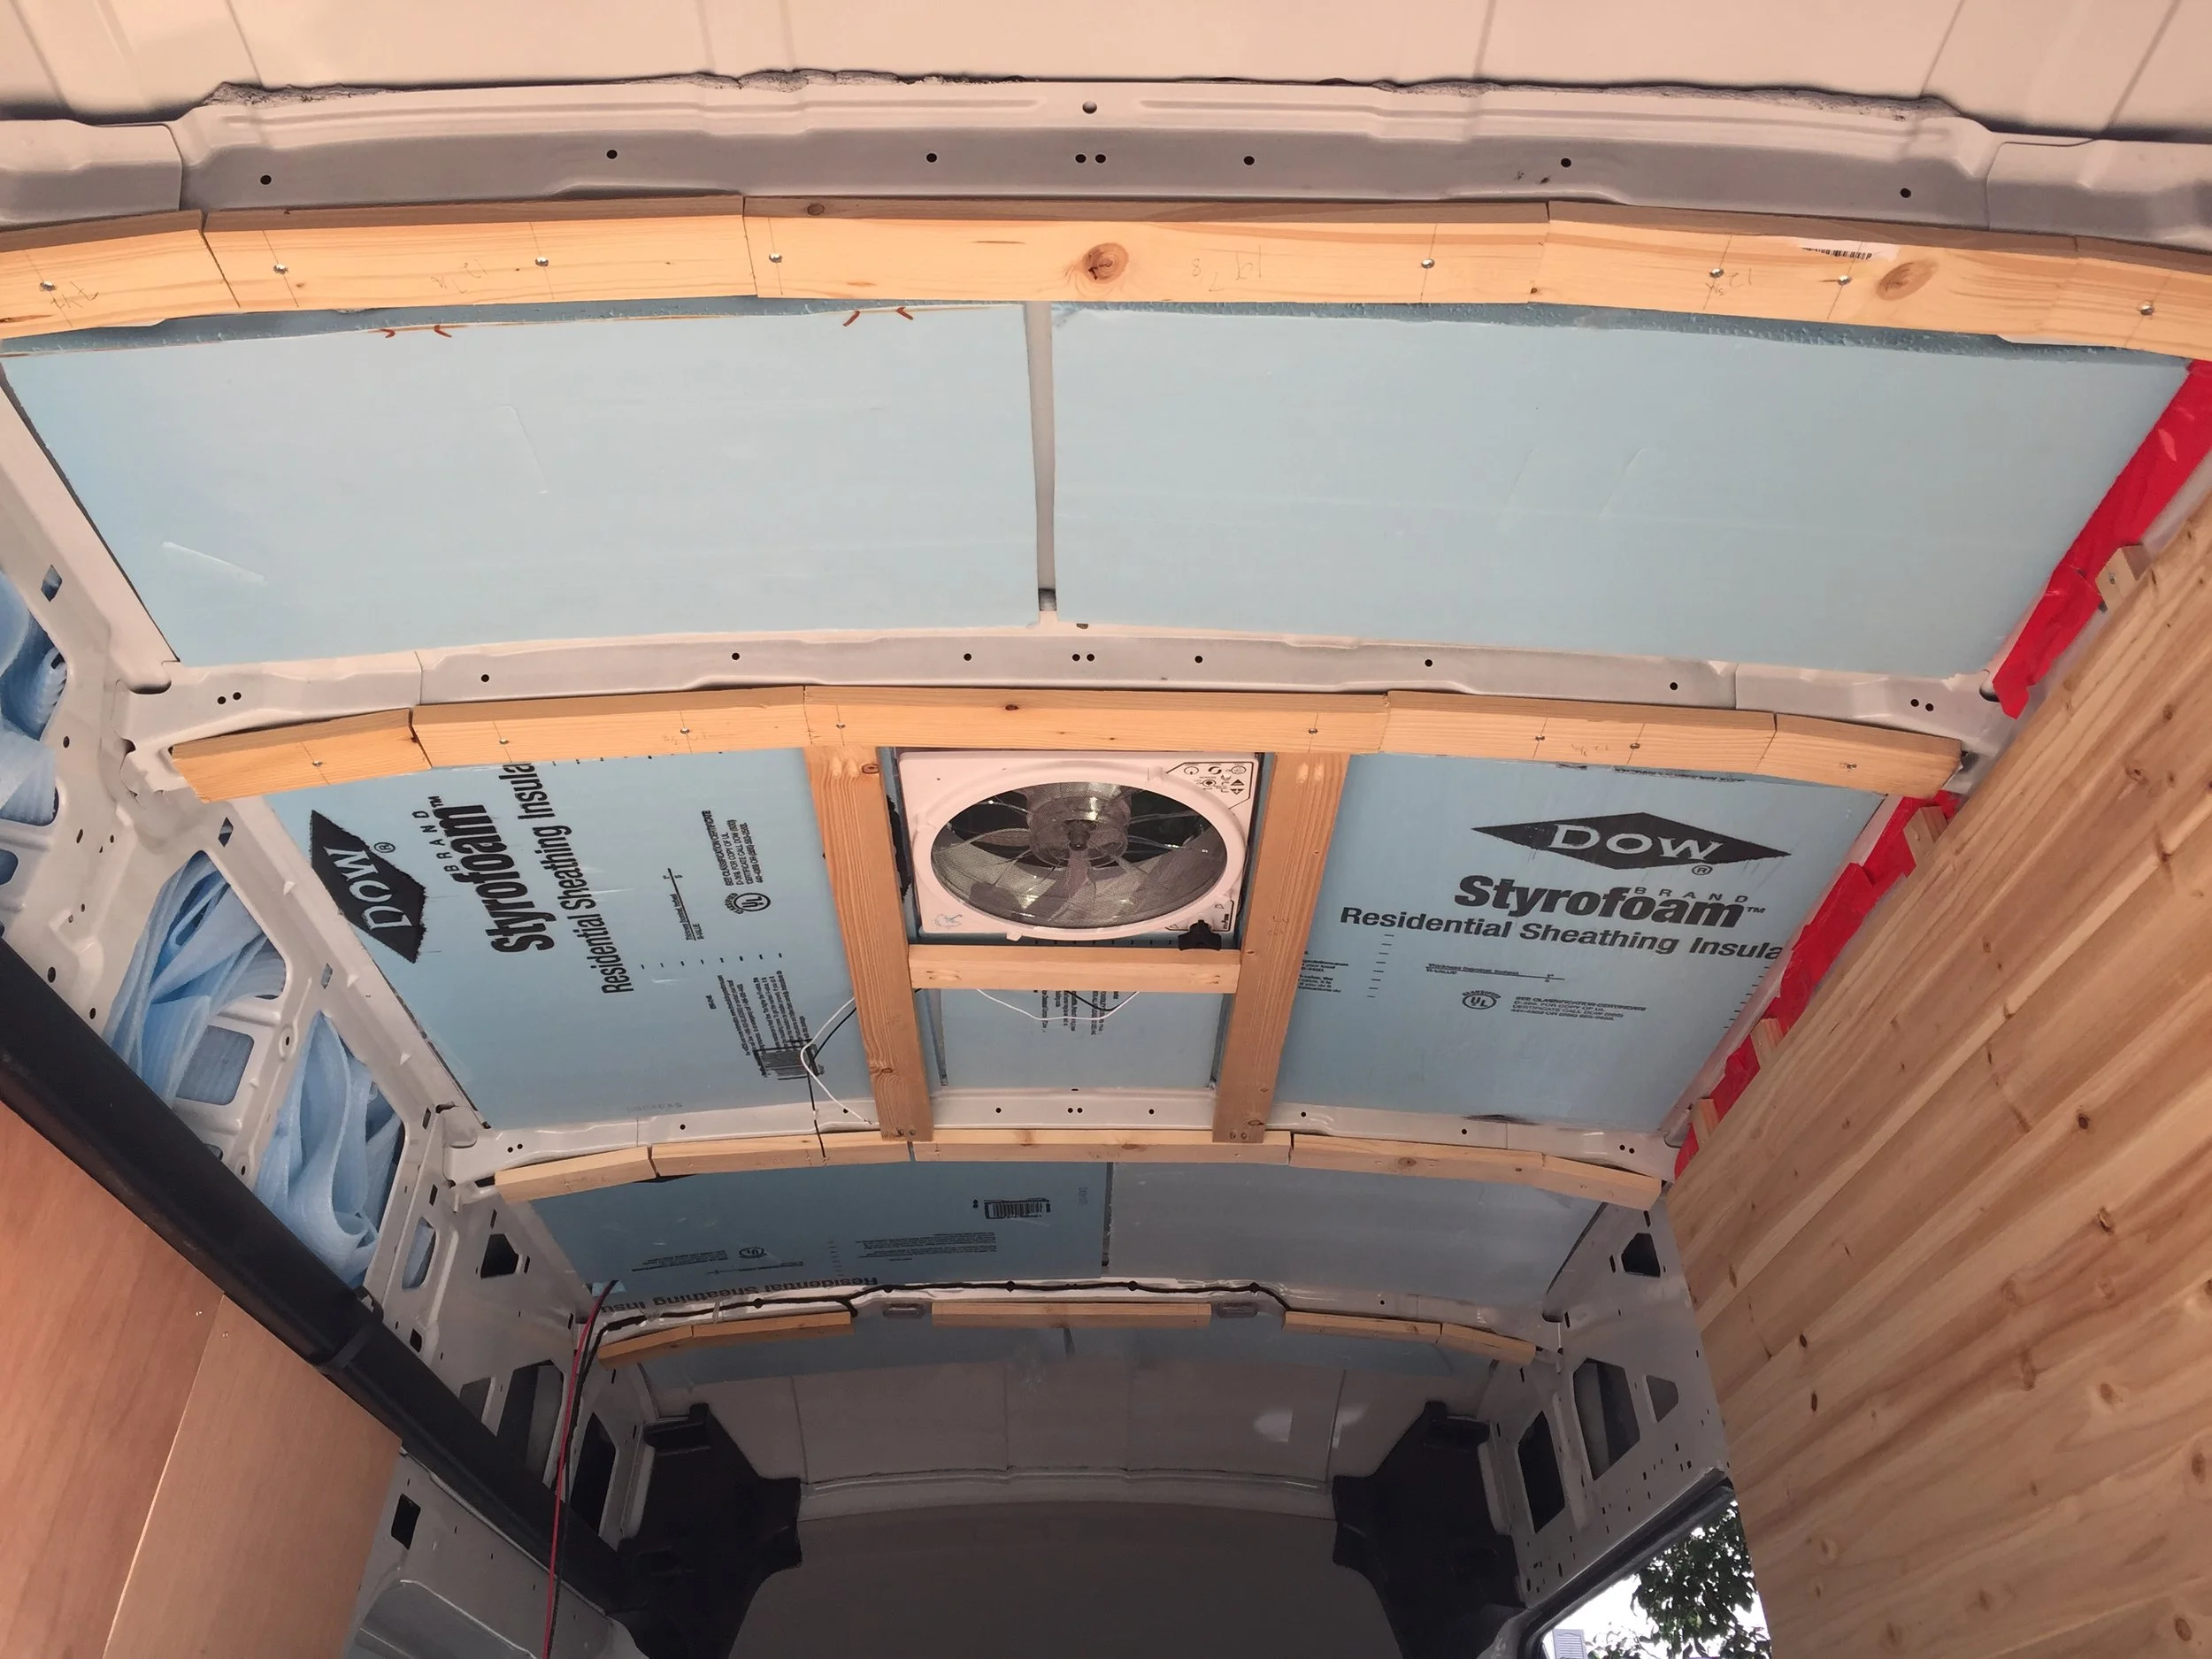
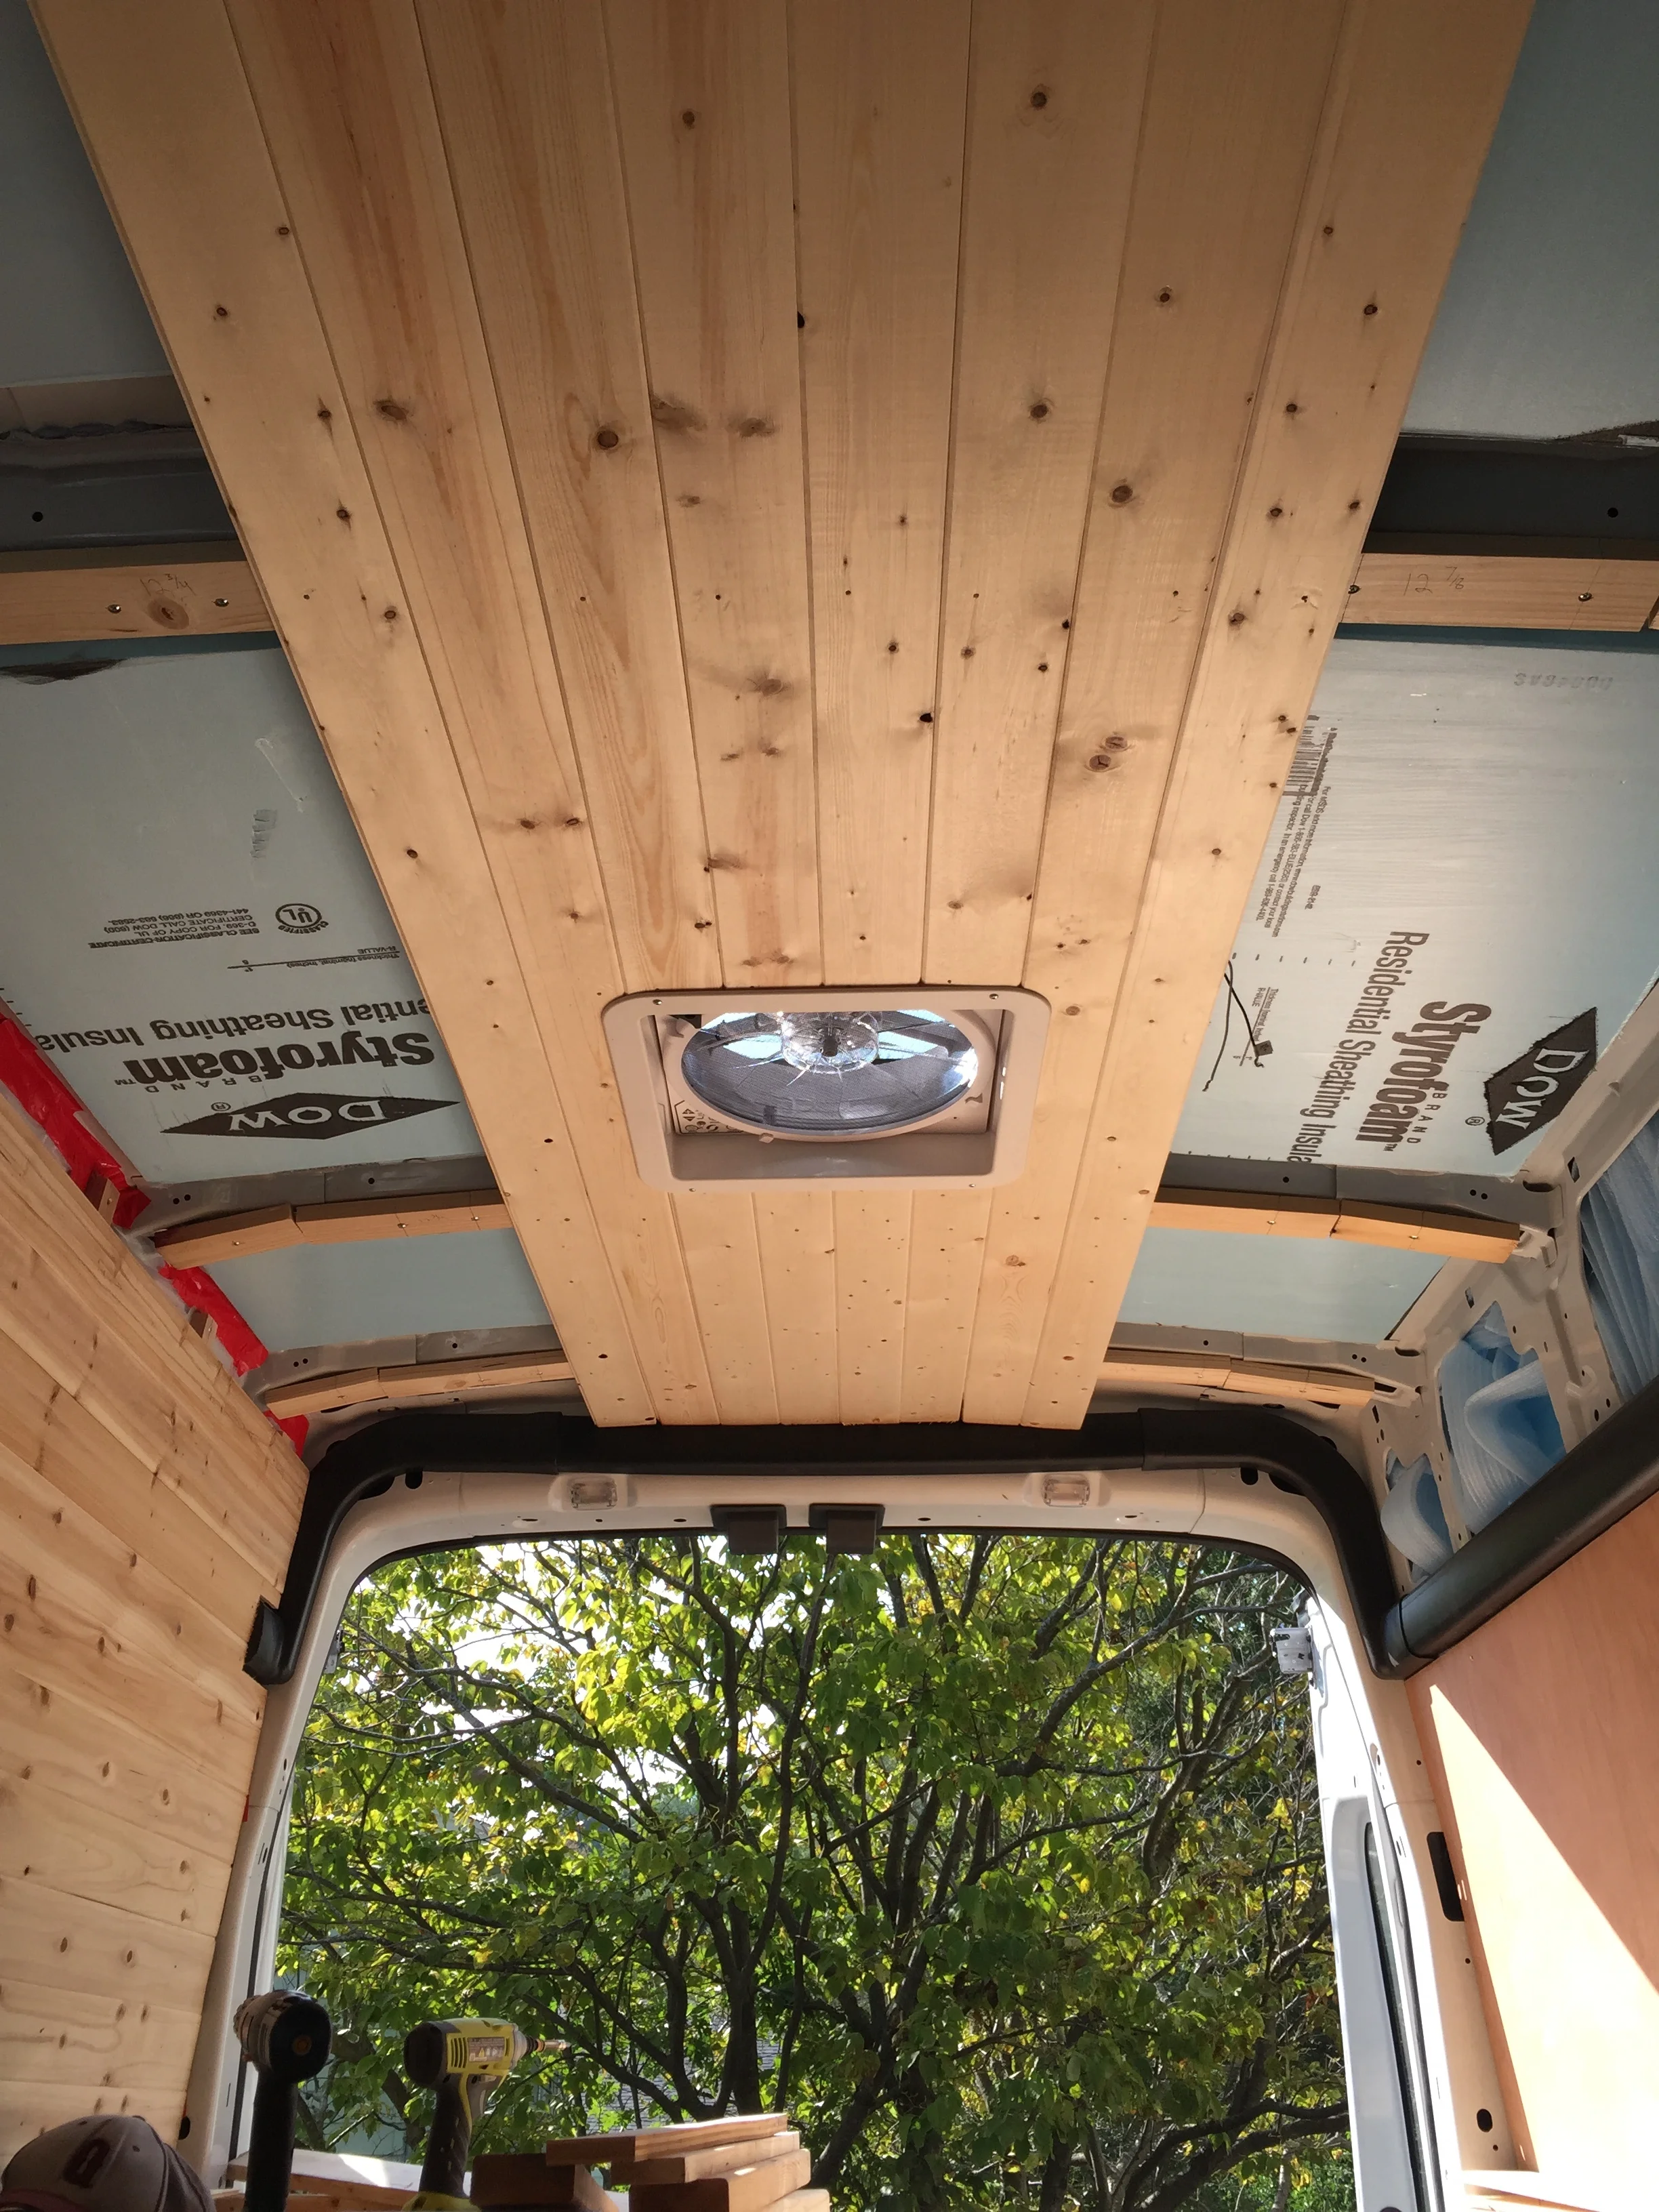
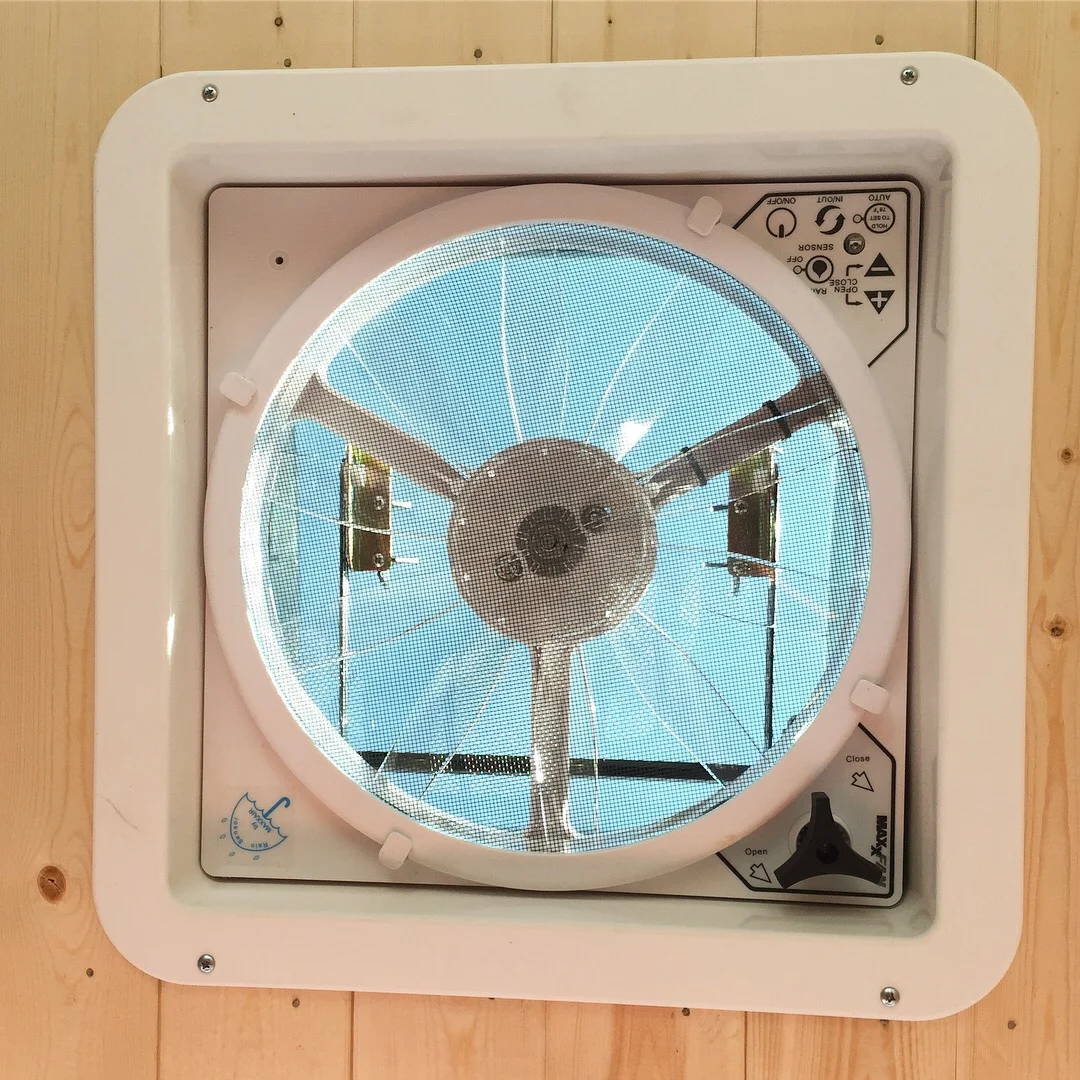
• Ceiling fan can blow air in or suck air out
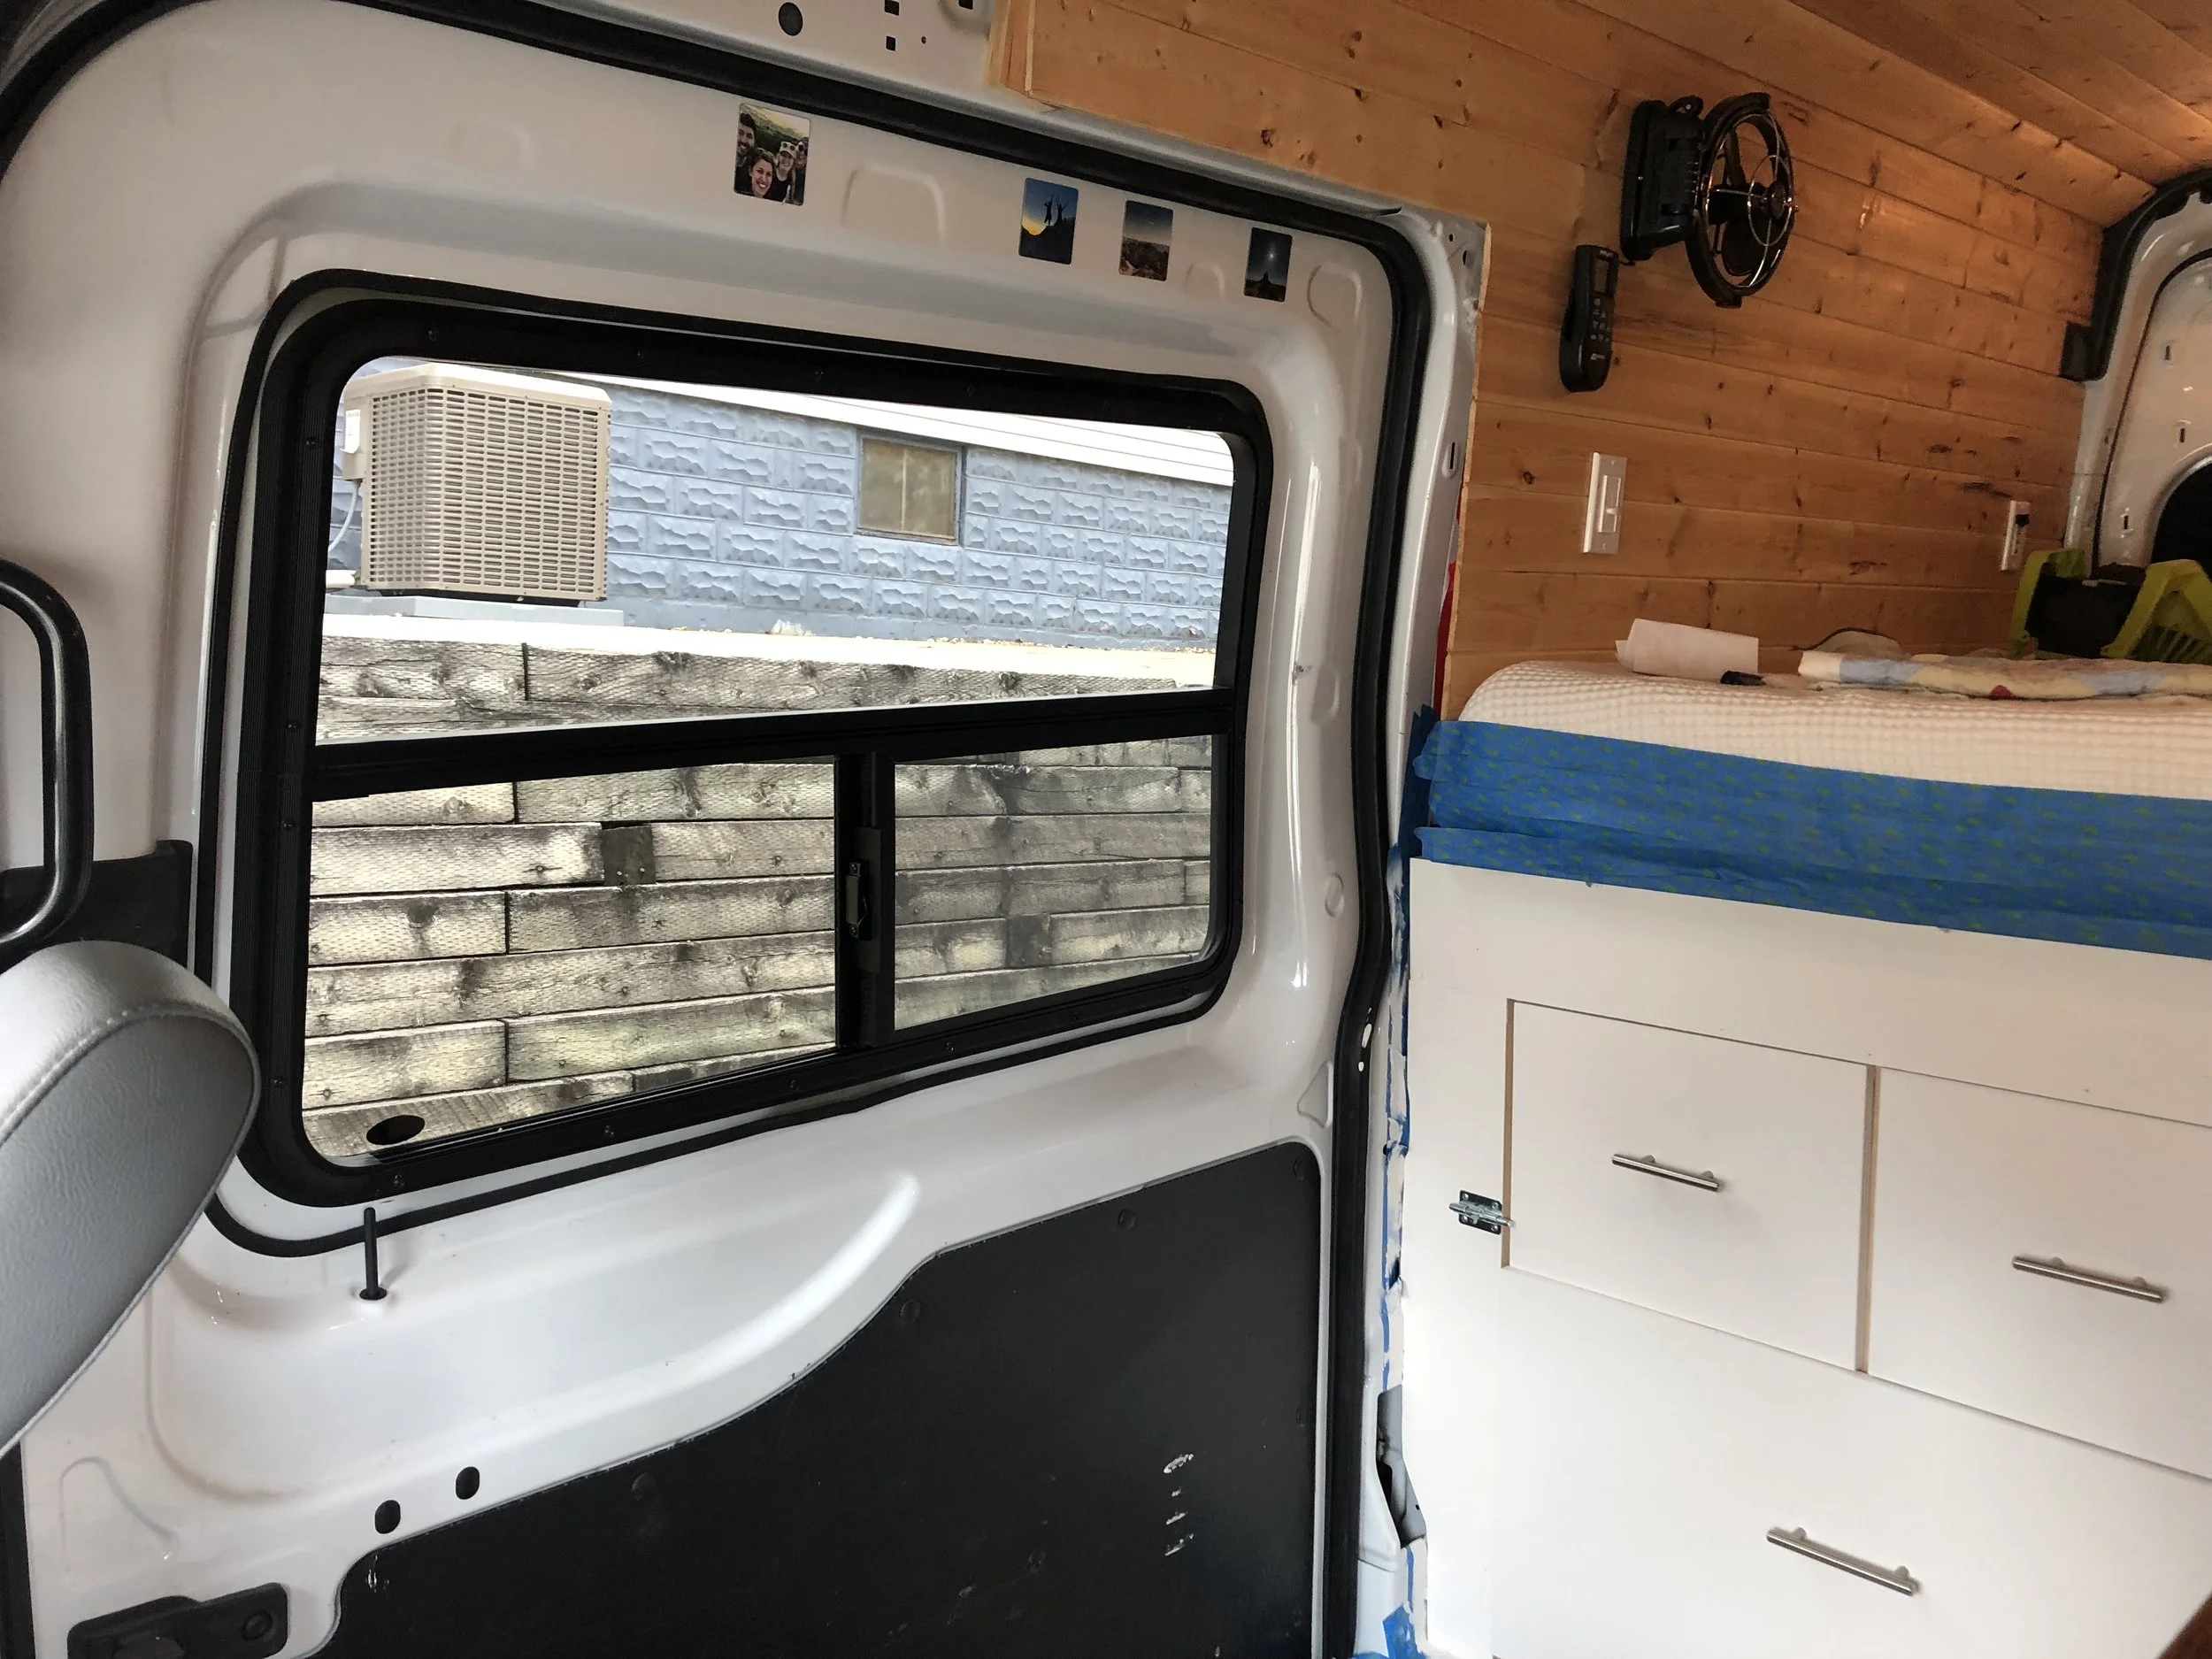
• Window on the sliding door has slide opening with bug screen
• 1,000-watt pure sine inverter
• Trailer hitch receiver and hitch ball
INCLUDING
• Digital air compressor
• 12v battery charger (in case you run the solar batteries too low, or if you want to plug in at a camp site)
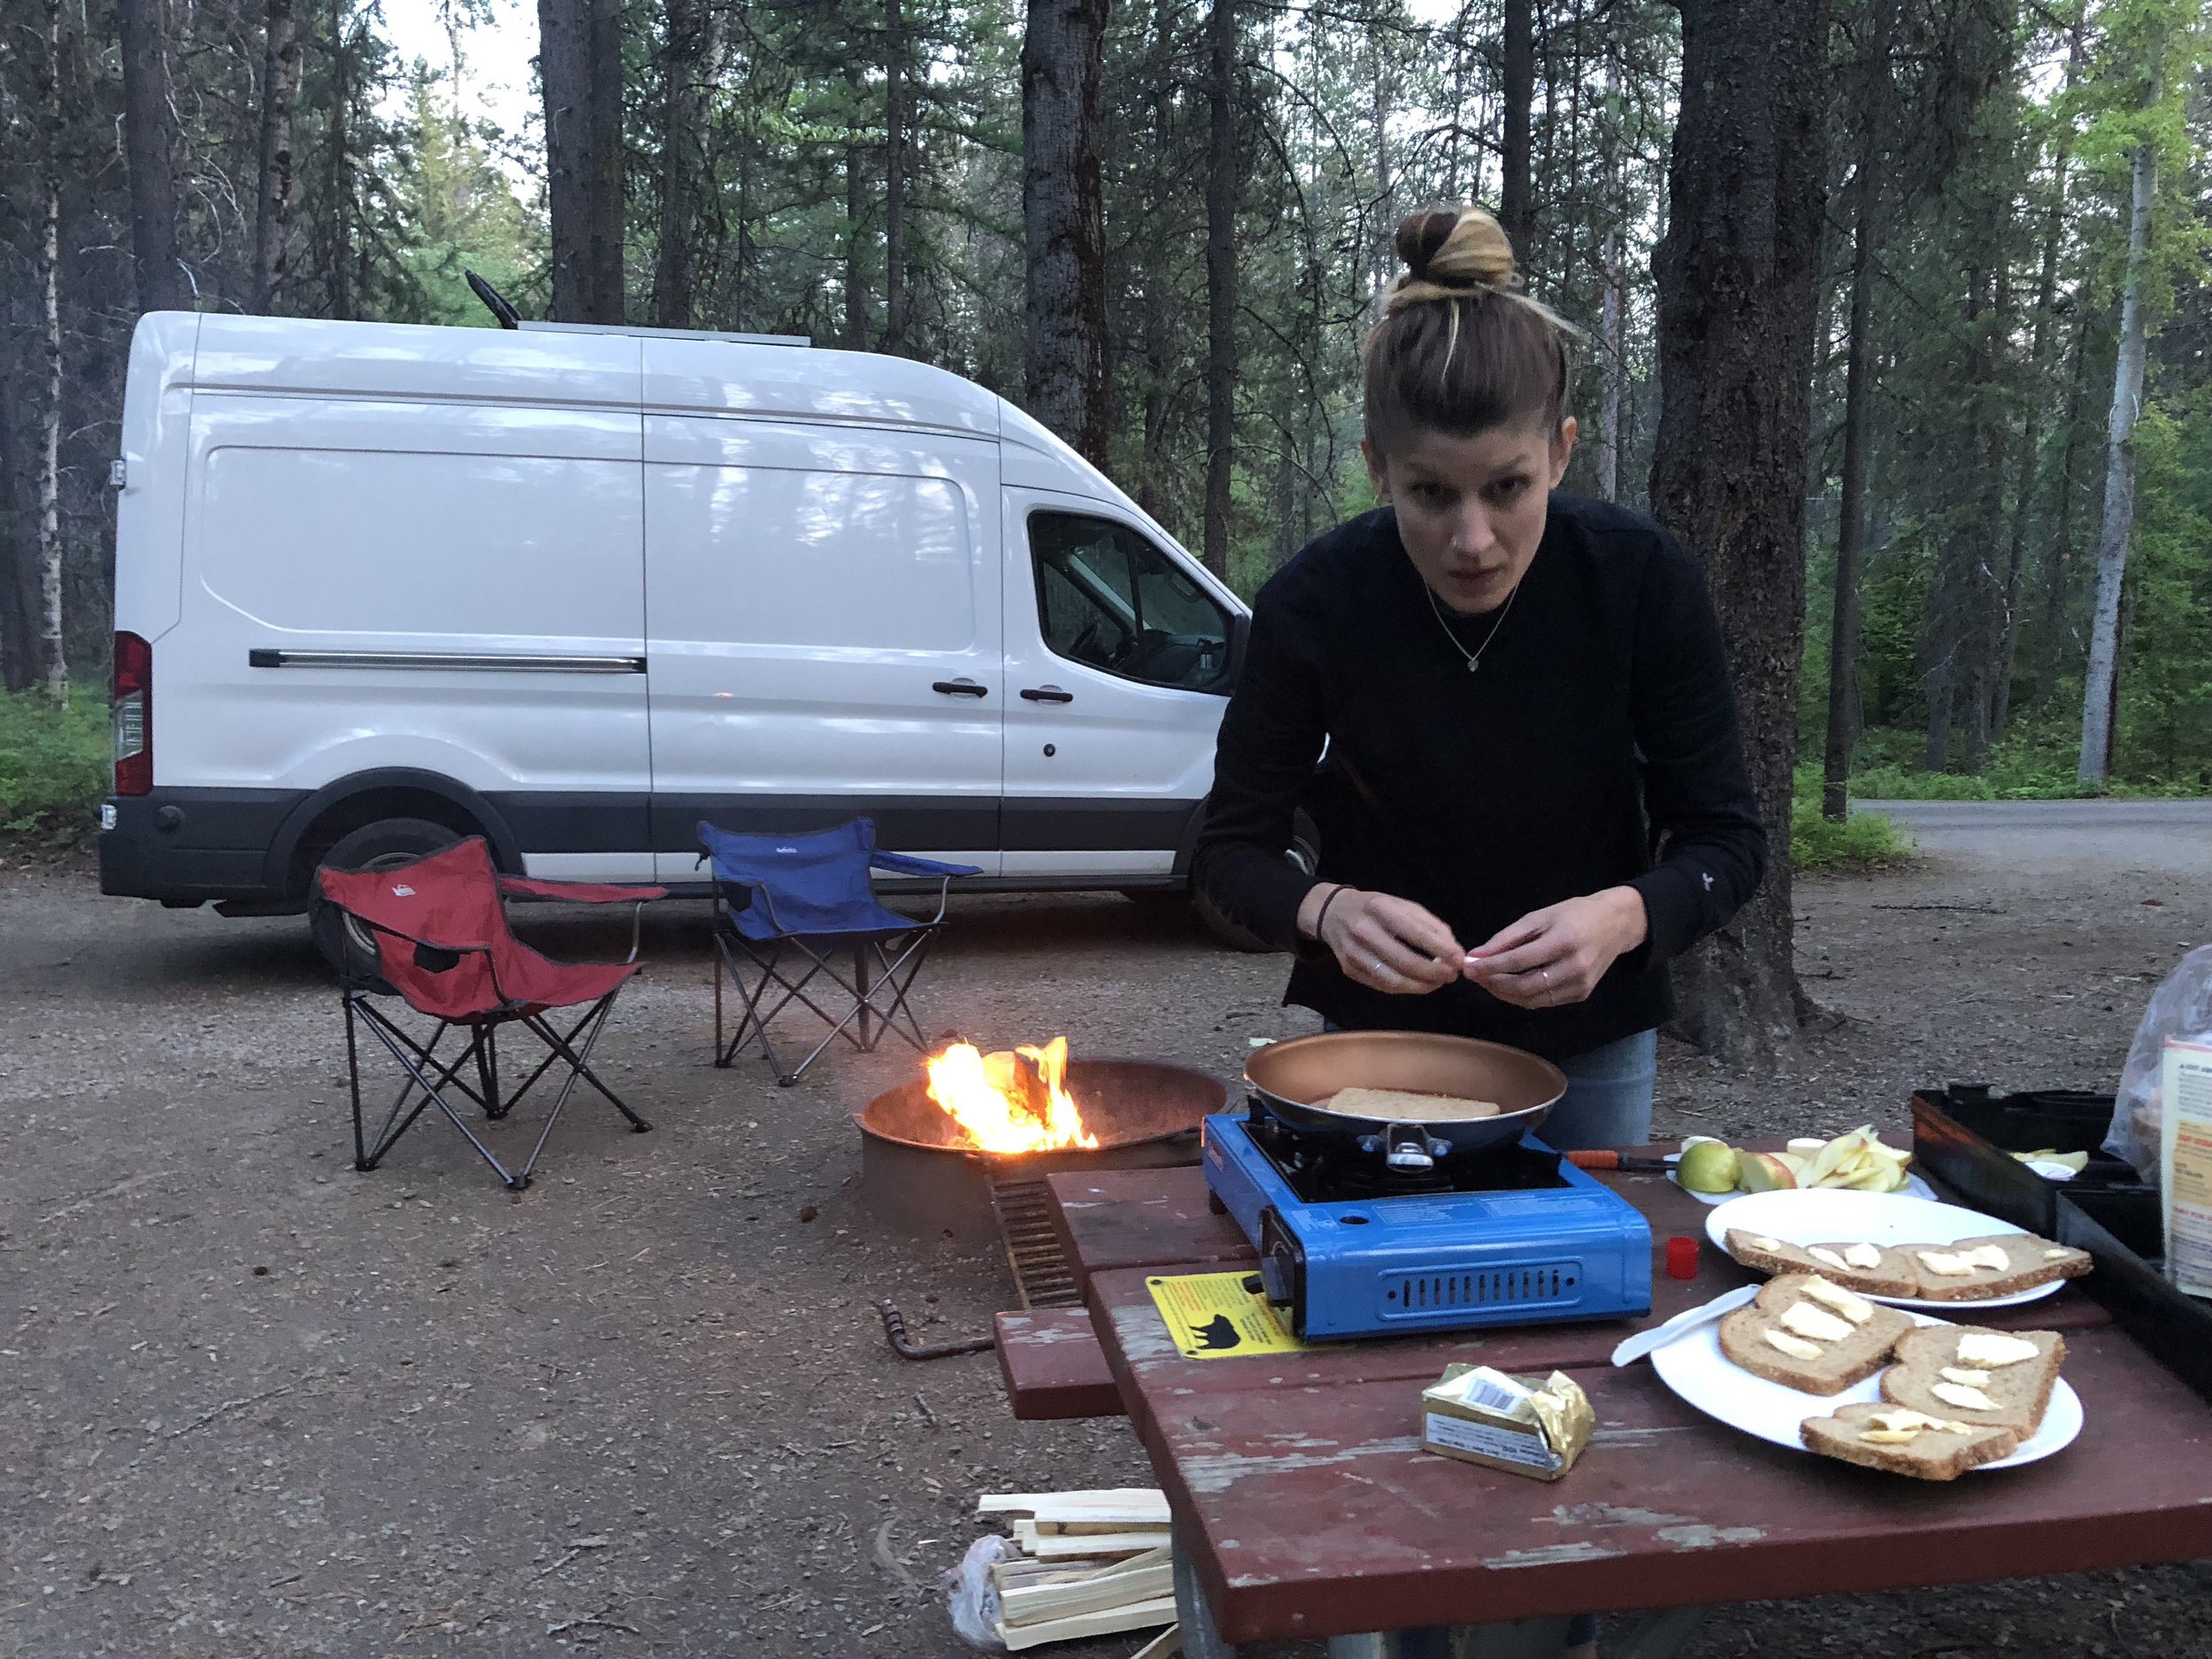
• Single burner butane stove
• Leveling blocks (so you won’t be sleeping at an angle)
Text or email for more info or to arrange a viewing. Will consider reasonable offer.